However, Lacstar Industries main security contract was not with Polanski’s Lancers, but with a Mercenary Company known as the Rose Guard. On duty on Mundos was a Line unit known as the Thorn Watch. Die to security precautions, they had not been advised of the Uhlan’s involvement on Mundos until their attack on the Strong Hammers failed.
As a result, the Thorn Watch scrambled to set-up an extended wartime defensive perimeter. However, the Strong Hammers struck too quickly, and the Thorn Watch were left to repel a close assault by the enemy JUGS.
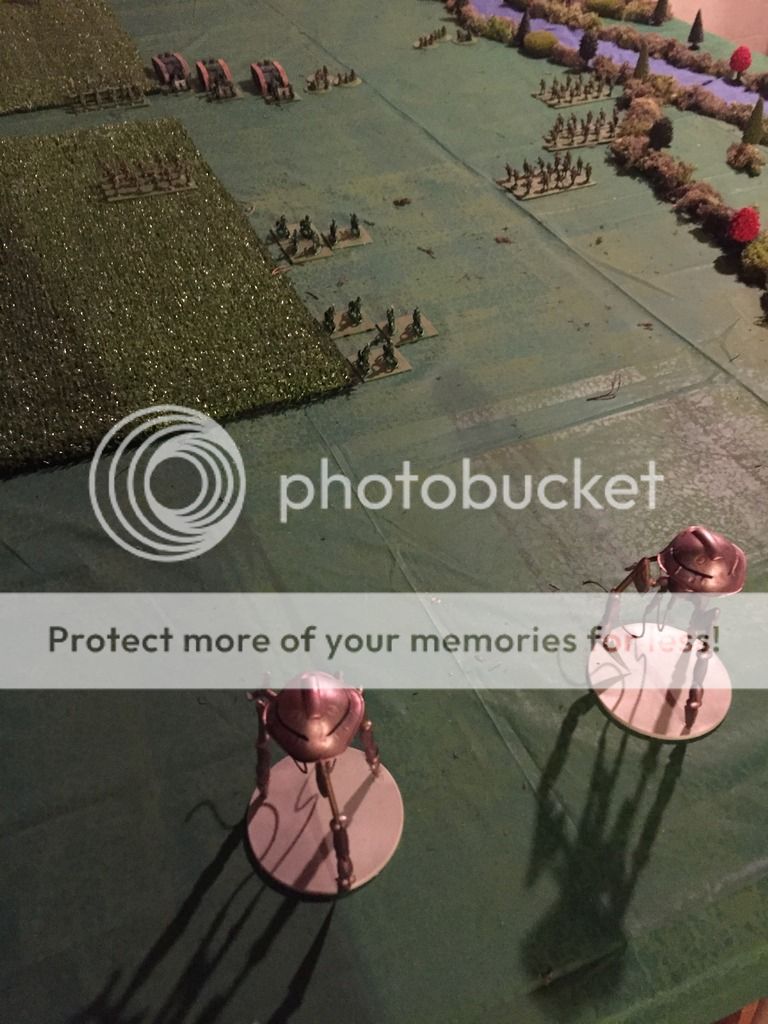
Forces
Once again we didn’t bother with using the Unit Builder, we just ball parked it.
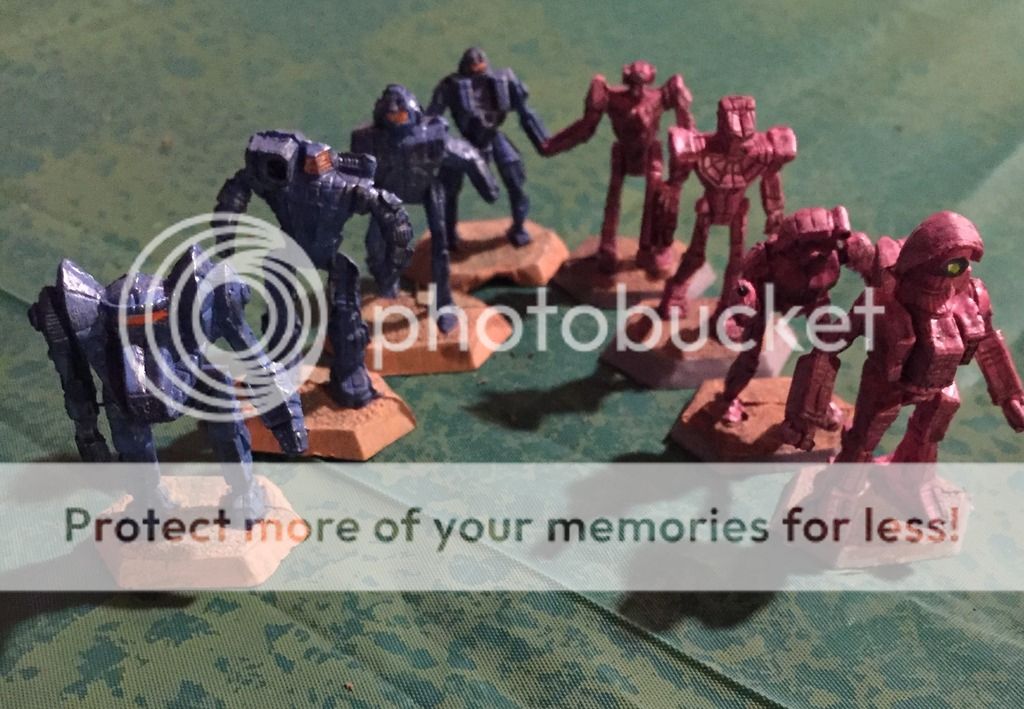
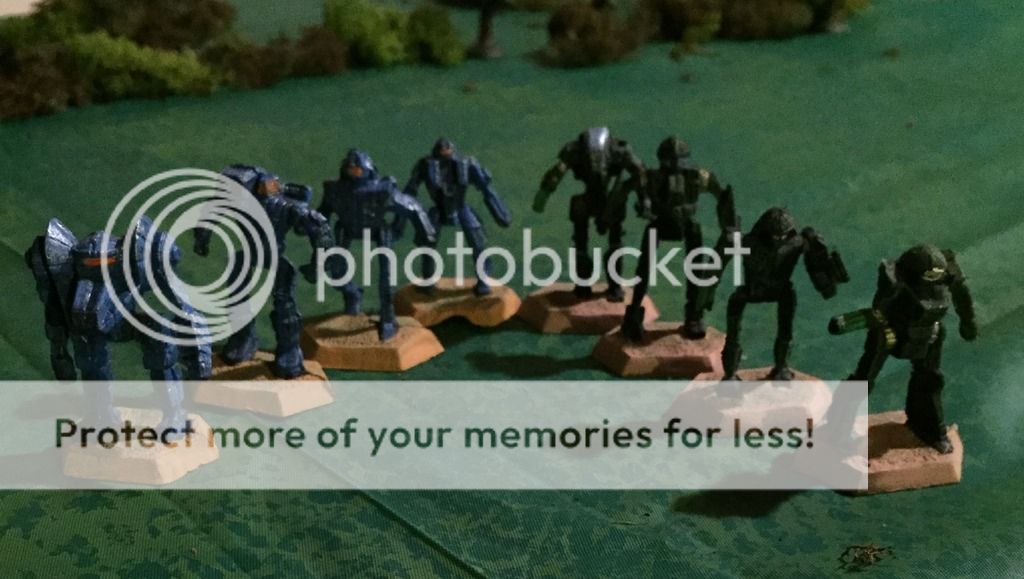
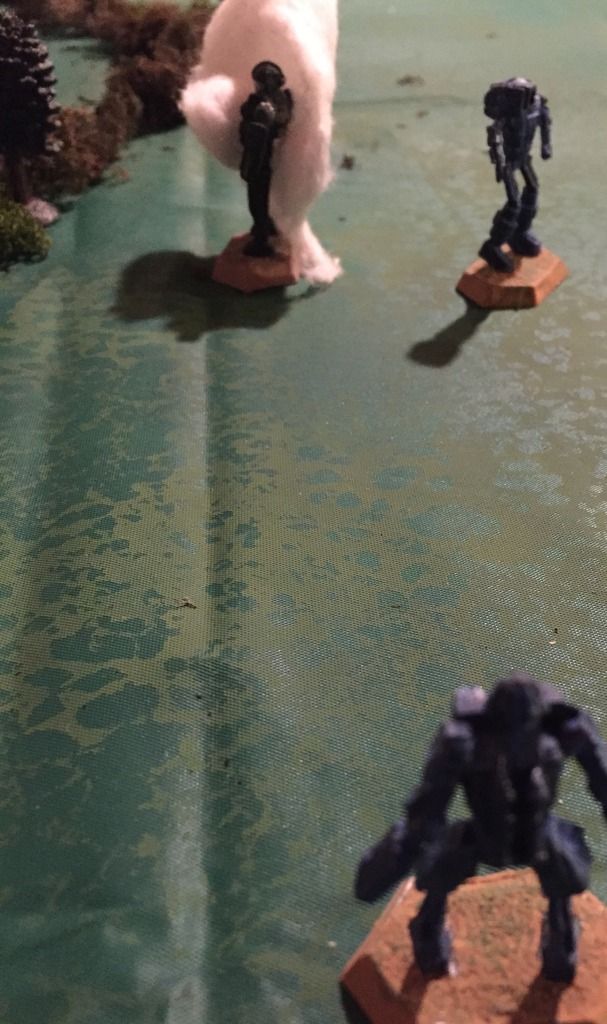
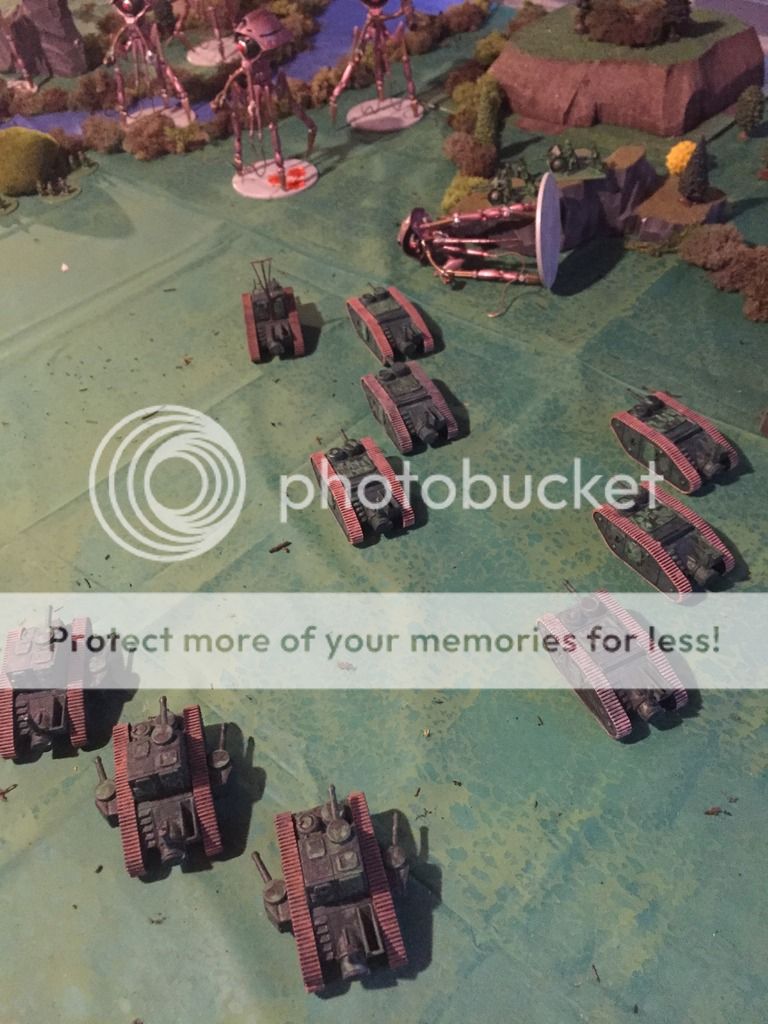
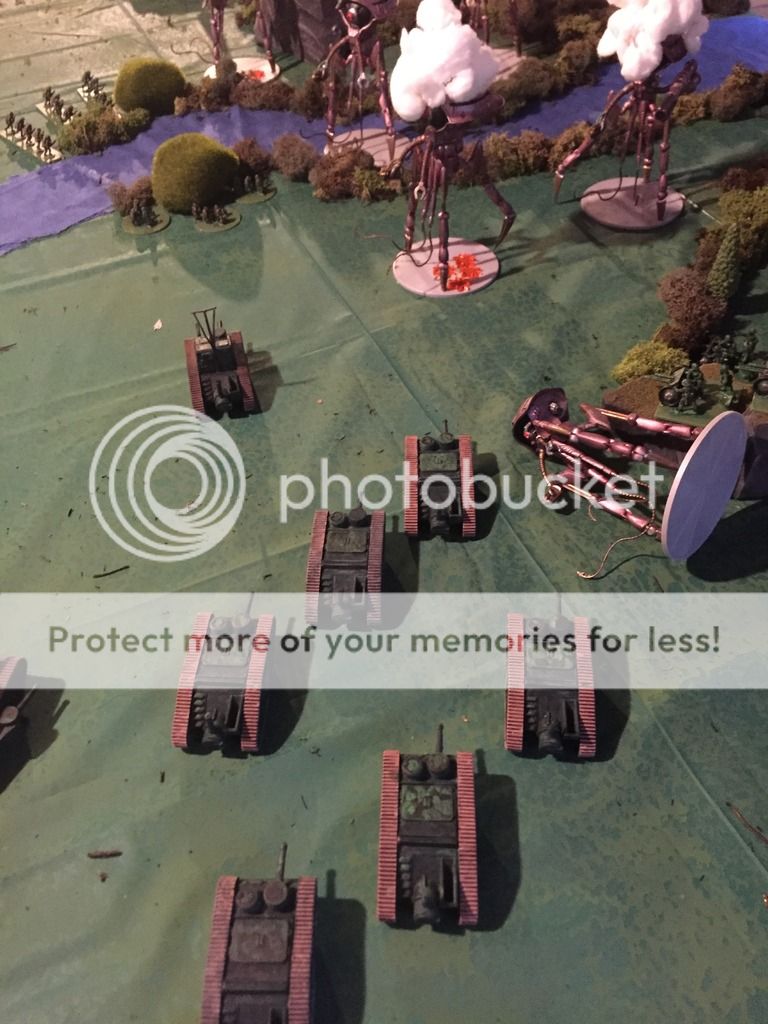
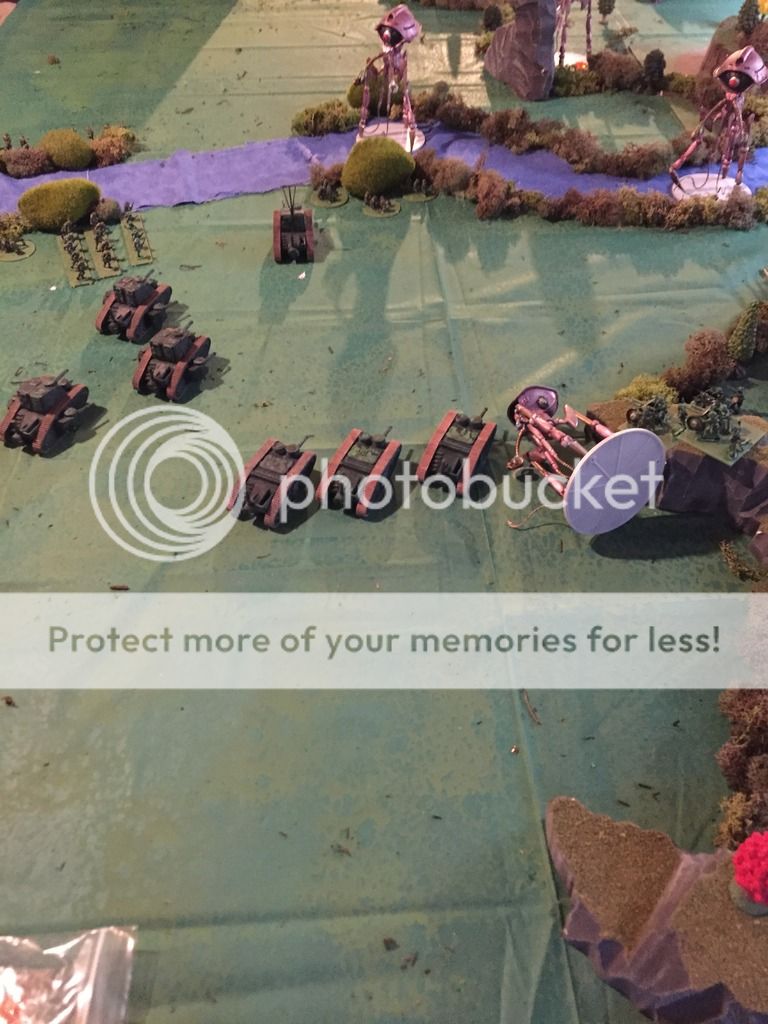
Strong Hammers (Blue Jugs)
1 Heavy Line (Front, Dragon)
1 Line (Hunchback)
2 Light Line (Whitworth, Dervish)
Thorn Watch (Pink Jugs)
1 Heavy Line (Front, Cyclops)
1 Line (Vindicator)
1 Light Line (Panther)
1 Picket (Commando)
Mission
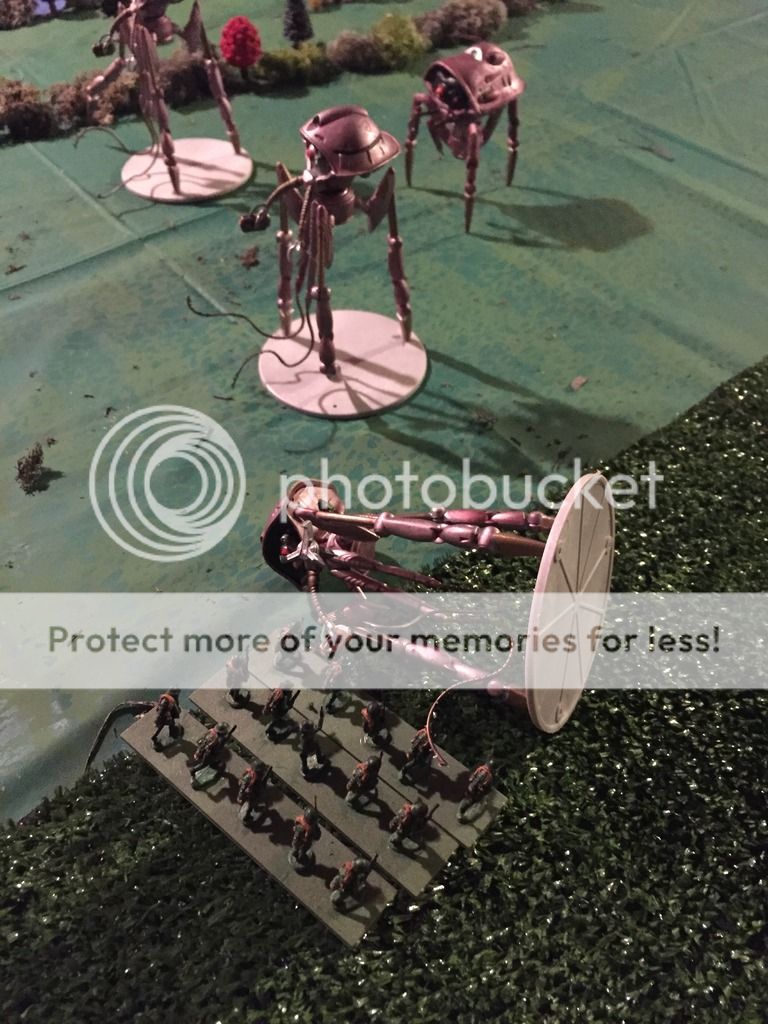
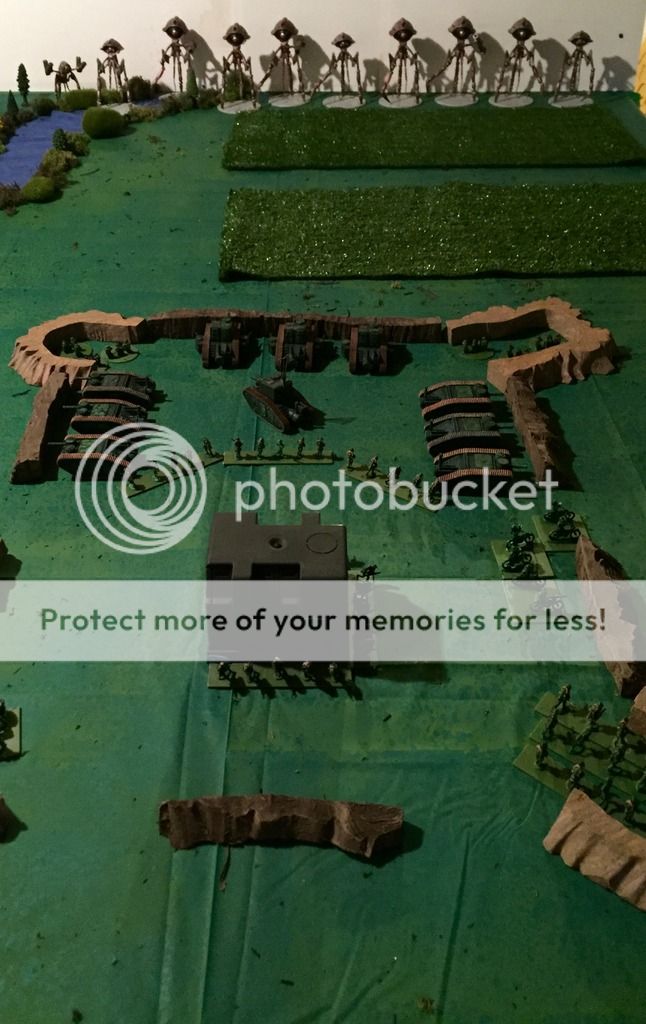
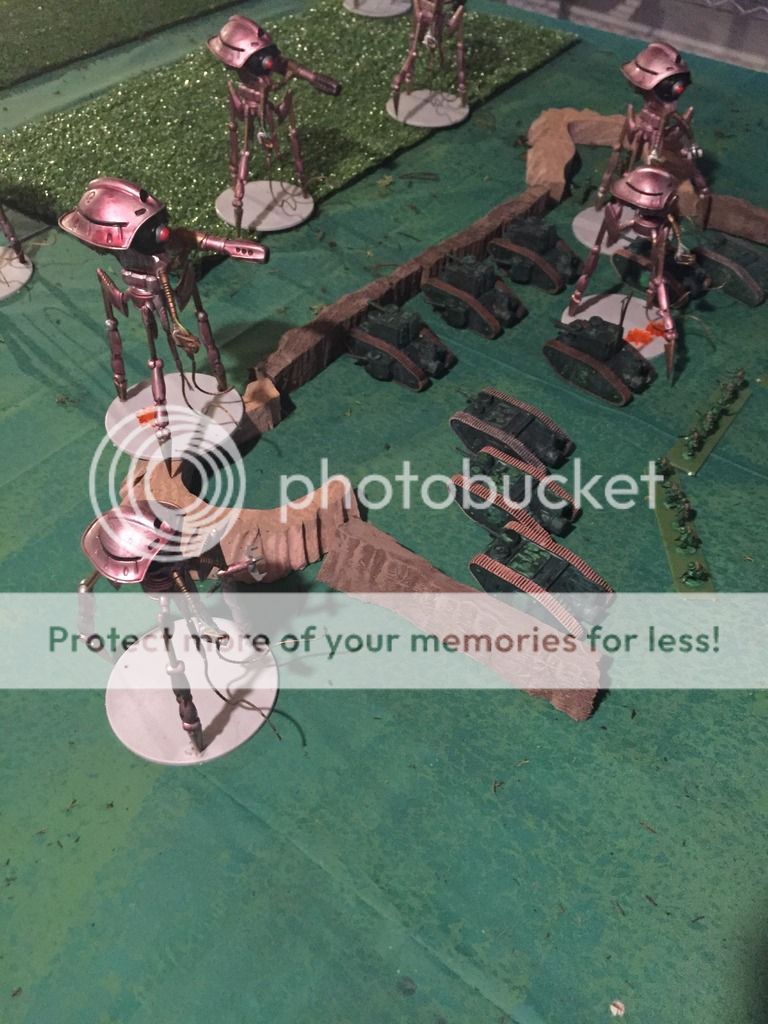
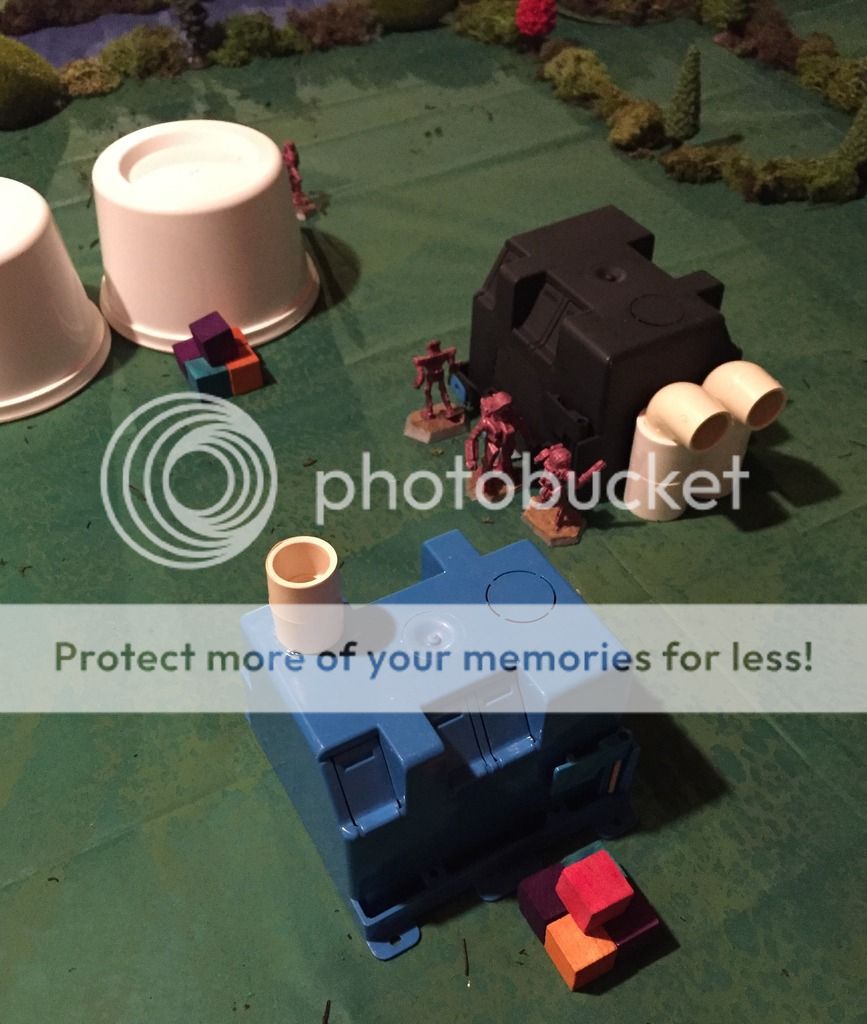
Today we are playing the Asset Depreciation mission in the JUGS rulebook. There are two Key Targets of the attack. They are placed within 6 inches of any board edge and each Key Target has 5 hits. Today we have some shipping Containers that have vital equipment stored inside for the Lacstar Industries timber-mills to continue processing tree pulp.
The Thorn Watch JUGS are set-up within 6 inches of any Key Targets. The Strong Hammers are set-up on the opposite board edge.
Turn 1
The Strong Hammers get to Activate first.
The Dervish activates first. He manages to stay out of LOS of any enemy JUGS and moves towards a copse of tress at the edge of the river.
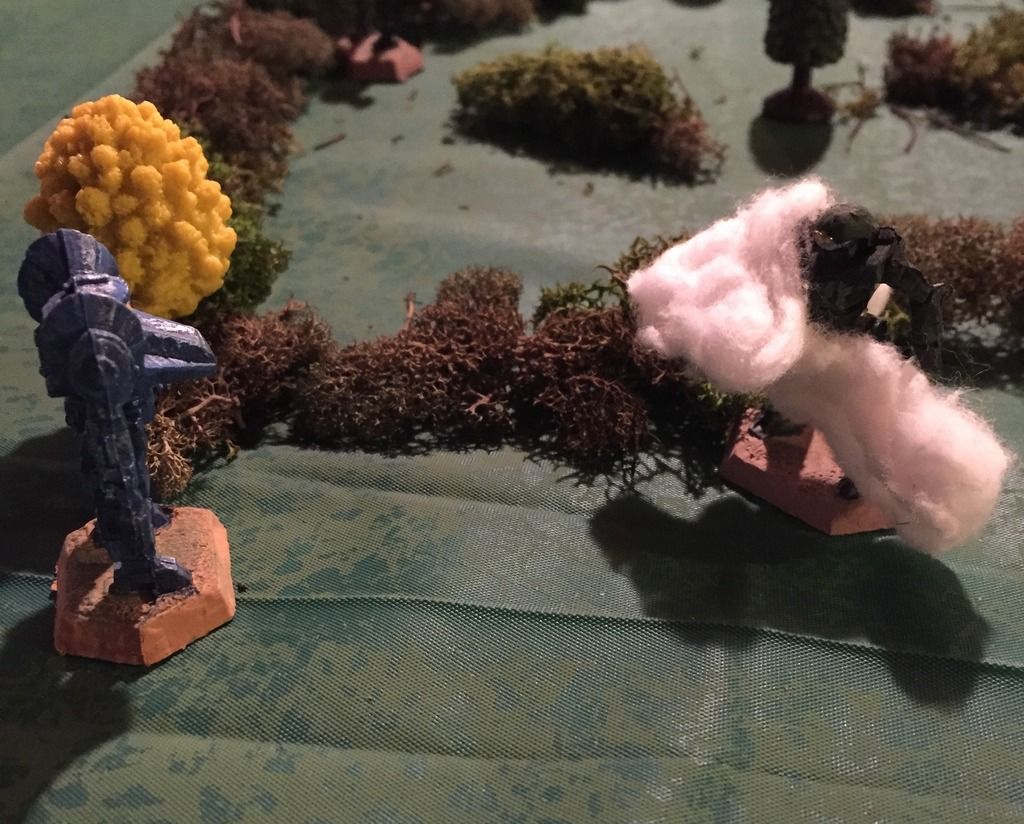
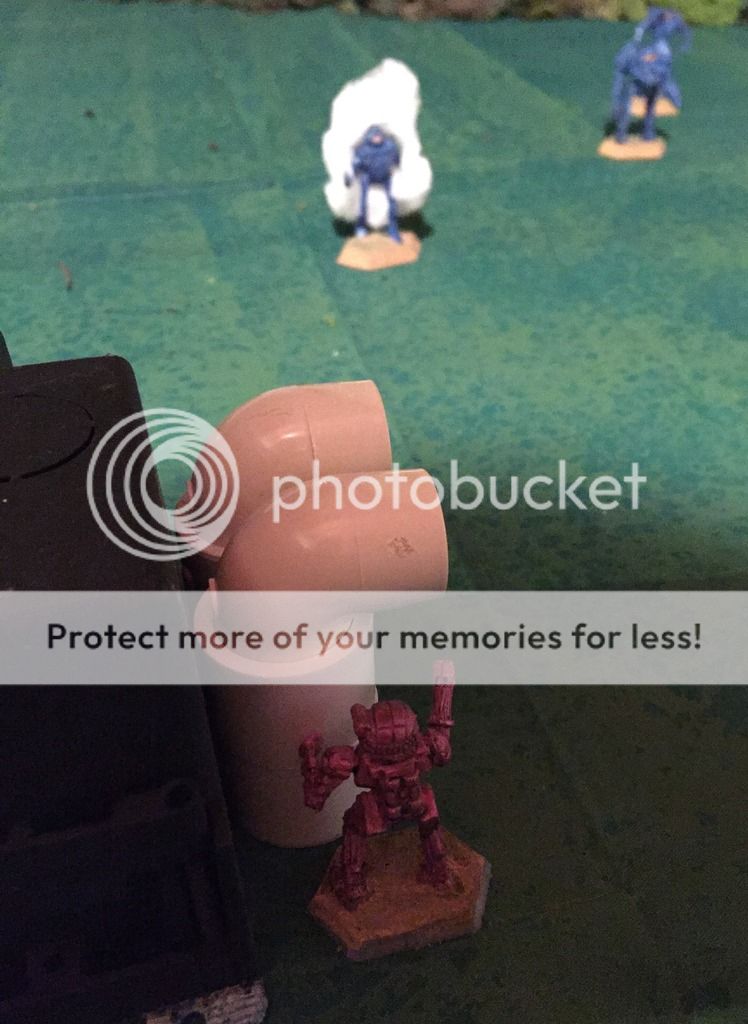
The Whitworth strides straight forward, and moves into LOS of the Commando, who does not opt to React. The pilot passes a Pilot Check and does an ECM Burst to cover his approach.
The Dragon tries to Run, but fails its Pilot check. Instead, it lumbers through the woods towards the Lacstar Industries site. The Hunchback manages to break the treeline near the Dragon. In its exposed position it decides to Brace.
The Thorn Watch had been patiently waiting to see how the attack develops. However, now it can wait no longer as it is time for them to activate. The Cyclops lumbers out from behind the factory and towards one of the Key Targets. The Strong Hammers do not have the range to react and attack so just watch the Jug move into position to block their shots.
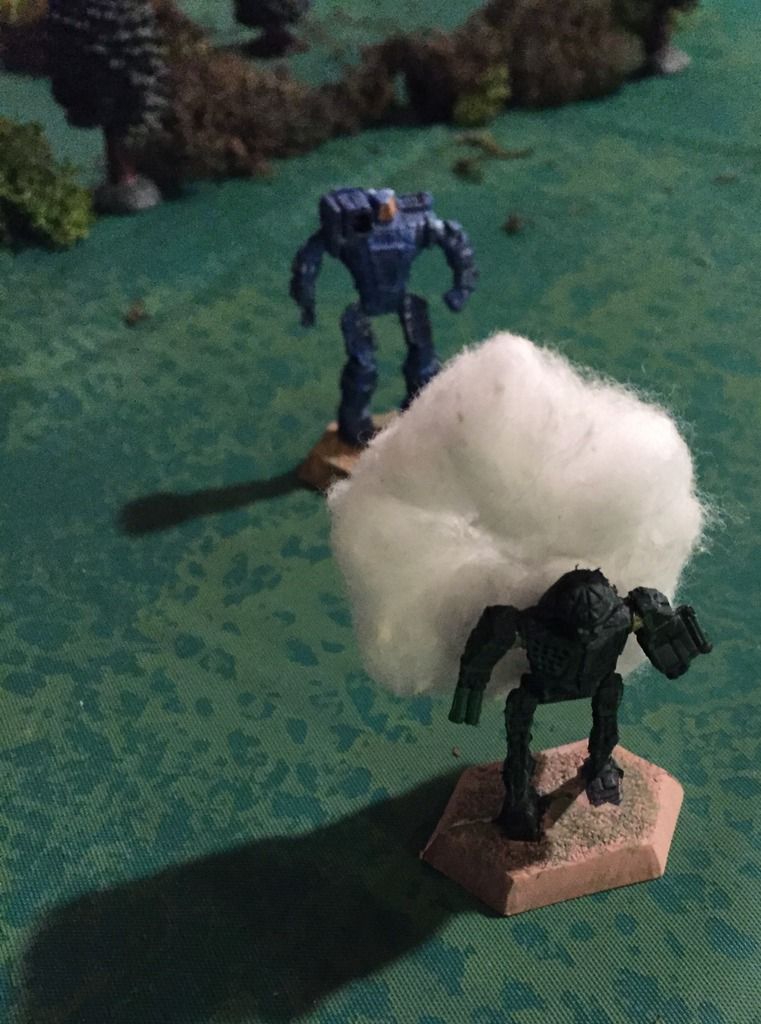
The Vindicator moves into firing position, and unloads with her right arm Gatling cannon, which ignores the ECM Burst. However, the shots ping harmlessly off the Whitworth’s armor. The Vindicator then does an ECM Burst of its own.
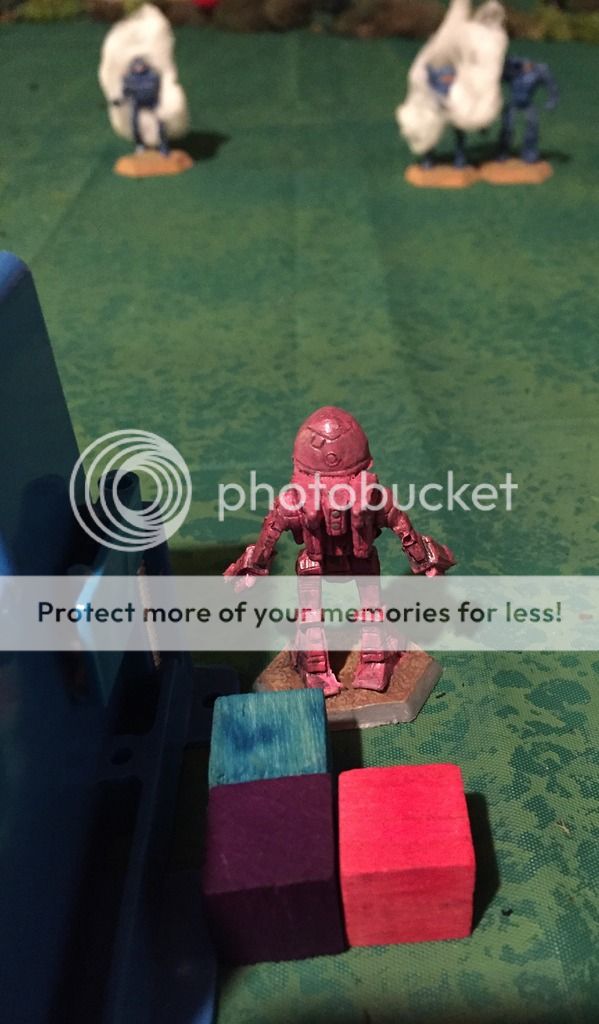
The Panther steps out and just has the range on the bold Whitworth. The Panther’s beam manages to blast a searing hole in the Whitworth’s armor and reducing it 1 Hit.
The small Picket Commando races ahead into the cover of the woods by the forest and getting there before the Dervish can reach them.
Turn 2
Thorn Watch gets to Activate first.
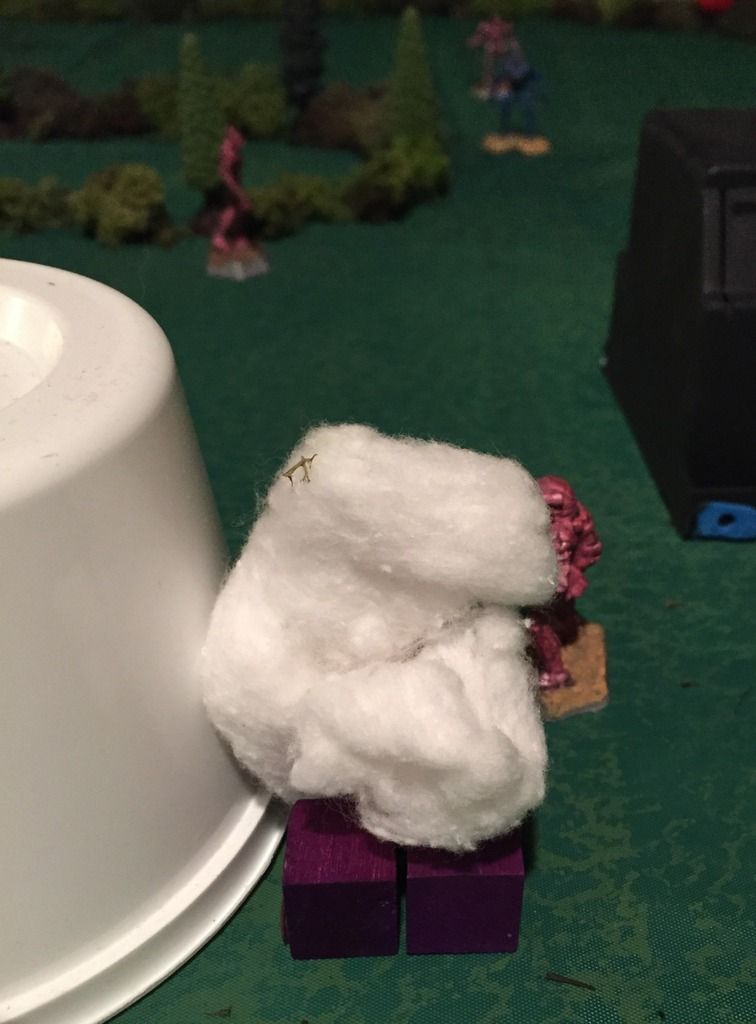
The Cyclops begins to lumber, but the Whitworth reacts to it. The Strong Hammer attempts to press forward to try to get a shot at the unprotected key targets, however, the Vindicator beats it to the punch and activates in response to the move. The Vindicator again let’s loose with a hail of plasma packets, but the Whitworth’s armor easily absorbs them. The Vindicator then does an ECM Burst moving it from Obscured to Fully Obscured.
The Whitworth finished stepping forward. As he does so, the Panther tries to react but fails. The Strong Hammer has an obscured shot at one of the Key Targets with his cannons and rockets. The barrage destroys two of the containers.
The Cyclops finally gets to finish its move and settles in right in front of the Key Targets, and blocks them from further attack. However, it fails to Brace.
The Panther moves into cover by the trees near the river. The Dervish tries to react, but fails. The Panther then Locks-on to the Whitworth with his weapon array. The Whitworth pays for its daring and aggressive move forward, and not Bracing. The Panther’s rockets and Beam slash into the JUG and reduce it 3 Hits, down to 2 and crippling it.

The Commando stays out of sight and performs and ECM Burst to go from Obscured to Fully Obscured.
The Dervish sees the other Key Targets, and aggressively moves in to attack despite what happened to the Whitworth. The Commando is the only one who can react, and does so once the Dervish finished its move forward. It moves out of the trees and behind the Dervish to eliminate return fire. Its rockets and light cannon reach out at the Dervish but its armor and shields swat away the blows.
The Dervish finishes its attack run and unloads on the Key Targets. Its missiles all fail to find the mark, and the cannon takes out one container. Disappointed, the pilot decides to Brace.
The Hunchback strides forward eager to get its powerful main gun into the action, however, the distance is still too great. The pilot fails to Brace.
This time, the Dragon passes its Run check and stomps forward eager for battle. However, it can not Brace and is taking a risk to try and get into range.
Turn 3
Strong Hammers can activate first.
With the Key Target still in sight, the Dervish tries to Lock-on to the Key Targets. He does successfully. He opens fire again. This time he is more successful as his Missiles blast away three more containers.
The crippled Whitworth stumbles forward to get closer to the target area. The Thorn Guard has to think about if they want to react to this crippled JUG or wait for one of the Heavier units. The Vindicator successfully reacts. A fusillade of firepower slams into the Whitworth, and this time its armor buckles and the JUGS systems shutdown.
The Whitworth is completely out of the fight. It then moves to cover the last Key Target from the Dervishes attacks.
The Dragon fails to perform an ECM Burst. It then moves towards the Cyclops to do battle. The Cyclops fails to react, which means the Cyclops is not braced! However, the Panther does react. He locks onto the Dragon and fires, happy he had moved forward to try and set-up this crossfire to begin with. The Rockets are knocked from the sky by the Dragon’s PD, but the Beam mercilessly reduces the Dragon by 3 Hits! It is amazing no Critical Damage is inflicted.
The Panther’s attacks must have thrown off the Dragon’s firing solutions as almost nothing finds its way to the Cyclops. The Thorn Watch heavy slaps away the rockets with PD and absorbs the cannon shells.
Now the Hunchback walks up and locks-on with his Cannon. This time, the Cyclops manages to react and immediately Braces for impact. Then, it fires its own weapons at the Dragon. It is a punishing barrage! The Dragon’s armor absorbs the cannons, but the Beam tears through it, reducing it from 7 Hits to 4 and crippling the Dragon! Plus, the Point Defense and Rockets were damaged in the attack.
The Strong Hammers are starting to have second thoughts about their strategy! The Hunchbacks cannon roared to life and managed to reduce the Cyclops by 1 despite bracing! In addition, the cannon on its right arm mount was damaged.
The Commando was the last JUG to activate, and it did so now. It scampered behind the Dervish and shot it again for no effect.
Turn 3
Thorn Guard win activation.
The Vindicator goes first to try and screen the last Key Target on that side of the board from the Dervish. However, the Dervish Reacts to the movement and fires first! He fails to lock-on and opens fire. It only takes one missile, and it hits and destroys the Key target. There are only three left, and it is behind the Cyclops. The Commando tries to React as the Dervish goes to move, but fails.
The Vindicator completes its move. With no Key Targets to protect anymore, it moves tot eh edge of the factory complex and targets the crippled Dragon. However, before it can fire, the Dragon reacts.
The Dragon fails to Brace. However, it does open fire on the Cyclops with its remaining weapons power. Nothing sticks and the Cyclops’ shields knock the shells harmlessly aside.
Now the Vindicator Locks-on and fires at the crippled Dragon. Locking-on pays off as there are 5 hits and only two are saved! The Dragon is reduced to 1 Hit left.
The Cyclops activates and immediately tries to Brace again, and does so successfully. He takes aim at the Hunchback this time and the Strong Hammer tries to react but fails. The weight of fire is noticeably lessened due to the critical damage on the Cyclops right arm and the Hunchbacks armor absorbs all the hits.

The Panther activates and moves to get an obscured shot at the Hunchback. The Hunchback reacts! He turns and moves to try and get an Obscured shot at the Key Targets. He locks-on and fires. His shooting is dead-on and the last three Key Targets are obliterated by his cannon!
In frustration, the Panther locks-on to the Dragon and destroys him with a precise Beam attack. The Commando also fires a parting shot at the Dervish, but the armor absorbs the rocket attack.
With that, the Thorn Watch radios a formal withdrawal request to the Strong Hammers. The Strong Hammers agree and terms are met per the Mercenary Accords and Guidelines.
Conclusion
The Strong Hammers pulled it off, but only with some serious losses. A Heavy and a Light Line JUG were both taken out in the Raid. However, VolSaab will be suitably impressed by their efforts to bonus them on their contract. Meanwhile, the Thorn Watch failed to protect the equipment and Lacstar Industries production on Mundos has been seriously hampered. Heads will roll at the Corporate Headquarters for the botched efforts.
Some final thoughts on the gameplay:
1.The activation and reactions can take a bit of getting used to. You need to think before you just start doing stuff as you might get interrupted.
2.Again, the action/reaction follows much easier than I expected. You simply complete the reactions, then go back to the previous units, and so forth.
3.Ammo is a consideration as both of us decided not to take low opportunity, long range/obscured shots unless it mattered. We wanted to save it for better chances.
4.Bracing is key, and Beams rule!
I might actually paint up some more JUGS for this!