Monday, May 29, 2023

Battle Report- Poseidon's Warriors: Battle off Cyprus


This is the continuing recreation of the Ionian Revolt.  The Ionian Revolt was a revolt against the Persian Empire by the Ionian Greeks and their allies prior to the Greco-Persian War.  It took place from 499 to 493 BCE.  It was a land and sea affair, so I am using a combination of Poseidon's Warriors and Men of Bronze to re-create the campaign.  Both are from the Osprey Wargaming Series.  In addition, Men of Bronze has a specific supplement for the conflict called The Ionian Revolt. 


The Ionians were assisted by the Greek cities of Athens and Eretria, who sent 20 Triremes to aid them.  Together, the Greeks managed to attack the Persian provincial capital at Sardis.  They were initially successful, and pushed the Persian Garrison into the Citadel.  However, they were unable to take the city.  Eventually, the lower city caught fire and the Greeks had to withdraw with their booty. 

In the attack, a nearby shrine to Cybele was destroyed.  This incensed the local people against the Greeks.  When the Persian Garrison emerged, the local populace flocked to their banner against the Greeks.  The Persians pursued the Greeks and caught up to them outside Ephesus.  The Greeks were brought to battle there, and defeated.

Despite the loss, the Ionian Revolt spread.  The Ionians managed to gain the support of the Carians, and many other cities in the region.  They all rose up against the Persians.  The island of Cyprus also decided to rise up.  All the cities except for one decided to rebel.  The other cities laid siege to the lone loyalist city.  However, the Persians sent aid tot he island, supported by a Phoenician fleet.  The rebels reached out to the Ionians for help.  They also responded with a fleet and an army.  

Today, we are going to be fighting the Naval engagement that occurred off the coast of Cyprus.  Supposedly, this Naval battle was fought at the same time as a land battle against the Persian army.  The Greeks won at Sea, but lost on land.  This battle took place in 497 BCE, and we only know the outcome from Herodotus.

Once we get the results of the sea battle, we will also be playing the land battle using the scenario in The Ionian Revolt supplement for Men of Bronze.   

Forces:

Persians
1 Slow Trireme unit with admiral and elite troops
4 Slow Trireme units     

Ionians
1 Fast Trireme with Admiral and 
1 Fast Trireme
3 Slow Triremes

Set-up:
This battle will take place on a 6x4 table.  The Western short edge will be the coast off of Salamis.  The Persians will be coming from the South with the Ionians coming from the North.  

The Phoenician Fleet of the Persians

Both fleets have deployed for a standard engagement, with the Ionians having their Fast Triremes on the left edge furthest out to sea.  The two sides spread out across the ocean by Squadron. 

The Ionian Greeks from the North

Mission: 
This will be a straight up battle, with both sides looking to sink the opposing fleet.  The basic scenario is found in the main rulebook. 

Instead of my normal turn-by-turn breakdown, I am going to try to break the game down into the Maneuver Phase, the Battle Phase, and the End Game section.  Something a bit different to ease the load of book keeping, and to avoid me taking too much time typing during the actual game! 

Maneuver Phase
The Ionian Fast Triremes broke to the East and rowed as fast as they could to create separation and to try to get around the flank of the Persians, while the Ionian slow Triremes tried to anchor them in place by moving forward.  


The Phoenicians started out aggressively moving forward, but then began to adopt a more defensive "bow" shaped formation as the Ionian plan evolved. 


Battle Phase
The battle gets started proper with the Persian admiral's squadron peppering the Greek 3rd Squadron with arrows.  Causing some damage.  The return fire causes the Admirals ship to lose its Archers and an oar bank!  

The Persian admiral's squadron rushes forward, but misjudges the distance and comes up short on a Ram!  This leaves them dangerously exposed.  Reduced archer fire damages one of the Greek Triremes.

The Ionian Greeks charge forward, and 1 Trireme from the 3rd Squadron smashed into and through a Phoenician vessel from the Persian Admiral's squadron, causing the  Persian ship to sink rapidly.  First blood to the Greeks!

The initial ramming of the main battle lines is relatively even with the Greeks losing 6 to the Persian 5 triremes.  However, it looks like the Fast Triremes have managed to get behind the Persian lines.  


End Game
The Fast Trireme's land heavy on the Persian flank.  They strike and sink three Phoenician ships quickly and easily.  However, it maybe too little too late as the Persian ships smash the Ionian main line into flotsam.  


With half of their ships sunk, the Greeks turn and sail away, using their superior speed to escape. 


 Conclusion
The Persians lost 12 ships to the Ionians losing 3.  However, the Greeks lost the all important Morale check at the end of the game.  Both of the fleet's admirals survived but the Persian admiral was a bit worse for wear.  An ahistorical finish! 

As the Persian commander, I just got there "the firstest with the mostest".  I thought my blundered initial attack would be the death of me, but it managed to draw in the Ionians to an attack, when they may have been better suited staying back 1 turn longer to time the flank attack better.  My blunt force approach worked out this time. 

In the last game, I had some challenges tracking individual ship damage.  However, I used my big, stand-up white board this time, and that made tracking it much easier.  Losing oar banks from shooting ended up being important in this battle.  This is a quick and easy game to set-up and play.    

During the Battle for Cyprus on land, some Cypriote units "changed sides" which led to a Persian victory.  Thanks to the victory in the sea battle, we will change the target number for desertion to make it more likely Cypriote troops will turn on their Ionian allies.  The benefit for the Persians winning this encounter at sea.  Since the land and sea battle supposedly took place at the same time, I can see some of the land forces decided to switch sides once the Ionian fleet fled.    


Become a Patron and get access to all the cool stuff, a peak behind the curtain of Blood and Spectacles, and early-access to playtest games!  


You can follow Blood and Spectacles Facebook page or Instagram for more fun! 

Check out the latest publications and contact me at our Blood and Spectacles website

Or purchase all out games at the Blood and Spectacles Publishing Wargames Vault Page!             
    

Monday, May 22, 2023

Battle Report: Darkest Knights- Breakthrough!


This will be a playtest of the most recent solo/Co-op/Versus game I have been working on tentatively called Darkest Knights.  The game is based on a group of specialist agents assembled to face off-against the growing threat of monster incursions across the globe.  The key ideas of this game is that it is completely scale and model agnostic, all games happen at night or dark places of the world, escalating tension, and players do not have a clear vision of what they will encounter until the game is being played.  That means a lot of blinds and random components as you play.

So with that preamble out of the way, this playtest features our brave monster hunters trying to get one side of the 36MU board to the other side before the Terror Rating hits 12.  I'm not sure if it can be done, so let's see how it goes? 

The Darkest Knights
Today's group of heroes features 4 models: 

Officer Dan Friendly 
Shoot                  Fight                   Brawn                Brains                Awareness
d12                      d4                        d6                        d8                        d10
Archetype: Leader                                                                  Keyword: Awareness
Starting Equipment: Battle rifle, Low-light goggles, pistol

Professor Stan Ellsing
Shoot                  Fight                   Brawn                Brains                Awareness
d6                         d8                        d4                        d12                        d10
Archetype: Magician                                                                  Keyword: Awareness
Starting Equipment: Magic Tome, Occult Hand Weapon, Pistol

Agent Red
Shoot                  Fight                   Brawn                Brains                Awareness
d10                       d8                        d4                      d12                        d6
Archetype: Face                                                        Keyword: Brains
Starting Equipment: Pistol/Suppressor

Ms. Jones
Shoot                  Fight                   Brawn                Brains                Awareness
d4                       d12                        d10                      d6                        d8
Archetype: Warrior                                                        Keyword: Fight
Starting Equipment: Hand weapon, Pistol, Light Body Armor

First three are Reaper Bones, last is Reaper Metal
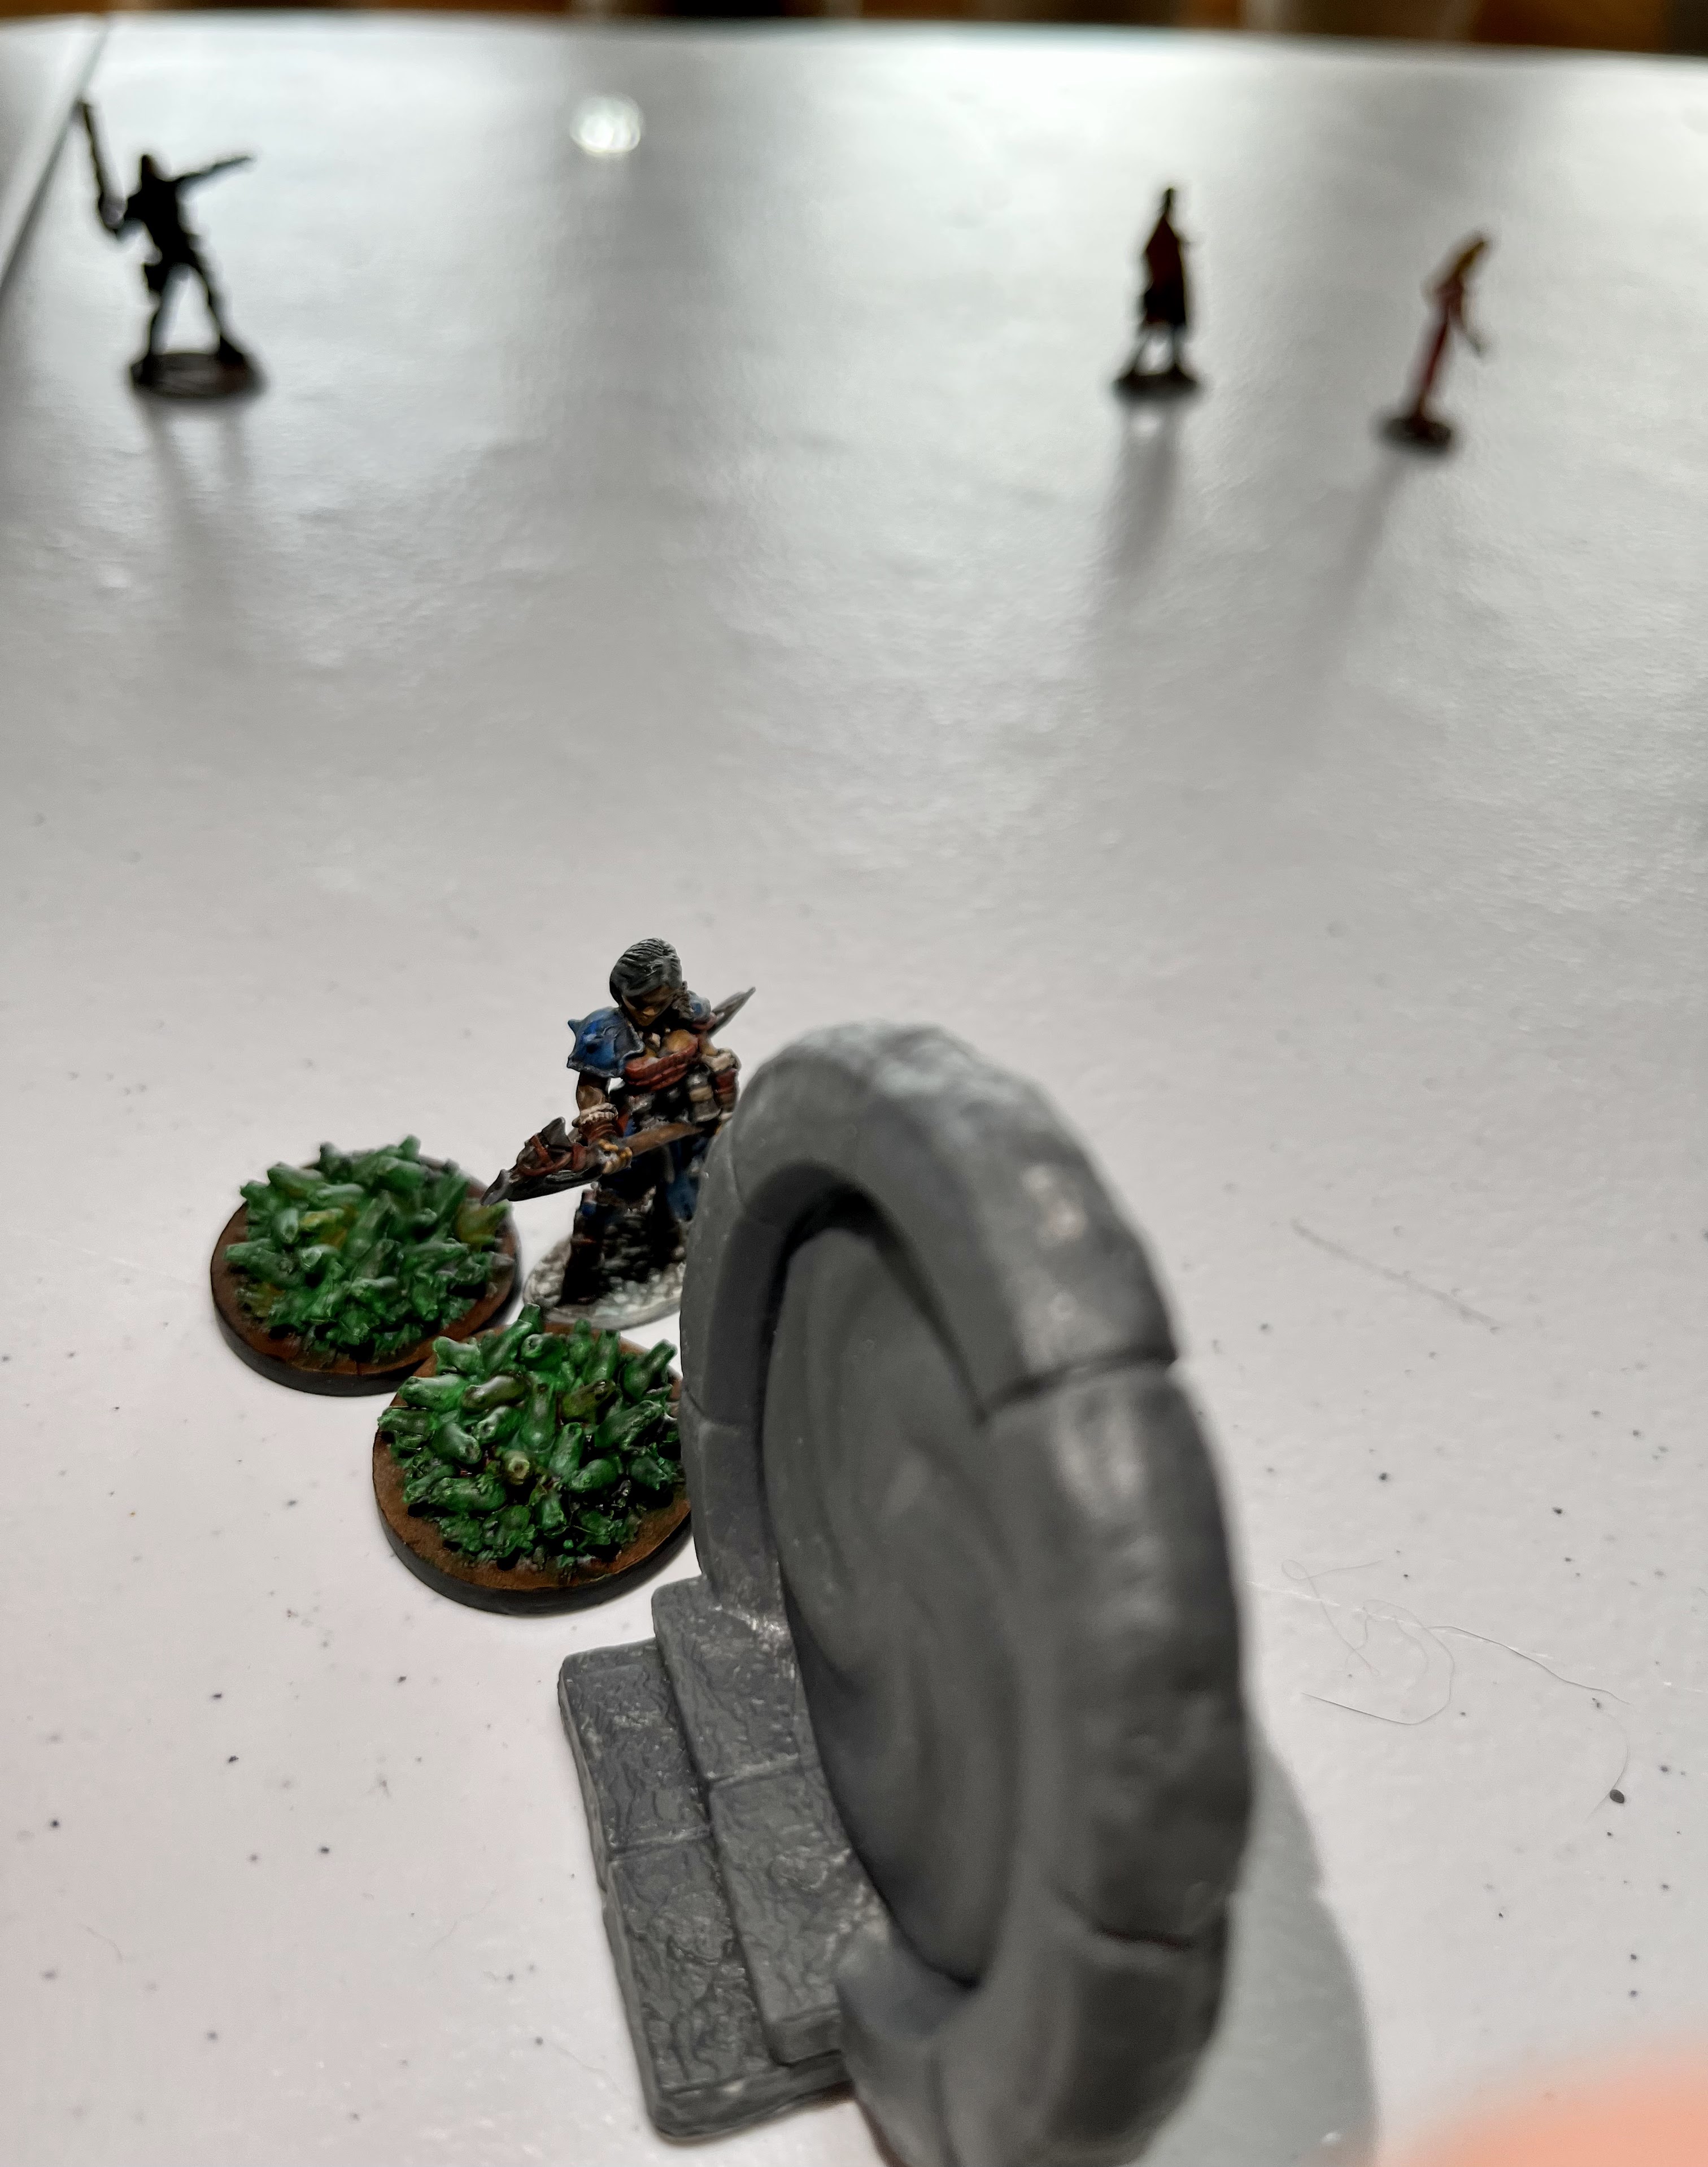

The Foes
The Foes are a series of Deep One style opponents using models from a variety of sources: 

D4- Frog Swarms- Horde
D6- Mutants- Aggressive
D8- Deep Ones - Stalkers
D10- Savage Ones- Beast, Aggressive
D12- Magus- Occult or Tentacle Beast - Beast

These are from Mantic, Hell Boy Board Game and Blood Bowl

Set-up
In this game, the board develops during play.  I am using a 36MU by 30MU table, with 1 MU = 1 inch. 

In addition, I grabbed 3 large pieces of terrain, and 6 small ones.  The large ones are a big mountain, a building, and a barn.  The smaller terrain is rocks, destroyed walls, and some other low walls. There are also 4 shadowpoints to start with. 

The Shadowpoints are gate looking models from the Hellboy board game.  Threat markers are black,  and the Terrain markers are clear.  The white markers are used to track Fear on the side board.  I wish I had brought my Cigar Box Battles mat for this game.  

It looks like there are a lot of Shadowpoints where the team needs to Exfiltrate from the board. <Gulp!>


Turn 1- 0 Terror Markers
Ms. Jones is activated first.  The first question is if I want to try to get LOS farther than her normal 6 with an activation test.  However, I decide not to risk it, and just move towards the closest threat marker to see what it is.  Not a good start as it spawns 2 Frog Swarms, and that causes 1 Terror token! 

Officer Friendly activates next, and chooses to use his Command ability to have Ms. Jones attack the Frog Swarms.  She rushes forward and attacks.  Things do not go well, and she fails to cause any damage to the hordes of frogs with her axe.  That was her Primary ability, so another Terror token is added, bringing us to 2. 

Agent Red rushes forward her full move to the center of the board.  She is followed by the Professor.  

The Monsters go next, as the Knights did not fail any activation checks. The Frog Swarms successfully lock Ms. Jones into combat, so she can not disengage, but fail to cause any injury.  However, Ms. Jones is not rolling well as she is now suppressed. 


The remaining Threat Markers move around the board.  No new Threats are spawned..... this time. 

Turn 2- 2 Terror Tokens
The Players can activate first.  Professor Ellsing tries to activate special so he can get a further view forward in the dark.  However, he fails and is paralyzed by fear.  The Terror tokens go up 1 level.  

This also allows the Monsters to take over.  This time, the Frog Swarms attacking Ms. Jones manage to score a hit, and I must choose an attribute to reduce by 1.  I choose her Brawn to go to d8.  However, now she can try to disengage in her turn and is no longer locked.  

Instead, Ms. Jones chooses to attack again, but another terrible roll leaves her in a bad place.  Terror goes up another level due to the flub!  It was in her primary attribute!  

Officer Friendly moves forward and goes "Eyes On" with his low-light goggles.  However, no markers are in range.  Agent Red rushes forward.  

Despite now having 4 Terror Tokens, no new Threats are spawned.  The remaining markers move about the board randomly but none enough to reveal any markers.  


Turn 3 - 4 Terror Tokens
Officer Friendly moves forward, and his "Eyes On" status reveals 4 Mutants coming in.  That adds another 1 Terror token, up to 5.  After the reveal, Agent Red moves forward to the closest Shadowpoint, and prepares to seal it with the arcane rituals she was taught before the mission started. 


This time Ms. Jones manages to pull herself together and manages to smash several of the frogs and scatter 1 of the swarms!  Yippee.  Finally, Professor Ellsing casts a Teleport spell and successfully moves up next to the Shadowpoint with Agent Red. 

The Shadowpoint near Agent Red and Professor Ellsing ripples and swirls, putting the two nearby on edge.  However, it is a false alarm and no new enemies come through.  However, the Terror level is now 6.  

The Mutants move forward aggressively, with half heading towards Officer Friendly, and the other half going towards Agent Red.  One of the Threat Markers reveals 2 Deep One stalkers which adds 1 more Terror Token.     

Turn 4- 6 Terror Tokens
Agent Red tries to seal off the Shadowpoint in front of her, but she fails using her primary keyword.  That raises the Terror Tokens to 7.  Officer Friendly opens fire on the mutants with his battle rifle. With burst fire, he easily takes out one of the mutants.  However, he is now considered "lit up" and easily seen. 

Ms. Jones finishes off the last Frog Swarm she is facing.  She prepares to seal the Shadowpoint before her with the arcane words she was taught prior to the mission, but they are hard to remember.  Professor Ellsing uses a Fireblast spell and toasts one of the Deep One Stalkers, with the other skittering out of sight. 


The Mutants race forwards, with two attacking Officer Friendly.  He takes two wounds and his Awareness and Shooting both go down 1 level to D10 and D6 accordingly.  The last one attacks Agent Red, but fails to hit her and causes her to be suppressed. 

Two more threat markers are spawned.  The one near Ms. Jones spews out and reveals 2 Stalkers and 1 Savage One.  The other spawns near the second Shadowpoint.  


Turn 5- 9 Terror Tokens out of 12! 
Officer Friendly tries to break-off, but the mutants thwart his efforts.  Agent Red fails to fight off the Mutant attacking her.  Professor Ellsing fails to cast a Hold spell on the mutant, raising the Terror Tokens to 10!  Ms. Jones sprints away from the enemies by Shadowpoint 1. 

Officer Friendly fends off the two mutants attacking him.  Agent Red is hit by the mutant and has her Brains reduced by 1 to d8.  

A Deep One Stalker manages to jump the sprinting Ms. Jones and attacks. However, it fails to hit her.  The Shadowpoint 4 spawns two new Savage Ones right on top of Professor Ellsing and Agent Red.  Another threat appears near Shadowpoint 3.  


Turn 6 - Terror Token 10 out of 12! 
Well, we better get moving as a unit!   

Professor Ellsing casts teleport and moves 7 MU away from the Shadowpoint.  He ends up right next to a wall.  This also spawns an Occult Leader!  Ms. Jones tries to break past the Stalker attacking her, but fails and is pinned in combat.  Officer Friendly also failed to break way and got pinned fighting with the mutants.  Agent Red killed the Mutant fighting her, but is about to be swamped by Savage Ones! 


The two Savage Ones easily team up on Agent Red and make her Unconscious and Possibly Dead.  The Mutants on Officer Friendly hit him and reduce his Brawn by 1.  Professor Ellsing is hit by a Firebolt from the Cult leader and is reduced by 5 stats, which brings him down across the board 1 level, and Awareness 2.  The Stalker also reduces Ms. Jones another level in Brawn. 


A new Threat appeared outside of Shadowpoint 4, near where Agent Red went down.  

Turn 7- 11 out of 12 Terror Tokens! 
A battered and bruised Professor Ellsing casts teleport again and gets to the edge of the board, but will need one more move to get off completely! Ms. Jones manages to pushback the Deep One Stalker and turn to face the oncoming threats.  Things look pretty bad.  Officer Friendly manages to kill one of the Mutants fighting with him up-close.  


The Savage One attacks, while the Stalkers scatter into the shadows to try and get around Ms. Jones' flanks.  It manages to cause 1 wound on the warrior, thanks to her armor she is still up and fighting.  The mutant on Officer Friendly fails to hit him.  

The monsters move around, and one of the threats turns out to be the Tentacle beast, near Ms. Jones. Two more threats are generated by Shadowpoint 2, and that puts us over 12 Terror Tokens.  There is one last disengagement turn. 

Turn 8- Disengagement Turn
Professor Ellsing manages to walk off the opposite board edge, clutching at his wounds.  Ms. Jones manages to pushback the Savage One attacking her.  However, it is only a small reprieve.  Officer Friendly is not so lucky, and the mutant stays on him.  

Ms. Jones is charged by a Savage One, a Stalker, and the Tentacled Beast and quickly dispatched to Unconscious and Possibly Dead. The Stalker and Mutant on Officer Friendly fail to injure him. 

Not a good result for our heroes! 

Conclusion
With that, Dawn breaks and the monsters flee back into the Shadowpoints while the portals themselves shimmer and dissipate.  A new day shines as Professor Ellsing stumbles to his destination beyond the monstrous guardians. It was a minor victory, as two of his companions have fallen.  

Now, let's talk about how the game played, then I will talk about what I did wrong as a player.  First off, the game really needs a battle mat, or the board just looks bare.  The idea that terrain spawns as you approach it seems fun and interesting, but in practice it takes away from the spectacle of the game a lot.  This may be a compromise I am not willing to make.  

This game will absolutely need a QRS to play.  The different rolls for running the randomization can be hard to recall.  However, there is a clear "escalation of threat" as the monsters appear more frequently and are harder to kill as you move on.  I also failed a surprising number of 4+ rolls on d12s and 10s this game which caused me to rack up Terror Tokens fast in the early going.  It will also help to have Character Stat cards handy when you play, as damage is attritional and can be hard to track without a small character sheet.  This makes the game feel much more RPG-lite as each Knight is a very unique character with their own skills and abilities.  

The game is intended to be a solo/co-op game and the mechanics are built around this premise.  There are a few Hooks including escalating terror and constant darkness where managing LOS is critical.  For a Solo game like this to work the key factors are, does it force me to make decisions, did it surprise me, and was I playing the game more than operating the game?  

1. Did it force me to make decisions? 
Yes.  There were a few decisions that derailed my efforts to accomplish the mission as I had to decide between movement, shooting, or fighting.  In the end, I got bogged down by the monsters and closing Shadowpoints instead of getting to the opposite board edge.  These decisions were made complicated by a combination of action options, limited number of actions to take, balancing mission vs. approaching threats, and time as the Terror Tokens stacked up.  This part of the game was successful. 

2. Did it surprise me? 
Maybe?  I am not sure it counts as surprise when monsters spawn out of the Shadowpoint you are standing on!  However, when I did generate monsters, it was normally a lot of them!  I am not sure that is typical, as there were a few times where a threat ended up being nothing, instead of monsters.  The monsters also ended up being much tougher than I expected.  However, the LOS/Darkness aspects hampered me less than I expected, and the terrain generation never really came into play.  However, the escalating Terror really forced me to change how I was operating as it stacked up really fast and things got more and more dangerous quicker than I expected!  

3.  Did I spend too much time operating the game?
This was the biggest pain point and failure of the game in my mind.  I spent too much time generating the board, generating and moving threats, and then operating the threats that had become monsters.  I spent more time doing that than running the Knights that were my characters!  There was also a lot of dice rolling for little or no result such as moving Threat markers around than were not factors in the game, or making failed monster attacks.  I am not sure how I am going to streamline this aspect of the game yet as these elements are also a key part of the experience right now.  I am open to suggestions in the comments. 

Final Thoughts
Close, but not ready for post-production yet.  The central darkness conceit needs work.  Perhaps allowing players to place d3 light sources in the set-up phase?  Maybe remove the random terrain generation? Change how Threat Markers operate on the board?  Still a lot of things to think about.  

However, there were also things that worked!  Each Knight felt like a unique character with their own special powers and abilities.  The escalating Terror worked as well, and the increasing monster difficulty was good.  The core mechanics for fighting and shooting worked well too, and gave the Knights some resiliency, but they were not unstoppable. 

In addition to working out some of the chrome, I still need to add some campaign play elements and finalize the missions.  Missions are particularly important in a game like this.  Otherwise, it loses a lot of replayability.  Plus, missions are what adds that extra level of tension and decision making.  

Overall, the game continues to progress but still needs some more TLC before it is ready for prime time. Probably another 2 years work at the rate I am going!  


Become a Patron and get access to all the cool stuff, a peak behind the curtain of Blood and Spectacles, and early-access to playtest games!  


You can follow Blood and Spectacles Facebook page or Instagram for more fun! 

Check out the latest publications and contact me at our Blood and Spectacles website

Or purchase all out games at the Blood and Spectacles Publishing Wargames Vault Page!   

Monday, May 15, 2023

Wargame Design: The Importance of Scale


Scale is something that wargamers talk about a lot.  You hear the terms 28mm, True 28mm, Heroic 28mm, 1.72nd etc. talked about a lot.  In this sense, they are referring to the size of the models to be used in miniature wargaming.  Normally, it is used to make sure that models, terrain, and board size are all in alignment.  

Those who have been following my design ethos since the beginning know that almost all of my games are scale and model agnostic, as long as they look good together you should be able to use it.  Therefore, when I talk about scale I am not interested in measurement conventions.  Therefore, why do I have a blog post title "The Importance of Scale"?  That seems like a topic I would be completely uninterested in?  

In this case, I am using a different definition of scale.  It does not relate to the measurements on the table top.  Instead, I am using it to refer to the size of a conflict that a game designer wants to represent in their game.  I tend to break games down into the following categories when I talk about scale: 

Model vs Model 
In this game, the key interactions occur between individual models.  These might be individual ships, mecha, or people.  The individual abilities and skills of each model matters, and decisions are made on a model-by-model basis.     

Example: Warcry, Blood Bowl, Frostgrave, The Games: Blood and Spectacles, Under the Martian Yoke, Castles in the Sky 

Castles in the Sky

Unit vs Unit
In this game, the main choices are how units interact with each other.  This could be squadrons of aircraft, squadrons of ships, platoons of soldiers, or small gangs.  The fate of individual models is less important than how units work together and against each other.  Many people often refer to this as "skirmish" gaming.    

Examples: Oathmark, Lion Rampant, Restless Stars, Wars of the Republic

Restless Stars

Big Battle
This is where the focus is on commanding a large body of troops against another large body of troops.  Individual units matter less than how the unit works with its fellow units to achieve goals against the enemy.  This could be platoons/Regiments/Divisions of soldiers, Task forces of ships, or a clash between air forces.  These typically focus on one decisive battle of a larger campaign.     

Examples: Blucher, Longstreet, O Group, Restless Galaxies, Risk 

Blucher

Grand Strategy
In these games, empires and countries face off against each other.  Typically, these are board games and the like rather than miniature wargames.  The operational units are entire armies and fleets.  Production and resource management are often additional key components of the game play and victory.  

Examples: Civilization, Twilight Imperium, Axis and Allies

Twilight Imperium

Why Scale Matters
Perhaps somewhat obviously, the issues a commander must worry about are very different depending on the scale of the game.  This naturally changes the focus of the game and where the player's interactions with the mechanics will occur.  The player in a Grand Strategy game may need to be concerned about how much ore a mine can produce in a month, while players in a Model vs. Model game are concerned about which direction a fighter is facing.  Having the commander in a Grand Strategy game worry about what direction a unit is facing would make little sense in the context of the games scale.  Such decisions are for local commanders and the chain of command to handle.    

It is important for a designer to know where the scale of their game is supposed to be.  This will help them make key decisions about mechanics and the level of interaction players should have.  By having the "scale" clearly outlined and defined in their design goals they can avoid edge cases, If This/Then That, or other irrelevant minutia in their game design.  They can also more accurately identify the size of the game, the number of units involved, and the friction the game will put on the players.  

6mm forces on 60 x 60mm bases


Knowledge of the game's scale also helps a designer make key decisions about where to abstract a game.  For a model vs model scale game, very in depth melee choices maybe appropriate, where army vs army scale games may only need to know that a close range engagement between forces is occurring.  The higher the scale, the higher tolerance for abstraction occurs.  Even though a Grand Strategy game maybe interested in the production of ore from a mine to create resources, it is not interested in the mining techniques used to acquire said ore in the first place.  Therefore, the outcome is more important than the process.  A simple die roll or card flip maybe sufficient to determine the outcome.       

Therefore, the scale of the miniatures to be used in a game is less important than the scale of conflict the game will represent.  It is the scale of conflict that will drive the level of decision making and potentially the nature of that decision making.  The level or scale of decision making then naturally leads a designer into areas to abstract and even how the abstraction can occur. 

What scale game is Heirs to Empire?  Unit vs Unit skirmish

Final Thoughts
Many designers will have a preference for the scale of game they prefer, just as many players will also have such a preference.  There exist certain genre conventions that go along with each scale that will lead to player expectations around the level of decision making and abstraction the game will use.  When there is a mismatch between the scale of the design and the scale of player, it can lead to a negative experience.  Therefore, it is important for the Designer to know the scale of the game they are creating so that they can properly frame up the game at the right level of decision making and have properly aligned mechanics.  


Become a Patron and get access to all the cool stuff, a peak behind the curtain of Blood and Spectacles, and early-access to playtest games!  


You can follow Blood and Spectacles Facebook page or Instagram for more fun! 

Check out the latest publications and contact me at our Blood and Spectacles website

Or purchase all out games at the Blood and Spectacles Publishing Wargames Vault Page!        


Monday, May 8, 2023

Kill Team: Games Workshop- Kill Team Photo Dump


My local gaming group has been very interested in playing Games Workshop's Kill Team game system.  Therefore, that is probably my most played game of 2023.  Personally, I tried to get off the GW band wagon around the end of 5th edition or so.  However, I had played the game since Rogue Trader days.  I have a reasonable number of Orks, Eldar, Space Marine, and even Imperial Guard armies.  Therefore, playing games of Kill Team is a rather low effort affair for me.  Other people have the rules and I have all the models I need.  Plus, the others tend to have more than 1 team, so I can try out their cast-offs too.  

I don't normally write-up my reports for the Kill Team games I play as those days at with the gaming group can be kind of tough to write much of anything down.  However, I do try to grab a few photos now and then.  Therefore, this thread is dedicated to my Kill Team photos, interspersed with some thoughts on the game.  

My first 40K miniatures and Rogue Trader Eldar vs. my most recent Corsair Kill Team Eldar

 I ended up going out and buying a Corsair Kill Team because I was under the impression from Blood Bowl that the set may have the rules for the team in it.  Wrong, wrong, wrong.  It is funny to me that if you buy a Blood Bowl team it has the basic rules to play the game in the box, but Kill Team doesn't.  That made me a bit made, so I have not bought a Kill Team box since.  Plus, I am not convinced yet that I want to pay $5-$7 per plastic mini yet for future boxes.  This was one of the reasons I moved away from GW games. 

Ork Sneaky Gitz try to get into position while Da' Boss holds the objective

The game itself is refreshing in the sense that Games Workshop is really trying to modernize the core rules of their games and bring it inline with modern trends.  There is no more clunky BS and WS charts as an example.  Hand-to-Hand is a bit more interesting with the parry, crit, and dice comparison rules.  These are just two examples.  It really does much more modern than I was expecting.  

However, there are a few trends I am not a fan of.  The first is the "bespoke" movement tools and converting all movement and ranges into a symbol.  Next, is the crazy amount of tokens used in the game.  Another gripe is the use of "Hit Points" which I can not stand in wargames.  

Whether I like or dislike a change their is no doubt that the game is designed to appeal to a more modern wargame audience.  Their is an obvious effort in this game to make the game balanced, even if the end result makes it feel a bit gamey.  

RT and 2nd Edition Eldar hit the table

At this stage, the rules still hold together fairly well.  However, I typically only use the Compendium teams which are stripped down versions.  The special Kill Teams are loaded down with all sorts of special rules and exceptions.  Typical GW, but it is what the market wants.  

If you think about Narrative, Gamist, Simulationist spectrum, this game falls squarely on the "gamist" side of things.  The basic Kill Team had no campaign rules so their is no reason NOT to fight to the last man.  I have won a few games with all of my guys dead, but I won on Objectives.  That is clearly a Gamist take on things. 

Ork Boyz move on the objectives

There is no doubt that the new terrain and models are top notch in looks, quality, and visual appeal.  Of course, the inevitable scale creep has happened, and that is just a sign of the times.  With the increase in quality though is an increase in cost as well.  

Stickin' in da boot! 

I have no issue playing Kill Team with my local group.  To me, the game still takes just a tad too long, but that is mostly us jabbering instead of playing!  The rules core rules are pretty straight forward, and the Command Points to trigger special rules for each "turning point" or action is fun.  The Objectives are balanced, even if sometimes they don't make sense narratively, they make sense for a close game.  Plus, there are more than enough factions and Kill Teams to keep it interesting.  You never are exactly sure who can do what across the board from you! 

One of the few times my Corsairs hit the board, and I was not even playing them! 

Overall, I am satisfied with my games of Kill Team.  I am especially satisfied as I am not the one buying and providing the rules.  I am happy to let others take the lead on this one.  If I also had to keep up with the rules updates and faction updates, I would probably be less inclined to play.  It seems like a new boxed set with new rules is coming out every 6 months, and that is a pace I can not keep up with! I couldn't even get the new models painted and ready to play fast enough!  However, since I have a ton of models and not buying the rules I am happy to play what the other folks want to play. 


As an added benefit, we have attracted more new players to our little corner of the gaming world thanks to Kill Team.  We have grown more playing Kill Team than we did playing Castles in the Sky, Historicals, and other games.  It helps that we have been much more consistent in our game nights too.  That growing player base is enough of a reason to keep pulling the game out and putting in on the table.  

Sure, I am agitating to play some Force-on-Force in 15mm, more 28mm Ancients, and we are playing games of Castles in the Sky pretty regularly.  However, nothing seems to be able to attract eyeballs and players than Kill Team.  That right there is reason enough to keep playing.  


Become a Patron and get access to all the cool stuff, a peak behind the curtain of Blood and Spectacles, and early-access to playtest games!  


You can follow Blood and Spectacles Facebook page or Instagram for more fun! 

Check out the latest publications and contact me at our Blood and Spectacles website

Or purchase all out games at the Blood and Spectacles Publishing Wargames Vault Page!