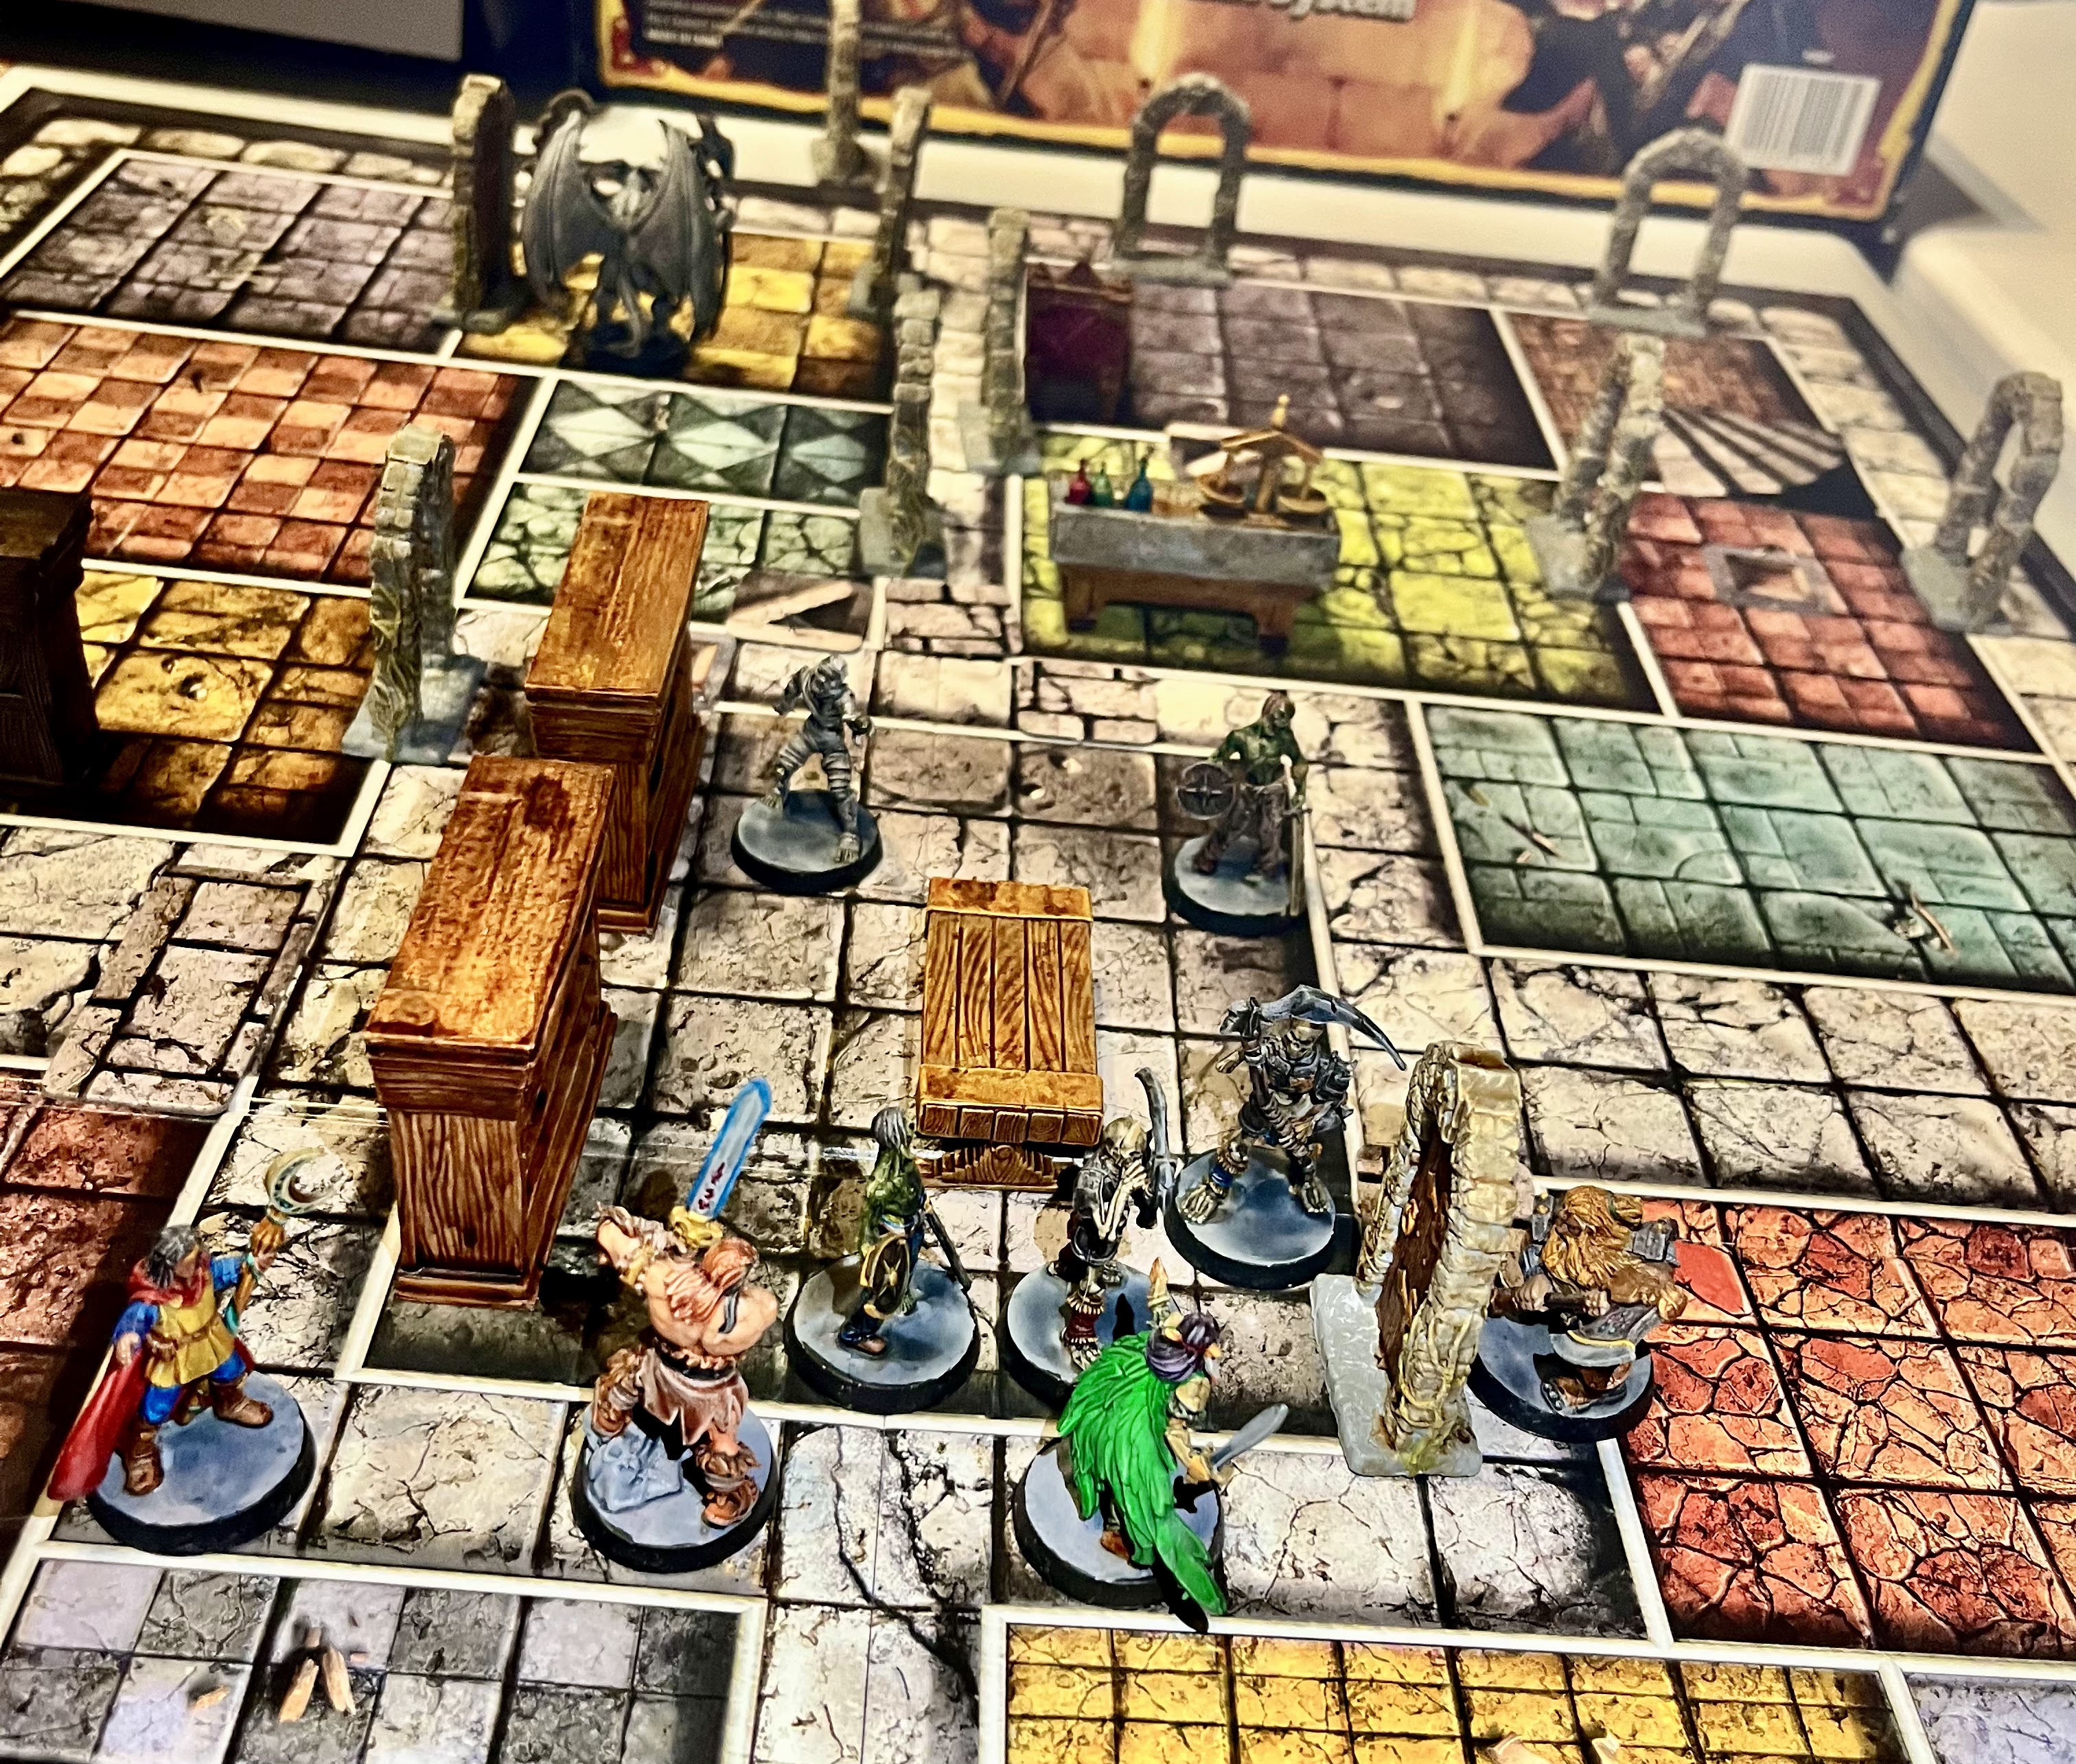
After getting those Anglo-Saxons painted, I was eager to get them out on the table! Therefore, I managed to organize a quick battle versus my Viking.
Earl Eirkir received news of a Viking warband moving towards his territory after landing on the coast. He quickly summoned his Fyrd and Thegns together to face off this threat! He had heard that these marauders had come across the see from Hibernia and he intended on sending them back the way they had come!
Erik Greybeard and his men had left Hibernia after a disappointing raiding season. In fact, many of his men left and went back to their homelands. However, those that remained were battle hardened. They also had stout shields, chain mail, and many were equipped with the feared Dane Axe!
Forces:
We are actually using the sample forces right out of the Fury of the Northman main rulebook. That gives an elite, compact Viking warband versus a numerically superior Anglo-saxon force.
Anglo-Saxons

Vikings

Mission:
This is going to be a straight-up Raven Feast, which is a standard battle. No special objectives. but we do have a Bad Water complication. Let's see if we remember it on the day of the battle.
Set-up:
Again, we used the rules right from the book in order to set-up the table. This gave us a large single- and double-layer hill on the Viking side of the board to book end their forces. That naturally made a pass that the Vikings would need to march through to get to Earl Eirkir's lands. The other side was mostly open, with a forest on the Anglo-Saxon left.
 |
| View from the Viking Deployment zone, through the pass |
As usual, I will not be detailing the game turn-by-turn. Instead, I will have a high-level overview and break it down into three phases, the Maneuver phase, the Battle Phase, and the End Phase. I find it is much easier to focus on the fun of the game and still get the general idea across to the reader this way.
Maneuver Phase:
There is no fancy maneuvers as the two sides close.
The Anglo-saxons use their superior numbers to maintain the initiative. The left flank of skirmishers and archers forms a missile line curving towards the hills. It is anchored by the Earl in the middle in shieldwall, and two Fryd units also in Shieldwall. The last Fyrd unit stays in open formation on the far right edge, ready to try to flank.
 |
| Anglo-Saxon left flank |
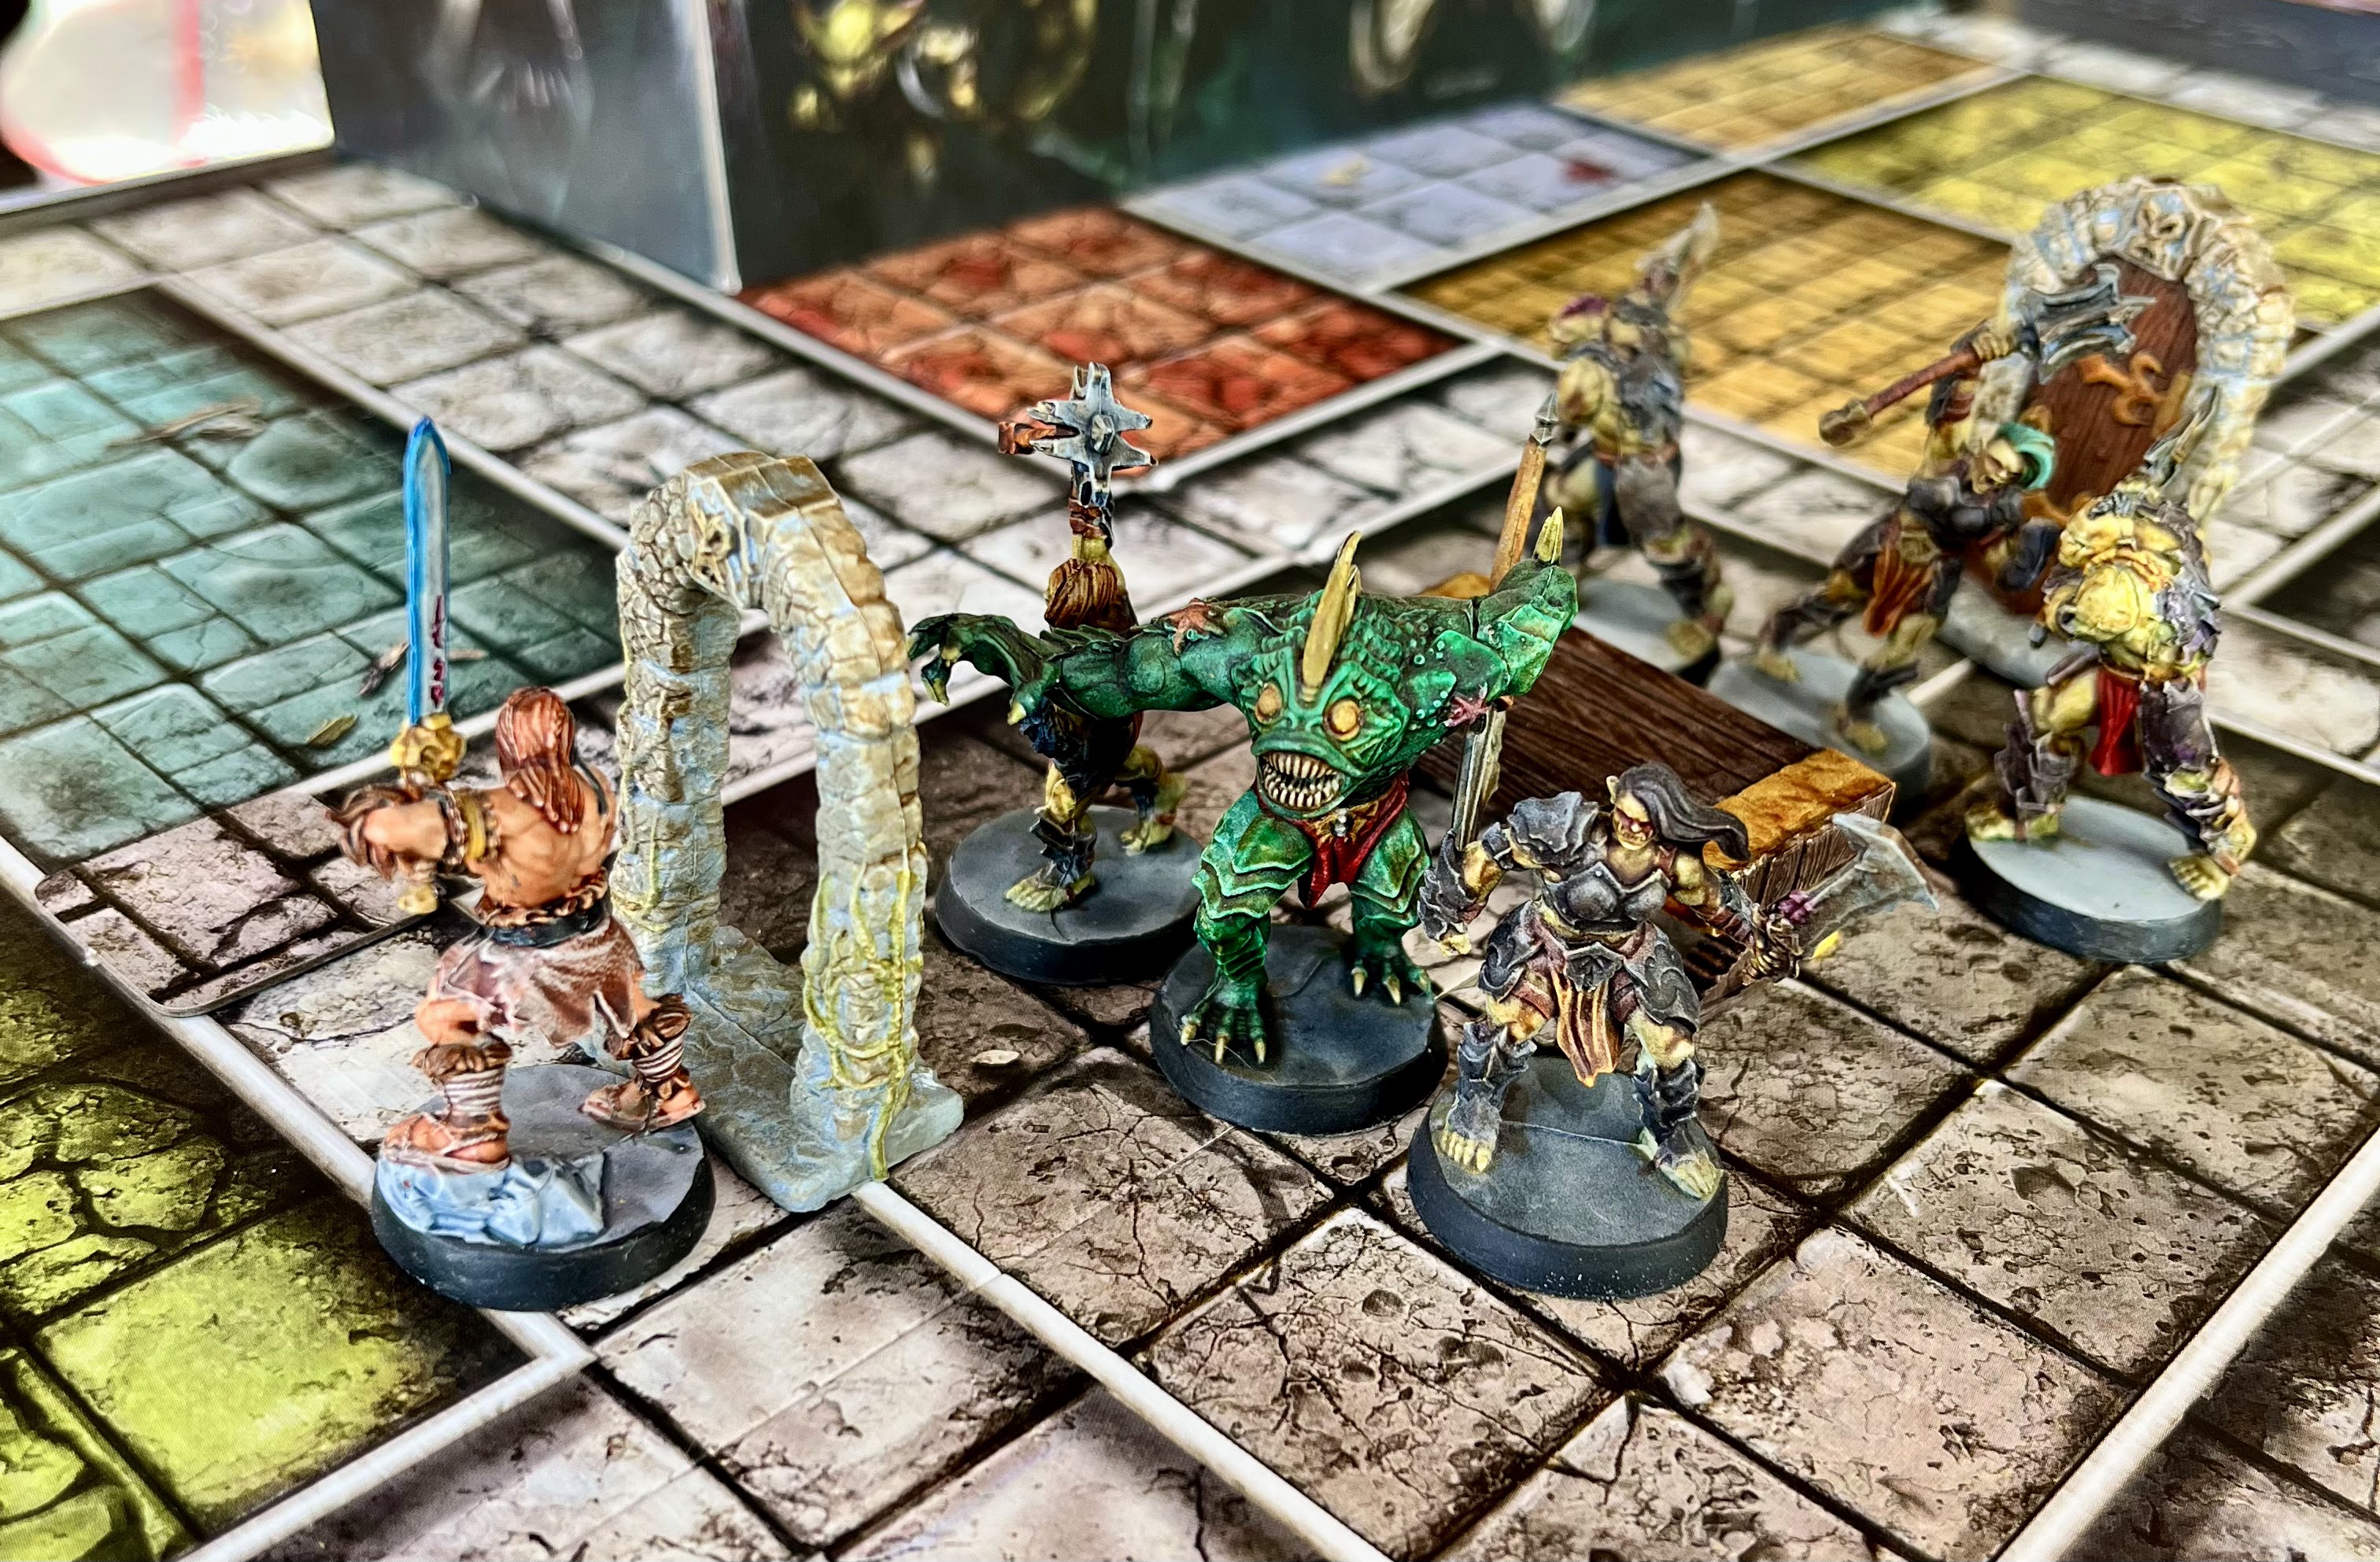
The Vikings block up the pass. Their right flank is their Nobles in shieldwall. They anchor the warriors in Shieldwall. The last element blocking the pass is the Boar's Head formation. The Viking skirmishers are trying to sneak through the forest on the far side of the left flank hill.
 |
| Anglo-saxons on the left, and Vikings on the right side of the image |
Battle Phase:
The battle proper starts with a hail of arrows clattering loudly off the Viking's Nobles' shields. Seeing this, the warriors in the Boar's Head seize the initiative from the Anglo-saxons and charge forward with a roar! They connect with a Fryd unit, that is reinforced by their nearby allies. There is a ferocious clash, where the Fyrd manages to stand and even repel the Boar's Head, but begins to waiver in the process.
The Viking command breaks formation and charges the Archers, who are supported by a unit of skirmishers. They trade blows but are less than successful at routing their lightly armed foes!
In return, the Anglo-saxon Earl manages to lead a classic shieldwall attack into the Viking warriors, who are also in a shieldwall. With much pushing, shoving and stabbing the Vikings fall back a few steps.
Fyrd units by the woods engage the lurking Viking skirmishers in a close quarter fight at the edge of the woods. It is tough terrain to fight in.

In the center, despite being outnumbered two-to-one, the Boar's Head and Dane Axe armed Vikings manage to smash through the wavering Fyrd. The farmers turn and flee, with the savage Vikings in hot pursuit!
 |
| Anglo-saxon Fyrd breaks and runs from the Viking Boar's Head |
The Earl continues to wear down the Viking warriors, but it is too little too late as the Viking Nobles smash the archers and skirmishers supporting them apart on their right flank. The Anglo-saxons flee, with the Nobles in hot pursuit. The Earl lost half of his army that round.
The Viking Nobles cease their pursuit at the urging of their Jarl and begin battling up the hillside. They are harried by Anglo-saxon skirmishers the whole way. However, they give better than they get and cause the Anglo-saxons to tremble in fear.

End Phase
The Viking Nobles manage to smash the Anglo-saxon skirmishers off the hill, but in the process, tragedy strikes! Erik Greybeard is killed in the fighting for the hilltop! An Anglo-saxon javelin through the eye as he bellowed commands!
The fighting between the Viking skirmishers in the woods and the Fyrd unit is indecisive.
Earl Eirkir manages to keep up the attack on the Viking warriors, but when they are attacked in the rear by Vikings with Dane Axes, it is all over. His unit wavers and then flees for its life! With that, the Anglo-saxon army breaks!

Final Thoughts
No need to even count up the points. My Anglo-saxon army was completely routed, despite some promising points early on. The Viking units were all battered but none were broken. I have a small morale victory by killing the Viking warlord in battle, and that is about it!
When the enemy army is injured across the board, but no one is broken that tells me I did a poor job of target prioritization and focusing my units on a single killing blow. Instead, they got scattered and their hitting power diluted. They managed to absorb the Viking assault but lost during the subsequent melees.
Three mistakes I should have done differently. First, I should have ignored the Viking skirmishers in the woods and used that extra Fyrd unit against the Boar's Head unit to break it early. It survived the initial attack and was able to turn the tide in the melee. Second, I should have let the archers go with no support and used the skirmishing units as flank charges the following turn. Instead, the support did nothing and the second could not get in position fast enough to matter. Third I used my re-roll advantage from Ferocity Points poorly, and I should have used them to finish enemy units off.
Oh well. I learned a lot. There was a reason the Vikings were such a fearsome foe.
Until next time.