

What a whirlwind year! So much has happened and so much time has all ready passed. It feels like only yesterday I was writing my goals for 2026 and now the year is half over! Time flies by, but each day feels like it takes forever, but the weeks and month are flying by! I am sure you can all relate.
I don't have much of a preamble for this year..... just..... wow. End of July all ready. Wow.
For many of you, this is not your first rodeo here on the Blood and Spectacles Blog. You know how these Mid-Year Goals posts work. I basically take stock of what I started out wanting to get done, and then see where I am at. Since initially writing my goals, there have been some big developments that have thrown my goals off-track:
1. Sold my homestead with the awesome gaming space and am now Mobile
2. Osprey Games picked up another title from me called Barbarians at the Gates for Late Roman wargaming.
3. Doing some career development stuff for work that is taking a lot of time
When I initially wrote my goals, these changes were not baked into the plan. So, let's take a look at my goal categories and see how I am doing. Some of these probably need to be re-assessed in light of my current situation. Just a reminder, these are the Goal categories I use:
- Purchases
- Painting and Modelling
- Gaming
- Rules Writing
- Other Stuff
Purchases:
As usual I would like to remind you that none of this would be possible without the generous financial support of readers, players, painters, and wargamers like you!
Every time you purchase one of my books from Osprey Games, buy from my Wargame Vault, download a game from my Drive-Thru RPG page, and/or follow me on Patreon you are helping to fund the continued existence of Blood and Spectacles Publishing. The money I earn from these areas goes right back into the business of wargaming! That means content for the blog, content on Social Media, and new products from Blood and Spectacles Publishing!
Thank you! I could not keep publishing and making games if it was not for your generous help and support!

It can be hard to decide how to invest these funds into content for the blog, therefore I am open to feedback. Please leave a comment here, on my socials, email, or connect via my Patreon for what you would like to see! Going into the year, I had the following items outlined as potential investments for Blog content:
- Stay Caught up on the Osprey Wargaming Series- Succes so far, with a review up for Hide, Stone, and Bone.
- Three Fantasy Ice Hockey Teams for Phuck! - Nope, no progress yet
- Wizards of Morcar for Heroquest- It was a bit hairy, but I got it and posted up a review
- Cowboy Miniatures, terrain, and rules - Nope, and unlikely to happen now with my new circumstances. I do not want to store them for the moment.
- Some "Cold War Gone Hot" in 15mm- Nope, and unlikely to happen for the same reason the Cowboys are not going to make the cut. In my old place, I had folks I could use these with. Now I am less sure.
- One or more Wargame Sets- I picked up Heroscape: Rumble at the Rift, Pillage from Victrix, and Perry Miniature's Travel Battle. Review for Pillage soon.
- Some New RPG System- I got Inspirisles from Hatchling Games and Scum and Villainy from Forged in the Dark. Reviews up for them too. I also still have Faith and Glory, Ashes Without Number, and Fate to review as well.
- Start a Carthaginian, Late Roman, New World, or Theban force- I got the Miniatures for two Late Roman forces (Victrix Romans and Gripping Beast Vandals/barbarians) and the Thebans as a palette cleanser.
- Desert Battle Mat - Not yet, but this one IS still on my list for the second half of the year.
 |
| Barbarian "Vandal" Army |
 |
| Late Roman Army |
The big item on my list was to work my way through all the Heroquest expansions I had in my backlog. However, I soon expanded this backlog with the addition of those Late Roman projects to support Barbarians at the Gates and those Thebans for Men of Bronze and the various supplements like The Corinthian War especially.
Anyway, those are plans for future me. Here is what I have painted so far in 2026:
- Mage in the Mirror expansion - Elves
- Rise of the Dread Moon expansion
- The Frozen Horror expansion
 |
| Rise of the Dread Moon |
 |
| The Frozen Horror |
Gaming
This is where I have been falling down on the job! I wanted at least a game a month, but so far I think I have managed about 2 for the year! I doubt that will change as I am moving from place to place. I have barely had any solo games either, instead devoting my spare time to painting. Hopefully with Perry Miniature's Travel Battle I can change that up! It should fit just right in my Shuttle Bus.
Maybe once I get my travel plans firmed up, I can plan ahead and get some games planned while I am travelling. Maybe post up a bit before I get to an area and arrange a few online games at a local shop or club? Still figuring that part out.
However, I have managed to keep a Discord RPG going on Wednesday nights. We have played Avatar: Legends, Scum and Villainy, and a few one-shots and customs. I am also doing some text-based stuff with Wrath and Glory, Ashes Without Number, and Hunter: 5th Edition. With RPGs I have managed to stay pretty active compared to my wargaming. However, the play by post and online versions make this much easier.
I also managed to meet-up with some folks to play a few games of Oathsworn. I wouldn't call this a wargame or an RPG. It is one of those strange hybrid "dudes on a board" games with story-telling elements fused onto it as well. They are one of those games where the tactics are mostly mechanics mastery more than anything else. Still, good fun and a chance to see some minis on the table!
 |
| Heroquest |
 |
| Cribbage with Oreo |

 |
| Oathsworn |
I managed to get two big things done so far this year. First, I inked a deal with Osprey Games for a Late Roman game called Barbarians at the Gates. I have to get the manuscript to Osprey by May 2028, including 30 photos. That is going to take up most of my writing time, but I do still have several other games still on the go and in various states of completion. Here is a partial list:
- Rise and Fall- Carthage supplement for Wars of the Republic
- PHUCK! - Fantasy Ice Hockey
- Gold, Glory, and Guns - Conquest of the New World games
- Mobile Fotress: Verdun - Land ironclads in the world of Castles in the Sky
- Cold Depth - Cold War Submarines
- Blood Reign - Modern Vampire skirmish
- Rise Against - Solo-wargaming against Fascists
- In The Garden of the Red Weeds - Post-Martian Invasion survival RPG
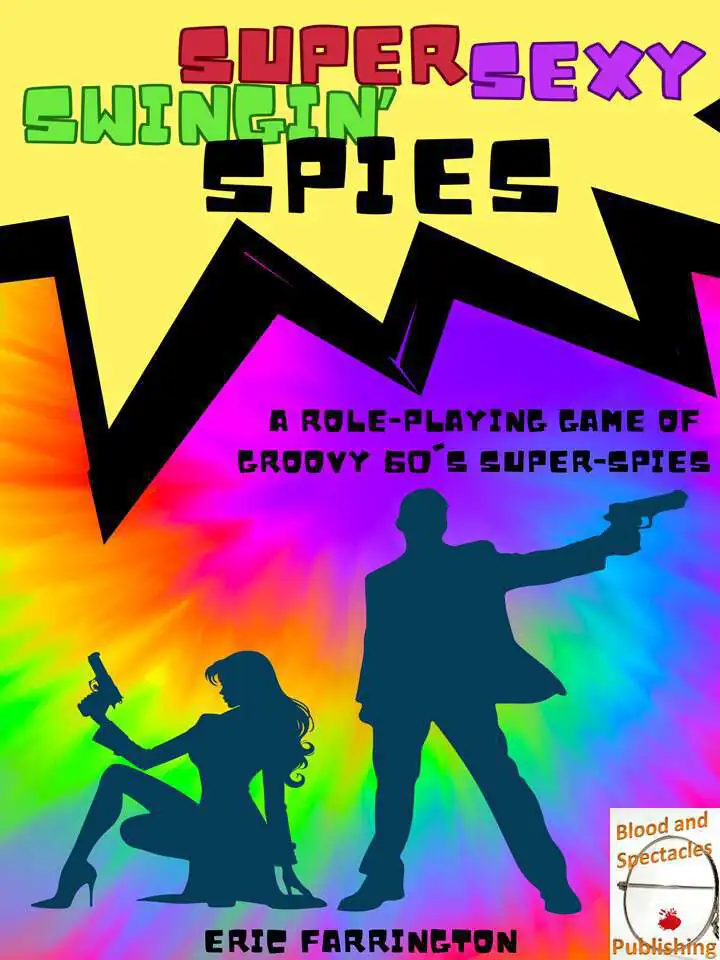
The other item I finished was Super, Sexy Swingin' Spies a rules-lite RPG that is up on my Drive-Thru RPG. I also worked on a few RPG projects that ended up on my Patreon. A couple RPG projects that are not fully ready for prime time, some modules and some experimental games. That sort of thing.
The Other Stuff
As always, I am tracking my minis painted and games played. I find it helpful to keep me motivated and useful for the end of year recap.
Besides that, I have been trying to use my Patreon more effectively. By that I mean, putting blog articles up there early, using it as my "Development Blog" for Barbarians at the Gate, and putting up rules snippets and half-baked ideas there. I also give Patrons the first access to any new rules I create and finish there. This includes ideas for one-shot RPG modules, some usable RPG rules, Line-of-Battle updates for various games, and some mechanics mini-games too.
On the Social Media front, I doubt I will be doing much more than 2 posts a week to support blog content and drive traffic. Nothing as fancy as I used to make in Canva because that took too much time that I could be using for writing, painting, and playing.
I doubt I will be having any public games this year. I doubt I will get to a Convention unless timing is very lucky, and I doubt I will have many interviews or other fun things any time soon. Too busy with "real-life" and writing Barbarians at the Gate for that right now.
Final Thoughts
I have managed to paint a lot of Heroquest this year, despite BIG changes in my life. Looking at my blog posts, it looks like Heroquest has taken over the blog! Well, I have been trying to clear out my backlog, but the second half of the year will have a wider mix of content.... I think.... I hope?
Here is to another successful half year. There is still a lot to do, so I better get going! To help me out, let me know the kind of stuff you want to see on the blog, wargame design issues you want me to tackle, or other topics. I look forward to your comments.
Until next time!

Or purchase all out games at the Blood and Spectacles Publishing Wargames Vault Page!


