The most common question I get, is "How do you become a game designer?" I have answered it elsewhere, but the key thing is that you need to have a complete game for people to play. If you don't complete a game, it is really hard to get other people to play it. In other posts, I have talked about the basics of game design like the 4Ms, Activation Methods, Chrome, etc. However, the most important part of getting a game completed is having a process and following that process.
What is a Process?
A process is just a series of activities that transform the inputs into the outputs. In the case of a game, it is how you transform your idea/concept into an actual game. The inputs are your ideas, mechanics, influences, software, and other things that you need to create a finished game. The outputs are the rules, templates, scenarios etc. needed to actual play the game.
There is good news and bad news about the Process. The good news is that there is no single process that works for everyone. The bad news is that there is no single process that works for everyone. If you follow or read 10 designers you will find 10 different processes.
1. Mike Hutchinson likes to put minis down on the table first
2. Jervis Johnson likes to use headers as an outline of what to fill in
3. Joseph McCullough sets aside at least two hours a day to write everyday
4. Ash Barker writes things on legal pads first
5. I like to make a potential cover first
No two designers have the same process. The important thing is to find a process that works for you.
Inputs - Your Pre-Work
The inputs are the work you do to prepare to design a game. I have often said a great first step to being a game designer is to play and read a lot of games! Here is where you will find out a lot of important tools you can put into your tool box of designs. Nothings springs out of your mind like Athena from the head of Zeus. You first need a box of tools that you can draw from, and reading, playing, and exposing yourself to a lot of different games gives you the tools you will draw from.
Second, you need to expose yourself to a lot of media. What? A whole lot of wargame design is based on "Vibes" (As the kids say today). Therefore, exposing yourself to a lot of media helps you tap into the right "vibes" for a game. You could call it inspiration? I say Media because it can be movies, music, art, literature, and not always genre or miniature related. Again, this gives you the tools you will later need to draw from when it is time for you to engage in the process of creation.
Now, you are ready for you
Concept. I literally have folders full of concepts, and 95% of them will never get further than the concept folder. Another 4% will get some fleshing out, but not enough to go further, another 0.8% will get some basic rules, 0.1% will get into post-production, and 0.1% of that pool of Concepts will become a finished work. Knowing that concepts are the easiest part, you are now ready for the Process to begin.
Getting Started
If you read my blog, you would think that I pick a concept and then write down the
design goals for the game. After all, I harp on the importance of them all the time, and I constantly refer to using them as the guiderails for a project. I almost never start with the Design Goals.
My first step is to weed out the Concepts I am going to work with first. I do this by creating some make-shift covers for the work in PowerPoint and/or Canva using Wikimedia Commons (or similar tools) to get a feel for what is out there for public consumption. I often also look at my existing miniature collection that I can use for a given concept OR decide which model range I would use to fill in the artwork for a project. Very practical concerns. If I can not find a model range I am interested in for the concept, I will often put the Concept straight back into the Concept folder and it will go no further. Many a game has died thanks to this step.
If any of you have read Stephen Covey's 7 Habits of Highly Effective People you may recognize what I am doing here. This is called Starting with the End in Mind. The idea is to eventually have a rulebook and game that I can play. Therefore, I will need miniatures to play it. Why start a project in which I won't be able to play it by the time it is done? Therefore, if I can't find inspiring minis for a concept I don't bother pursuing it.
From there, I imagine what a player will need to play the game. Again, looking at my intended miniature line is very useful for this phase of the project. It sets the parameters. I also look at other sources that are relevant. Obviously, historical games I need to use reference materials to determine what a fighting force looked like. This helps me gauge the
scale of the game and begin to understand the
POV I want to press for in the game.
For me on a project, I often start with the units that make up the game and then work backwards. I think about "If I have unit X, and they have Unit Y how do these units interact on the tabletop? How does X shoot at Y? How does Y know if they are injured by the shooting? What happens?
This helps me start to do two things. First, I start to flesh out the core stat blocks. This also helps me quickly fill out the 4Ms. This is where I lean into the toolbox and start pulling out tools and applying them. These are still making use of my Inputs. I now have a basic idea of how things will work in the game.
Now that I have the concept, a cover, some basic thoughts on stats, some core mechanics, and an idea of the miniatures I will need for the game, I write the Introduction page. Sometimes these make the final cut, and sometimes they don't. However, this is where I lay out what got me to think about this concept, my influences, and finally at this stage I am typically ready to write out my Design Goals. It is important to note, that these Design Goals are not set in stone yet, but they rarely change significantly from here.
Grinding the Gears Together
I now have an idea of where I am going with the game. The first thing I do, is I write out the "Core Concepts" This is typically 2-6 pages that lays out the key ideas or mechanics that the rest of the game hangs on. I often also have a handful of units or combinations of units. It is often enough to play A game, but lacks a lot of the things people would expect in a fully-fleshed out game.
This is where I start grinding the gears of the machine together. My first go through of
Play-testing often happens at this stage. If you have read about my approach, most of my initial work is all pencil on paper or just blocks moving around on a PowerPoint slide. No miniatures are on the table, no paper templates are made, and no money has been invested at this stage.
This is the first stage where I take an axe to my darlings. Here is where I cut out things that do not work, re-interpret the rules, and sometimes put the project back into the Concept folder bin. At this stage, I am evaluating the game on several levels:
1. Is this a game that has something interesting to bring to the table?
2. Is this a game that I am excited about?
3. Is this a game I would want to play?
4. Is this a game I can finish the work on?
The most common reason a game does not proceed is because of #4. The core game maybe fun, I maybe excited about it, but when I look at what it takes to "finish the game" I decide that it would take more effort and time than I can put into it. For example, if it would require me to make a lot of tables of results or cards to draw; I often scrap the project as too much work. Similarly, if a game would require a lot of unique or interesting artwork, miniature lines, or components than I will also often scrap it at this stage.
My projects all ready take 3-6 years to complete, so adding a lot of additional challenging elements beyond paper, dice, and measurement device can be beyond my scope. Know your limits and I do not have the expertise, time, or money to invest into games that require a lot of those more challenging elements.
The Core Writing
Now that I have the Core Concepts of the game, now comes the writing. If a game manages to get this far, it is pretty easy for me to grind out the
4Ms of the game in 24-72 hours. I have written enough games now, that I practically have a template and can re-use material from other rulesets about terrain, Line-of-sight, etc. I also tend to use a Bullet Point fashion of writing and limit the amount of flavor text I put into the rules sections and a lot of the
4Ms can use similar steps even if the specific mechanics may vary.
Keep in mind, at this point there are no scenarios, campaign rules, terrain placement, deployment rules, etc. that elevate a game beyond the
4Ms. This is just the Core Concepts expanded out into a usable format. This point is the second big hurdle for a game to cross. At this point, I usually make some paper templates and start exposing it to some of my play testers in-person. I ask the same questions again, but I also get some outside feedback.
1. Is this a game that has something interesting to bring to the table?
2. Is this a game that I am excited about?
3. Is this a game I would want to play?
4. Is this a game I can finish the work on?
At this stage, a game can stagnate if the playtesters do not find the game of interest, or once on the table I realize it doesn't deliver the experience I was hoping for, or I realize that it needs extensive re-writes the game is at risk. It is not uncommon for a game to die at this stage. I simply lose interest in it, or there is too much work to get it across the finish line. These can all lead to the project getting shelved at this point.
And The Rest
If the game survives the Core Writing, the next step is adding all the things Players need and expect for a game to be a complete game. This is where I add in the Scenarios, Terrain Placement, Deployment rules, army lists, campaign rules etc. I actually recycle a lot of this material, and re-fluff it unless there is a very compelling reason NOT to recycle the material.
I do not really enjoy filling in the blanks on these parts of the game. One of the hardest things to do is
write good scenarios! Therefore, this part also takes a lot of time as I have to test and re-test it on paper and with paper templates on the table. If I can do the Core Writing in 24-72 hours, this stage can take me up to a year to finish and I am recycling a surprising amount of it.
This section I tend to do in spurts. I tend to write mostly on Friday afternoon or Monday morning, because that is when my schedule allows me to write. However, my writing isn't always focused on game rules. I have to write
blogs, Patreon posts, and other
social media content too. I may not always focus on rules, but I always write something on those two days. Sometimes it is even good, but mostly it is bad.
Post-Production
This is the longest part of my process. Most of the heavy edits, re-writing, and slaying of darlings has been completed at this point. I am not a huge fan of post-production. In my mind, this is composed of the following steps:
1, Final Play-testing
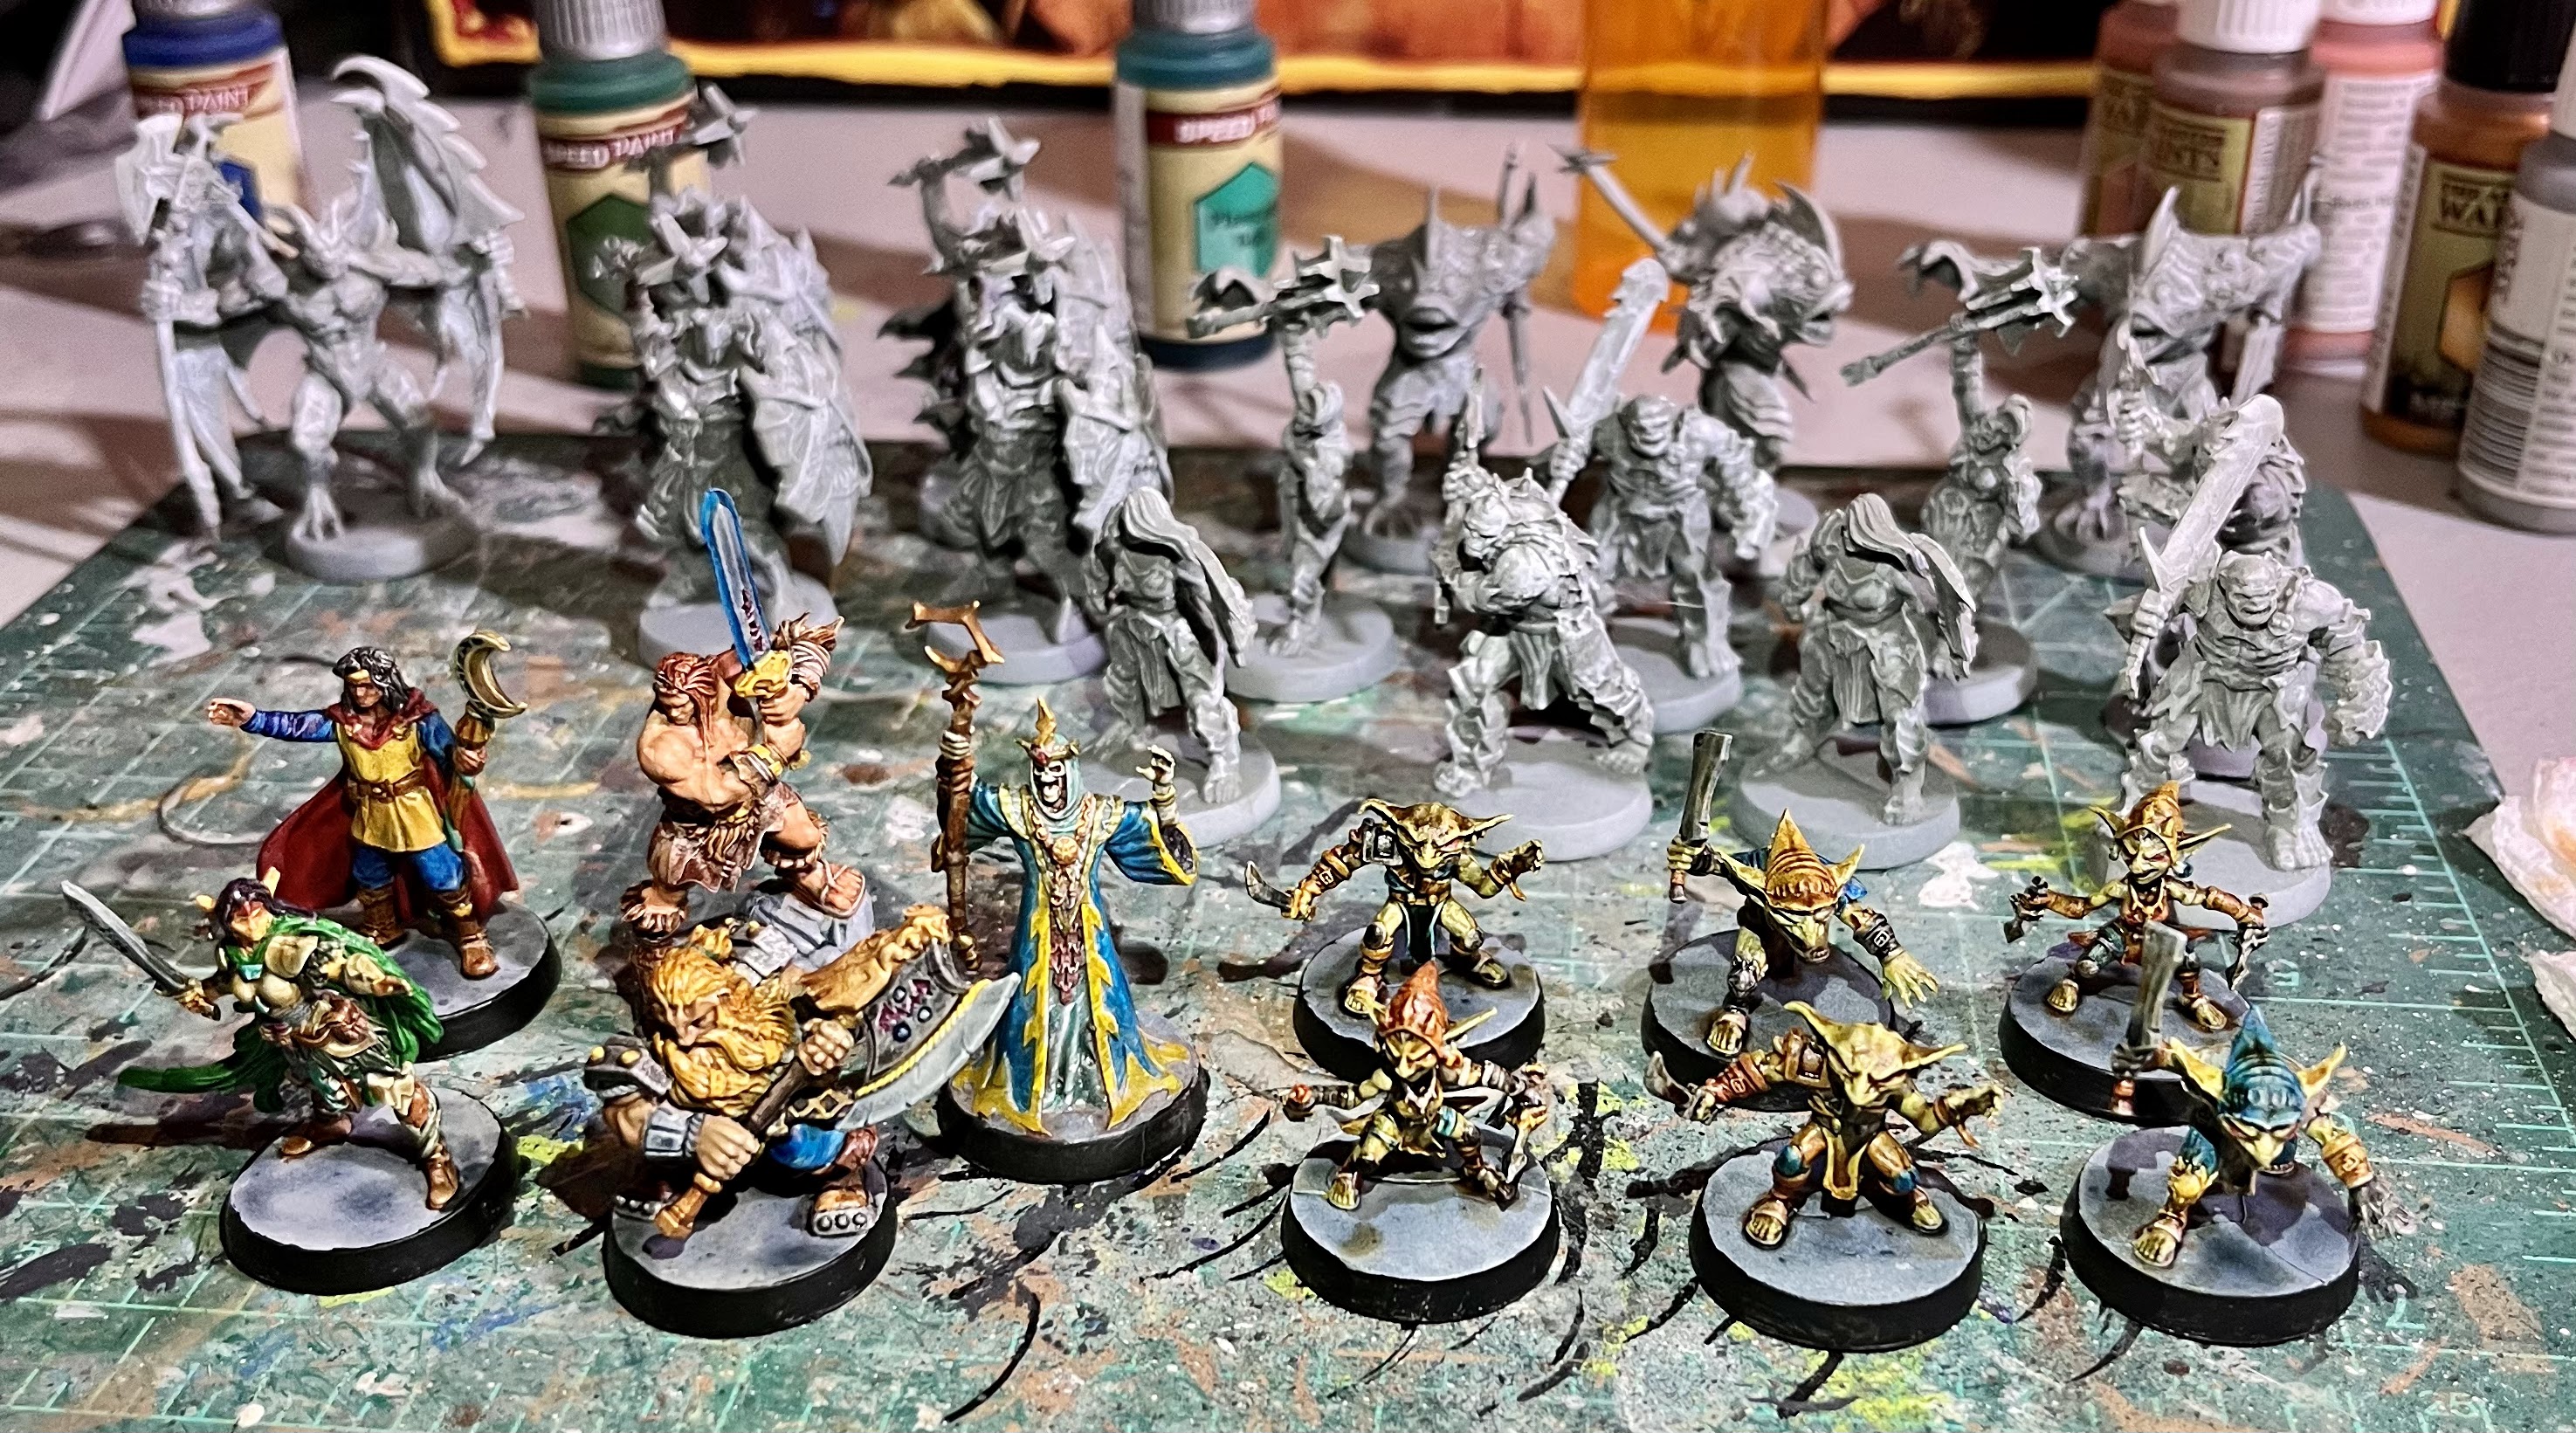
2. Painting the miniatures
3. Making terrain/tables
4. Taking photos
5. Sourcing art
6. EDITING (Bleh!)
7. Lay-out
I mostly do all of my writing straight into PowerPoint to save time on lay-out, editing, and re-writing. This is an easy lay-out tool that I am familiar with and have access too.
Some of the longest parts of the process is sourcing miniature photos and artwork. I tend to buy and paint what I need, because then when I am done I can at least play the game myself. However, there are some projects where I have been able to get photos from a manufacturer, and that is much easier. Sourcing artwork can also take a long time to commission an artist, get them to finish the project, and then get it into the lay-out.
One of the most troublesome aspects of Post-Production is this is the stage you need to commit resources. All the other stages primarily just took your time and effort. No game gets to this stage if there is any doubt that I will be releasing it. I need to release it to re-coop any money I have put into it for post-production.
This is also the stage in which I start to consider shopping the game around, or if I am just going to put it up on
Wargame Vault. The main considerations here are if your connections have interest in the genre, if they have similar rules in their stable all ready, if you are offering something of interest to the market, how soon you need the money, and how tired you are of working on this project. Some people do this much earlier in the process, but when editors ask me to see the rules I prefer to have a complete set to show them, often with placeholder images and lay-out all ready complete. This gives them confidence you can hit the deadlines they need.
Congratulations You Have a Game
Normally, this has been a 3-5 year process at this point. You have probably put in at least $200-$500 (or more) dollars in post-production that you will want to earn that back. However, you have a game!
If you are lucky, you have all ready sold it and gotten an advance, but most of the time that is not the case. Instead, you made it because you wanted to and because you could.
The last step is getting it to people to play. This could be giving it away for free, self-publishing, electronic distribution, physical stock, or shopping it around to publishers. There are benefits and downsides to all of these approaches, but that is a topic for another day.
Final Thoughts
That is a brief look at my process. However, there are no two designers who go about this the same way. Everyone is different and what works for me probably does not work for you. The key thing is to either know your own process, or be conscious enough to develop one before you start. The process is what will get you through on days your muse has left the building. The process is what will take something from concept to final product. Without a process, it is really tough to complete a game for people to play.
Bonus Content!
As you probably know, the True Crit Gaming Guild has been playing through a simple Warzone control campaign for Kill Team. We are entering the final campaign period, so things are heating up between our Chaos and Imperial factions. After a Chaos heavy Turn 1, the Imperium roared back in Turn 2. Going into Turn 3, things are looking pretty tight.
At this pivotal time, I brought my Chaos and Imperial Kill Team to a couple of planned Guild days. I managed to play a couple of games, both of them against Chaos Black Legionary lists. This would be my second and third time playing against the Chaos Marines as my Imperial Sisters of Battle. The Order of Saint Augustine Martyred was deployed away from the Cathedral and into the city proper as the Siege became more desperate and reinforcements and troops became limited.
The Order was painted as part of my
5-Day Painting Challenge. They are a compendium list, and are relatively straight forward to use. They do not have a lot of special rules, and they are almost all equipped with bolters and power armor. They struggled with the 3 APL of the Chaos forces, despite having a 10 Sister sized Kill Team.
Despite killing off half the Chaos forces, it was not enough and they easily beat me on VPs, 6 to 12. They were able to get to the Objectives much faster than I could, and I couldn't do much to stop them. Once again, my Melta and Heavy Bolter did yeoman's work. My Storm Bolter underperformed. The Relic was worth its weight in gold. Straight-up Bolters were very underwhelming against Chaos Marines with Mutagenic Flesh and other toys. On the plus side, I was not tabled and ended the game holding some objectives. However, if the game would have progressed I am pretty sure the Chaos Marines would have easily killed me off.
The next battle the Chaos forces had a slightly different make-up on a different board. Both sides were able to grab their objectives early, and hold onto them. This time, my Melta-gun and Storm Bolter both disappointed me. Heavy Bolter did it's job and caused plenty of fear and area denial.
I got tabled at the very end of Turning Point 3 this time. However, despite getting tabled, by a unusually powerful Chaos Acolyte Fireball; the game was much closer than the first game. Even after getting tabled, the Chaos forces were only in a position to grab 1 new objective and win the game by 1 VP.
I again struggled with the speed of 3 APL Chaos Marines that were tooled up for close combat fighting. I maybe got 1, regular shot off at them before they were in my base shredding my dudes. I tried to use Sisters as speed bumps, and it worked but I couldn't kill the baddies fast enough. I managed to take out 3 of the 6 Marines again. However, it wasn't enough.
The Order of St. Augustine Martyred are 0-3 vs. Chaos Space Marines now. Of course, Compendium lists are under-powered compared to actual Kill Team lists so I am not surprised per se. I haven't quite figured out how to make better use of my numbers and a good way to negate the 3 APL of the Elite baddies. I actually like the SoB's relative simplicity as a Kill Team, and I rarely have to look up how they play.
Ultimately, the Imperium really needed me to win! However, they will have to make due with my extra points for being fully painted instead!
Until next time!
Become a Patron and get access to all the cool stuff, a peak behind the curtain of Blood and Spectacles, and early-access to playtest games!
Check out the latest publications and contact me at our
Blood and Spectacles Website