Monday, March 25, 2024

On The Painting Desk: Battle of Kadesh - The Soldiers of Hattusa March!

 
My latest rules project was focused on Assyria.  The focus would be chariot warfare, Bronze Age, and even early Iron Age warfare.  Of course, that meant one of the historical scenarios had to be the Battle of Kadesh.  Despite not having any Assyrians in it, I started building armies for Kadesh as I figured it would make a great display game and demo!  It is one of the most famous battles of all time.  

In 2023, I finished off my Egyptian army for the battle (and other scenarios) here: 


These are all 6mm from Baccus and mounted on 60 x 60mm bases.  

After finishing the Egyptians, it was time to turn to the Hittites!  I have all ready finished most of the army.  But I still have the Royal guard, with and without Bow support, and the rather large chariot corps.  

Here is the Hittite army so far....


With two infantry units left, I got to work on those first.  These guys represent the core of the Hittite army and the most disciplined of the King's forces.  I had two units, one with just the infantry, and the second with bow support built-in.  I have to say, the Baccus minis have an amazing level of detail for 6mm models and they looked great! 


My camera has a hard time getting good detail shots at 6mm!  However, I used my standard techniques and soon had two more units of Hittite infantry done.  Here is a quick photo-montage of the process.  If you have been following the project on the blog, you are well aware of the steps I take.  


So, the Guards got finished up and added to the rest of the Hittite infantry force.  Here you can see them in action at the forefront of the army. 


Next up, was the Chariot corps.  The Hittites actually made use of two types of chariots.  They used a lighter 2-man chariot and a larger, heavier 3-man chariot.  The why's and the how's are still a but up in the air.  However, many feel they used their chariots in a more "shock attack" and charging role than the Egyptians.  Egyptians preferred a mobile archery platform.      

Anyway, I realized right away that my typical techniques for painting 6mm were not going to work.  I had a hard time getting the chariot draught pole and yokes attached.  I decided to skip having those as part of the models.  It was not going to be worth the effort.  


That means I also had issues mounting them on the sticks to paint them.  I was going to have to change everything up.  I started by undercoating the horses, and then I tried to mount the light chariots and horses to their bases.  Then, I undercoated the Cars and Crew from there.  Overall, this was much harder than my preferred method.  For the Heavy Chariots, I just undercoated and did some painting separately, but again it was not as easy as the Egyptian chariots.  

Hittite Light Chariots

Once assembled on their bases, I went ahead and painted them all up and got ready to finish them off.  This was a bit harder than doing them on the sticks.  However, it was easier than I had feared.  Thankfully, the models have pretty decent detail and painting 6mm models is more like sticking a dot of paint in the right place than any real detailed painting.  

Heavy Chariots in front, Light to the rear

You will notice that like the Egyptian Pharaoh, I gave the Hittite King a four horse chariot to help them stand out a bit.  I also tried to color-code the units to help differentiate who-was-who a bit better.  Heavy's are White, Purple, and Yellow; while the Lights are Red, Green, and Blue.  This will make them easier to ID on the field at arm's length. 


From here, I finished up the bases using my usual method.  Territorial brown, a drybrush of khaki, some green ink, and black around the edges of the base.  


With that, the last step was to take a few action shots out in the arid lands of the Levant.  I also wanted a group shot with the rest of the Hittite forces.  The soldiers of Hattusa march to Kadesh under the command of King Muwatulli II.


With the armies done, I still had one last thing to complete for this project.  That was the city of Kadesh itself!  You may recall that my friend Kelly made a 3D printable version of a Bronze Age city for me.  Well, I had to get it painted up for the demo game! 


I primed it Seer Grey and busted out my Big-Box Acrylics.  I used the same basic colors as I used for the bases; Territorial Beige, Khaki, and Nutmeg Brown.  I used a few spots of color on the marketplace tents in the design.  After the base coats, I washed them with a Light tone wash.  


I made up a QRS and put it in the main rulebook this time.  I am learning!  Now, the last steps is to play-test the basic rules a bit more and the Battle of Kadesh scenario specifically.  Then, I think I am ready to take this around as a demo game for wargaming.  

Until next time! 


Become a Patron and get access to all the cool stuff, a peak behind the curtain of Blood and Spectacles, and early-access to playtest games!  


You can follow Blood and Spectacles Facebook page or Instagram for more fun! 

Check out the latest publications and contact me at our Blood and Spectacles website

Or purchase all out games at the Blood and Spectacles Publishing Wargames Vault Page!    

Monday, March 18, 2024

Wargame Design: Do Your Mechanics Matter?


Mechanics are the tools you use to play-out the game on the tabletop.  There purpose is to create and end result, and output that the player uses to continue the game or get a result.  They are simply a process.  It is the result itself that is useful to the game.  Therefore, does it matter to your game what mechanisms you use to get to the end result?  

The mechanics of a game are simply the series of steps or actions that lead to the results you need to move the game forward towards its conclusion.  A process has a series of suppliers, inputs, outputs and users that make use of the process.  Mechanics can be the steps and equipment used to process the inputs for the suppliers and create outputs for the user.  In the case of Wargamers the suppliers and the Users maybe the same player, or a different player.  

In short, mechanics are simply a tool to get you from Point A to Resolution B.  Does it matter if you use one polyhedron dice over another?  Does it make a difference if you use cards rather than dice?  What about charts?  

Game designers spend a lot of time thinking about the mechanics.  Does all this thought and effort actually help make a better game? 

Restless Stars

No, It Doesn't Matter! 

Ultimately, the output is the key component of the process.  Therefore, how you get to the output you need for the game is less relevant than most designers believe.  Designer's spend time agonizing over what mechanics to use, when in the final analysis they are virtually interchangeable.  Whether you use a dice roll, a card flip, a spinner, coin flip, or a chart is irrelevant.  The only "wrong" mechanic is the one that does not generate the intended results.  

Design Goals are not met by mechanics.  They are met by outputs and results to the user.  For example, if you are trying to create uncertainty in the outcomes as a goal, it does not matter how this uncertainty is generated.  A random number generator, a card flip, or any number of mechanics can achieve the design goal, the specifics of the process are secondary and less relevant than the result itself. 

This liberates you as the designer and let's you focus on the key elements; the results of the process.  It doesn't matter which polyhedron you use, which cards you flip, what buttons are pressed.  All that matters is there is a mechanics to determine a result.  You don't have to agonize over these lesser decisions and you can focus on fulfilling your design goals instead.    

The focus in on the output of the process, and not the process itself.  One process is just as good as another.   

Restless Sun

Yes, It Matters! 

It matters because the players want more than a result from their games, they want an experience.  A wargame is more than the sum of its individual parts.  The mechanics of the game are queues on how the game itself should be played.  They highlight the components and aspects of the designer's POV that they want to highlight in their game.  This could be core mechanics, the hook, or even just the Chrome.  It is the process that gives the game flavor and soul.  

Mechanics matter because some processes are simply more efficient and better than others at achieving a result.  Consider the game Mouse Trap from Milton Bradley.  It is the definition of Over-Production as you spend the entire game slowly building a board-spanning mouse trap where the mice can only be trapped in it at the very end of the game.  The win condition of the game is to avoid the mouse trap as the players*.  This is not the most efficient method to achieve the result.  This is the classic discussion of simplicity and streamlining in game play.  Why have 12 steps in your mechanical process when 2 will do?  

A bigger factor in why mechanics matter is that the mechanics you provide, tell players what inputs and outputs are important to the game.  This will shape how they play the game.  The classic example here is XP in the original red-box Dungeons and Dragons.  You gained XP by killing monsters and getting gold coins.  Therefore, the ultimate expression of the game was killing things and getting loot.  Therefore, players started to look at every encounter from that perspective and the ubiquitous "Murder-Hobo" was the result.  That was the optimal way to be rewarded by the game's mechanics.  The process encourages a specific style of play, whether that was intended or not.  Therefore, a designer must be careful about their process in relation to their Design Goals.     

Since games are more than the sum of their parts, you can not look at mechanics solely as a matter of results and outputs.  The steps that lead up to the results are just as vital.  The supplier, inputs, process, outputs, and user all shape the overall experience of the game, so to ignore one of them in favor of focusing on the Result is folly.  


*= Note: This maybe the stated winning conditions for the game Mouse Trap, but you could argue that it is not the intended Design Goals of the game Mouse Trap.  Win conditions and design goals don't always align! 

Jugs - Available to Patrons

Final Thoughts

So which is it?  Do your mechanics matter?  

Like many things in life, it is not an either/or question.  The Ancient Greeks had an expression called "The Golden Mean".  It was an idea written about by Aristotle, but also was clearly relevant in Greek Myths as well.   

It is clear that both points of view expressed above have utility and value.  The idea of the Golden Mean was to avoid taking any one direction in excess, and instead finding and using the virtues of both sides.  Of course, there is no perfect recipe for this and each designer will need to decide where they and their game fall between these two extremes.

Of course the results matter, but so does the process to get the results.  Some processes are inherently better than others, but the process should not outshine the results.   

"What a non-answer!" I hear you bemoan.  Well, that's life for you.  It rarely is as simple as a clear answer.       

Free Bonus Content! 

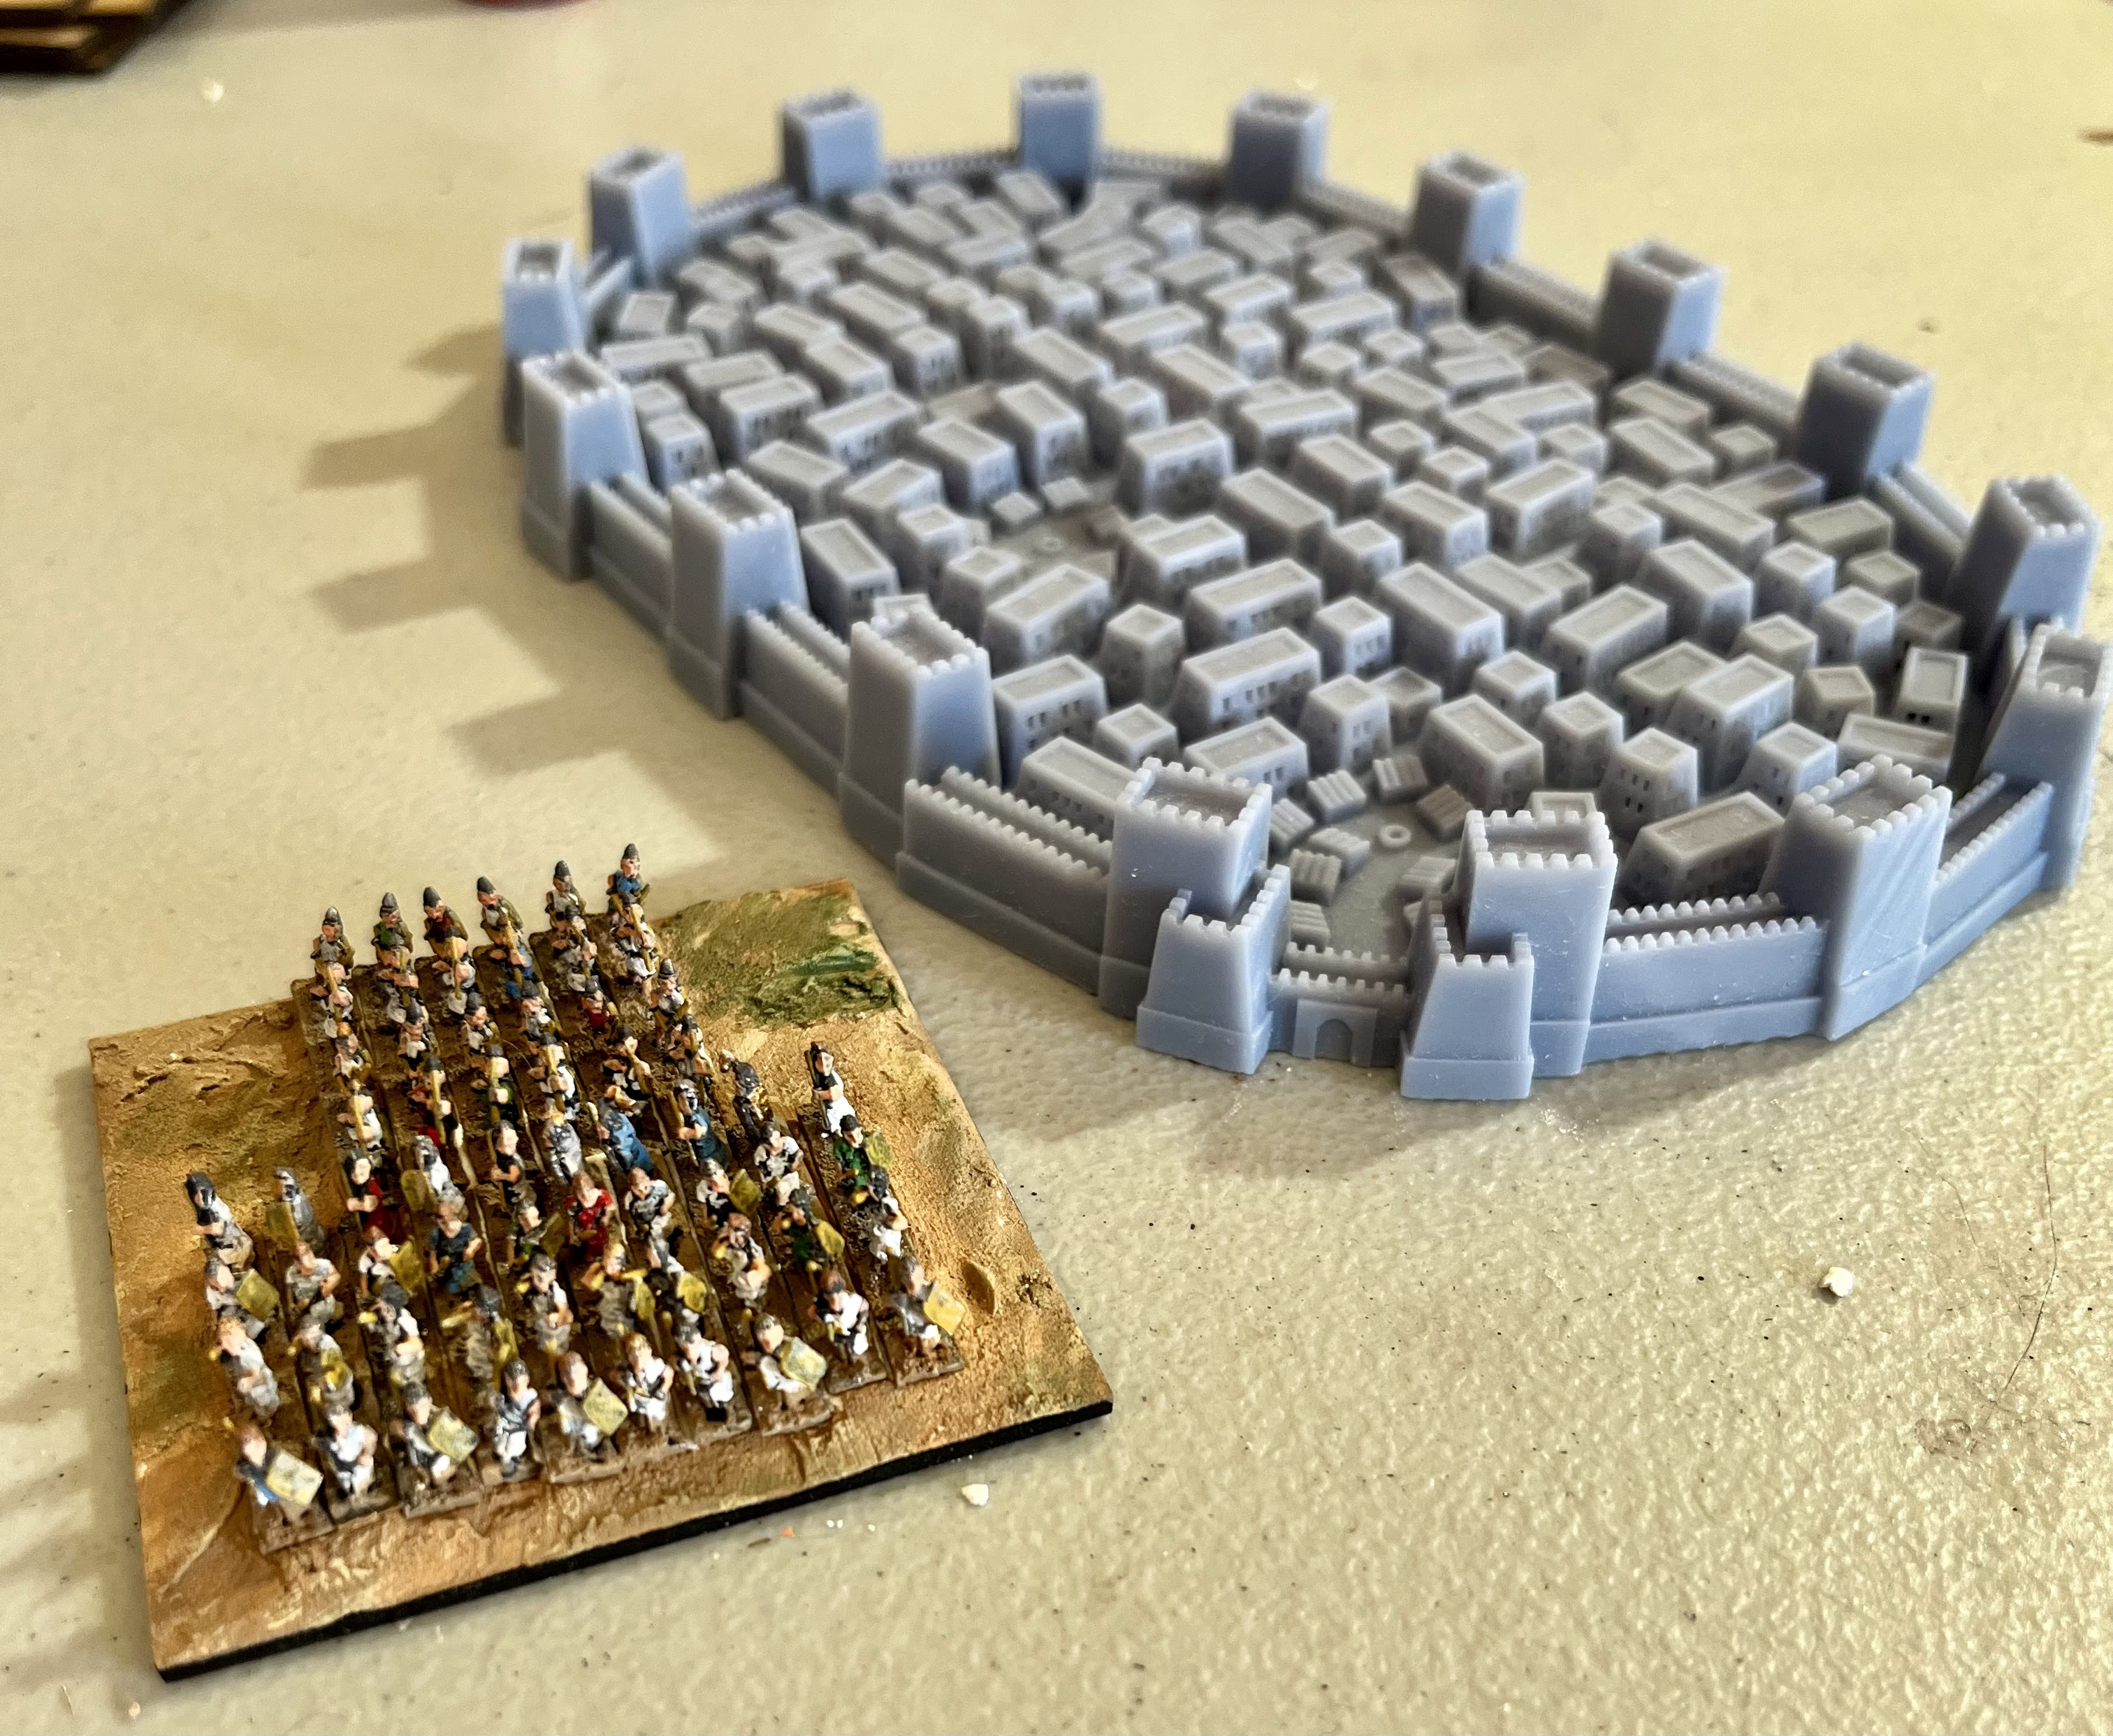
So, the Siege Perilous Kill Team campaign is continuing.  This is a Chaos vs. Imperial simple points-based warzone control campaign.  I have been playing with either an Imperial Sisters of Battle team, or a Chaos-aligned Hand of the Archon team.  


This time, my Hand of the Archon took on an Ultramarines force on the DIY city terrain.  It was.... not pretty as I got absolutely smoked this time. I think all of my operatives were killed by Turning Point 3.  Ouch.  


One of the few highlights was my Dark Lance sniping an Ultramarine sniper from a rooftop with one shot.  However, my joy was short-lived as a second Ultramarine just clambered up into the same position and returned fire.  This second sniper remained a thorn in my side for the rest of the battle. 


I managed to grab some objectives early, but some not great dice-rolling plagued me through-out the game.  I think I managed to incapacitate 3 out of the 6 Ultramarines, but that was a hollow victory as I was tabled.  Made some bad choices along the way as well, and my opponent got a well-deserved victory.  

On the plus side, I got the basic starter set for Kill Team so I now have my own widgets, tokens, and barricades.  Woo-hoo me.  That also gives me an Ork and Vet Guard Kill Team, but I am in no hurry to paint them up.  


That battle for Powellington continues, but Chaos has a lead in 3 out of the 5 warzones.  That puts Chaos in a good spot half-way through Turn 1 or the three turn campaign.  Hopefully, my forces can be helpful instead of a hinderance as we go forward! 

Until next time!   


Become a Patron and get access to all the cool stuff, a peak behind the curtain of Blood and Spectacles, and early-access to playtest games!  


You can follow Blood and Spectacles Facebook page or Instagram for more fun! 

Check out the latest publications and contact me at our Blood and Spectacles website

Or purchase all out games at the Blood and Spectacles Publishing Wargames Vault Page!    

Monday, March 11, 2024

Battle Report: Fury of the Northman - Looting and Pillaging in Hibernia


Greetings faithful readers, and welcome to another Fury of the Northman battle report.  Erik Greybeard and his Victrix Vikings are once again facing off against King Ercc of the Wargames Atlantic Dark Age Irish.  

Mission:
The Vikings will be the attackers as they use the Loot and Pillage scenario against the Irish.  They will be attacking as Dusk Approaches as the complication. 

Forces: 
Since this will be a Loot and Pillage, the Vikings are allowed 10% more points then their Irish foes.  

Erik Greybeard's Vikings:
Nobles
- Shieldwall
- Boar's Head 

Warriors

Warriors
- Shieldwall

Militia
- Shieldwall

Skirmishers


King Ercc:
Warriors
- Heedless Charge
- Throwing Spears

Warband
- Heedless Charge
-Throwing Spears

Skirmishers
- Throwing Spears

Skirmishers
-Throwing Spears

Slingers
-Skirmishers

Slingers
- Skirmisher


Set-up:
Today we are using a 72MU by 48MU board.  1 MU is equal to 1 inch.  

Terrain is set-up per the rules found in the main Fury of the Northman rules and the objectives were set-up using the method outlined in the scenario. 

Square 1-3 is the Viking side, while side 4-6 is the Irish side of the board. 
  • Square 1 = Hill
  • Square 2 = Grove
  • Square 3 = 2- level hill
  • Square 4= Hill
  • Square 5 = Hill
  • Square 6 = Stone walls
Viking deployment

You can see the objectives, spread out in the form of piles of crates/chests or cattle.  They are just outside the Irish deployment zones. 

Irish deployment

I am going to break this report into three broad categories; Maneuver phase, Combat phase, and the End Phase.  I will not be detailing each move and action in detail, but try to cover key moments and decisive points of the battle in each phase.  

Maneuver Phase

Neither side was focused on subtlety or sneaking tricks.  The Irish moved up aggressively to grab their objectives, while Greybeard's Vikings pushed ahead as fast as they could.  


On the Viking side, Erik Greybeard led the attack with his nobles aiming for the center of the Irish lines and the cow on the hill.  It seemed to be only lightly protected by Skirmishers.  Once the Irish had their objectives, they took up defensive positions on hills and within their village.  They seemed content to let the Vikings come to them and were in strong positions, with good fields of fire with their slingers.  


Sensing a trap, the Viking Warriors with Shieldwall formed up.  They saw Irish Slingers lurking about the edges of a forested hill.  This slowed their advance on the Irish farming hamlet. 


Their caution was sensible, as the wily Irish popped out of cover and pelted Erik and his retinue recklessly charging across open ground.  First blood to the Irish as their slingers pelt the oncoming war chief with rocks and reduce them 1 courage.  

As we head into the 4th turn, the field looks like this: 


The Irish right has the Warriors and King Ercc ensconced in the hamlet, protecting two objectives.  The Viking militia and shieldwall oppose them.  The center has the Viking command leading the charge supported by their skirmishers, and their other warrior unit on the flank.  The Irish Slingers have stepped out to launch their attack, but they are exposed.  Behind them, the Skirmishers protect two objectives and the last Slinger unit protects an objective safely up on the top of a two-tiered hill.

Battle Phase
The Irish slingers in the center pepper Greybeard's Nobles with more sling stones.  Fed up, Greybeard and his Nobles charge forward!  However, the Irish fade back from them, leaving them disordered.  The Shieldwall followed their leaders lead, and also ends up tired and disorganized after failing to connect.  Meanwhile, the Irish try to fade away from the Viking assault.


King Ercc sees the spent Vikings ahead of him, and decides now is the time to send the invaders packing.  He charges forward heedlessly with his warriors, throwing their spears as they get stuck in!  The Irish king manages to push the Viking warriors back.  


However, the Vikings ferocity allows them to steal the initiative again, and they continue to push forward.  The Warriors on the Viking right manage to get to their objective, as the Irish skirmishers fade away from their assault.  In the center, Greybeard continues to pursue the Slingers but still can not catch them!  On the left, the Militia march into the Irish village in their shieldwall, daring the Irish to attack.      
Dusk begins to set-in, but the fighting continues to rage.   

The Irish slingers fire up-close and personal on the Viking nobles and continue to sap their courage.  However, the Nobles have gotten too close and crash into the Irish slingers this time.  They easily slaughter the Irish. Meanwhile, the Viking Warriors fight with King Ercc to a stalemate, but the Vikings are on the edge of collapse.  The other Viking warriors get to the loot the Irish were hiding, but fail to find anything of value.   

Irish skirmishers descend form the hills shouting war cries and throwing their spears.  It is too much for Erik Greybeard, and they turn to flee the battle field.  Those damned Irish seem to be everywhere, shooting and throwing spears at them!  


End Phase
The Sun was setting quickly now and it would soon be dark.  

King Ercc managed to drive off the Viking warriors he was fighting with.  However, behind him the Militia managed to loot some cattle.  


Viking skirmishers and warriors make a last ditch attack on the hill in the center, defended by Irish Skirmishers.  However, they are pushed back and the attack repelled, keeping the Irish loot safe.  


With that, the Viking straggle back into the night, their Raid complete. 

Conclusion
The Vikings managed to score and maintain 1 Loot marker for the battle!  They got to a second, but found nothing.  Routed units, the Vikings scored 4 from the Slingers, and the Irish scored 22 from the Viking units!  Wow, losing the Nobles and the Warriors was a big deal!      

Final Scores: 
Irish: 18
Vikings: -14!  

Looks like the Irish manage to win the follow-up encounter.  Their Fabian tactics worked much better in this scenario than the Cattle Raid.  If we reversed the Attacker/Defender I think the Irish would be hard pressed to prevail!   

Erik Greybeard tried to greet his warriors as they slunk back into camp that night.  They were tired, dirty, and hungry.  They grumbled muted responses to him as he hailed them.  They were discontented.  He had managed to feed them when they landed, but the lack of loot and more resistance than they expected left his men grumbling and ready to go home.  Greybeard needed to find a quick win to fill his men's bellies, pockets with gold, and some plunder to take home.  Otherwise, they might just try to settle down here with the Hibernians! 

Hope you enjoyed this battle. 

Bonus Content
I spent a bit of time clearing off some small 6mm pieces on my work desk.  I had a couple of vehicles for my Operation: Hemlock forces for a Horizon Wars-style battle in 6mm.  Plus, I can use a few of these for Aeronautica Imperialis as well.  These are all 3D printed.     

I couldn't precisely recall what colors I used for my initial forces, and therefore my Armored Bassies came-out a bit darker.  However, I recovered in time for the Hydra and Lightnings.  


The bases are just painted, nothing fancy.  I actually kept the Bassies and Hydra removable from the base so they could be lone targets or AA platforms in Aeronautica Imperialis.  I feel pretty good about the Imperial forces, but before the big battle I will need to pivot and make some Ork forces too.    

Until next time!


Become a Patron and get access to all the cool stuff, a peak behind the curtain of Blood and Spectacles, and early-access to playtest games!  


You can follow Blood and Spectacles Facebook page or Instagram for more fun! 

Check out the latest publications and contact me at our Blood and Spectacles website

Or purchase all out games at the Blood and Spectacles Publishing Wargames Vault Page!   

Monday, March 4, 2024

On The Painting Desk: Battle of Kadesh - The King Summons Us


I am still forging ahead on my Battle of Kadesh armies that go along with me latest "In-Progress" rules set In Strife and Conflict.  This project began in earnest in 2023, but the rules were written for about 5 years now.  Hopefully this is the year I can get all the post-production wrapped up and I can release it to you!  

In addition to releasing it to you, I want to use the Battle of Kadesh as a "Demo Game" for non-wargamers as a way to introduce folks to ancient history AND wargaming.  Therefore, I want to have a good scenario and a fun spectacle game that is easy to set-up and looks great.  To that end I have been building an Egyptian and Hittite force.  The Egyptians are done.  I have been powering away on the Hittites now. 

The Hittite force I have is 6mm miniatures from Baccus.  I am then placing them on 60 x 60mm bases.  When complete this army will have: 

  • 3 Heavy Chariots
  • 3 Light Chariots
  • 1 Auxiliary Infantry with Bow support
  • 1 Auxiliary Infantry
  • 2 Levy Infantry with Bow Support
  • 3 Levy Infantry
  • 2 Archer Units
  • 2 Skirmisher Units with Bows
  • 2 Irregular Units
So far, I have painted the Skirmishers, Irregulars, and Levy units with bows.  That leaves 13 more bases to go!  Next up, I have decided to continue working on the infantry forces.  I have started batch painting the 3 Levy infantry, and 2 Archers units.  Once done, that will leave the more advanced units to finish off the army.   


For the new units, I am following my usual process.  I attached the strips to popsicle sticks with white glue.  I then undercoated them all with a watered down Pavement that is a cheap acrylic from a Big-Box retailer.  Then, I leaned into the batch painting using my standard Armypainter Paints. 


This stage should look pretty familiar!  I then paint the base strips with the same cheap acrylic Territorial Brown so when I base them it makes painting the base much easier.  I then added them to the bases using color-changing spackle.  


Then, I painted the bases with Territorial Brown, Khaki drybrush, and green ink.  The final step is to edge the bases in black.  


Here is an army shot of the Hittite forces so far: 


We have: 

2 Irregular infantry
2 Skirmishers with bows
2 Levy Infantry with Bow support
3 Levy Infantry
2 Archer units

That is 11 of the 19 bases done!  I only have 2 infantry units and 6 chariot bases left to paint.  This army is officially half-way done now! Here they are on the march to Kadesh to support their King:


The skirmishers take the lead and scout out the pass before the rest of the army marches through.

That has not been the only movement on the project!  My friend, Kelly Watson; made a really cool 3D printable Bronze Age city to act as Kadesh on my tabletop.  Kudos to him for his amazing work!  This can be based on a CD for easy basing.  


It is modular and expandable as well.  So I can add in more gate sections, or make it more oblong.  Kelly is planning on making these STLs available for sale.  I will let you know where you can find them when they are available.  That way you can have your own walled city too! 


More progress on the Battle of Kadesh.  I am hoping to get this project wrapped up before the mid-year point.  So far, things are looking really good!  I can't wait to take the scenario out for a full test-drive! 

Until next time!          


Become a Patron and get access to all the cool stuff, a peak behind the curtain of Blood and Spectacles, and early-access to playtest games!  


You can follow Blood and Spectacles Facebook page or Instagram for more fun! 

Check out the latest publications and contact me at our Blood and Spectacles Website

Or purchase all out games at the Blood and Spectacles Publishing Wargames Vault Page!