

Greetings faithful readers, and welcome to another Fury of the Northman battle report. Erik Greybeard and his Victrix Vikings are once again facing off against King Ercc of the Wargames Atlantic Dark Age Irish.
Mission:
The Vikings will be the attackers as they use the Loot and Pillage scenario against the Irish. They will be attacking as Dusk Approaches as the complication.
Forces:
Since this will be a Loot and Pillage, the Vikings are allowed 10% more points then their Irish foes.
Erik Greybeard's Vikings:
Nobles
- Shieldwall
- Boar's Head
Warriors
Warriors
- Shieldwall
Militia
- Shieldwall
Skirmishers

King Ercc:
Warriors
- Heedless Charge
- Throwing Spears
Warband
- Heedless Charge
-Throwing Spears
Skirmishers
- Throwing Spears
Skirmishers
-Throwing Spears
Slingers
-Skirmishers
Slingers
- Skirmisher

Set-up:
Today we are using a 72MU by 48MU board. 1 MU is equal to 1 inch.
Terrain is set-up per the rules found in the main Fury of the Northman rules and the objectives were set-up using the method outlined in the scenario.
Square 1-3 is the Viking side, while side 4-6 is the Irish side of the board.
- Square 1 = Hill
- Square 2 = Grove
- Square 3 = 2- level hill
- Square 4= Hill
- Square 5 = Hill
- Square 6 = Stone walls
 |
| Viking deployment |
You can see the objectives, spread out in the form of piles of crates/chests or cattle. They are just outside the Irish deployment zones.
 |
| Irish deployment |
I am going to break this report into three broad categories; Maneuver phase, Combat phase, and the End Phase. I will not be detailing each move and action in detail, but try to cover key moments and decisive points of the battle in each phase.
Maneuver Phase
Neither side was focused on subtlety or sneaking tricks. The Irish moved up aggressively to grab their objectives, while Greybeard's Vikings pushed ahead as fast as they could.

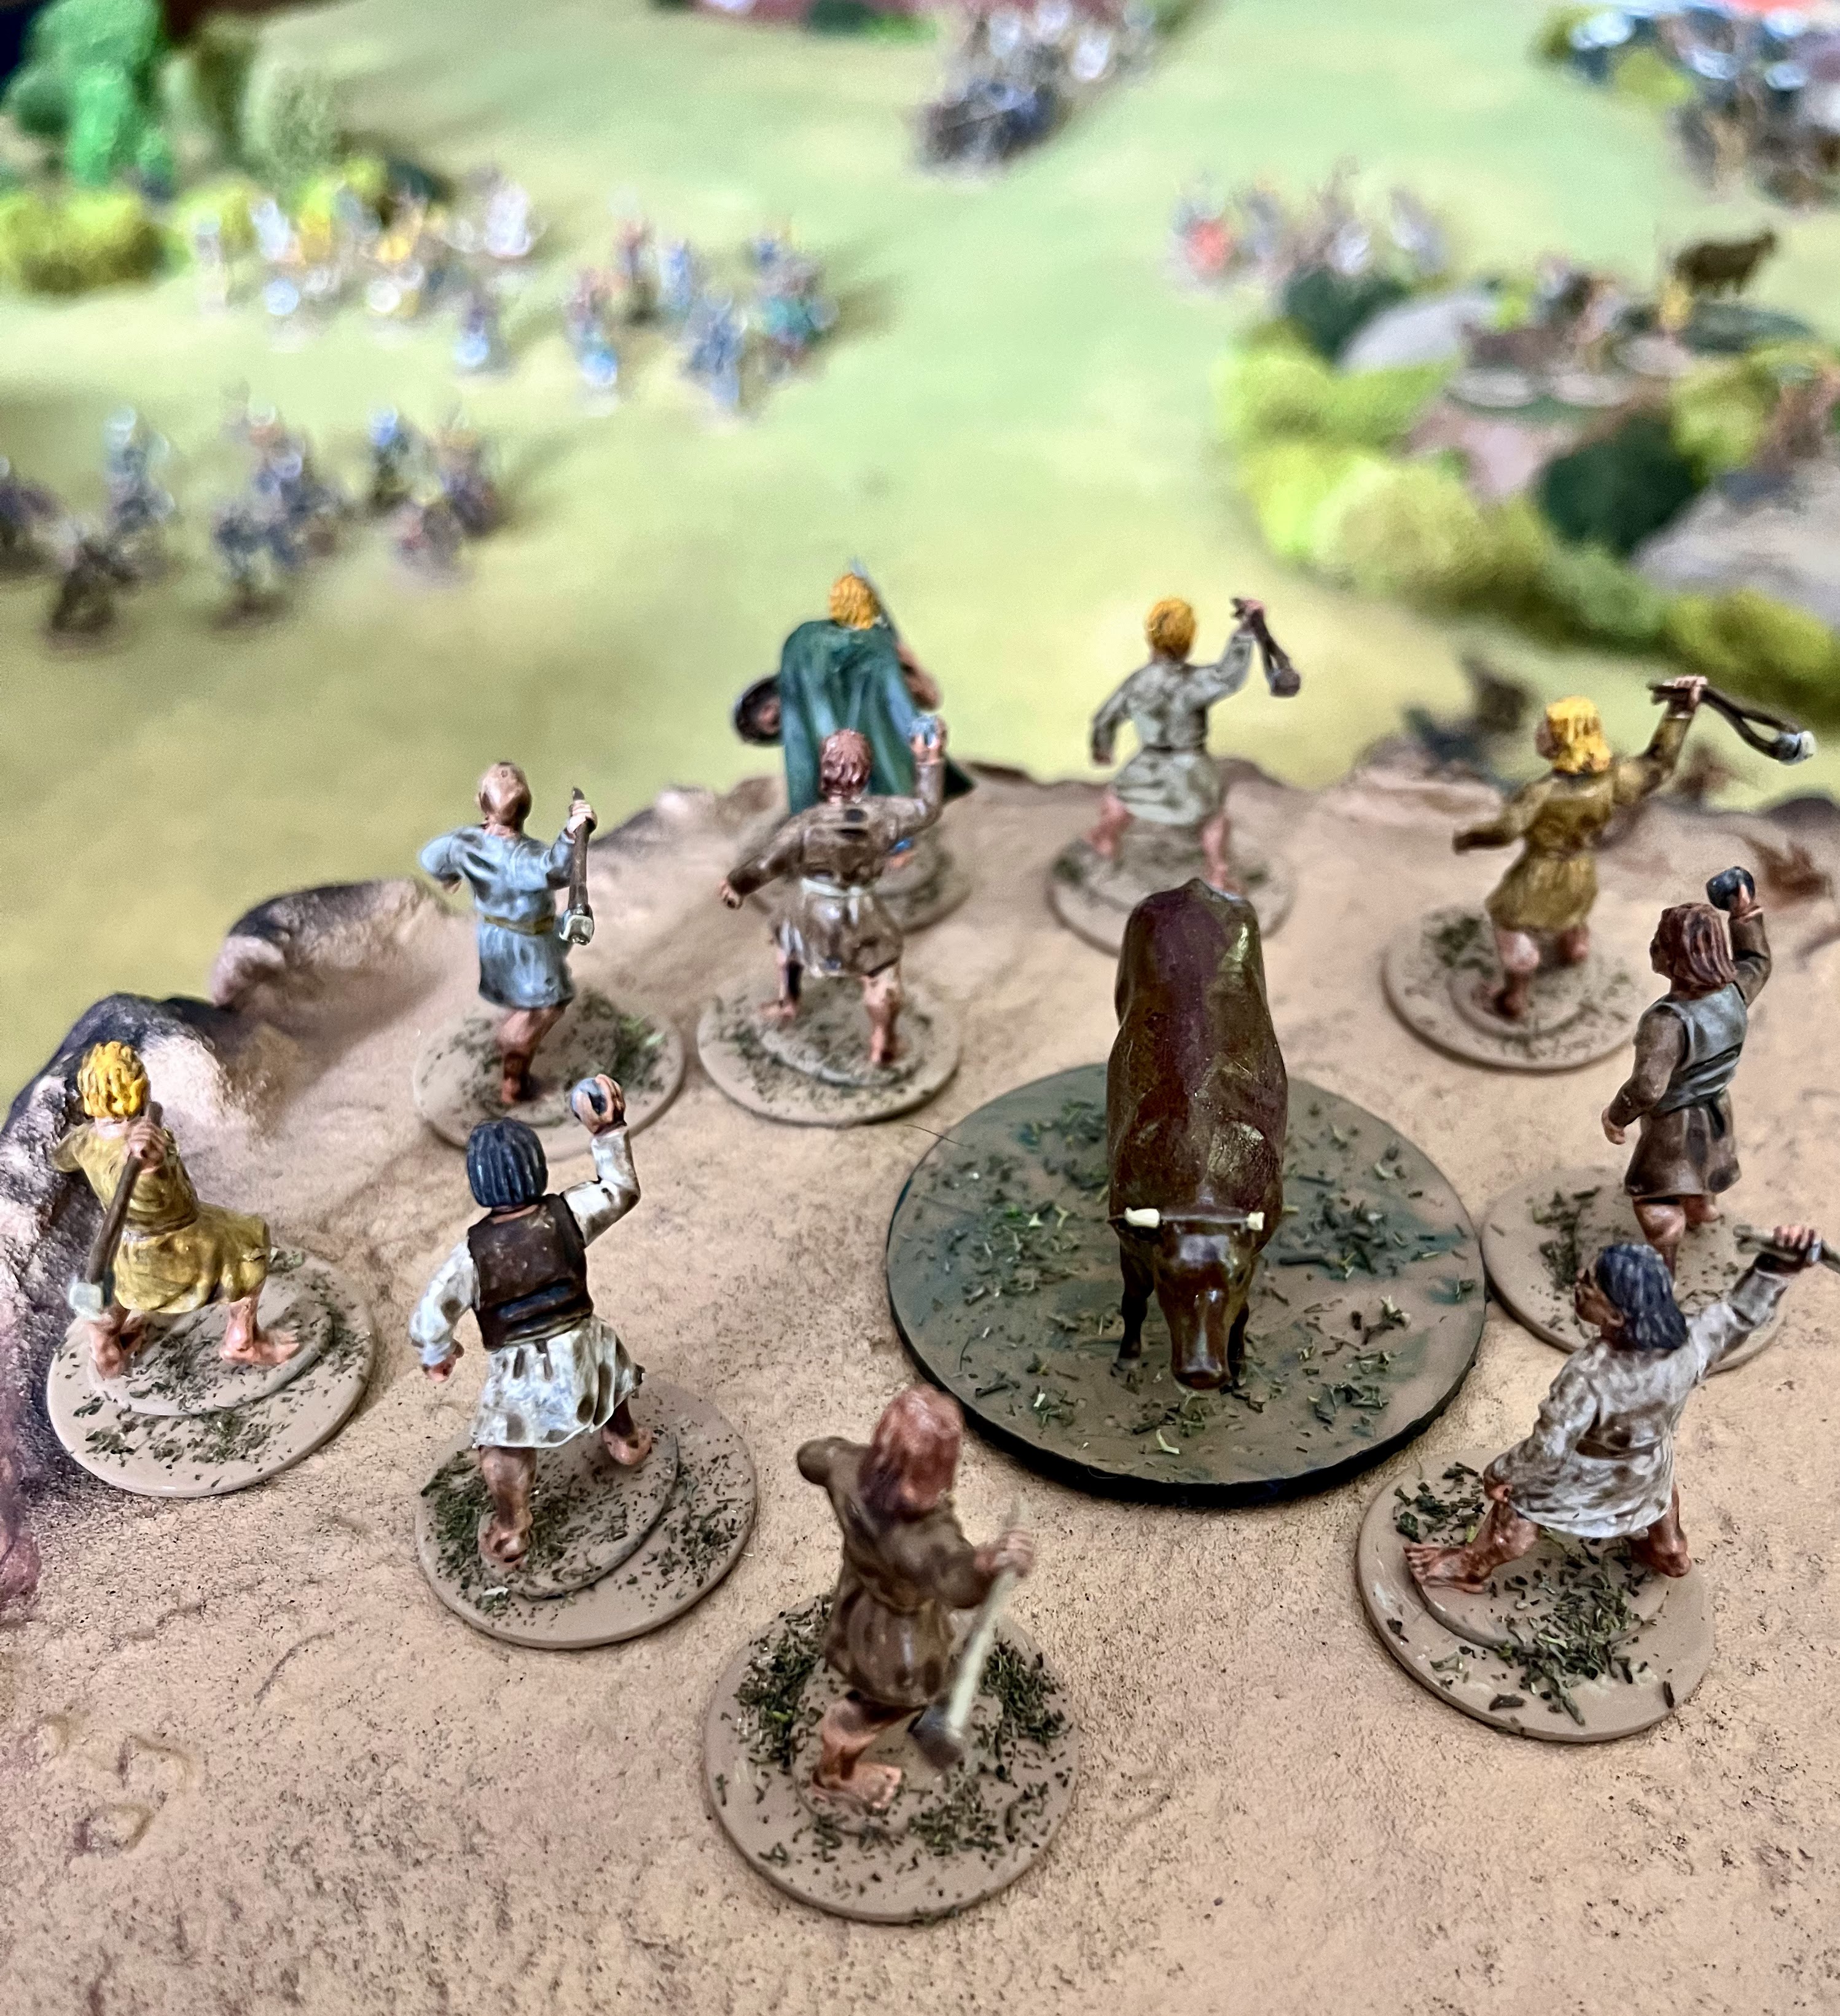
On the Viking side, Erik Greybeard led the attack with his nobles aiming for the center of the Irish lines and the cow on the hill. It seemed to be only lightly protected by Skirmishers. Once the Irish had their objectives, they took up defensive positions on hills and within their village. They seemed content to let the Vikings come to them and were in strong positions, with good fields of fire with their slingers.
Sensing a trap, the Viking Warriors with Shieldwall formed up. They saw Irish Slingers lurking about the edges of a forested hill. This slowed their advance on the Irish farming hamlet.

Their caution was sensible, as the wily Irish popped out of cover and pelted Erik and his retinue recklessly charging across open ground. First blood to the Irish as their slingers pelt the oncoming war chief with rocks and reduce them 1 courage.
As we head into the 4th turn, the field looks like this:

The Irish right has the Warriors and King Ercc ensconced in the hamlet, protecting two objectives. The Viking militia and shieldwall oppose them. The center has the Viking command leading the charge supported by their skirmishers, and their other warrior unit on the flank. The Irish Slingers have stepped out to launch their attack, but they are exposed. Behind them, the Skirmishers protect two objectives and the last Slinger unit protects an objective safely up on the top of a two-tiered hill.
Battle Phase
The Irish slingers in the center pepper Greybeard's Nobles with more sling stones. Fed up, Greybeard and his Nobles charge forward! However, the Irish fade back from them, leaving them disordered. The Shieldwall followed their leaders lead, and also ends up tired and disorganized after failing to connect. Meanwhile, the Irish try to fade away from the Viking assault.

King Ercc sees the spent Vikings ahead of him, and decides now is the time to send the invaders packing. He charges forward heedlessly with his warriors, throwing their spears as they get stuck in! The Irish king manages to push the Viking warriors back.

However, the Vikings ferocity allows them to steal the initiative again, and they continue to push forward. The Warriors on the Viking right manage to get to their objective, as the Irish skirmishers fade away from their assault. In the center, Greybeard continues to pursue the Slingers but still can not catch them! On the left, the Militia march into the Irish village in their shieldwall, daring the Irish to attack.
Dusk begins to set-in, but the fighting continues to rage.
The Irish slingers fire up-close and personal on the Viking nobles and continue to sap their courage. However, the Nobles have gotten too close and crash into the Irish slingers this time. They easily slaughter the Irish. Meanwhile, the Viking Warriors fight with King Ercc to a stalemate, but the Vikings are on the edge of collapse. The other Viking warriors get to the loot the Irish were hiding, but fail to find anything of value.
Irish skirmishers descend form the hills shouting war cries and throwing their spears. It is too much for Erik Greybeard, and they turn to flee the battle field. Those damned Irish seem to be everywhere, shooting and throwing spears at them!

End Phase
The Sun was setting quickly now and it would soon be dark.
King Ercc managed to drive off the Viking warriors he was fighting with. However, behind him the Militia managed to loot some cattle.

Viking skirmishers and warriors make a last ditch attack on the hill in the center, defended by Irish Skirmishers. However, they are pushed back and the attack repelled, keeping the Irish loot safe.

With that, the Viking straggle back into the night, their Raid complete.
Conclusion
The Vikings managed to score and maintain 1 Loot marker for the battle! They got to a second, but found nothing. Routed units, the Vikings scored 4 from the Slingers, and the Irish scored 22 from the Viking units! Wow, losing the Nobles and the Warriors was a big deal!
Final Scores:
Irish: 18
Vikings: -14!
Looks like the Irish manage to win the follow-up encounter. Their Fabian tactics worked much better in this scenario than the Cattle Raid. If we reversed the Attacker/Defender I think the Irish would be hard pressed to prevail!
Erik Greybeard tried to greet his warriors as they slunk back into camp that night. They were tired, dirty, and hungry. They grumbled muted responses to him as he hailed them. They were discontented. He had managed to feed them when they landed, but the lack of loot and more resistance than they expected left his men grumbling and ready to go home. Greybeard needed to find a quick win to fill his men's bellies, pockets with gold, and some plunder to take home. Otherwise, they might just try to settle down here with the Hibernians!
Hope you enjoyed this battle.
Bonus Content
I spent a bit of time clearing off some small 6mm pieces on my work desk. I had a couple of vehicles for my Operation: Hemlock forces for a Horizon Wars-style battle in 6mm. Plus, I can use a few of these for Aeronautica Imperialis as well. These are all 3D printed.
I couldn't precisely recall what colors I used for my initial forces, and therefore my Armored Bassies came-out a bit darker. However, I recovered in time for the Hydra and Lightnings.


Until next time!

Become a Patron and get access to all the cool stuff, a peak behind the curtain of Blood and Spectacles, and early-access to playtest games!
You can follow Blood and Spectacles Facebook page or Instagram for more fun!
Check out the latest publications and contact me at our Blood and Spectacles website
No comments:
Post a Comment