Showing posts with label Jugs: A Game of Big. Show all posts

Monday, March 23, 2020

Battle Report: Rampant Stars- Factory Assault on Mundos

Polanksi's Lancers were contracted to harass operations on the Planet of Mundos.  The primary export was timber and wood products.  Therefore, the Lancers were focued on attacked executives, storage facilities, and other infrastructure.  Their employer Lacstar Inc, was in negotiations to purchase the Timber rights from the VolSaab Corporation, and any disruption to supply would cause the stock price to drop.  This would make buying the rights much easier.  

VolSaab was wise to such actions.  Therefore, they had contracted out to two mercenary units to operate on Mundos to help protect their investment and get the best sale price of the rights.  The Rose Guard and Thor's Hammers were providing security on Mundos.  

Today, the 14th Ulhans of Polanski's Lancers have planned to strike at a early staging factory near the equatorial forest region.  Volsaab had built a number of logging and transport roads through this region so transports could bring newly cut lumber to nearby processing plants.  The Lancers decide to use this network to strike at the processing plants.

Near the lunch hour, Mecha from the Lancers were sighted by truckers moving along the road towards the Earl G. Howanzer Plant.  The plant had a contingent of Thor's Hammers on station, but additional reinforcements were requested from the Rose Guard, who dispatched elements of the 3rd Thorn Guard to assist in the defense.  

Today's battle was a rematch between myself and my family in a game of Rampant Stars.  I have found the rules for Rampant Stars work very well for streamlined Mecha combat as well as Unit-vs-Unit battles.  We pretty much used the same army lists as we last used on Mundos that were built by gut feel rather than any actual point system.

Forces
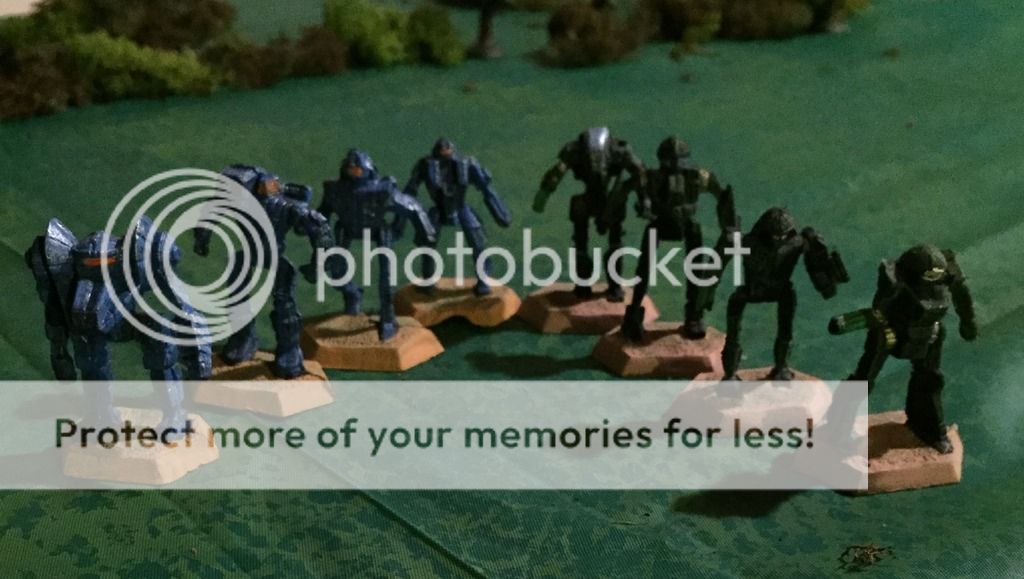
The Lancers used a variety of Irregular Light Mechs with speed upgrades backed by some Regular heavier units.  If I recall, there were 4 Irregular Lights and 4 Regular Armored units with various additional upgrades.

Thor's Hammers had 2 Regular Mechs and 2 Irregular ones with Armor upgrades.  The Hunchback also had a Heavy Weapon upgrade.  That thing had caused me headaches in the past.

The Thorn Guard had 3 Regular Mecha with armored upgrades, 2 with some sort of shooting upgrade, and 1 Irregular light mech.

Looking at them now, these probably aren't that balanced, by such is life.

Mission
The Lancers needed to target the enemy factory and reduce it to 0 hits.  it started with 10 Effectiveness points.

Set-up
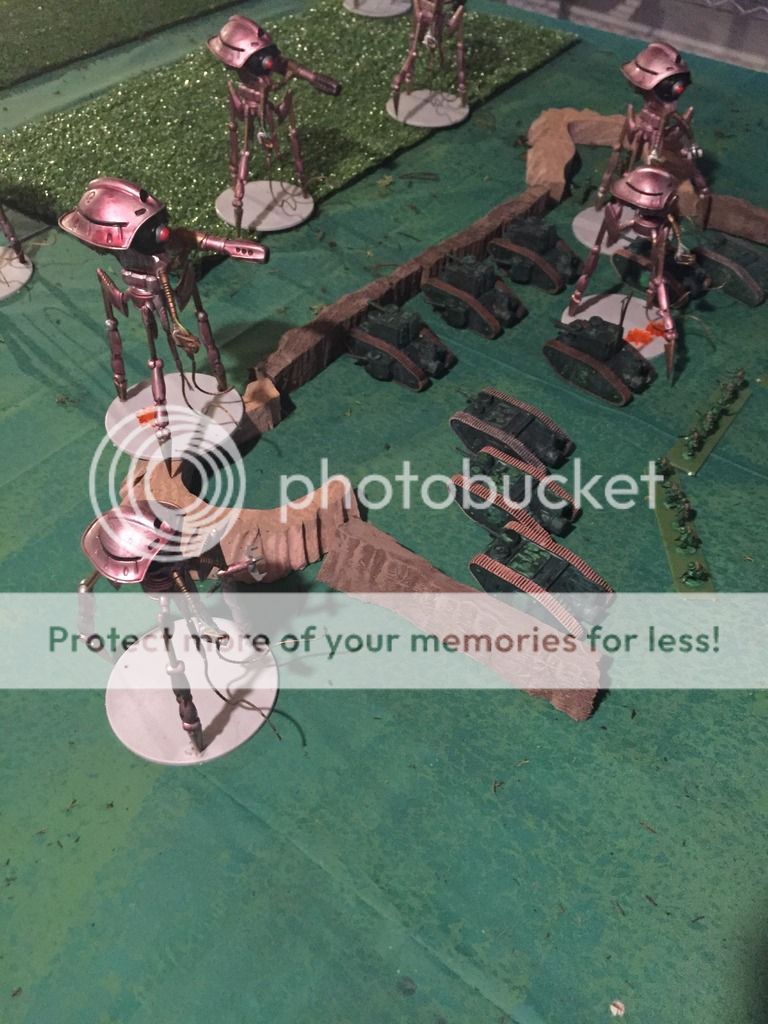
The board was a 4x4 foot board.  A dirt road cut across the board diagonally.  A forest took up the south corner.  Two large areas of fields were also present on the opposite side of the board.  The Factory was next to the road on the Northeast side of the board.

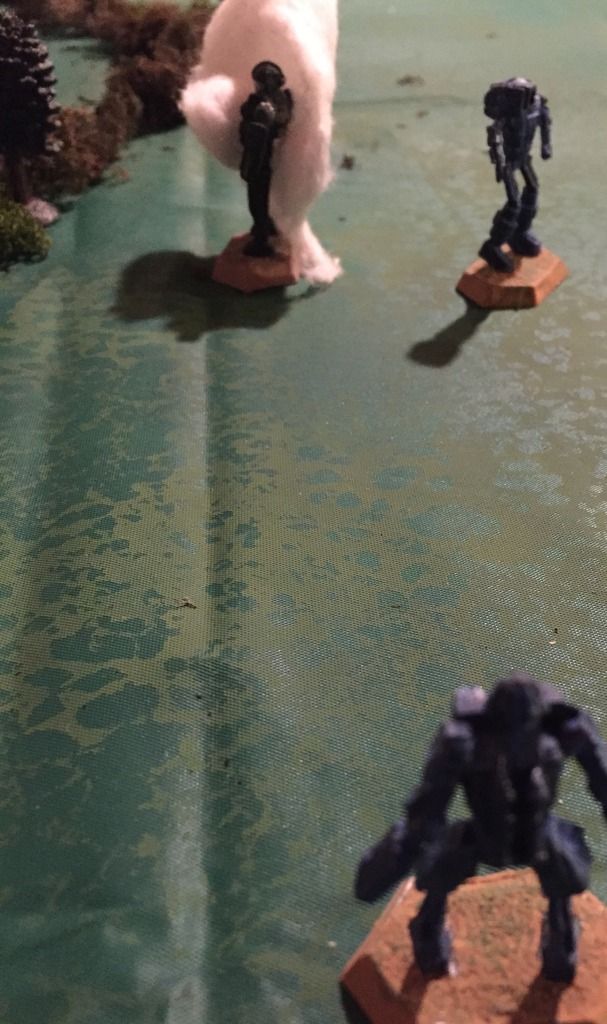
The Thor's Hammers were deployed within 6 inches of the Factory.  The Thorn Guard were coming in as a clump from the Northern board edge.  The Lancers were in two groups.  The Lights led by a Regular mech were coming down the road.  The rest were emerging from the wood line at the board edge.


Battle
As this was a battle against my family, my notes are not as clear as they normally are.  I spend a lot more time interacting with them than taking notes.  However, the following is a general idea of how the battle flowed.

The Defenders went first and started to move out to defend the facility.  The Hammers were careful to stay within command range of their officer as they moved towards the fields to intercept the larger mechs emerging from the woods.  Their Hunchback was leading the way.  The Thorn Guard also moved up to support.  They were intent on getting between the factory and the attackers.


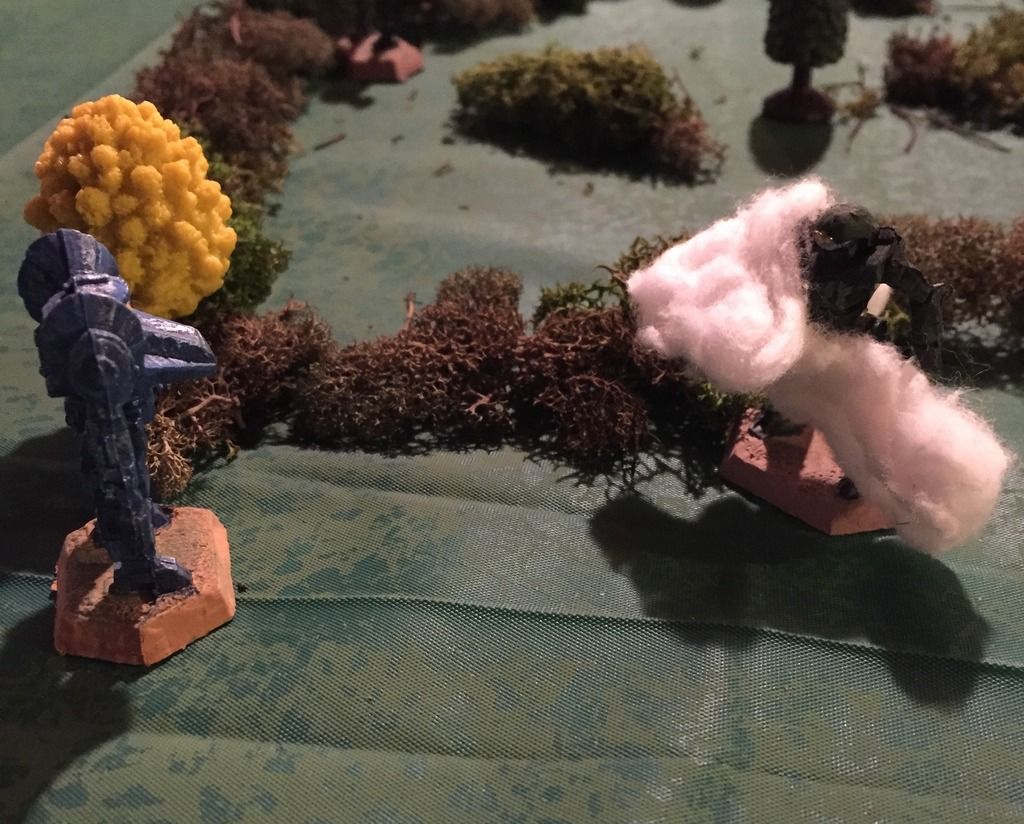
Some poor command rolls by the Lancers on the roadway led to a slower than expected advance.  Their emerging support forces had a similar comms issue due to the dense jungle canopy.  The Lancer leader led the way and took a series of long range shots at the Hunchback, that did nothing more than tell the Hunchback pilot the range of his opponent.


A devastating return barrage from the Hunchback simply shredded the Lancer leader for his impudence and reduced him to 1 hit.  He promptly fell back to avoid utter destruction.  Soon, the h\Hammers were taking up defensive positions in the fields, while the Regular Lancers warily moved in taking potshots as they approached.  Thankfully, effective ECM warfare from the Lancers kept the Hammers on their toes, unable to get a clear understanding of the situation.


Meanwhile, the Thorn Guard took the approaching Lancer Hit and Run force head-on.  It quickly turned into a close range particle beam fight as the little guys closed in rapidly with fire support from their larger brother.  The Thorn Guard officer spent most of the battle on the Comm-Link to command relaying data while his troopers did the hard work.

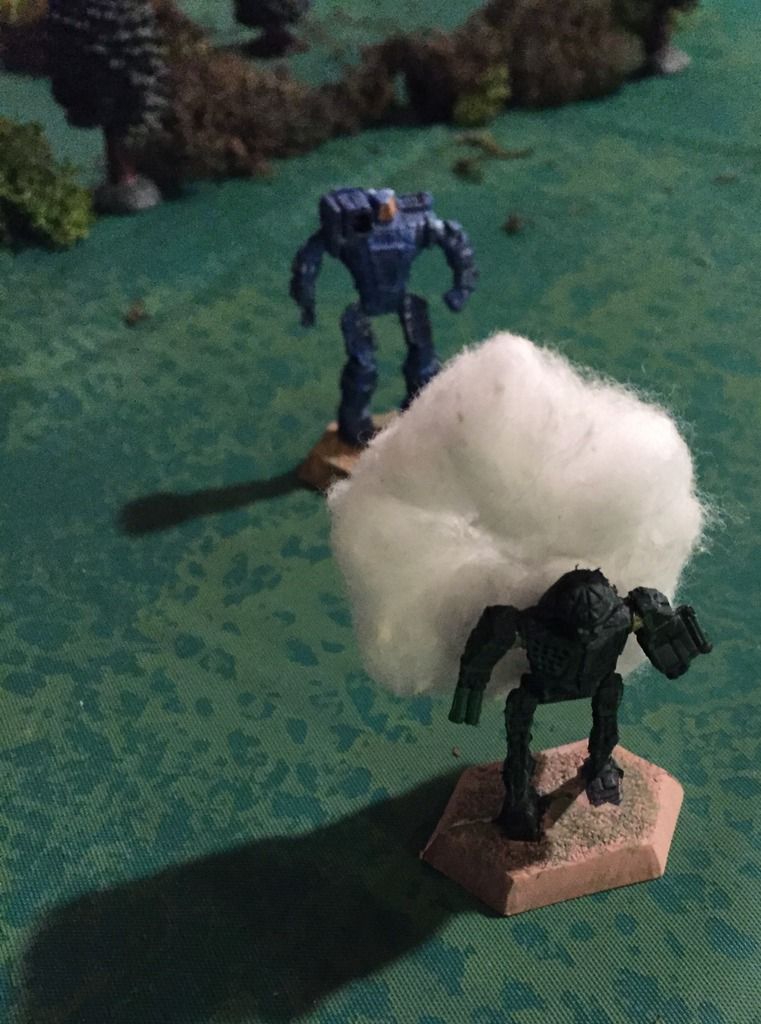
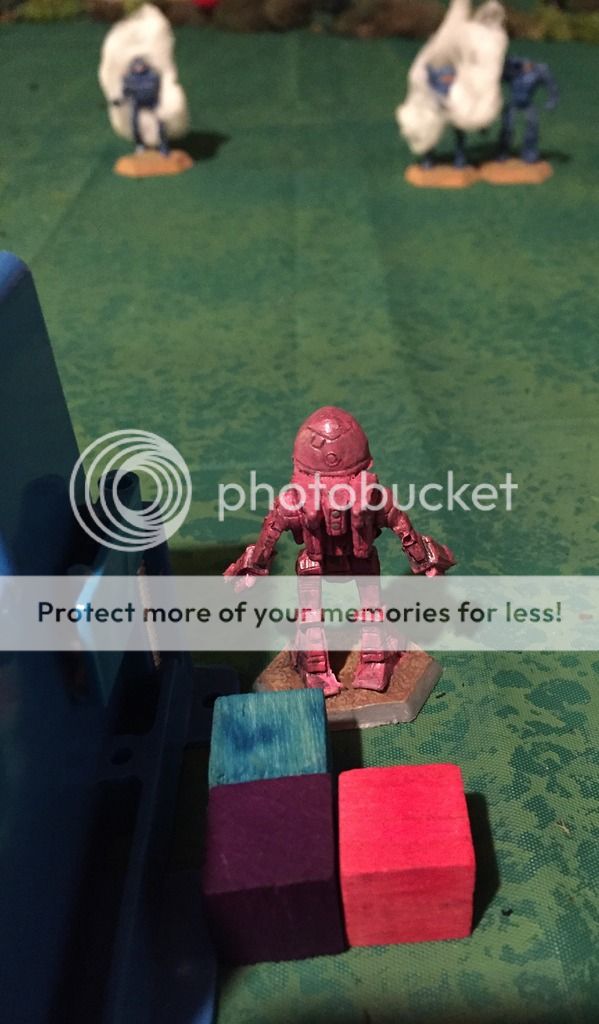
A heavily damaged Hermes II charge the Panther Regular mech to try and clear a path to the factory.  However, the larger mech quickly disposed of the little guy by kneecapping him with a swift kick, and then a stomp to the face.  That was a decisive moment, as despite taking several missiles, rockets, cannons, and beams the Thorn Guard was dishing it back out.  As another Light Mech went down and a third was shredded down to 1 Effectiveness Point, it was clear that the Thorn Guard line was going to hold.

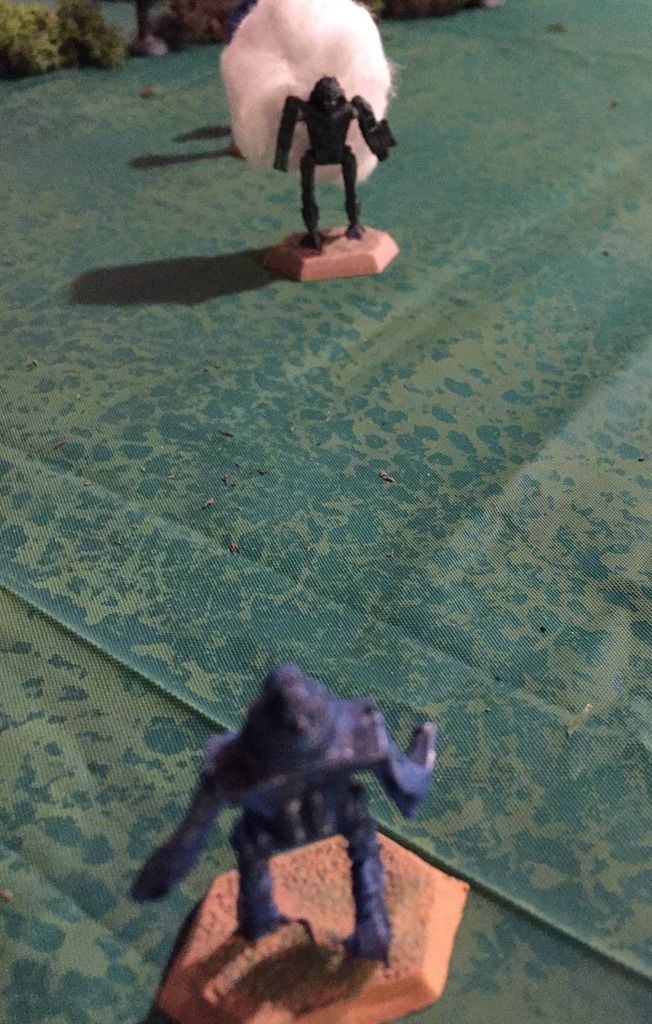
On the other Flank, the Hunchback absorbed a lot of damage, but ECM kept the Thor's Hammers from striking back decisively.  Then, the ECCM managed to clear the static long enough for the Dragon and Whitworth to focus fire and severely damage an approaching Lancer Quickdraw.  They had decisively turned the battle on the flank as well, and the link up of the Regular Lancers and their lighter vanguard no longer looked possible.

A devastating salvo of firepower also took out the final mecha in the Lancer road assault.  It was clear the battle was lost and the Lancers fell back into the jungle to lick their wounds.


Conclusion:
The Thorn Guard lost 1 Light Mecha, and had 1 Regular Mech heavily damaged and crippled.  Thor's Hammers had 1 Mech crippled and another lightly damaged.    However, the factory was unharmed as the steel wall was not breached.

The Lancers lost 2 Light Mecha, 1 Regular Mecha, and had a Light and Regular severely damaged and crippled.  They completely failed in their objective.  The LacStar contract had been big....  but maybe not THAT big.  So far, the Lancers have lost every engagement on Mundos that they have fought in.  Maybe it was time to withdraw with some of their reputation intact.....


My initial attack ended up going in a bit piecemeal due to some command difficulties.  I did not do as good of job as the Thorn Guard and Thor's Hammers keeping my Leader in range to get the activation benefits.  However, soon, they were also having command problems and I started to shift my Regular Mechs over to link with the lighter vanguard.  However, I spent a bit too long obsessing about the very dangerous Hunchback and not enough time on the objective.  Ultimately, this lack of focus caused me to loose the battle.   


Overall, Rampant Stars has again proven to be a fun, quick little game that was fought in about an hours time between 8-10 units per side.  We didn't really use any of the scenario, complications, or location rules for this one.  Instead, we quickly set-up a board, got our models out, and made an objective on the spot.  I am pretty sure that point-for-point the Lancers were out numbered, but it was a fun family game over the afternoon.  In that sense....

Mission Accomplished!          


You can follow Blood and Spectacles Facebook page for more fun: https://m.facebook.com/pg/BloodandSpectacles/posts/?ref=bookmarks&mt_nav=0

Or our website:

Or our Messageboard:

Or our Wargames Vault Page:


Thursday, August 17, 2017

Random: JUGS: A Game of BIg, Stompy Robots- Old Photos

With the death of Photobucket, I have been going through old photos.  I found a few old images from games of JUGS: A Game of Big Stompy Robots.  I think these were when I was doing some initial playtesting of the rules.  However, that was a long time ago, and I may have been trying out the rules for Classic Battletech from the 50th Anniversary boxset.  I honestly do not remember.

It was playing Classic Battletech that initially made me want to look at creating my own mecha game int eh first place.  I wanted to avoid some of the low-tech aspects of Battletech.  Plus, I was not a fan of modifier stacking and wanted a success based model.  Finally, I wanted an excuse to buy a Reaper Dictator model..... which I never did! Life is funny that way.

Since I have no idea what I was doing with this pictures it is not a battle report, but more of a picture dump.  I think these are circa 2010 or 2011?  Anyway....


I think that was the end of that battle.  It was a 1-on-1 between a Whitworth and an Enforcer.  The Whitworth won the battle and forced the Enforcer to withdraw.

Below I added a Hunchback and an Assassin.


I have no idea what the outcome was with this one.  However, it looks like the Assassin and the Hunchback got pasted.  However, no one was kocked over, so no one was taken out of action.  

Like I said, I have no idea if this was Classic Battletech or Jugs: A Game of Big Stompy Robots.  Either way, I hope you enjoyed this "lost" pictures from my archived Photobucket.  
    

Friday, December 30, 2016

Jugs: A Game of Big, Stompy Robots- Battle Report- Patrol on Mundos

I managed to get a game in of JUGS- The Game of Big, Stompy Robots.

Polanski’s Lancers were contracted by Lacstar Industries to harass the assets of the VolSaab Corporation on the colony world of Mundos.  The 14th Uhlans were assigned the task by their CEO and covertly deployed to Mundos for the operation.  

Of course, VolSaab’s facilities and territory on the forest world were not undefended.  They had contracted site protection out to the mercenary company known as Thor’s Hammers.  A Line Unit known as the Strong Hammers were currently on rotation at Mundos.  

The Uhlans are primarily a light Line and Skirmisher force.  Under the cover of darkness and strong ECM, the Uhlans began to infiltrate into VolSaab territory in an attempt to draw the defenders away from the main Corporate compound.  The Strong Hammers did not take the bait, and instead only sent a patrol of Line and Light Line Jugs to investigate their perimeter as the strong use of ECM tipped off their Officers to potential enemy activity.  

Forces
We didn‘t bother pricing out the units using the build system.  Instead, I tried to make a somewhat balanced force with the Strong Hammers being the heavier units.  We looked over the lists, made any tweaks, and I took the lighter units.

The models are from Catalyst's Battletech 50th Anniversary box.


14th Uhlans (Green Jugs)
3- Light Line (From front to back Enforcer, Trebuchet, Quickdraw)
1-Skirmisher (Assassin)  

Strong Hammers (Blue Jugs)
1-Heavy Line (Front, Dragon)
1-Line (Second from front, Hunchback)
2-Light Line (Whitworth, Dervish)

Mission
This is the standard Patrol mission from the rulebook.  Therefore, the Strong Hammers are in the center within 6 inches of each other.  The Uhlans are deployed anywhere on the board, in cover and at least 12 inches away.  Uhlans will be the active unit.

Turn 1
The Uhlans elect to move first.  I am careful to recall that an opposing unit may not react if the opponent remains out-of-LOS.  They can not react until they are shot at.

My Quickdraw stays in cover and uses an ECCM Burst to make sure he is Fully Obscured.  He passes the test.  He is ready to react once the shooting starts.  

The Assassin attempts to lock onto the trailing Whitworth.  He fails his pilot check.  However, the Skirmisher decides to open fire on the enemy Jug anyway.  Since his weapons ignore cover, he can fire through the trees with no firepower reduction.  He just blasts through it with weight of fire.  The Whitworth attempt to react, but the Assassin wins the roll and opens fire.  The shots ping harmlessly off the Jugs armor and shields.

The Trebuchet steps confidently out of the treeline and locks-on to the Hunchback.  He opens fire with his missiles and cannons.  The Hunchback fails to React as the trebuchet’s missiles and cannon blast into his side armor.  The Cannon shells fail to find a weak point, but the missile strikes home and causes warning lights to flash in the cockpit.  5 hits left on the Hunchback.

The Enforcer moves to keep the squad out of LOS so he can target the lead Dragon one-on-one.  He manages to Lock-on, and then opens fire.  However, before he can, the Dragon reacts!  The Strong Hammer turns to face his lighter opponent head-on.  The close range barrage is too much and easily overwhelms the lighter JUGS armor.  Point Defense failed to stop any rockets, and the Beam cut through the Enforcers armor reducing him to 2DP and crippling him in a single deadly salvo!  The crippled JUGs return fire is pitiful and pings harmlessly off the heavy Dragon’s armor.


The Hunchback turned and clomped towards the Trebuchet that had injured it.  He closed the distance quickly and powered up his cannon.  The trebuchet still had movement left and reacted to his opponents move.  He quickly backpedaled into the treeline for some cover, but couldn’t get far enough away to avoid getting shot at.  He was starting to wish he had Braced instead of Locked-on.  The Hunchback plants its feet firmly and Braces.  Then, he fires.  The treeline reduces the firepower by two, but it is still enough to potentially hit the Trebuchet twice.  However, the armor saves one fothe cannon shells reducing the Trebuchet to 5 hits.

The Strong Hammer’s Dervish moves to back-up the larger Hunchback, but opts not to fire his missiles for reduced firepower.  Instead, he goes on Brace as well.

The Whitworth moves forward and gets a bead on the heavily damaged Enforcer with its Beam.  The weapon cuts through the Jugs armor like butter and reduces it down to 1 DP.

Turn 2
The Strong Hammers win the activation roll. This could be bad for the Enforcer.

The Dragon opts to fire on the Crippled Jug.  He tries to Lock-on and fails.  AS he moves to fire, the Enforcers pilot manages to react.  He turns and runs into the nearby treeline, then tries to do an ECCM burst to protect himself, but fails.  The Dragon slowly turns and smashes through the trees after his prey.  The Dragon’s rockets saturate the area, but the Enforcers Point Defense swats it aside, however, the Heavy Jugs Beam manages to catch the Enforcer and cut him down along with several trees.  The Enforcer is Disabled.

The Hunchback holds his ground and successfully Braces again.  He goes to fire on the Trebuchet with his forward cannon.  However, the Trebuchet reacts first.  He bursts through the treeline and begins to approach the enemy Jugs.  However, the Dervish reacts successfully.

The Dervish manages to Lock-on and opens fire.  Even with the re-rolls for Lock-on nothing finds the moving Trebuchet.  The Dervish then turns and moves away at a 90 degree angle.  With nothing left to do, play reverts back to the Trebuchet to finish his Reaction.  He moves ahead past the Hunchback, and fires on the Whitworth.  The Whitworth fails to react.  The cannon shells bounce harmlessly off its armor, but two missiles detonate in the Jugs back, reducing it to 4 Hits.  Now in the open, the Trebuchet tries to Brace, but fails.

Play now reverts back to the Hunchback.  The pilot Braced, so can not move unless he drops Bracing.  He has no targets unless he moves, but can not try to use a Pilot skill again this turn.  He decides to turn and move towards the Assassin Skirmisher.  He fires his cannon and the Assassin fails to react.  The shell strikes home and reduces the Assassin to only 3 Hits.

The Whitworth turns back towards the Trebuchet and returns fire.  The trebuchet has used all his movement, firepower, and pilot skills so can not attempt to react.  The Whitworth’s Beam reduces the Trebuchet to 4 hits.

The Assassin turns and moves quickly across the treeline, covering his movements with an ECCM Burst making him tougher to target.  However, his weapon load-out does not allow for a left facing shot.

The Quickdraw burst from his cover and moves out to support the Trebuchet.  The Whitworth attempts to react but fails, all though he only has movement left.  He opens fire with his Cannon on the Whitworth, but misses.  Then, his rockets and Beam attack the rear of the Dervish.  The rockets are taken out by Point Defense, while the beam cuts the Dervish down to 5 hits.  The Quickdraw finishes by Bracing.

Turn 3
The Strong Hammer win activation.

The Hunchback is in a position behind the Uhlan lines, so no one can react to his movement.  He truddles around and faces the back of the Trebuchet.  Instead of Bracing, he decides to Lock-on and opens fire.  The Trebuchets weapons lock warnings ring out and the pilot attempts to react, but it is too late.  The Heavy shells blast into the Trebuchets back, and cripple the Jug (2 Hits left).


Things look bad for the Uhlans.

The Dragon is satisfied that the Enforcer is out of the fight, and moves to get behind the Quickdraw.  He can only bring his Beam to bear, but opts not to shoot due to the firepower reduction caused by the treeline.  He wants to conserve his ammo. He holds his Pilot skill and Firepower to potentially react.

The Dervish begins to turn and the Quickdraw tries to react, which he successfully does.  He opens fire with his full weapon compliment on the Dervish.  The rockets miss and the cannons fail to find a weak spot.  However, the beam cuts through the Dervish and reduces it to 4 Hits.  He then tries to turn and move but the Whitworth tries to react, but fails.  The Dragon also tries to React as the Quickdraw moves away, but fails.  The Quickdraw moves behind the Hunchback, and Braces.

Play returns to the Dervish.  He moves to try and get a clean shot at the Quickdraw, but can only get and Obscured shot which would reduce his firepower to very small chance at success.  He decides to hold onto his firepower, and also Braces.

The Whitworth moves towards the Trebuchet, who tries to React, which he does successfully.  This time the Jug Pilot Braces.  He then tries to fire his reduced Firepower at his approaching adversary.  The Whitworth’s Point Defenses take down the approaching missiles.  The Whitworth returns fire and the Trebuchet easily absorbs it.

The Assassin moves and tries to take a sniper shot at the Dervish from the treeline.  The Dervish tries to react, but fails.  The Gatling and Rockets fail to make a dent in the Dervish.

Turn 4
Uhlans win activation.

The Trebuchet passes a Pilot Check to make a run order.  When he tries to move the Whitworth reacts successfully.  The Whitworth decides to finish the job, locks-on and disables the Trebuchet with a  burst of rocket and cannon fire.


With that, the Uhlan’s have decided that discretion is the better part of valor.  The Assassin activates and falls back off the board.

The Quickdraw makes a Pilot Check to run and passes.  However, when he tries to move the Dervish attempts to activate, which he does successfully.  A barrage of missiles home in on the fleeing JUG and cripples the Quickdraw.


The Dervish fails to perform an ECCM burst to cover himself.  The Quickdraw completes his turn and can just barely get to the board edge and away.

Conclusion

Strong Hammers hand the Uhlan’s a decisive defeat.  So much for disrupting the VolSaab Corporations interests on Mundos.  Two disabled and 1 crippled Jug out of 4 is not a good ratio, and in exchange they only lightly damaged the Strong Hammers.  I guess they lived up to their names.

Here is what I learned about the game system itself.

1.Winning Activation is not inherently good.

2.Choose when to use your Pilot Skills carefully, and pick the one you will need.  This turned out to be a big part of the game.

3.Getting to the sides and behind opponents limited their return firepower and forced them to make decisions about movement that impacted their abilities to use certain Pilot Skills.

4.Making opponents move allowed you to react to them and potentially get the drop on them.

5.The Action/Reaction system was pretty fun, and reacting to reactions wasn’t as hard as I had feared.

6.Having a reference card to keep track of what each Jugs had available for firepower, Hits, and what Pilot Skill they had on was really useful.  Bummer.

7.Terrain and Ranges reduction of Firepower still made taking cover and gaming ranges important.  I wasn’t sure how this would play out in the field.  Also, reacting and moving out of fire arcs was a good tactic.

8.Missiles are really good, but can be nullified by PD.  Beams rule as they can only be saved while bracing.

9.Concentration of firepower is critical, do not spread it out!

10.The game maneuvered and played like I imagined big, stompy robots would

Overall, I would call this a success!    

Thursday, December 22, 2016

2016- A Year of Wargaming in Review

Wow, another year comes to an end.  Where does the time fly?  I’m not even sure I was having fun this time.  At the end of each year I like to recap my wargaming exploits, and begin to lay the groundwork for the following year.  

At the start of 2016, these were my goals:  
Red = Not started
Green = Completed!
Blue = Started but not finished

Painting and Modelling
1.       Assemble my Robotech RPG Tactics models- Still in the box!  I was put off by all the work involved and bad reviews of the assembly process.  Maybe this year? 
2.       Paint All Quiet on the Martian Front forces- I painted what I had!  I added more, so I still have some mobile artillery and a MKIV tank.
3.       Paint 2 Gladiator Chariots for The Games: Blood and Spectacle- Painted!
4.       Complete Painting my Necromunda Campaign- Still W.I.P.
5.       Paint Inquisitor 28mm Warband- The what now?  Still unpainted and collecting dust.

Rules Writing
1.       Complete the rules for Combat! Starring Vic Morrow!- Complete!
2.       Complete the core rules for 1 other Wargame system that was TBD-  I actually finished two and got a good start on 2 more!  See the links in the upper right hand corner. 

Purchases
1.       Buy all Osprey Wargame Series- Completed!  I am still waiting on Rogue Stars and Chosen Men.  You can see the reviews posted in December.
2.       Operation: Icestorm for Infinity- I haven’t really looked for it.  The game’s bloat put me off.
3.       Buy some WWII Models for Combat! – Ha, ha, ha, ha……

Playing
1.       Play a game of JUGS- Complete! I actually played 2!
2.       Necromunda- Nope...
3.       Aquanautica Imperialis- Sadly, no….
4.       AllQuiet on the Martian Front- Yes, I played a handful of games for the Minnesota River Valley campaign.
5.       Combat!- No, but….. reasons!
6.       Continue my RPG Campaign- yes, but it sadly fizzled when a key player got deployed.  It’s dead Jim!
7.       Play 1 new TBD game system I mostly played my own stuff this year, BUT I did play a game of Super Systems 4th Edition!

I had 17 objectives and I completed 9 of my Objectives.  That is better than I expected!  I also managed to complete a few things not on my list too.  I painted some new gladiators and played a couple games of The Games: Blood and Spectacle and Castles in the Sky. Finally, I started a silly blog at the tail end of the year too.     

It is funny how the winds of fate twist and turn you through the year like an autumn leaf on a cool October breeze.  I started off strong up until about March.  Then, real life got in the way of hobby time until about December.  Most of my year was spent reading and reviewing rules and writing my own while wishing I could play.  Sadly, there was not a lot of playing time.    

So, onward into next year!  I will have to start assembling my objectives for 2017.     

Some pictures from the wargames of 2016: