Showing posts with label Rampant Stars. Show all posts

Monday, February 13, 2023

Restless Stars: Operation Hemlock- Pushing back the Greenskin


As part of the ongoing Operation: Hemlock we will be having a big battle between the the Orkz and the North Ammoriss PDF on Baron's rest.  

The Ork gangs had come pouring out of the Green Zone and onto Baron's rest for much of the year.  However, their advance had been halted at the gates of Camp Hope(Less) by the combined Refugee Militia and North Ammoriss PDF.  It had been a hard fought slog, but soon the tables were turning.  The PDF halted the Ork onslaught, slowed the rate of Ork reinforcements using combined arms strategy of Land, Sea, and Air.  Then, they hit the Orks hard!  

Thankfully, the Ork resistance had been mostly scattered, with the Orks infighting with each other almost as much as with the Human defenders.  This allowed the Imperial forces to strike hard at the Ork camp with heavy bombers, off-shore bombardment, and even a Space Marine raid to blind them of the approaching PDF columns.  

Colonel Brusilov looked over the holo-map in the back of his command Chimera.  The ground forces were in place.  A wall of armored steel had been slowly pushing down to Look-Out Pointe, the last bastion of Ork resistance on Baron's Rest.  His line had been encountering scattered Ork mobz out in the deserts, and snapping them up.  Only scattered and disorganized rabble had opposed him.      

He was sure the Orks must have been alerted to his troops' presence.  Despite the mountain top of Look-Out Pointe being several hundred feet lower now, it still commanded the land and Sea approaches.  The dust cloud his armored columns were kicking up alone would be visible for miles.  Brusilov was confident that it didn't matter.  This time, he had the firepower, the armor, and the numbers to push the remaining Orks back into the sea.  The battle for Baron's rest was about to end, and the Battle for the Greenzone was about to begin.  

Forces: 

Taskforce: Chalice

PDF Command  

  • Regular Mounted
  • Traits: Blast, Leader

PDF Troopers

  • Regular Infantry
  • Traits: None   
Refugee Militia

  •  Irregular Infantry
  • Traits: None

PDF Mobile Troopers

  • Regular Mounted
  • Traits: Big Unit

Ragnarok Tank

  • Regular Infantry
  • Traits: Big Brute, Heavy Weapons, Slow

Ragnarok Tank

  • Regular Infantry
  • Traits: Big Brute, Heavy Weapons, Slow
Waaaagh! Skarbash

Ork Nob Trukkerz
  • Regular Mounted
  • Traits: Big Unit, Leader
Ork Basherz
  • Irregular Infantry
  • Traits: Fierce, Combat Weapons
Ork Stomperz
  • Irregular Infantry
  • Traits: None
Ork Big Bangerz
  • Irregular Infantry
  • Traits: Armor Piercing, Rapid Fire
Ork Kartz
  • Irregular Mounted
  • Traits: None
Ork Dread
  • Irregular Infantry
  • Traits: Power Armor, Squad Support Weapons
Ork Bikerz
  • Irregular Mounted
  • Traits: Rapid Movement, Squad Support Weapons
Mission
This will be a simple "Secure the Area" scenario.  Instead of rolling 3d6 on the random scenario generator, we decided to just make this a general smack down.  Winner take all! 

However, we did roll up the "Dawn" complication.  Therefore, as the game moves along, Line-of-Sight will increase.  

The Location is pre-set in these battles to be the Outdoor: Desert World. 

Set-up  
We will be using a full 6 foot by 4 foot table.  

In addition, we are using the normal terrain placement rules.  In this case, the Orks are the defenders so they get to set-up the terrain per the guidelines found in the rules.  Due to the size of the board, we will be using 6 pieces of terrain.  

We divided the board into 6 rough 24 inch by 24 inch areas, and placed the terrain around the board like this: 

1- Large hill
2- Dune
3- Rocky area
4- Dune
5- Ruined Walls
6- Rocky Area

The Imperials choose section 1-3, with the Orks in section 4-6.  


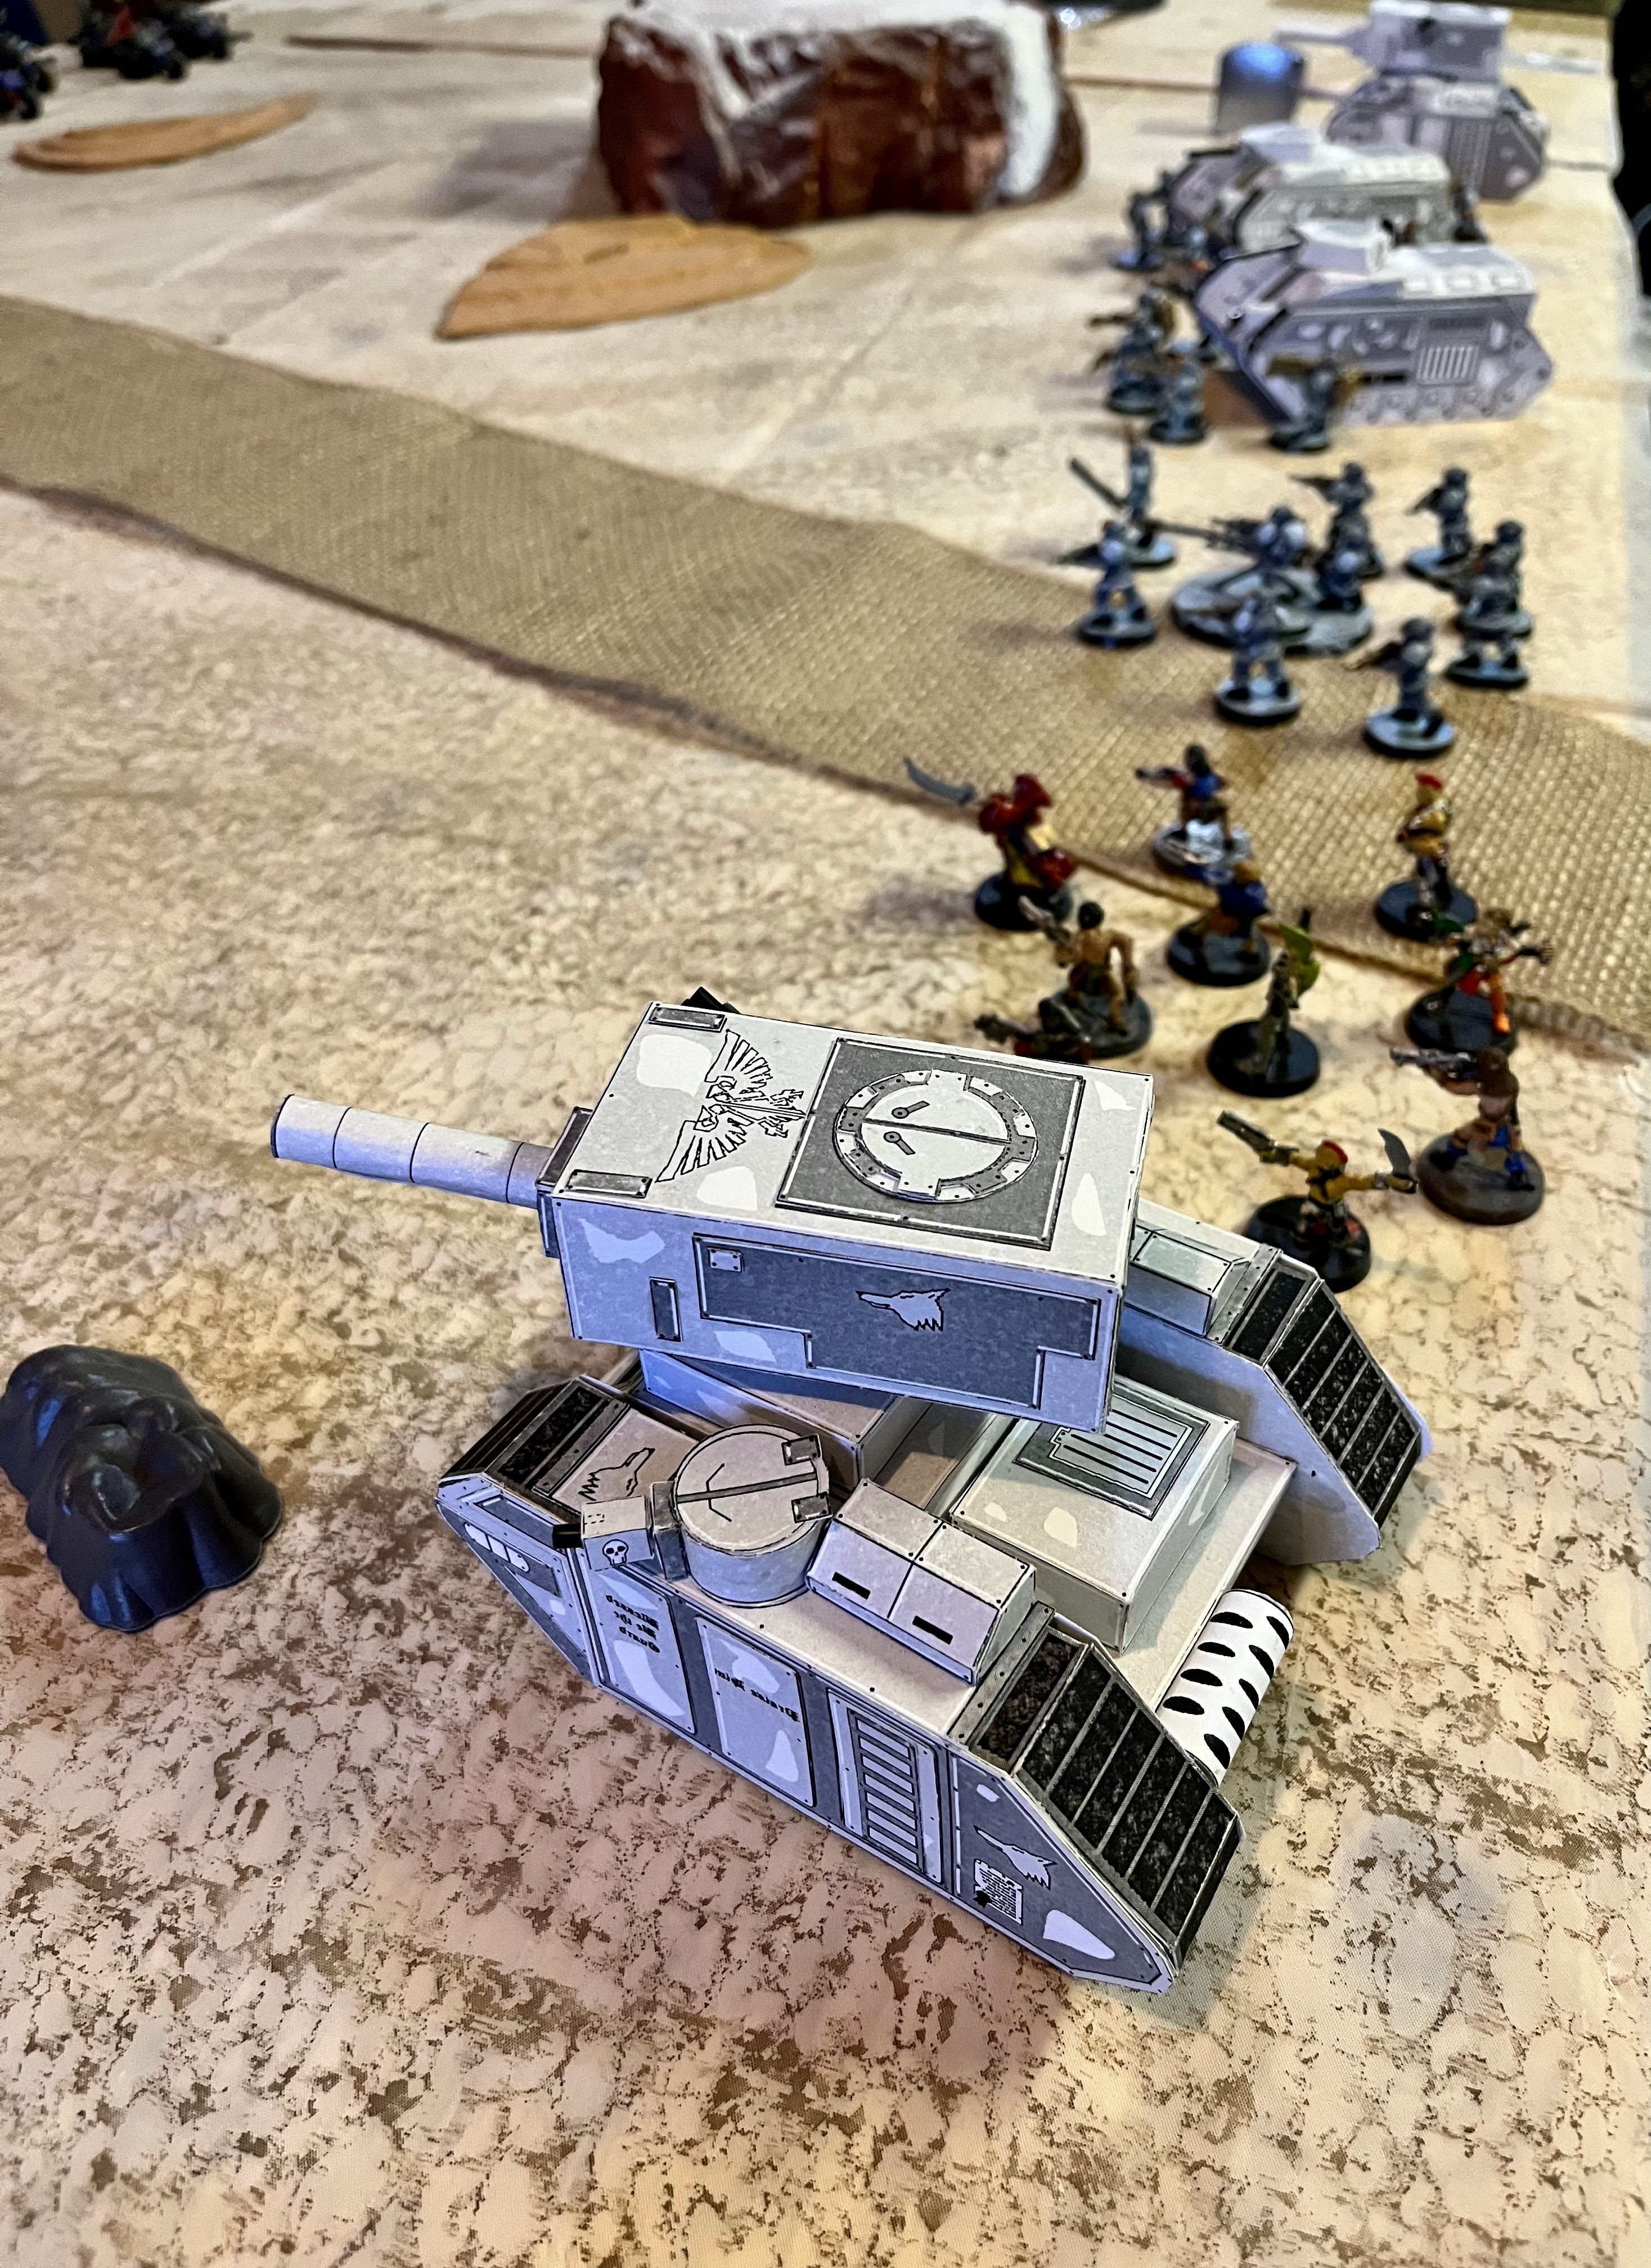
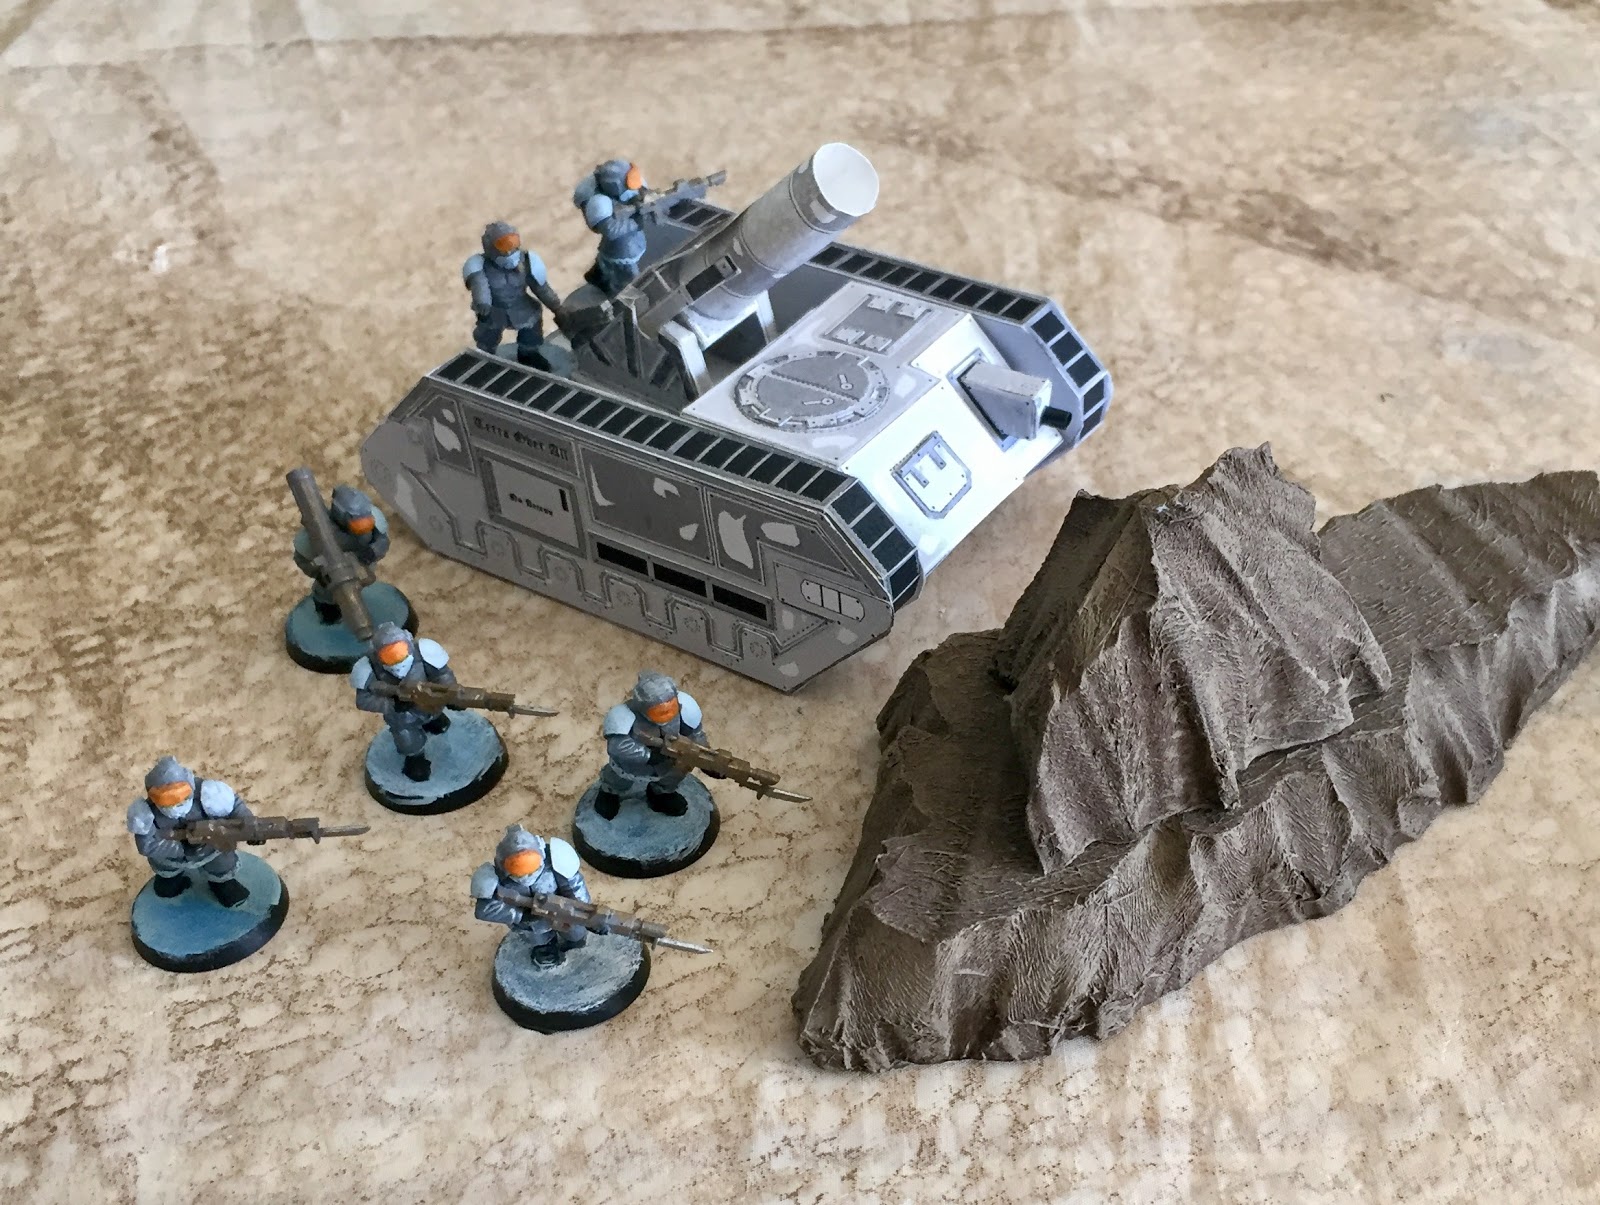
The Imperials anchored each flank with a Ragnarok.  From left to right we have the Ragnarok, Mobile Troopers, Troopers, Commander, Militia, Ragnarok.  The Orks from left to right on their side are Bikerz, Kartz, Trukkerz (Nob), Dread, Basherz, Big Bangerz, and Stomperz. 
 

Turn 1: 
The Orks start activating units.  However, it is still night time, so LOS is only 6 MU.  The Ork Kartz manage to dash forward at full speed and get and early jump to the middle of the board.  The Ork Warboss follows on their flank, but lets them lead the charge.  Ork Foot troopers also surge forward on the right flank.  

Imperial troops also move forward in the center, with the Imperial command squad and Armored Unit taking cover behind the dunes by the hill.  The two Ragnaroks also rumble forward on each flanks, very slowly.  

All other units are rattled or confused with their orders and stay put, shaken. 


Turn 2:
The sun continues to rise, and LOS is now 12.  

Ork kartz move forward and fire at the Armored Fist in cover, but only serve to kick up dirt and debris into the air.  The warboss also drives forward shooting, this time the Imperial command squad takes a hit.  The Ork foot soldiers continue to surge forward, with the  Basherz getting into some cover. The Big Bangerz, Kan and Bikez all rally for next turn.

The Imperial Commanders return fire, and take out 2 Effectiveness Points for the Ork Warboss, but the has a Big Unit with him.  The Armored Fist lay into the Kartz, and take out 4 Effectiveness points, but they avoid being Shaken.  The Ragnarok on the Imperial left trundles forward, but can not see any targets.  The one on the right stops as the commander tries to figure out their orders.  The Troopers rally themselves, but he militia is less lucky.  


Turn 3: 
The sun is still rising, giving 18inches for LOS. 

The Ork Boss crashes his trukk into the enemy Arrmored Fist squad, and piles out into the attack.  Both sides lose two in the attack, and the warboss and his troops fall back.   


The Kart cuts across and tries to screen the Imperial Commander.  Meanwhile, the Bikerz get moving and head up to support the main melee.  The Kan rushes forward, while the Runtherderz yell ineffectually at the Big Bangerz.  The Basherz take cover in the ruins, while the Stomperz get confused and mill about in cover.  

On the Imperial turn, the command squad tank shocks the last Kart, and crushes it beneath their APCs treads.  The foot troopers rally and rush up the road to defend their commanders.  However, the two tank commanders are still unsure of their orders and targets.  The Militia is still milling around their deployment point.  


Turn 4: 
The sun has risen enough to make LOS 24 inches.  

The Warboss shouts to the Kan to take out the Imperial Boss.  The pilot enthusiastically fires his heavy weapons into the exposed APC.  Bolt rounds and rockets lash out and blow the Imperial commander and his squad into atoms.  From there, the Ork warboss moves to take cover behind the hill.  The explosion of the PDF tank causes confusion in the Ork lines, and everyone else is shaken. 

The Imperial Troopers and Armored Fist squad fire at the Ork Dread, recognizing the threat, but its heavy armor shrugs off most of their fire power.  A few auto-cannon rounds damage it reducing it to 8 Effectiveness points. It avoids being shaken.  The rest of the Imperial troops rally at the loss of their officers. 

Turn 5:
The sun has risen enough for a 30 inch LOS.

The Ork warboss again tries to assault the entrenched Armored Fist squad, but the Imperials hold the trenches and force them back, and shaken.  The Orks lost three Effectiveness vs. the Guards 2.  The dread's heavy weapons try to dig them out next, but fails to cause any damage thanks to cover. The Stomperz and the Big Bangerz rally. 

The right most Ragnarok fires on the Dread, and hits it for 3 Effectiveness point loss, but fails to shake it!  The troopers on foot, target the Orks in the ruins, and manage to take out two, despite range and cover.  Fire from the entrenched Armored Fist reduces the Warboss to 1 Effectiveness.  The Ragnarok on the right catches the Bikerz in confusion and opens fire on them, reducing them to 4 effectiveness.  The Militia move up behind the Ragnarok.    


Turn 6: 
LOS is now 36 inches.  

The Big Bangerz move up and fire at the entrenched Armored Fist squad, but fail to cause any damage.  The Dread manages to reduce them 1 more Effectiveness point.  The Stomperz rush out of cover and attack the Ragnarok up close and personal.  They manage to reduce it 3 Effectiveness, but lose 6 in the process.  They fall back from the tank, but are not shaken. 


The Imperial forces are shaken by the ferocity of the Ork attack, and are all shaken! 

Turn 7: 
LOS is now 42 inches. 

The Dread moves forward and fires at the troops in the open, killing 1.  The Big Bangerz open up on the Armored Fist Squad, and their heavier artillery is enough to finally kill the troops dug-in by the hill.  The Stomperz move and shoot ineffectually at the Ragnarok.  The last Basherz rush towards the Imperial lines. 

The Imperial forces see the threat coming, and rally across the line.  Only the Ragnarok on the right flank is still shaken.  

Turn 8: 
The Basherz rush into the Imperial troops, and kill 4 before they are put down with bayonet and las-bursts.  The Dread opens up on the Ragnarok, but the shells bounce harmlessly off its armored hull.  The Big Bangerz are out of range, and try to move up but are shaken.  


The Imperial forces rally and target the Orks coming through the rock field on the flanks.  They unload, and reduce them to 2 effectiveness points and shake them despite the cover and range.  

Conclusion: 
Ultimately, it is a draw on the plains of Baron's Rest, as both sides take heavy casualties, but remain in the fight.   No one is able to secure the area.  However, the Imperial forces held a slight edge in Effectiveness Points remaining 33 to 20.  


Colonel Brusilov watched the battle play out across the southern reaches of Baron's Rest.  His troops engaged across the line, but he was disappointed to see no new break throughs develop.  He had used a mix of Imperial Guard, PDF, and Militia in a combined arms approach.  The losses of PDF and Militia were easily replaced from North Ammoriss.  However, replacing the losses of his experienced Guard troops was another matter.  

In retrospect, his next attack he would use his own Imperial Guard forces as the spearhead, while PDF and Militia forces held the line.  Another possibility was to call on elements of his other Taskforce commanders to help break Ork resistance on Baron's Rest.  That meant using air power or naval bombardment to pin down Ork forces before sending in his troops.  He did not relish sharing the victory with them, but they could not move onto attacking the Ork held Green Zone until they had been expelled from Baron's Rest completely.   

I took command of the Greenskins, and I was very disappointed in the performance of my Bikerz and Big Bangerz.  They kept failing their Command checks.  I tried to use my Boss has a battering ram, but my skumgrod wisely kept them in cover to improve their saves.  I had better luck when I used the Boss as a way to boost key units Command rolls.  However, once I wised up it was too late to make the difference.  The Dread was my star unit, and its heavy armor and squad support weapons were an excellent combination.   

My skumgrod's unit of the match was the Regular Mounted unit that he made a Big Unit.  It dug into the dunes, and that made it hard to dig out of.  The extra armor made a big difference when I tried to kill them.  The Ragnarok's were a bit disappointing due to bad command rolls, but they were hard to hurt and when they passed they dealt out the pain.  My Bikez, Dread, and Big Bangerz were the best antidote to these units, but only the Dread managed to get to a place to engage them.  

Meanwhile..... (Bonus Kill Team Action!) 

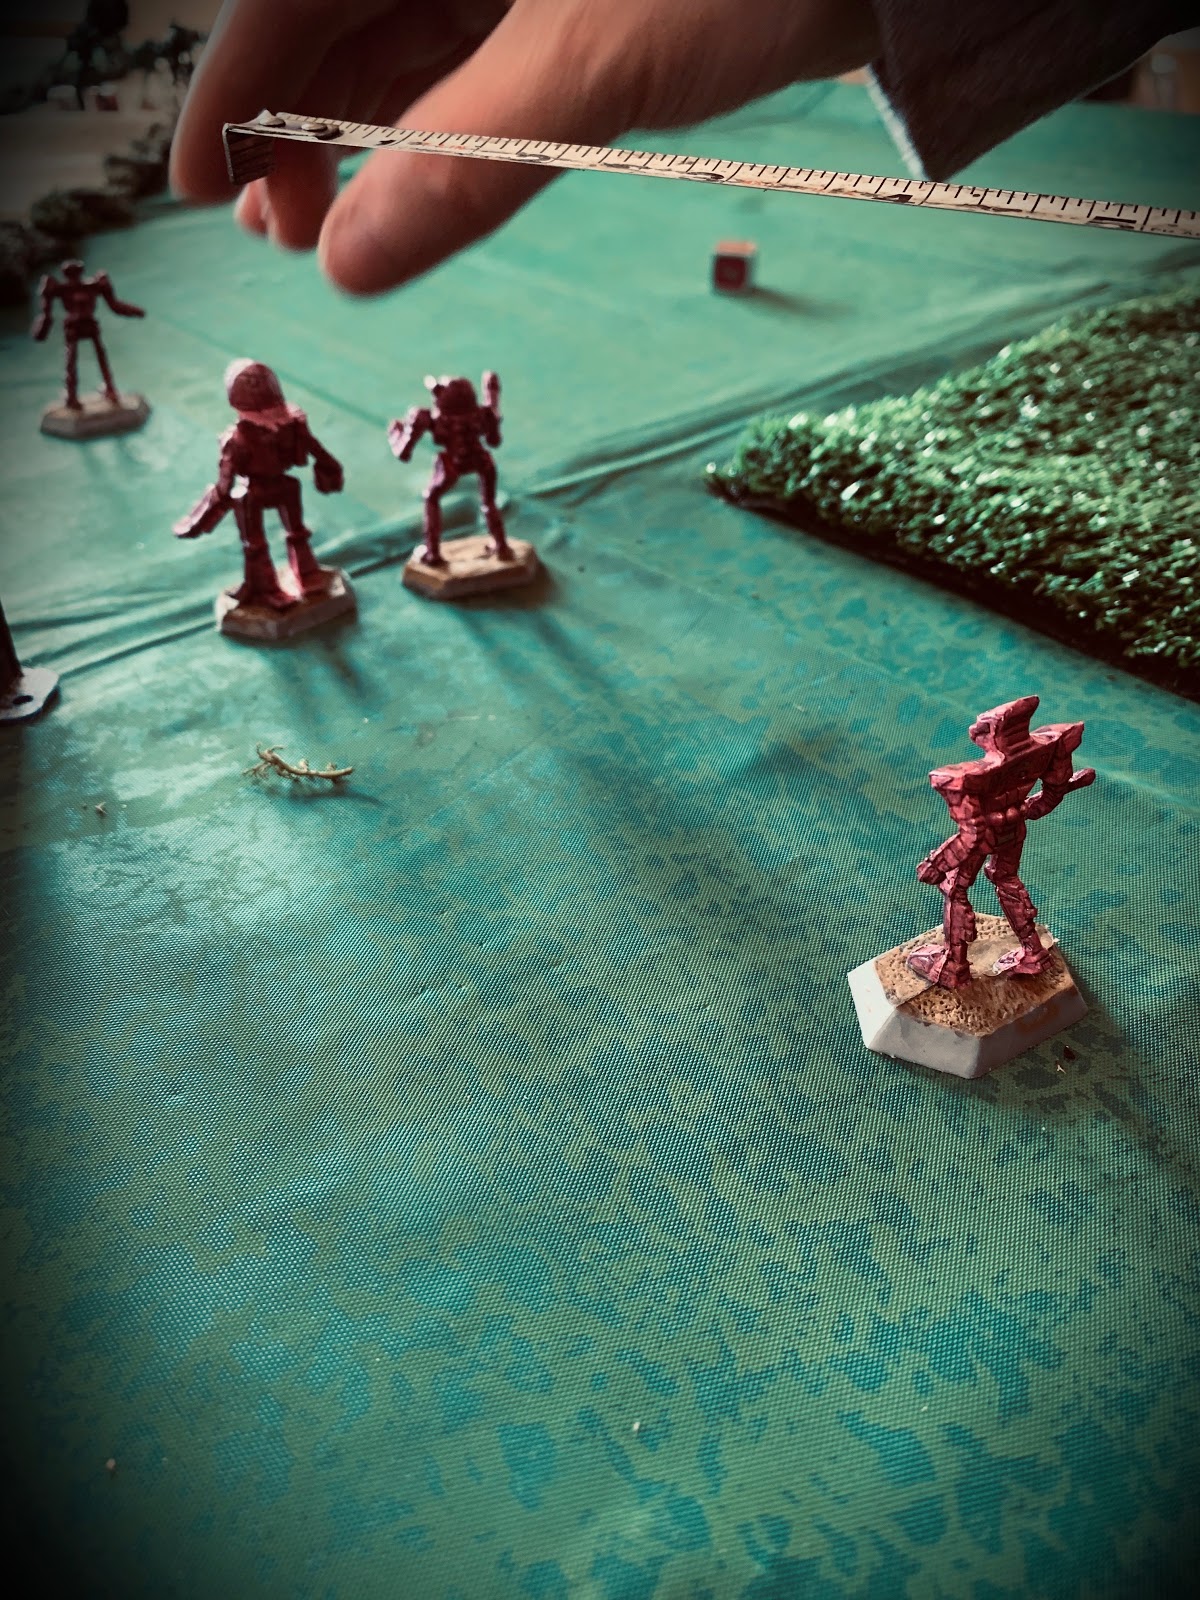
While Ork forces were being engaged by elements of Taskforce: Sword, Space Marines from the Panther's Claws deployed from their forward operating position in an attempt to raid the Ork camp for key pieces of intel.  Previously, the marines had successfully raided Look-out Pointe.  They expected only a token force of defenders, while the bulk of the Orks went out to the big scrap.  

However, Boss Skragthumpa was not convinced that everything was as it seemed.  He held his warband back.  Maybe it was because he had a scrap with one of his peers, maybe Mork gave him a vision, or maybe he was just a kunning Blood Axe?  Whatever the reason, he and his boyz were there when the Space Marines came rolling in hot.  

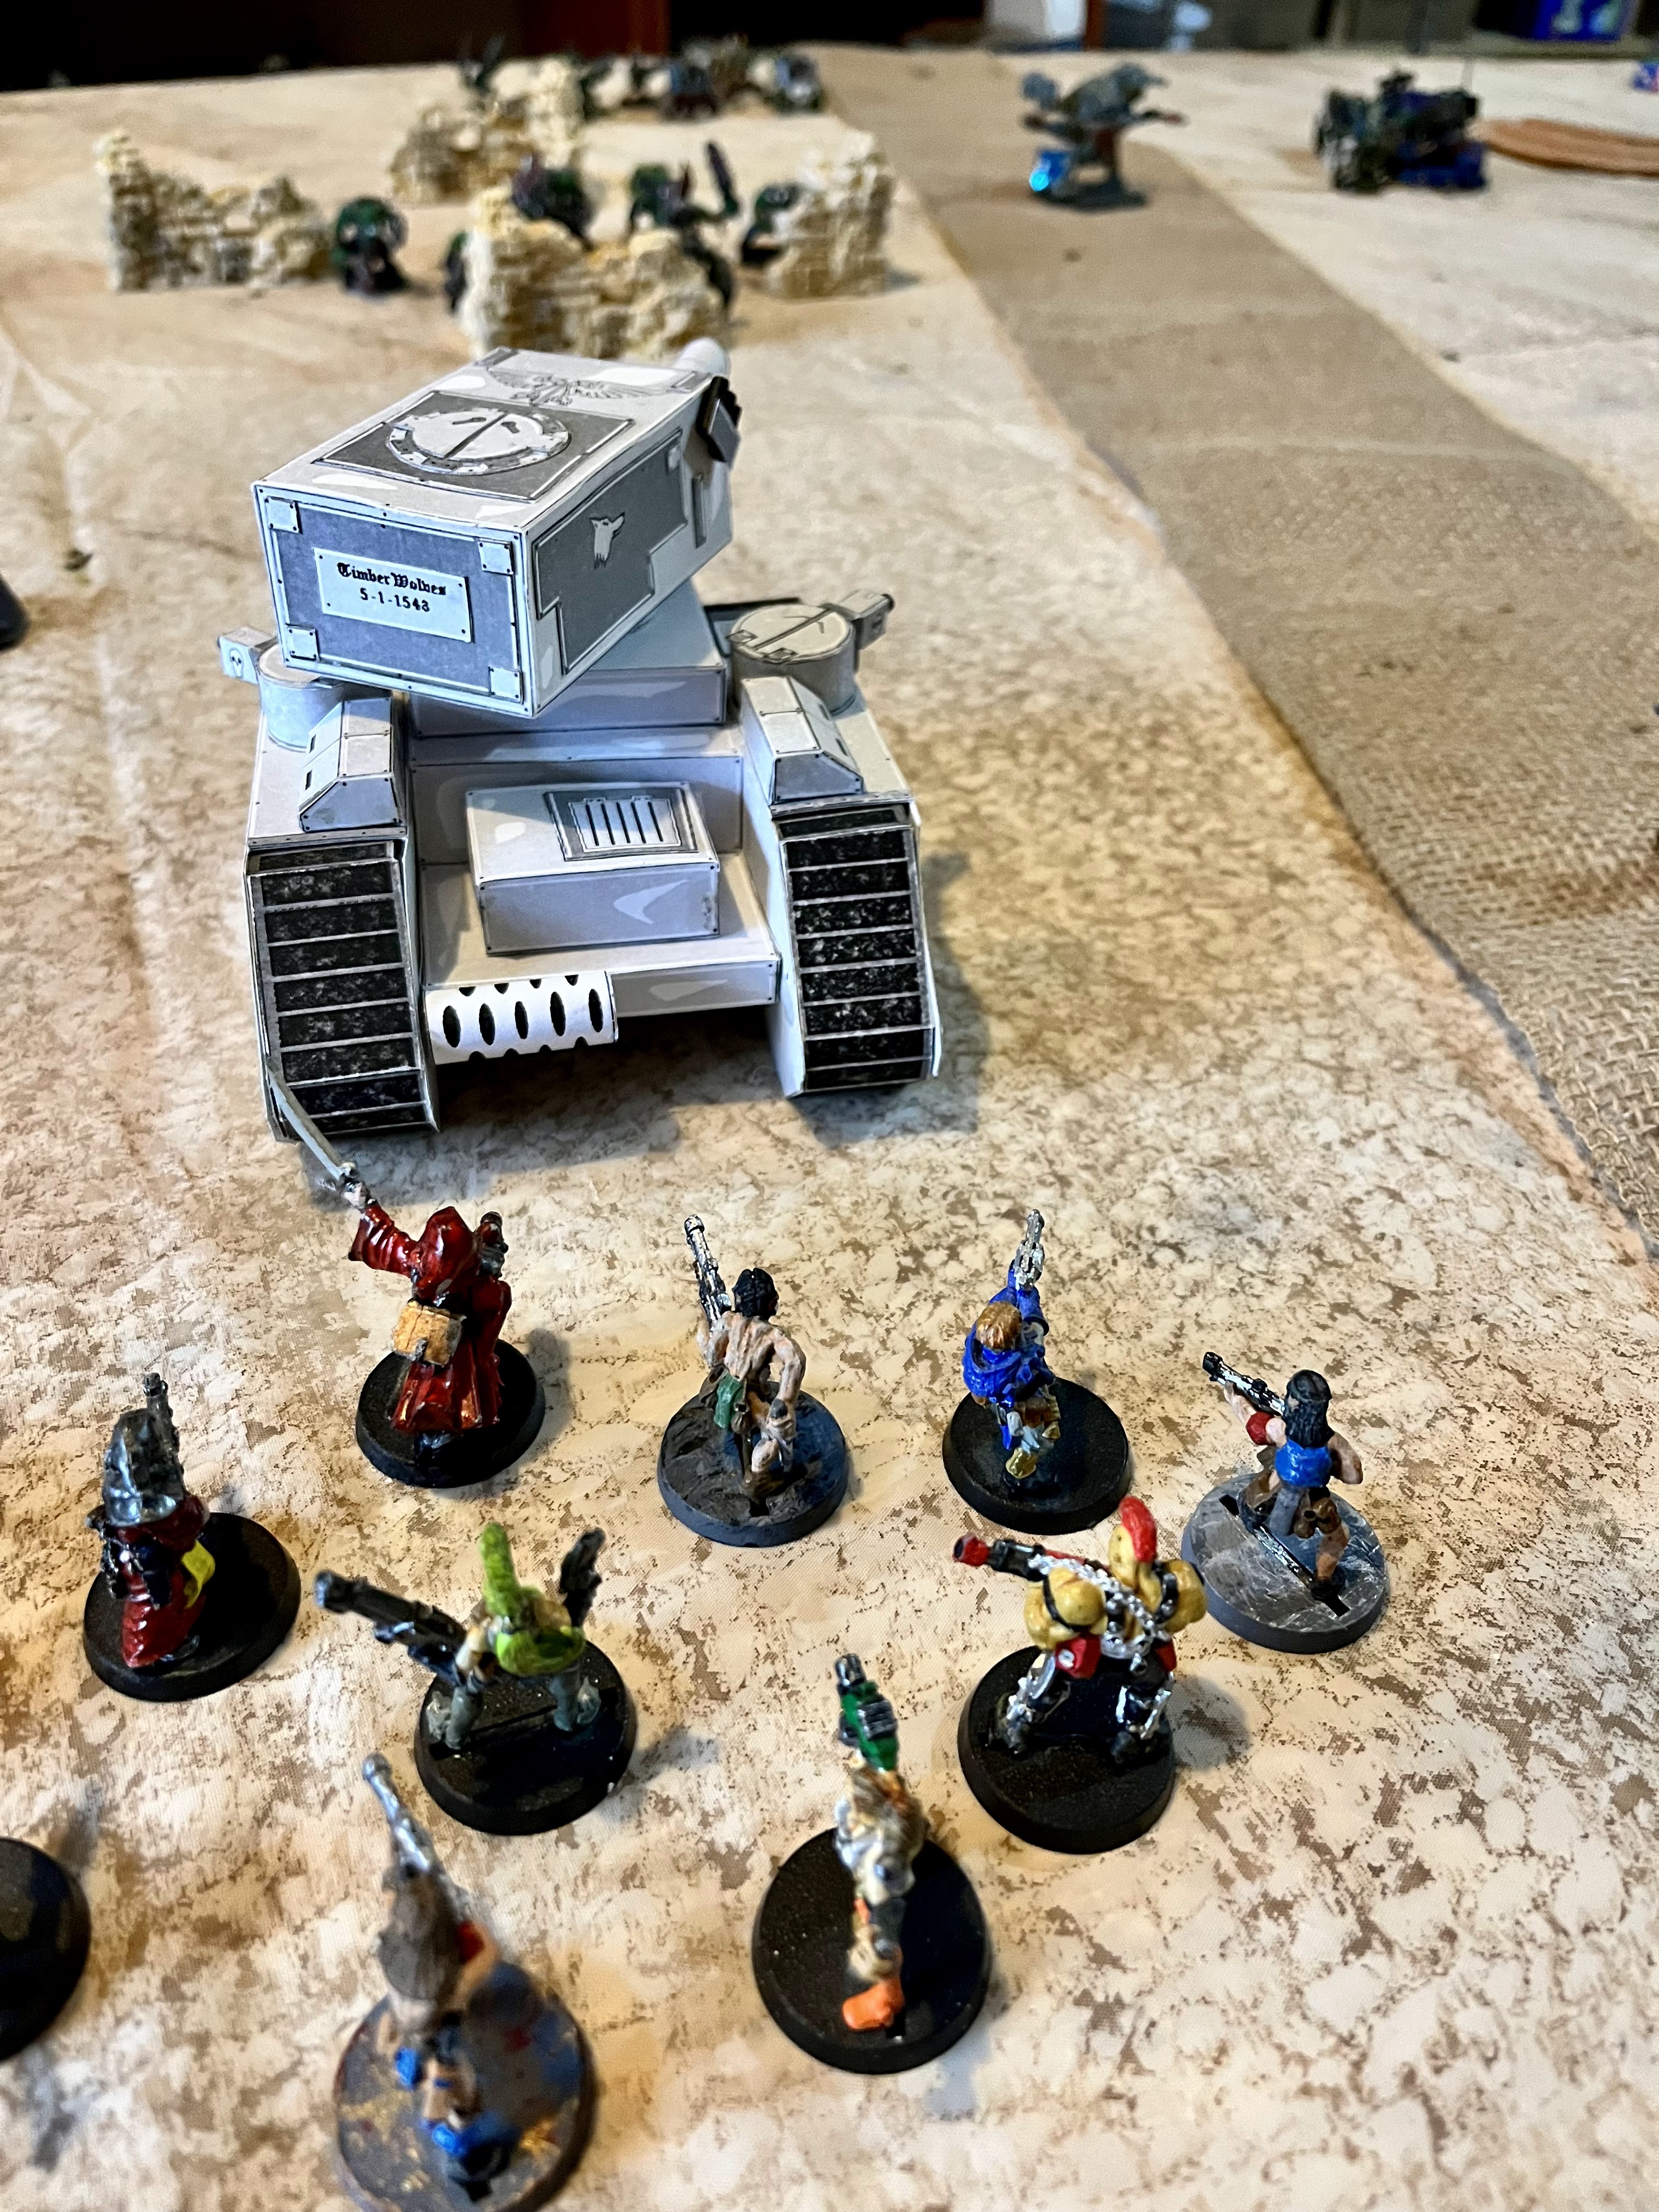
The Ork encampments on Baron's Rest had been turned to scrap and ruins by the Ammoriss Air PDFs heavy bombardment.  In addition, artillery from taskforce: Sword had sighted in on the scrap compounds and been steadily raining shells down on them. The two forces came to blows around the remains of the Mek Shedz, called Skrap Alley.   


This was a Kill Team mission where we had to look for intel in scrap piles.  You one a VP for every pile you searched as an action.  Each of us had a scrap pile in our deployment zone, and there were 4 others outside, going across Skrap Alley.  We had identical terrain, mirroring each other.  

As the orks, I chose the aggressive strategem that let me run a model out ahead.  Therefore, I quickly took got a boy across to one of their scrap piles and looted it before the beakies could get there.  As we traded the targeted my boyz, but I concentrated completely on the objectives, not even bothering to shoot back.  

By the end of the second turn, I had lost three boys, but had a VP lead firmly in hand.  He would have to be very aggressive and lucky to unseat me.  Despite taking a beating, I managed to delay and contest enough objectives that he was unable to catch up to me blitzed lead.  


There was barely any shots fired by my side, and my Big Shoota stayed silent the whole game.  However, in the late game we did get into some close combat, and close firefights.  I wounded Marines enough to keep them from getting to their objectives; but not enough to kill them.  

At the end of the day, Boss Skragthumpa was killed, along with all his boyz.  In return, they killed 1 marine, and wounded two others.  More importantly, the sacrifice kept the Pather's Claws from getting the intel on the Ork war machine they were after.  They withdrew with their mission incomplete, as the alarm rang through the Ork camp, summoning more boyz to Skrap Alley to fight. 


A minor set-back to General Brusilov's plans on Baron's Rest. I hope you enjoyed this snippet of Kill Team action woven into this larger battle report.  

Conclusion: 
In the Kill Team game, it all came down to careful Objective play.  I had it pretty well in hand by the end of the 2nd "turning point" of the battle.  However, my opponent still put up a stiff fight, and it went down to the wire.  There is something strangely dissatisfying about winning a game by losing all of your troops!  

I have been building up some 6mm Forces for a climactic battle for Baron's Rest.  I have also been working on some Imperial Subs for Aquanautica Imperialis and some targets for an Aeronautica Imperialis fight.  Those might help swing the final battle for Baron's Rest.  Afterall, if the Orks can impact the supply lines back to North Ammoriss, they might be able to hold out!  


Become a Patron and get access to all the cool stuff, a peak behind the curtain of Blood and Spectacles, and early-access to playtest games!  


You can follow Blood and Spectacles Facebook page or Instagram for more fun! 

Check out the latest publications and contact me at our Blood and Spectacles website

Or purchase all out games at the Blood and Spectacles Publishing Wargames Vault Page!          


Monday, July 6, 2020

Random: 2020 Half-Way Goal Update!


So far 2020 has not been like anything that I expected it to be.  I expected a vast nuclear wasteland, or to be living in a giant dystopian city, I thought we would be on Tokyo-3 by now!  That is what my childhood had prepared me for?  It did not prepare me for the dystopia that we actually have!  Pandemics, riots, political chaos..... I guess it is a good thing I have wargaming to keep me going! 

Last year, I tried a different approach and focused on goals by Period.  I decided not to be doing that this year.  I placed my goals into a series of categories instead of by genre or period.  Those categories are:

·         Purchase- This is goals that require me to spend my hard earned bread, cash, grip, money, coin, etc. 
·         Painting and Modelling- Here is the section of stuff I will want to paint up or build up
·         Playing- This section will be for what I intend to put on the table for 2020
·         Rules Writing- Here are my goals for writing and creating games
·         Miscellany- This is for stuff that falls into the realm of Blood and Spectacles but doesn’t neatly fit into a category

I laid most of my goals out in a different thread, so there is no need to rehash that post!  If you want you can go back and read it for yourself.

So, let's find out what we have accomplished so far.....

Purchases
This year, I expected to buy a lot of stuff.  Thanks to your support via the Wargame Vault, I have been able to make progress on this front.  Not as much as I had hoped.... but progress.  Thanks for the assist on this one guys!  I have been able to get the following from my list:

1. Clash of Spears
2. Zona Alfa
3. Gangster Terrain (3 Shotgun houses and 2 store fronts) 
4. Blood Bowl Lizard Men
5. Last Days: Seasons
6. Realty's Edge


There are still a lot of ancients left to buy.  However, I think I cleared some space in the painting Queue for them so I can probably start buying some Romans.  

That leaves to buy:

  • Victrix Elephant
  • Victrix Greek Cavalry
  • Victrix Republican Romans
  • Victrix Samnites/Carthaginians/Italians
  • Gangs of Rome
  • Mortal Gods
  • Oathsworn Burrows and Badgers bundles A and B
  • Any new Osprey Blue Books
That still looks like a long ways to go on the buying front.  I have a feeling some will slide into next year!


Painting and Modelling
Last year, I painted over 150+ models.  That is probably a record for me, and I doubt I will be getting anywhere near that this year.  However, a man can dream can’t he? So far I have painted up 75 minis or bases.  Not bad.  

I finished my two Greek Men of Bronze armies- Corinthians and Spartans


Spartan Army

Corinthian Army

Paint my 6mm Baccus Successor Armies- I have enough for two armies of Heirs to Empire!


Finish up my loose Gangster Models from Copplestone casting- I only have 5 left


Complete a set of Scorpion Drones for All Quiet on the Martian Front- Not Started

Paint my Purchases for Use- Painted up my Lizzies!


Playing
This year, in half a year I have managed to play as many games as I did all of last year!  Plus, i have the beginning of a variety of games.  I just need to finish them off on the table.

  1. Broken Legions- Played
  2. Wars of the Republic!- Played a couple of times
  3. Men of Bronze- Played it! 
  4. Operation: Hemlock- Got those in too!
  5. Play a New Game- Watch this space for the battle report! 
Broken Legions

Wars of the Republic

Men of Bronze

Aeronautica Imperialis

Wars of the Republic


Wars of the Republic

Rampant Stars

Turf War


Aquanuatica Imperialis

Rules Writing
Typically, this is one of my more productive goals for the year.  Last year was a pretty good year for me on this front, and I hope to keep expanding on my successes.  I always have various projects on the go, and this year I have a few deadlines to hit!

1.       Complete writing Wars of the Republic for Osprey Games- Sent to the Publisher!

2.       Update the photos and artwork in Turf War for Wargame Vault- I have the models and terrain now.  Just need to take the photos and make the updates! 

3.       Get 1 game from the WIP section to the Wargame Vault- I finished the rules for Glittering Void, but I really need some better pictures before that is ready for prime time. 

4.       Get 1 new game into the WIP section of the blog- I actually have 4 games I have been working on: Under the Martian Yoke, White Star/Red Star, Homer's Heroes, and Aquanautica Imperialis: Force of Arms.  Two are up in the WIP Games section for you to review. 

White Star/Red Star Playtest

Miscellany
This is stuff I want to do for the Blood and Spectacles publishing, but don’t really fall into other categories. 

1.       Get 1 new blog post a week- So far I am on track! 

2.       Take more photos for Social Media Marketing- Check my Instagram! 

3.       Add a games Played/Models Painted Tracker to the Blog- In web version, look at the bottom right hand side, below the WIP games!
4.       Do preliminary work for organizing a local Convention for 2021- Covid absolutely killed this one!  No  progress. 


Conclusion
There is an update.  Like usual, it has been a productive year writing games but it has also been unusually productive with gaming and painting too.  I have a strong start to 2020, but I expect the Apocalypse to arrive and ruin the second half from a wargaming perspective.  I mean, it is an election year!  I hope my progress so far is enough to carry me through the end of the year.

Good luck to all of you out there! 


You can follow Blood and Spectacles Facebook page for more fun: https://m.facebook.com/pg/BloodandSpectacles/posts/?ref=bookmarks&mt_nav=0

Or our website:

Or our Messageboard:

Or our Wargames Vault Page:

Monday, June 8, 2020

Wargaming on a Budget- Paper Armored Company

As we approach a climactic final battle on Baron's Rest in Operation: Hemlock, I started to rummage around in my boxes of minis to find out what I had for it.  Initially, I wanted a decent size battle of Rampant Galaxies, but decided by the time I ordered and painted all the minis for it.... well.... I didn't have 3 years to wait for that climactic battle.  Paper flats on the table just didn't seem the part.  So, I figured we will just need a big battle of Rampant Stars instead.  So off I went to see what I had for the Imperial and Ork forces.....

A Conqueror and a Leman Russ on Patrol
That's when I dug out my old Paper Armored Company from Warhammer 40K 4th edition  or so?  I Think it migrated to 5th, but only had a couple outings.  I made it more out of a labor of love.  At the time, I had no money, but plenty of time.  I also had access to a lot of cardstock and a grey scale laser printer.  I designed, modified and built something like 30+ Imperial vehicles of various styles and stripes out of cardstock.  It was enough for about 3 Companies of vehicles using the Chapter Approved Armored Company list in White Dwarf.

Imperial Command Tank variant
Chimera without a turret, hatch Heavy Stubber, and Improved Comms from back in the day

This was a very polarizing army.  People either loved it or hated it.  There was not much inbetween.  There was no doubt, that despite all the inexpensive paper and found materials, that it took a ton of work to build.  Each component required the design work in MS Paint (some were basedon existing templates I had found online, and some I designed myself), coloring in MS Paint, printing, cutting, and assembling.  There was a lot of trial and error to ensure parts fit together properly, but once they did, they were re-usable over and over again so it was easy to expand and build on what was made.
Chimera with dozer blade and Heavy Flamers
Time has caused some wear and tear to the models.  Mostly things like Heavy Bolter barrels, and other small weapon barrels, smoke launchers, etc. However, those small details are easily replaced with white glue.  These models have moved across country three times, but are still in relatively one piece.
Standard Russ- I have a lot of these guys that I did not bother to picture.....

Sometimes, I think about making the jump to 3D printing, but the thought of learning the software, learning the process of 3D printing, the effort of mastery, I just do not think I have it in me anymore.  Around this same time, I also started to learn how to sculpt with GS, FIMO, etc. too.  It is what helped keep my in the hobby when my wallet couldn't.  Now, I just don't think I could muster the energy and time to do something similar with 3D printing, sculpting, or papercraft.

Baneblade.....

I hope you enjoy the pictures I took as I started planning a big battle for Operation: HemlockMaybe some of these will hit the table again?  Maybe not.....   
 
Demolisher and Exterminator

Hellhammer.... Just an alternate turret for the Baneblade
Griffon Heavy Mortar takes position behind a rock outcropping

A Hellhound is screened by PDF Armored Cars
which are Counts as Sentinels
Chimera with officer leads a battery of armored Griffon Mortars
An officer directs the placement of the Basilisk with armored crew compartment
A Destroyer Tank Hunter sets up to ambush Ork vehicles
An Imperial AA battery with Hydra and Manticores
PDF Ragnarok tanks protect a pair of Helga transports
Counts as Russ and Turretless Chimeras
PDF Scylla tankettes move to support a heavy weapon position
Counts as Sentinels with armored crew cabs

For those who stuck around to the end, I also have some bonus pictures of an Ork Stompa Tribe I was building but never finished before the bloom of warhammer 40K went off the rose for me.  Not using all those old 40K models is what prompted me to develop the Rampant Stars/Sun/Galaxies series of games in the first place.  


This army was going to be 6 Killa Kanz, 1 Deff Dread, a Big Mek, and a Stompa (Counts as Battlewagon) loaded with Ard Boyz.  Even the Big Mek was being built from scratch in this army.  As you can see, it was never fully finished.  This one also survived 3 house moves so far.... so one day maybe it will actually get completed?  Who knows? 


You can follow Blood and Spectacles Facebook page for more fun: https://m.facebook.com/pg/BloodandSpectacles/posts/?ref=bookmarks&mt_nav=0

Or our website:

Or our Messageboard:

Or our Wargames Vault Page: