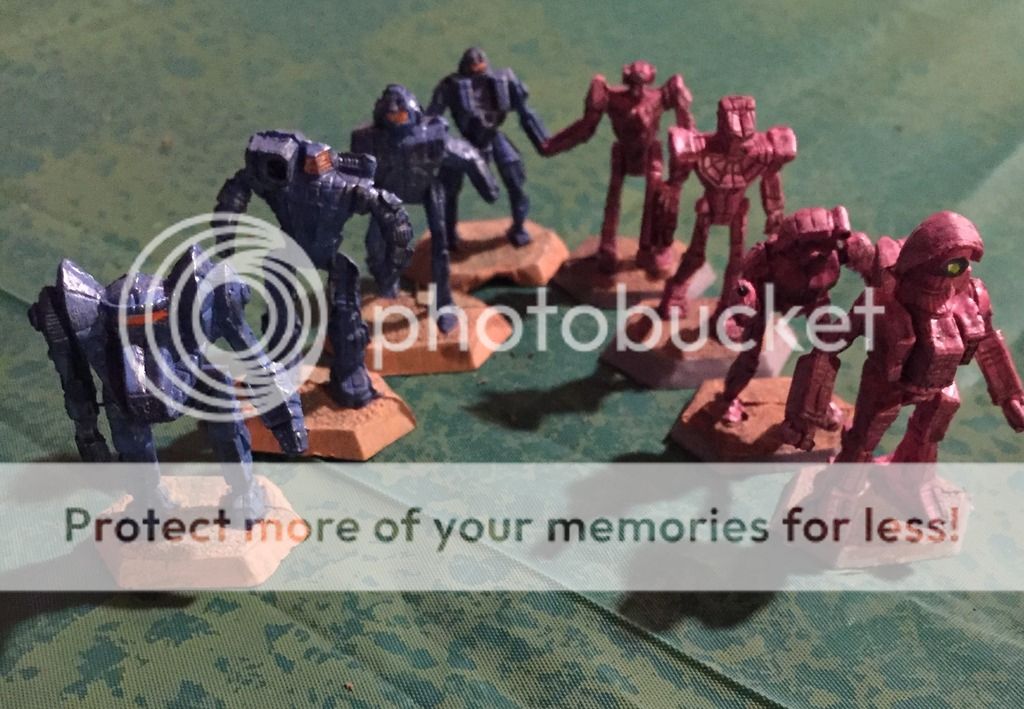
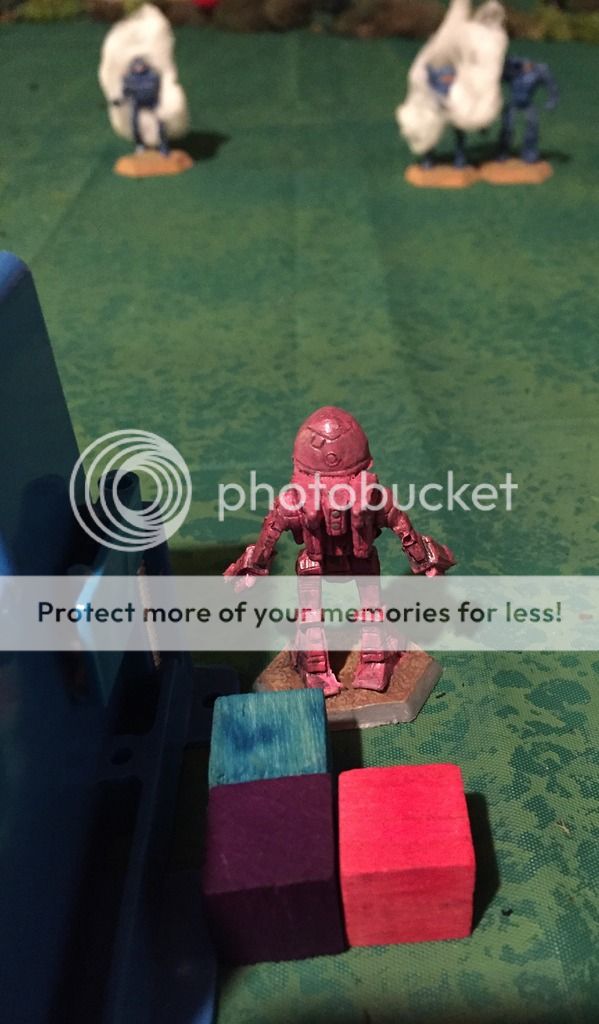
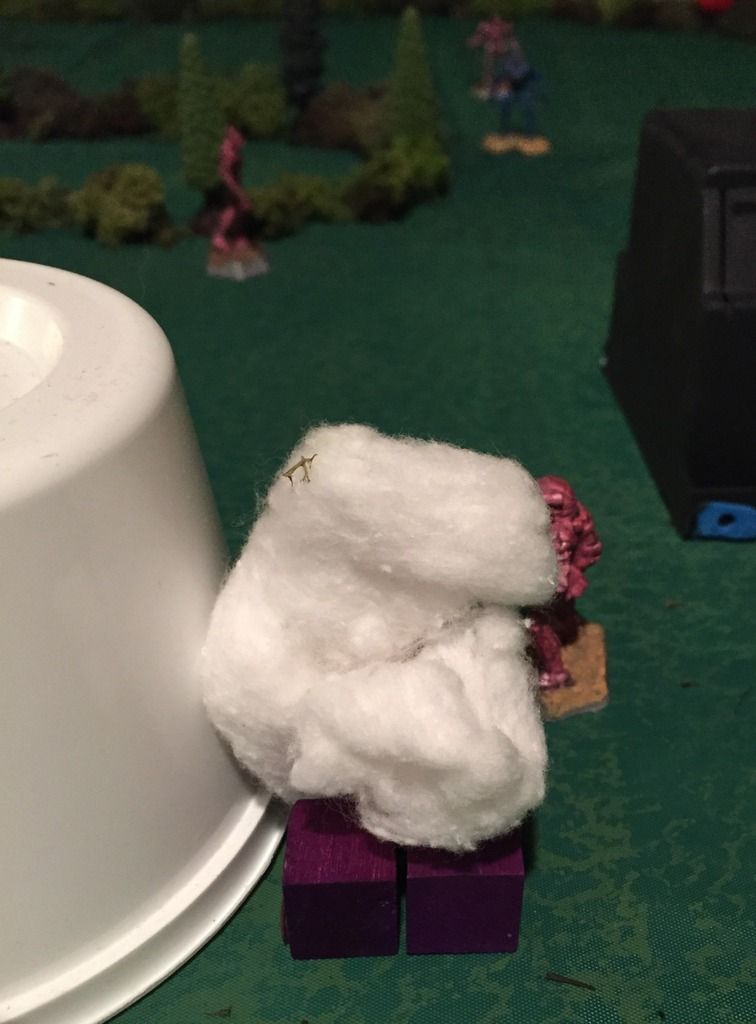
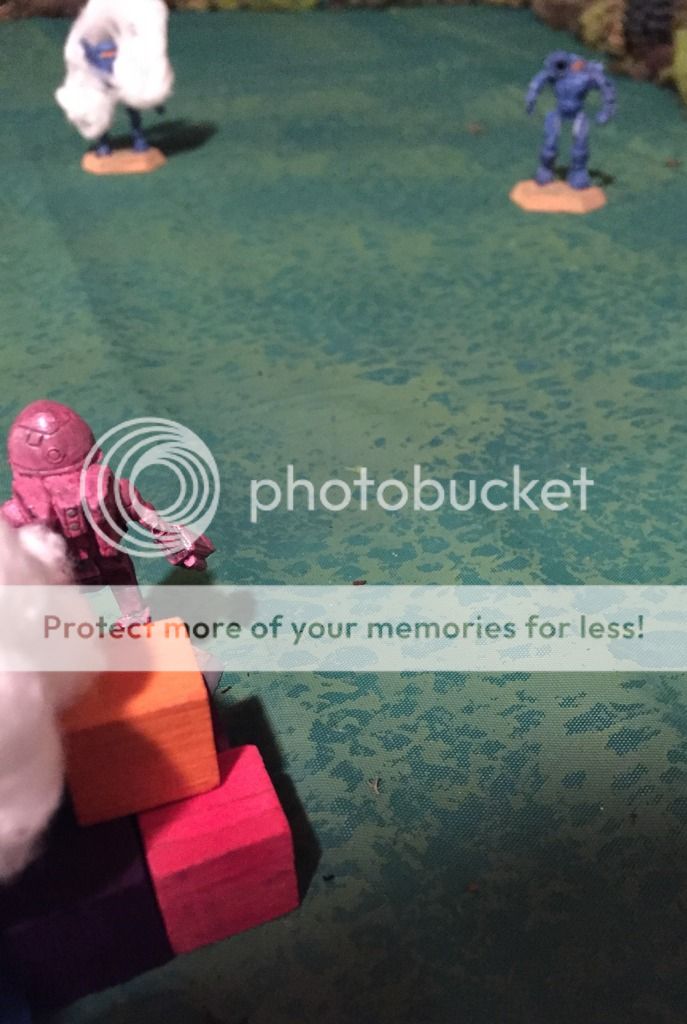
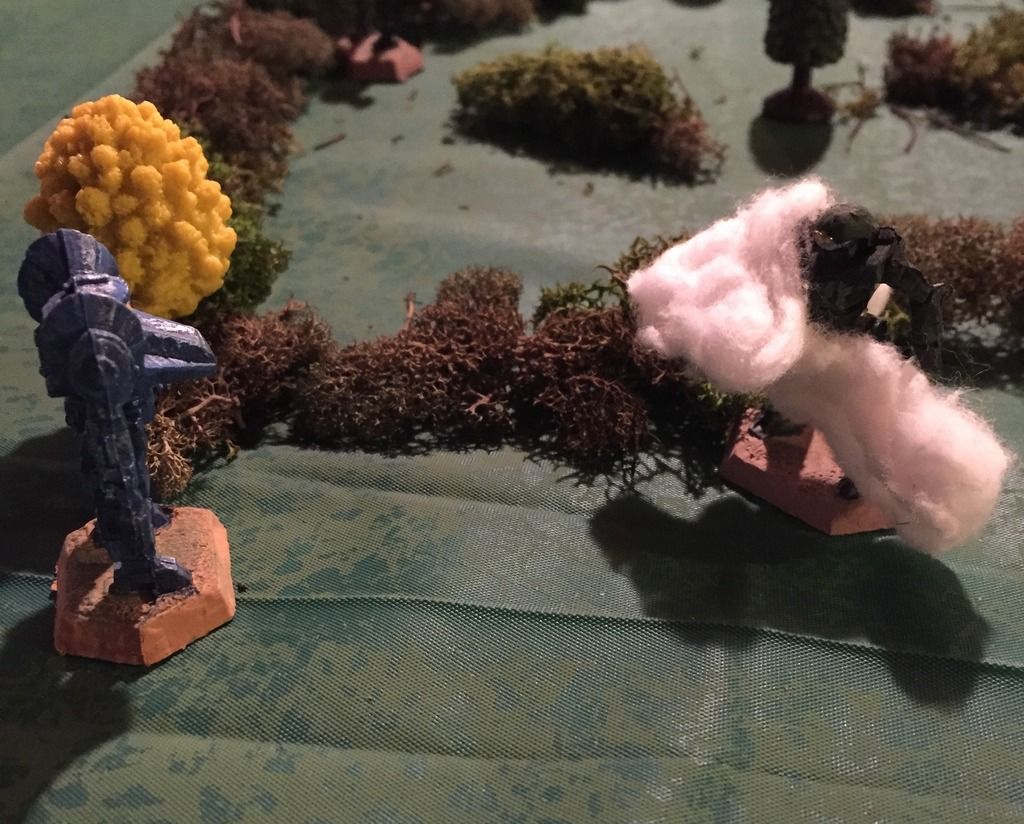
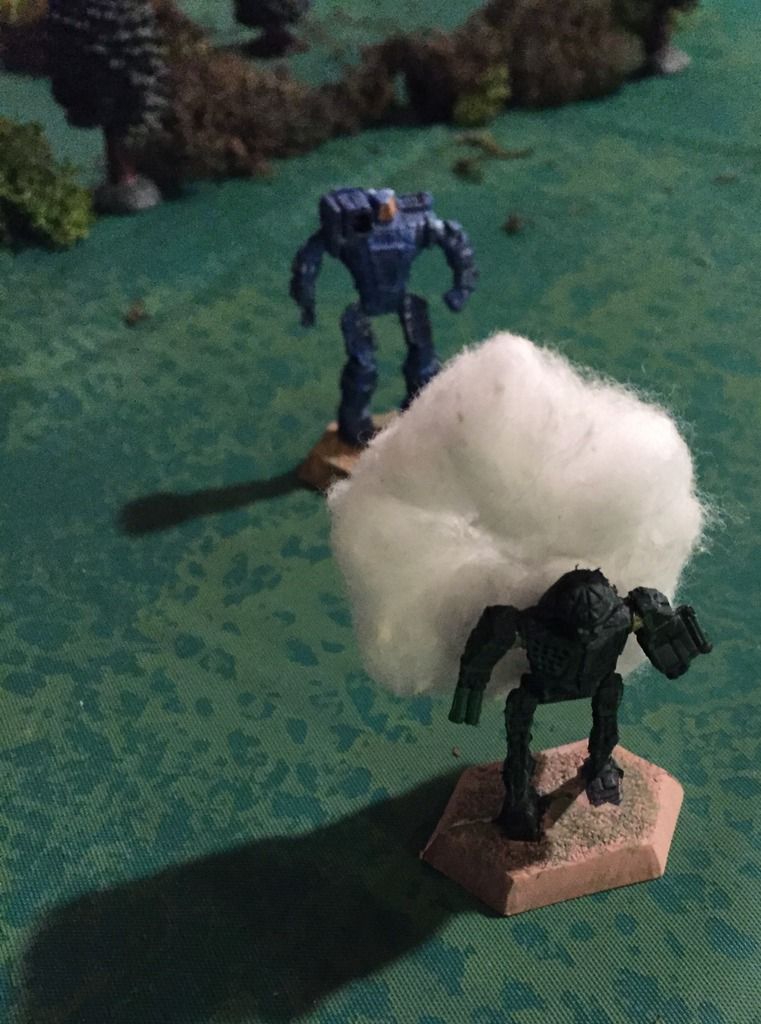
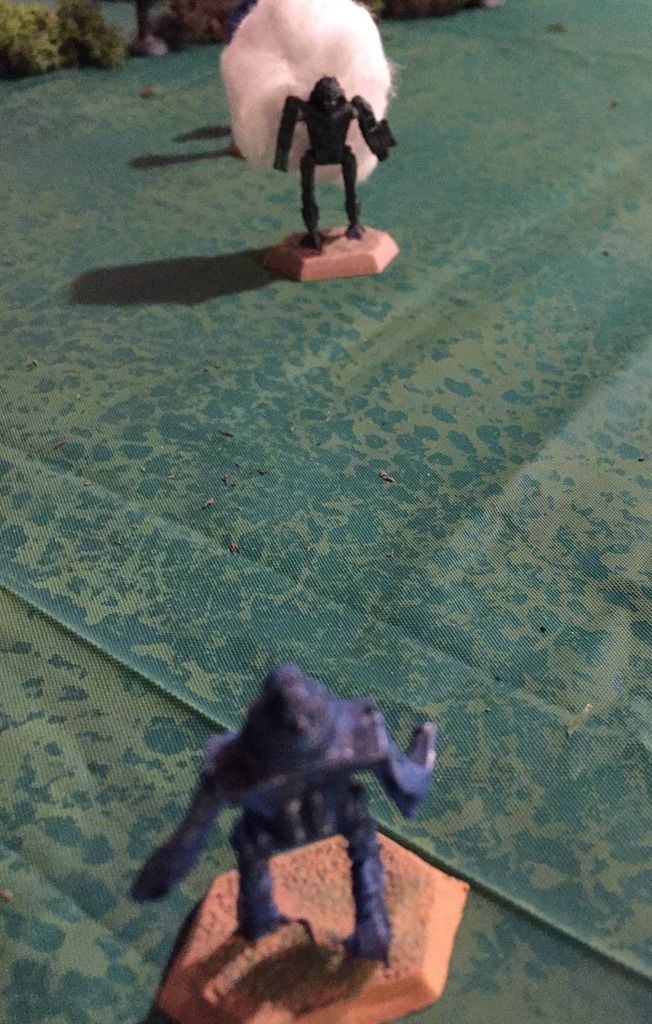
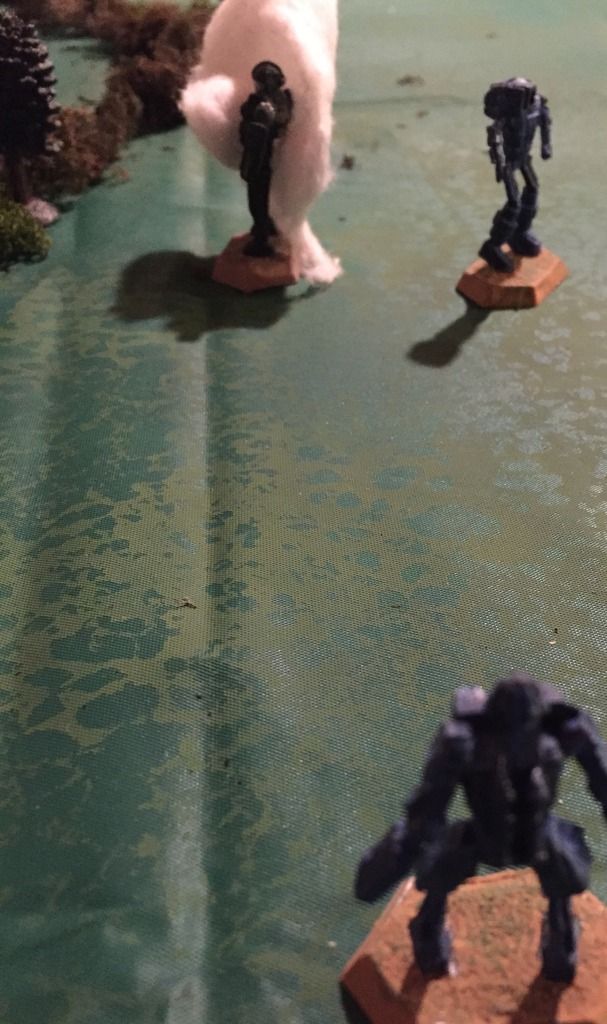
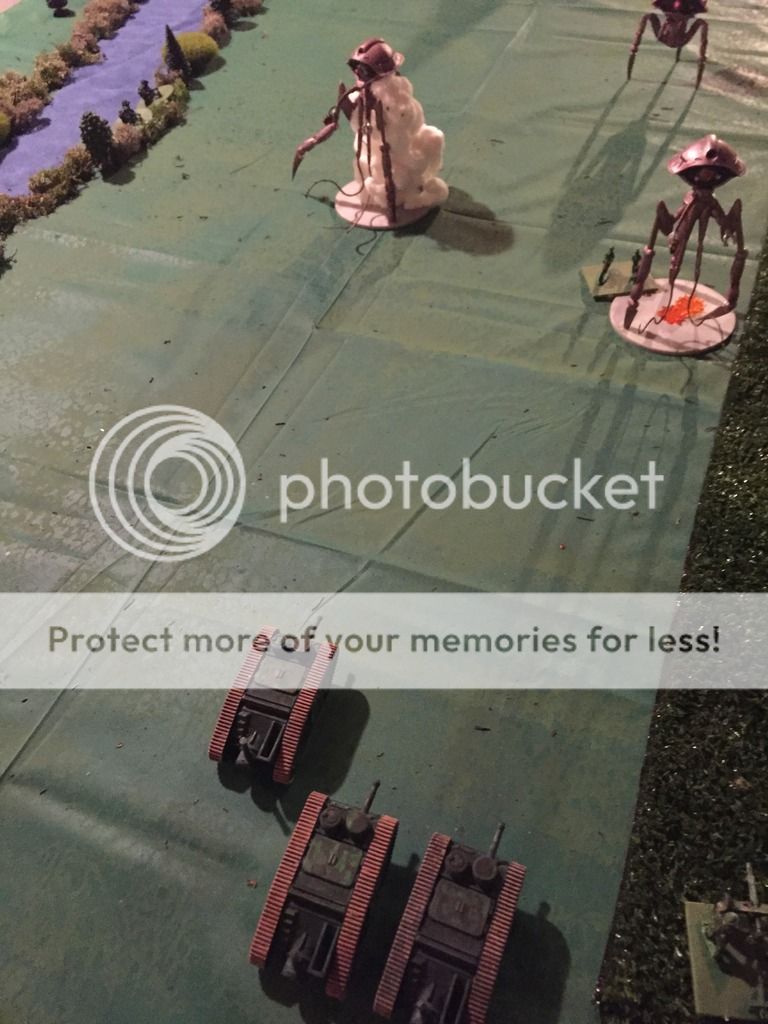
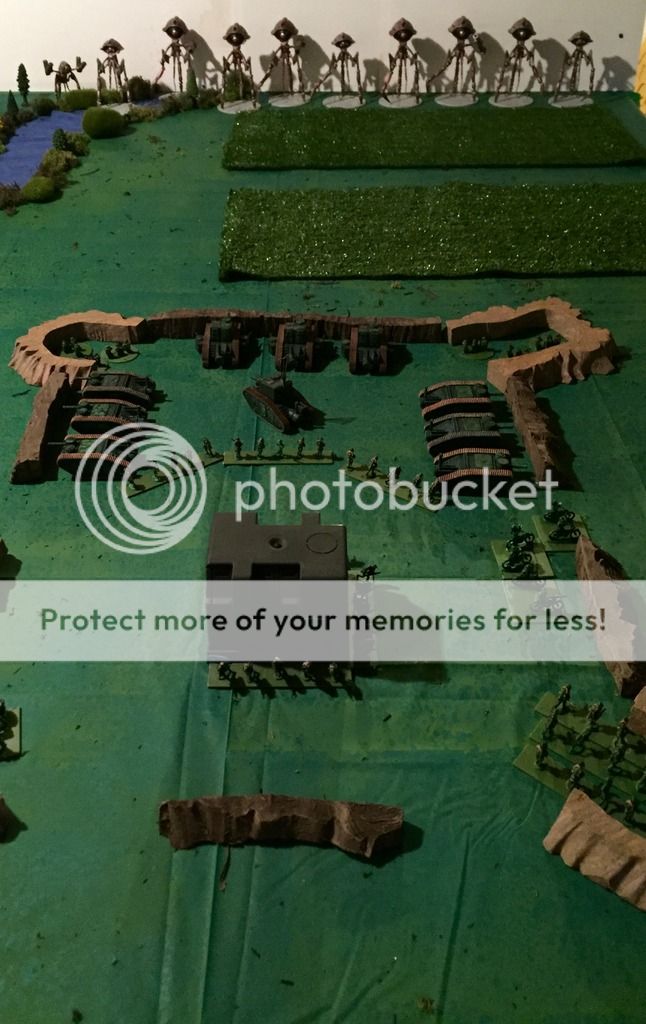
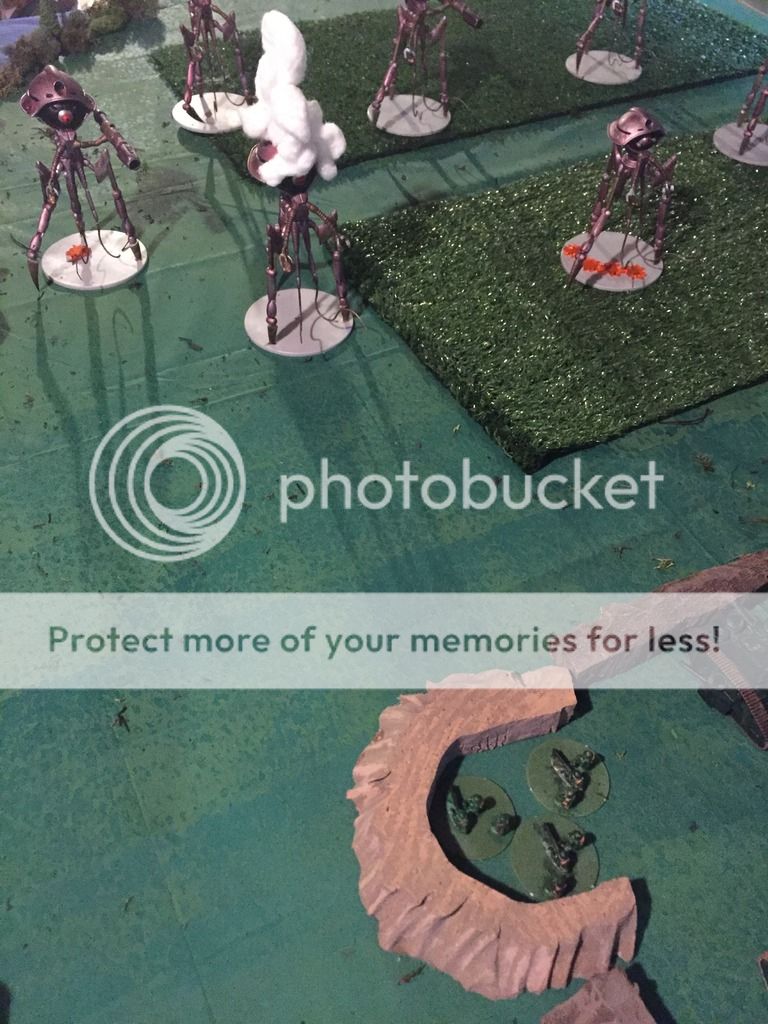
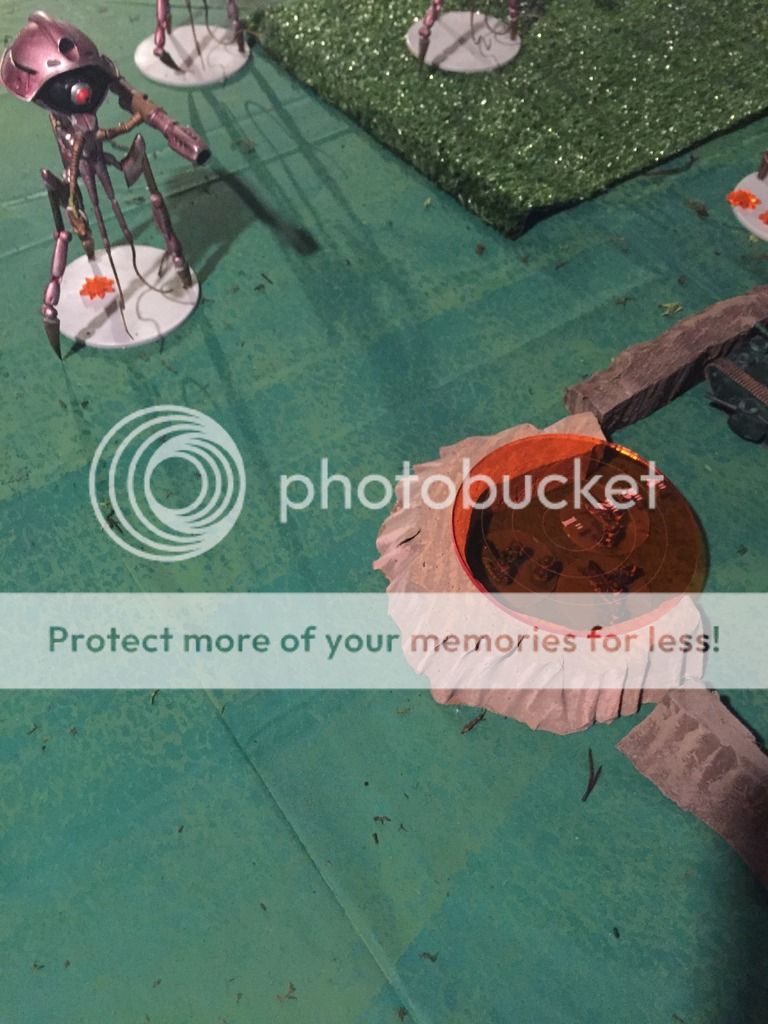
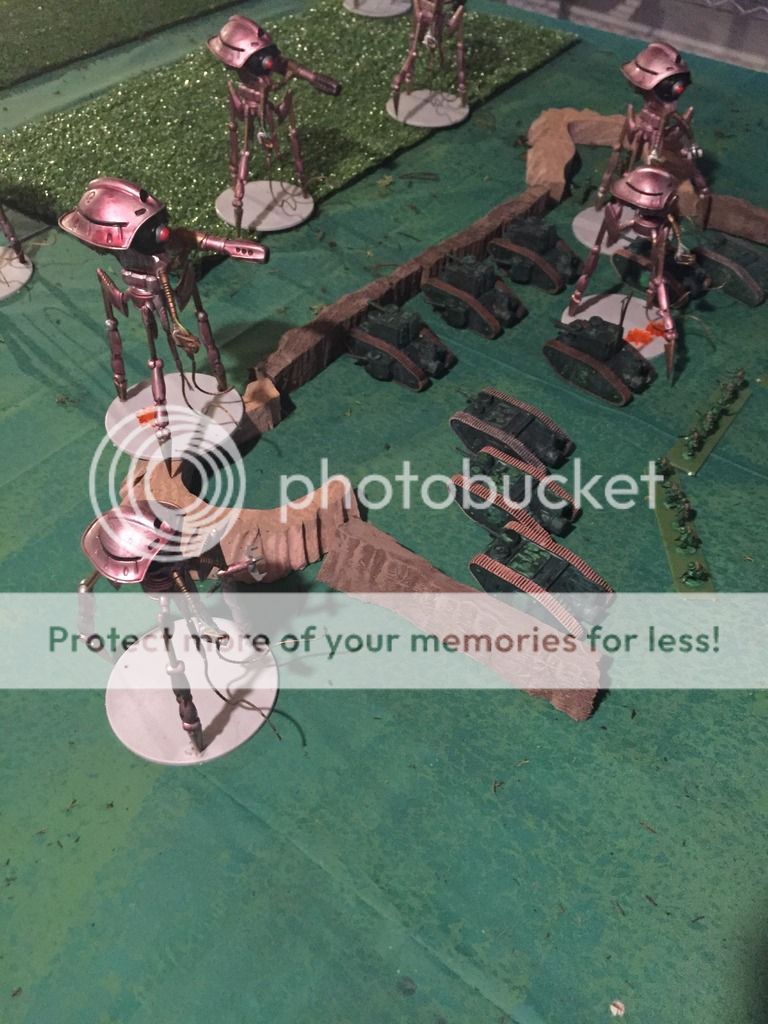
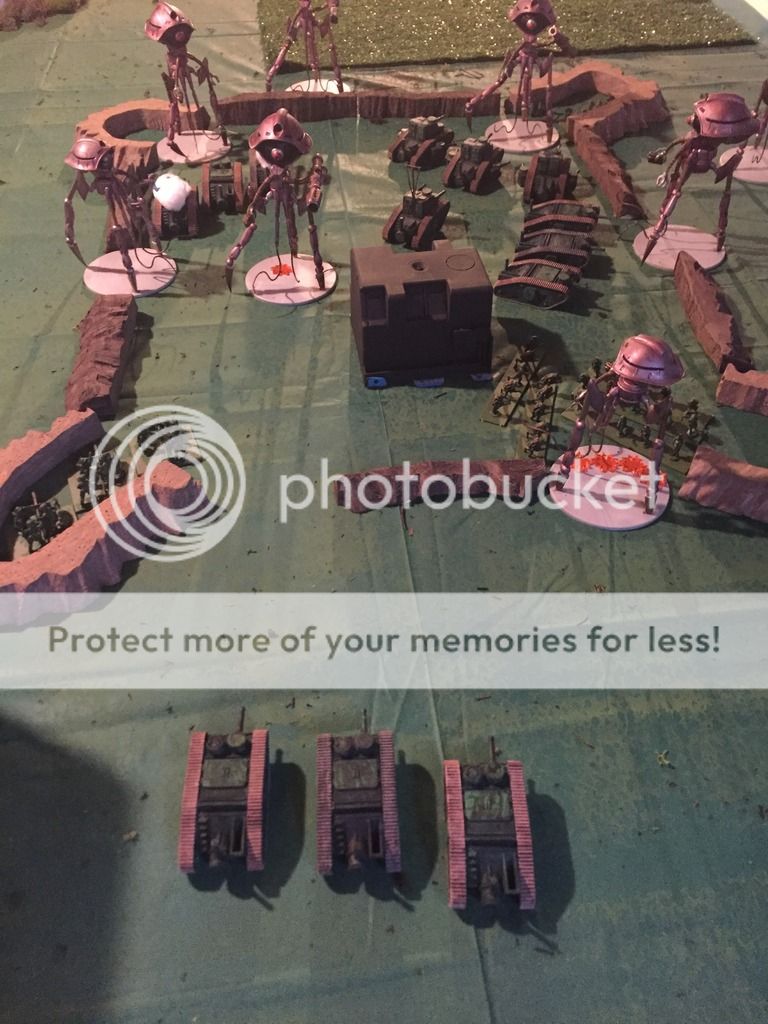
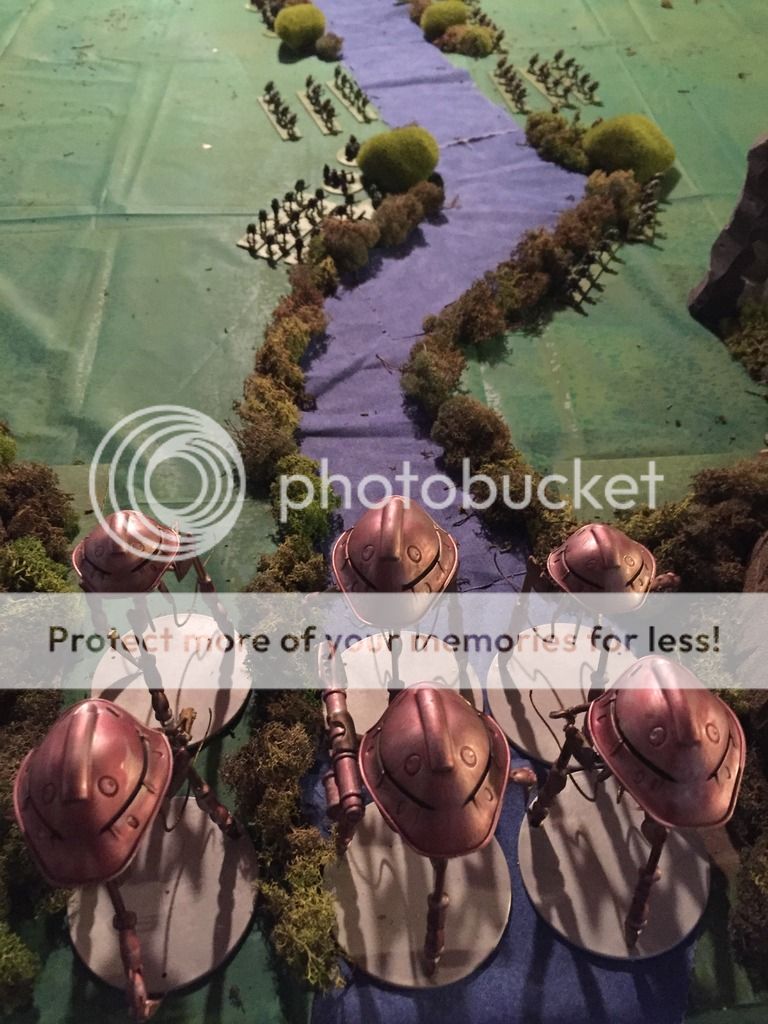
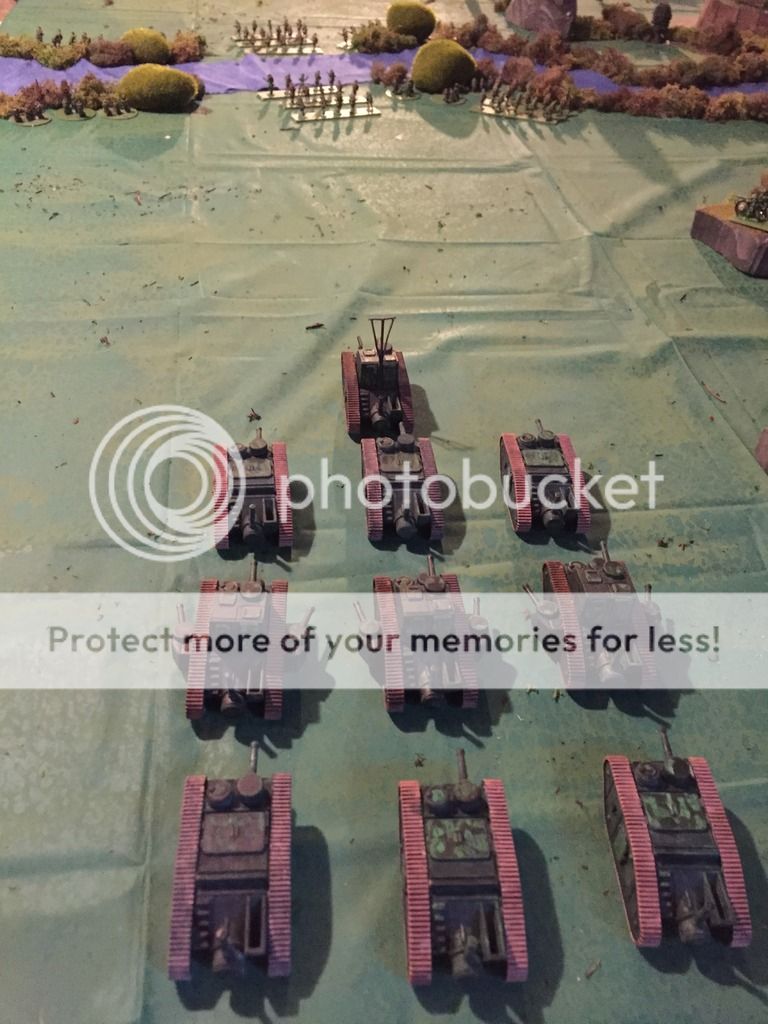
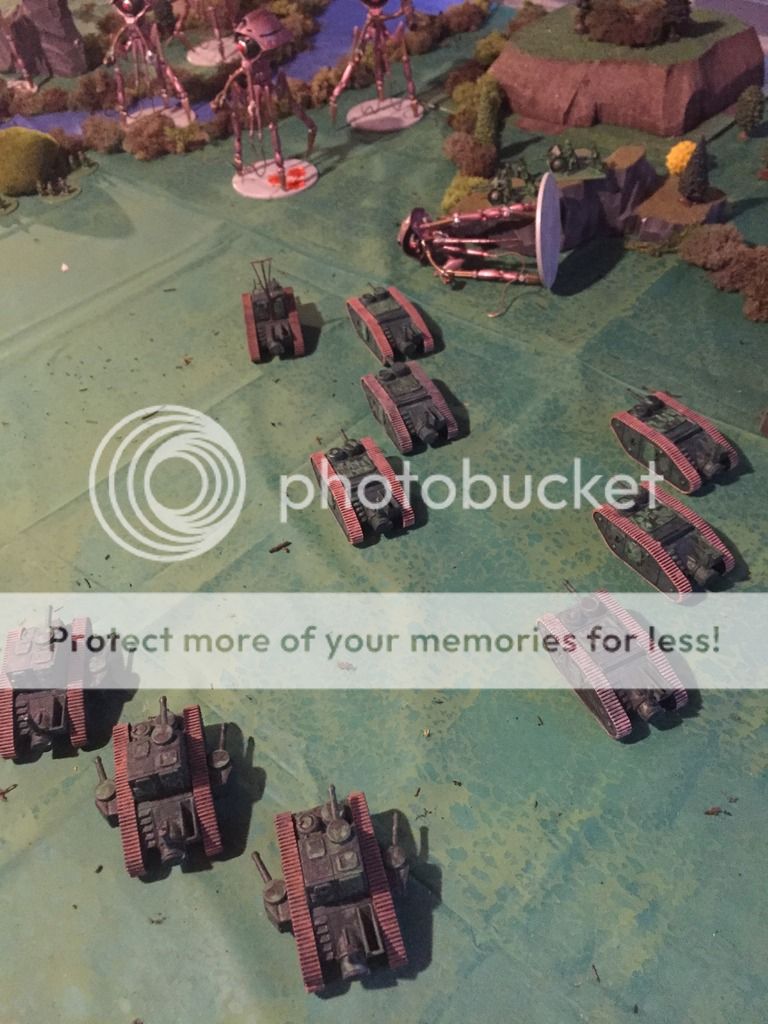
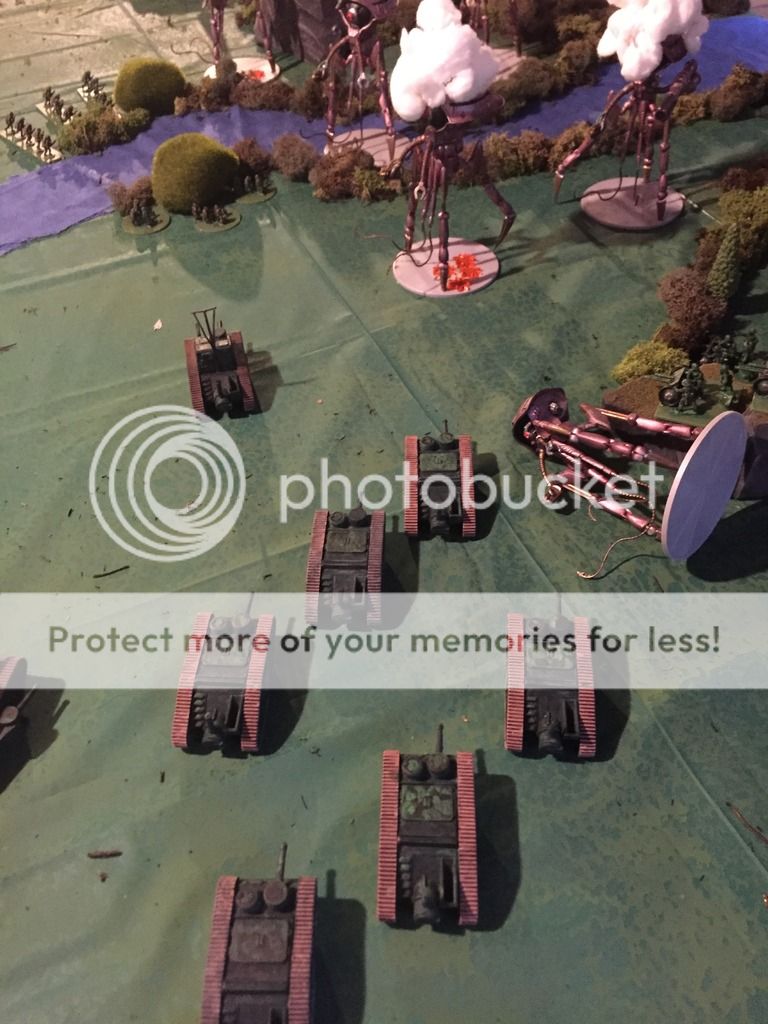
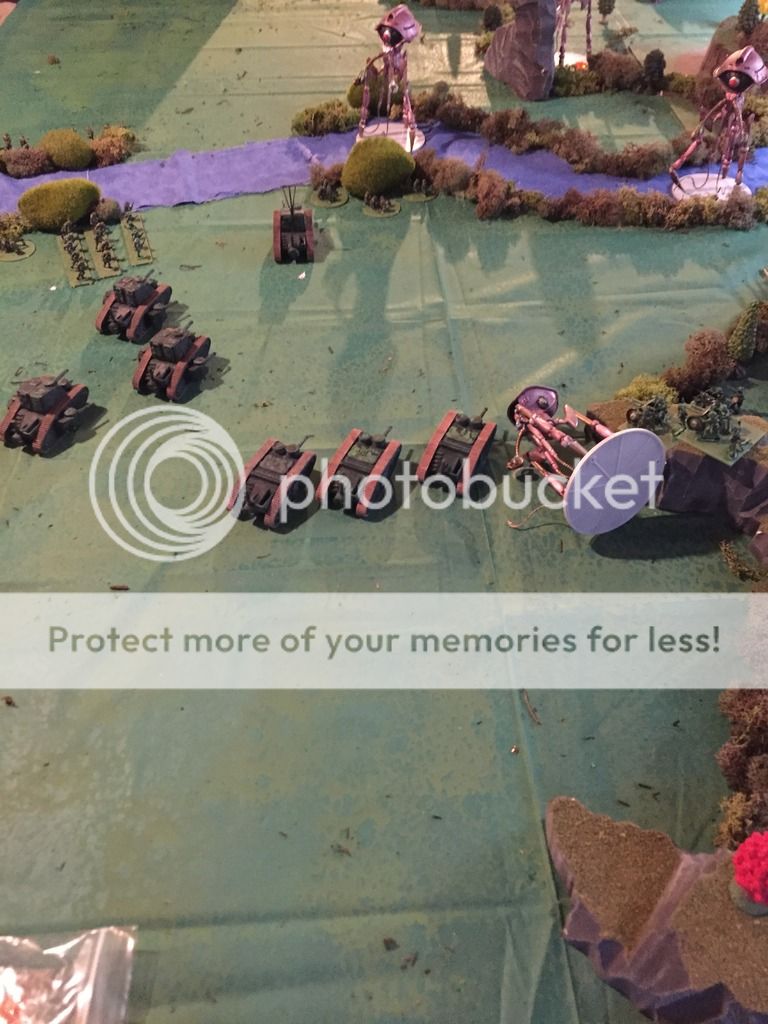
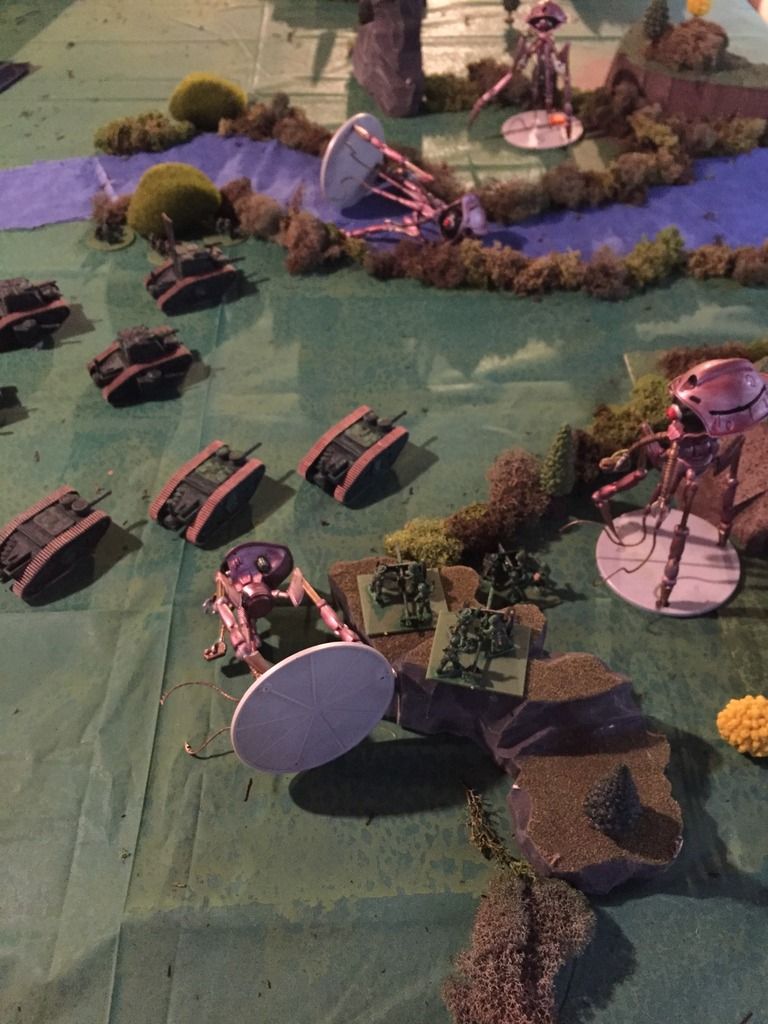
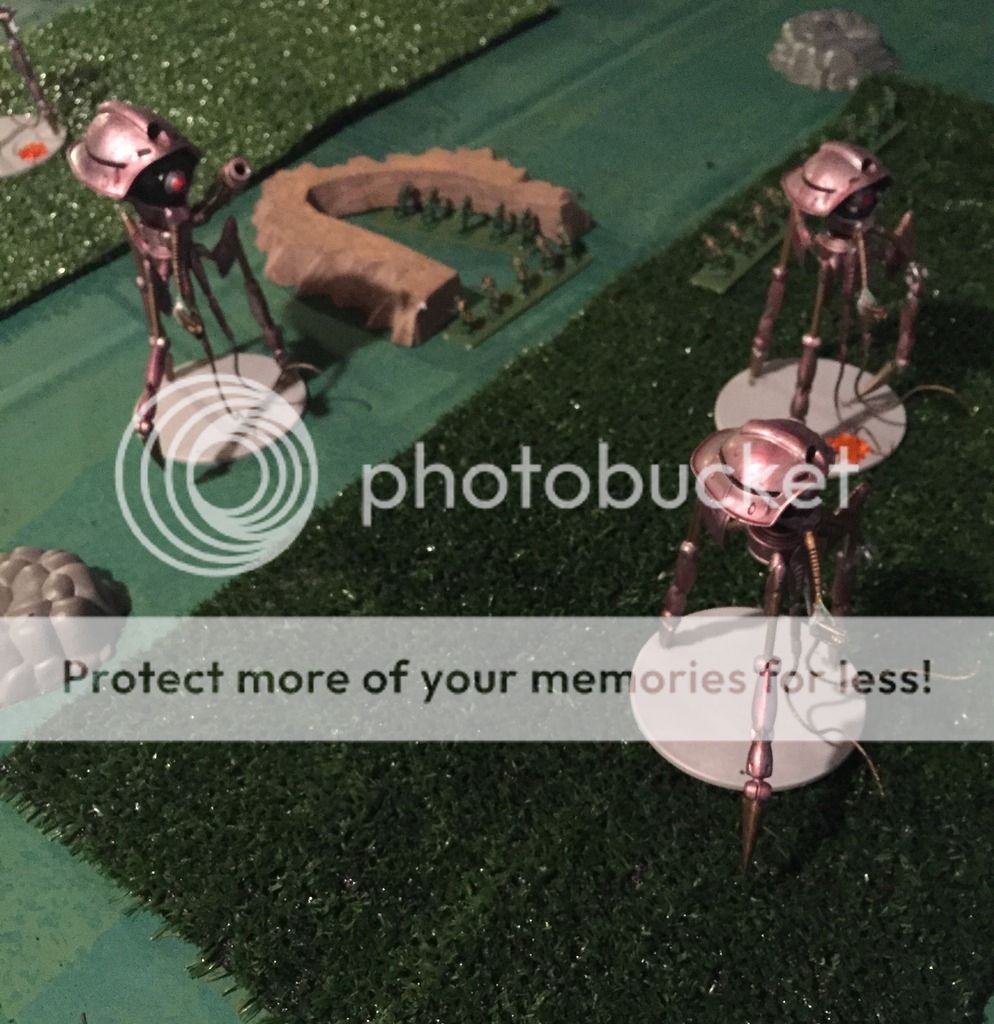
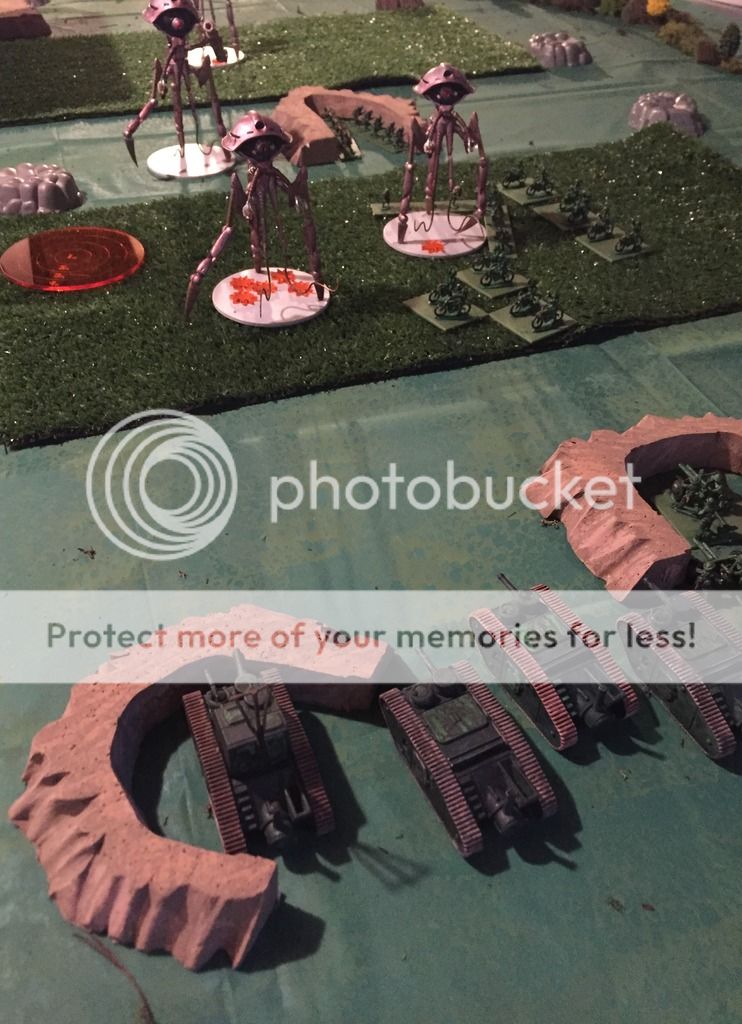
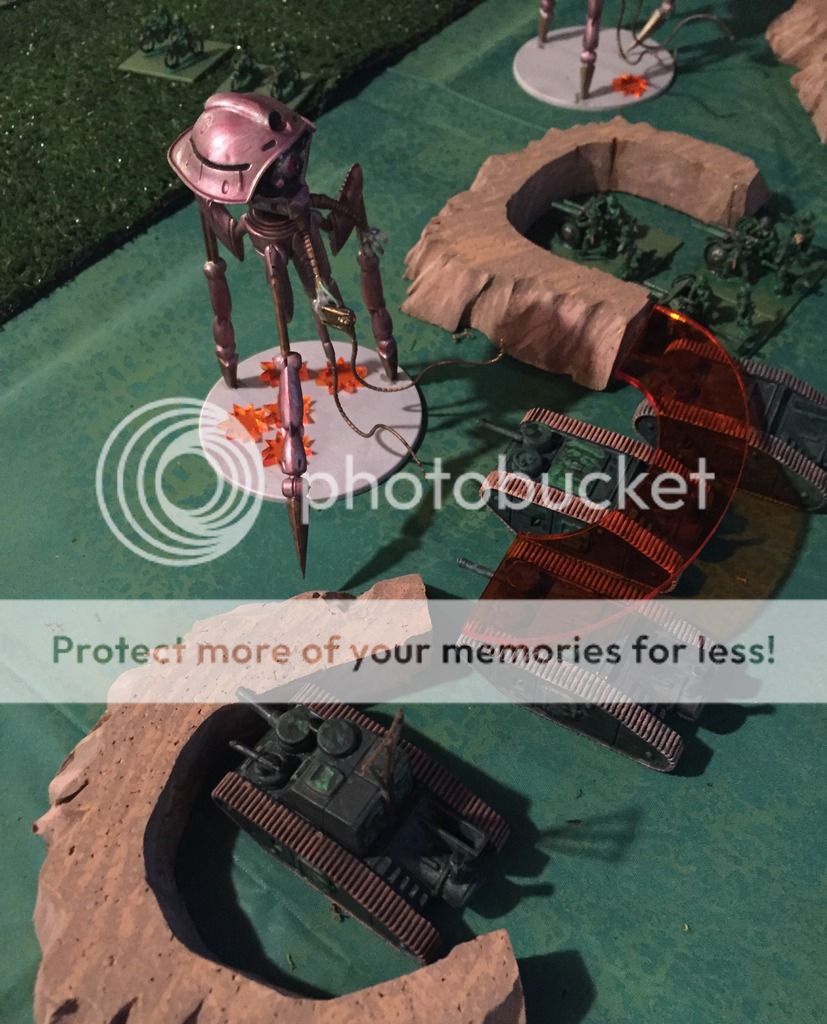
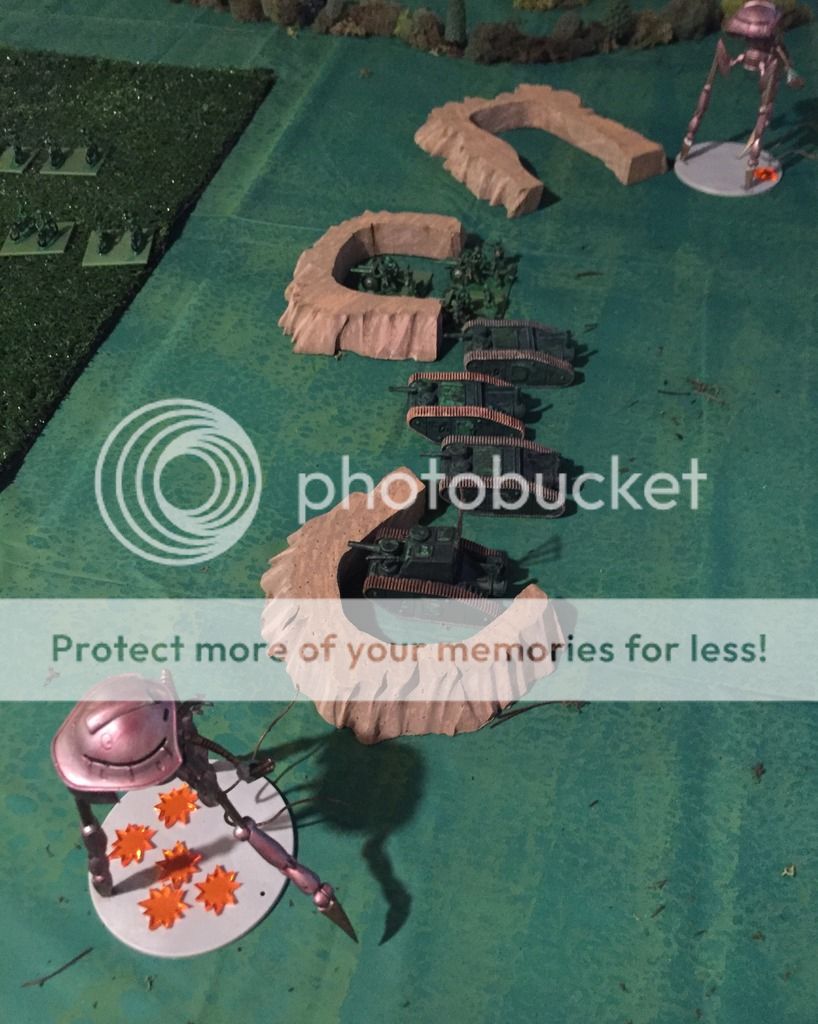
After the failed raid by the 14th Uhlans of Polanski’s Lancers, The Strong Hammers took the rival JUG pilots into custody. The Uhlans waited the contractual agreed amount of time before revealing that their employers were Lacstar Industries. With this information, VolSaab authorized the String Hammers to attack Lacstar Industries installations on Mundos.
However, Lacstar Industries main security contract was not with Polanski’s Lancers, but with a Mercenary Company known as the Rose Guard. On duty on Mundos was a Line unit known as the Thorn Watch. Die to security precautions, they had not been advised of the Uhlan’s involvement on Mundos until their attack on the Strong Hammers failed.
As a result, the Thorn Watch scrambled to set-up an extended wartime defensive perimeter. However, the Strong Hammers struck too quickly, and the Thorn Watch were left to repel a close assault by the enemy JUGS.
Forces
Once again we didn’t bother with using the Unit Builder, we just ball parked it.
Strong Hammers (Blue Jugs)
1 Heavy Line (Front, Dragon)
1 Line (Hunchback)
2 Light Line (Whitworth, Dervish)
Thorn Watch (Pink Jugs)
1 Heavy Line (Front, Cyclops)
1 Line (Vindicator)
1 Light Line (Panther)
1 Picket (Commando)
Mission
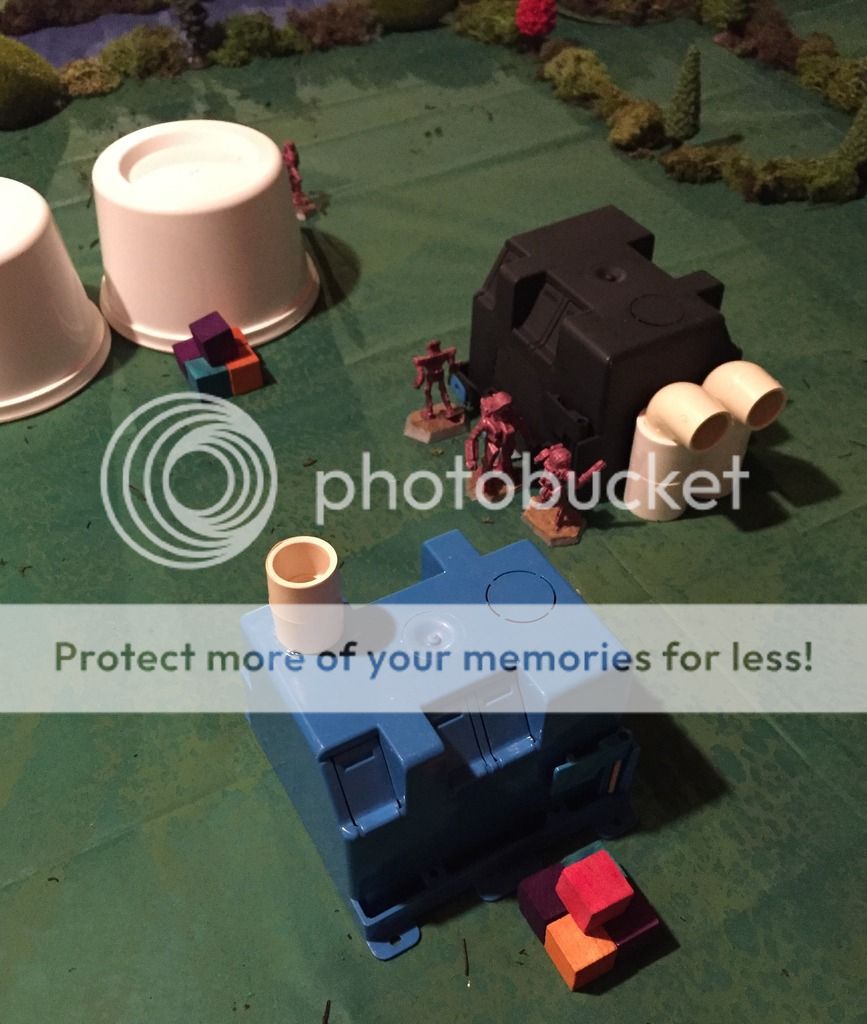
Today we are playing the Asset Depreciation mission in the JUGS rulebook. There are two Key Targets of the attack. They are placed within 6 inches of any board edge and each Key Target has 5 hits. Today we have some shipping Containers that have vital equipment stored inside for the Lacstar Industries timber-mills to continue processing tree pulp.
The Thorn Watch JUGS are set-up within 6 inches of any Key Targets. The Strong Hammers are set-up on the opposite board edge.
Turn 1
The Strong Hammers get to Activate first.
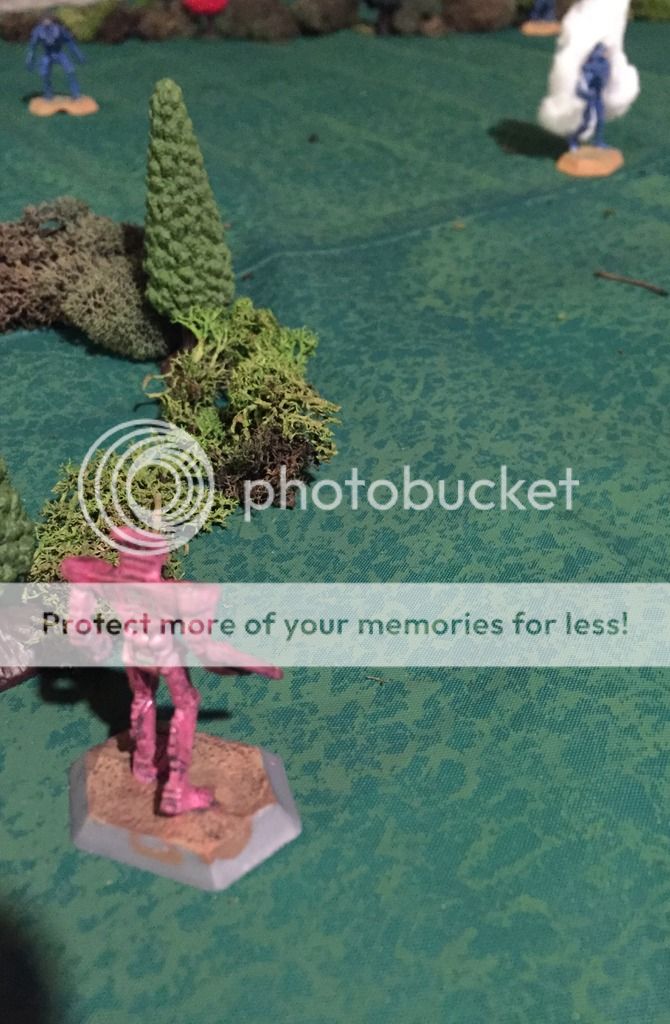
The Dervish activates first. He manages to stay out of LOS of any enemy JUGS and moves towards a copse of tress at the edge of the river.
The Whitworth strides straight forward, and moves into LOS of the Commando, who does not opt to React. The pilot passes a Pilot Check and does an ECM Burst to cover his approach.
The Dragon tries to Run, but fails its Pilot check. Instead, it lumbers through the woods towards the Lacstar Industries site. The Hunchback manages to break the treeline near the Dragon. In its exposed position it decides to Brace.
The Thorn Watch had been patiently waiting to see how the attack develops. However, now it can wait no longer as it is time for them to activate. The Cyclops lumbers out from behind the factory and towards one of the Key Targets. The Strong Hammers do not have the range to react and attack so just watch the Jug move into position to block their shots.
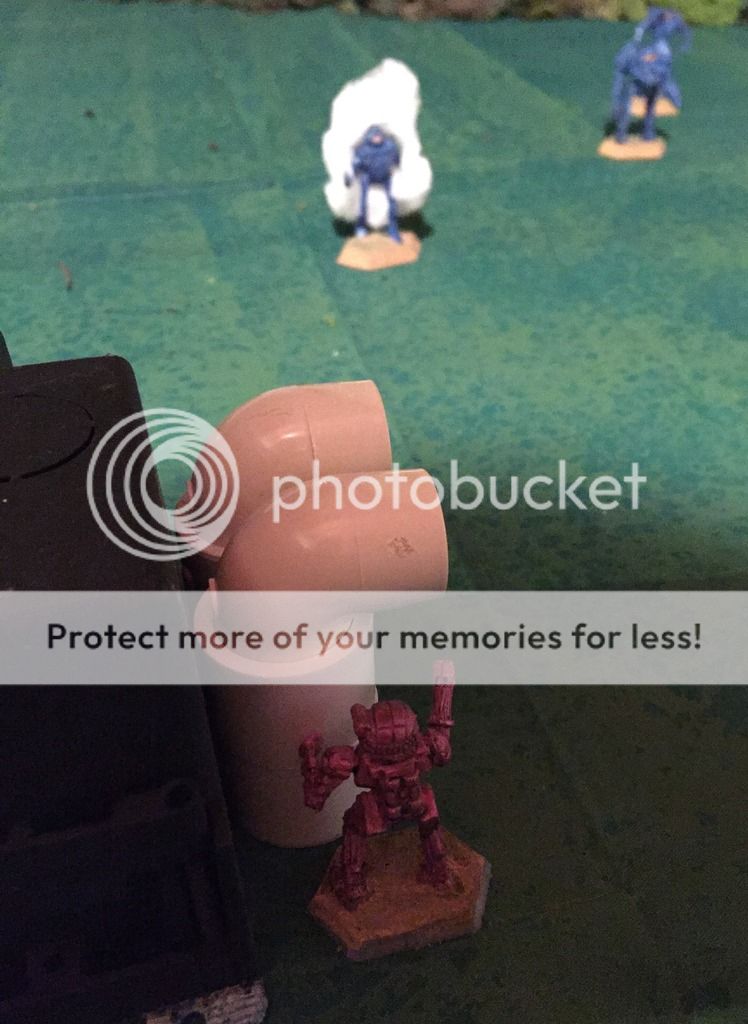
The Vindicator moves into firing position, and unloads with her right arm Gatling cannon, which ignores the ECM Burst. However, the shots ping harmlessly off the Whitworth’s armor. The Vindicator then does an ECM Burst of its own.
The Panther steps out and just has the range on the bold Whitworth. The Panther’s beam manages to blast a searing hole in the Whitworth’s armor and reducing it 1 Hit.
The small Picket Commando races ahead into the cover of the woods by the forest and getting there before the Dervish can reach them.
Turn 2
Thorn Watch gets to Activate first.
The Cyclops begins to lumber, but the Whitworth reacts to it. The Strong Hammer attempts to press forward to try to get a shot at the unprotected key targets, however, the Vindicator beats it to the punch and activates in response to the move. The Vindicator again let’s loose with a hail of plasma packets, but the Whitworth’s armor easily absorbs them. The Vindicator then does an ECM Burst moving it from Obscured to Fully Obscured.
The Whitworth finished stepping forward. As he does so, the Panther tries to react but fails. The Strong Hammer has an obscured shot at one of the Key Targets with his cannons and rockets. The barrage destroys two of the containers.
The Cyclops finally gets to finish its move and settles in right in front of the Key Targets, and blocks them from further attack. However, it fails to Brace.
The Panther moves into cover by the trees near the river. The Dervish tries to react, but fails. The Panther then Locks-on to the Whitworth with his weapon array. The Whitworth pays for its daring and aggressive move forward, and not Bracing. The Panther’s rockets and Beam slash into the JUG and reduce it 3 Hits, down to 2 and crippling it.
The Commando stays out of sight and performs and ECM Burst to go from Obscured to Fully Obscured.
The Dervish sees the other Key Targets, and aggressively moves in to attack despite what happened to the Whitworth. The Commando is the only one who can react, and does so once the Dervish finished its move forward. It moves out of the trees and behind the Dervish to eliminate return fire. Its rockets and light cannon reach out at the Dervish but its armor and shields swat away the blows.
The Dervish finishes its attack run and unloads on the Key Targets. Its missiles all fail to find the mark, and the cannon takes out one container. Disappointed, the pilot decides to Brace.
The Hunchback strides forward eager to get its powerful main gun into the action, however, the distance is still too great. The pilot fails to Brace.
This time, the Dragon passes its Run check and stomps forward eager for battle. However, it can not Brace and is taking a risk to try and get into range.
Turn 3
Strong Hammers can activate first.
With the Key Target still in sight, the Dervish tries to Lock-on to the Key Targets. He does successfully. He opens fire again. This time he is more successful as his Missiles blast away three more containers.
The crippled Whitworth stumbles forward to get closer to the target area. The Thorn Guard has to think about if they want to react to this crippled JUG or wait for one of the Heavier units. The Vindicator successfully reacts. A fusillade of firepower slams into the Whitworth, and this time its armor buckles and the JUGS systems shutdown.
The Whitworth is completely out of the fight. It then moves to cover the last Key Target from the Dervishes attacks.
The Dragon fails to perform an ECM Burst. It then moves towards the Cyclops to do battle. The Cyclops fails to react, which means the Cyclops is not braced! However, the Panther does react. He locks onto the Dragon and fires, happy he had moved forward to try and set-up this crossfire to begin with. The Rockets are knocked from the sky by the Dragon’s PD, but the Beam mercilessly reduces the Dragon by 3 Hits! It is amazing no Critical Damage is inflicted.
The Panther’s attacks must have thrown off the Dragon’s firing solutions as almost nothing finds its way to the Cyclops. The Thorn Watch heavy slaps away the rockets with PD and absorbs the cannon shells.
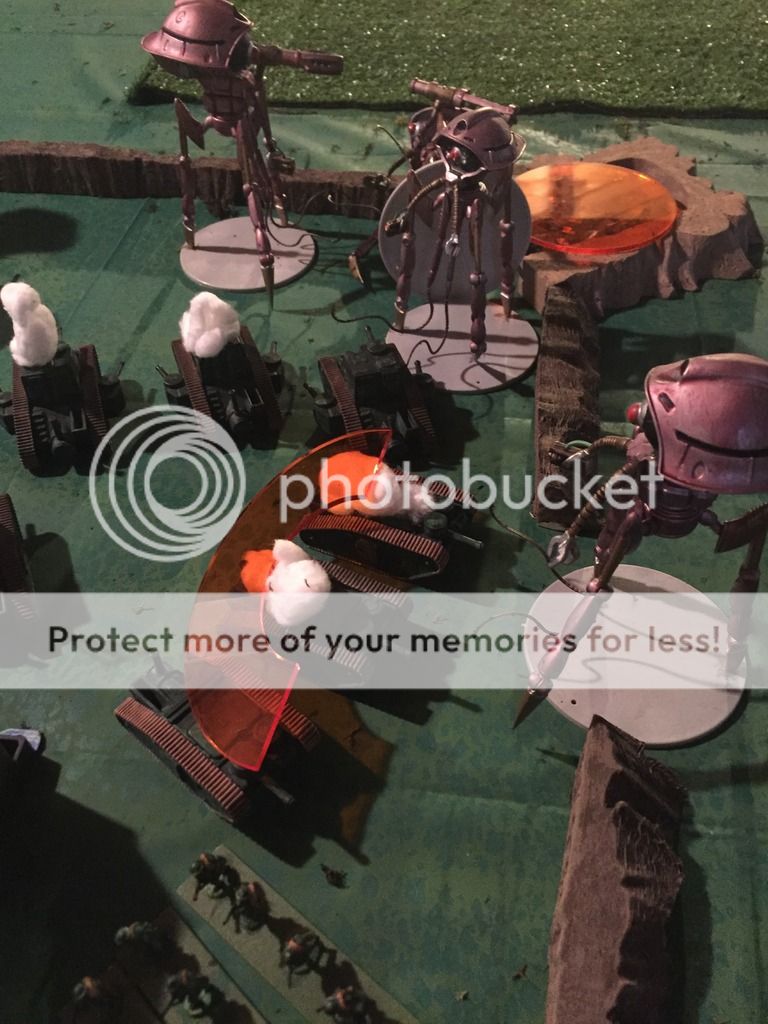
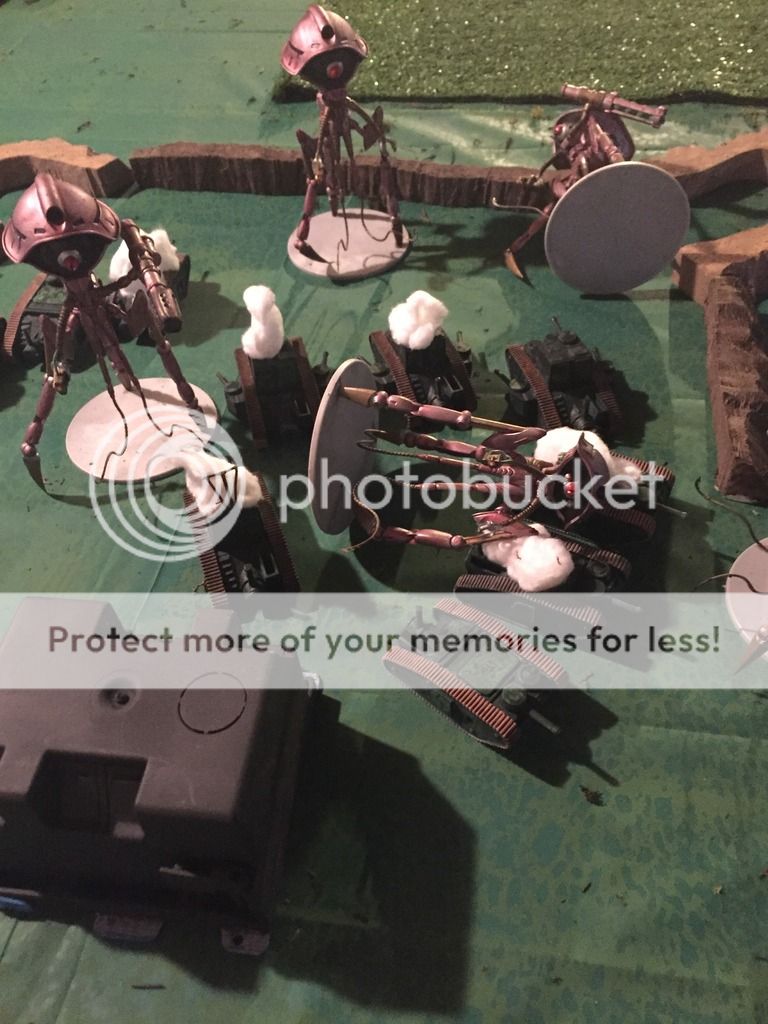
Now the Hunchback walks up and locks-on with his Cannon. This time, the Cyclops manages to react and immediately Braces for impact. Then, it fires its own weapons at the Dragon. It is a punishing barrage! The Dragon’s armor absorbs the cannons, but the Beam tears through it, reducing it from 7 Hits to 4 and crippling the Dragon! Plus, the Point Defense and Rockets were damaged in the attack.
The Strong Hammers are starting to have second thoughts about their strategy! The Hunchbacks cannon roared to life and managed to reduce the Cyclops by 1 despite bracing! In addition, the cannon on its right arm mount was damaged.
The Commando was the last JUG to activate, and it did so now. It scampered behind the Dervish and shot it again for no effect.
Turn 3
Thorn Guard win activation.
The Vindicator goes first to try and screen the last Key Target on that side of the board from the Dervish. However, the Dervish Reacts to the movement and fires first! He fails to lock-on and opens fire. It only takes one missile, and it hits and destroys the Key target. There are only three left, and it is behind the Cyclops. The Commando tries to React as the Dervish goes to move, but fails.
The Vindicator completes its move. With no Key Targets to protect anymore, it moves tot eh edge of the factory complex and targets the crippled Dragon. However, before it can fire, the Dragon reacts.
The Dragon fails to Brace. However, it does open fire on the Cyclops with its remaining weapons power. Nothing sticks and the Cyclops’ shields knock the shells harmlessly aside.
Now the Vindicator Locks-on and fires at the crippled Dragon. Locking-on pays off as there are 5 hits and only two are saved! The Dragon is reduced to 1 Hit left.
The Cyclops activates and immediately tries to Brace again, and does so successfully. He takes aim at the Hunchback this time and the Strong Hammer tries to react but fails. The weight of fire is noticeably lessened due to the critical damage on the Cyclops right arm and the Hunchbacks armor absorbs all the hits.
The Panther activates and moves to get an obscured shot at the Hunchback. The Hunchback reacts! He turns and moves to try and get an Obscured shot at the Key Targets. He locks-on and fires. His shooting is dead-on and the last three Key Targets are obliterated by his cannon!
In frustration, the Panther locks-on to the Dragon and destroys him with a precise Beam attack. The Commando also fires a parting shot at the Dervish, but the armor absorbs the rocket attack.
With that, the Thorn Watch radios a formal withdrawal request to the Strong Hammers. The Strong Hammers agree and terms are met per the Mercenary Accords and Guidelines.
Conclusion
The Strong Hammers pulled it off, but only with some serious losses. A Heavy and a Light Line JUG were both taken out in the Raid. However, VolSaab will be suitably impressed by their efforts to bonus them on their contract. Meanwhile, the Thorn Watch failed to protect the equipment and Lacstar Industries production on Mundos has been seriously hampered. Heads will roll at the Corporate Headquarters for the botched efforts.
Some final thoughts on the gameplay:
1.The activation and reactions can take a bit of getting used to. You need to think before you just start doing stuff as you might get interrupted.
2.Again, the action/reaction follows much easier than I expected. You simply complete the reactions, then go back to the previous units, and so forth.
3.Ammo is a consideration as both of us decided not to take low opportunity, long range/obscured shots unless it mattered. We wanted to save it for better chances.
4.Bracing is key, and Beams rule!
I might actually paint up some more JUGS for this!
Saturday, December 31, 2016
Of Resolutions and Resources- 2017 Goals
I have a pretty busy life. I work as a wage slave full time and I am an
entrepreneur as well. That doesn’t leave
much time for hobby time. I find it
critical to try and plan out or document what I want to get done in a year, so
when I actually get time to sit down I don’t waste time faffing about deciding
what to do. I know what I am going to be
doing.
With that in mind, the below are my objectives for
2017.
Purchases
I am going to start with these as purchases will impact
the other sections.
1. Buy
all new Osprey Wargame Series- I have got Pikeman’s
Lament on pre-order so I am on track! Of course I will write reviews for all of them.
2. Pick-up Blood Bowl- I never had my own pitch,
and I can pretty much guarantee games going forward.
5.
Pick-up some scale of Classical Greeks for Men of Bronze- I don’t know if I want
to go 15mm, 1/72nd, or 28mm.
The game works with all scales, but I am leaning 28mm so I can use them
in Broken Legions or Of Gods and Mortals too. However, the other scales are so much cheaper
and quicker to paint.
Painting and
Modelling
2.
Complete my All Quiet on the Martian Front Mobile Artillery and Mk IV tank- I need to
continue the fight in the Minnesota
River Valley!
5.
Paint up enough Gangsters for games of Turf War- These can also double as
Threshold agents for Strange Aeons
Rules Writing
Playing
Random Sorta
Gaming Stuff
1. Keep
on Blogging
2. Look
into setting up a Message Board for discussion around my own games
This year my “Purchase” goals are much more
aggressive. Hopefully my cash flow can
keep up with my objectives! Blood Bowl and Blucher aren’t cheap! That’s
part of the reason why I am leaning towards smaller scales than 28mm. My playing goals are probably way too
ambitious as well.
Now, like all gamers I am a mercurial thing. That means I will probably change what I want
mid-year and make completely different decisions. I mean, look at last year. I only managed half of what I set out to
do. We will see what happens.
I now feel prepared to tackle 2017! I hope I don’t roll double skulls on the
Blocking dice.
Friday, December 30, 2016
Jugs: A Game of Big, Stompy Robots- Battle Report- Patrol on Mundos
I managed to get a game in of JUGS- The Game of Big, Stompy Robots.
Polanski’s Lancers were contracted by Lacstar Industries to harass the assets of the VolSaab Corporation on the colony world of Mundos. The 14th Uhlans were assigned the task by their CEO and covertly deployed to Mundos for the operation.
Of course, VolSaab’s facilities and territory on the forest world were not undefended. They had contracted site protection out to the mercenary company known as Thor’s Hammers. A Line Unit known as the Strong Hammers were currently on rotation at Mundos.
The Uhlans are primarily a light Line and Skirmisher force. Under the cover of darkness and strong ECM, the Uhlans began to infiltrate into VolSaab territory in an attempt to draw the defenders away from the main Corporate compound. The Strong Hammers did not take the bait, and instead only sent a patrol of Line and Light Line Jugs to investigate their perimeter as the strong use of ECM tipped off their Officers to potential enemy activity.
Forces
We didn‘t bother pricing out the units using the build system. Instead, I tried to make a somewhat balanced force with the Strong Hammers being the heavier units. We looked over the lists, made any tweaks, and I took the lighter units.
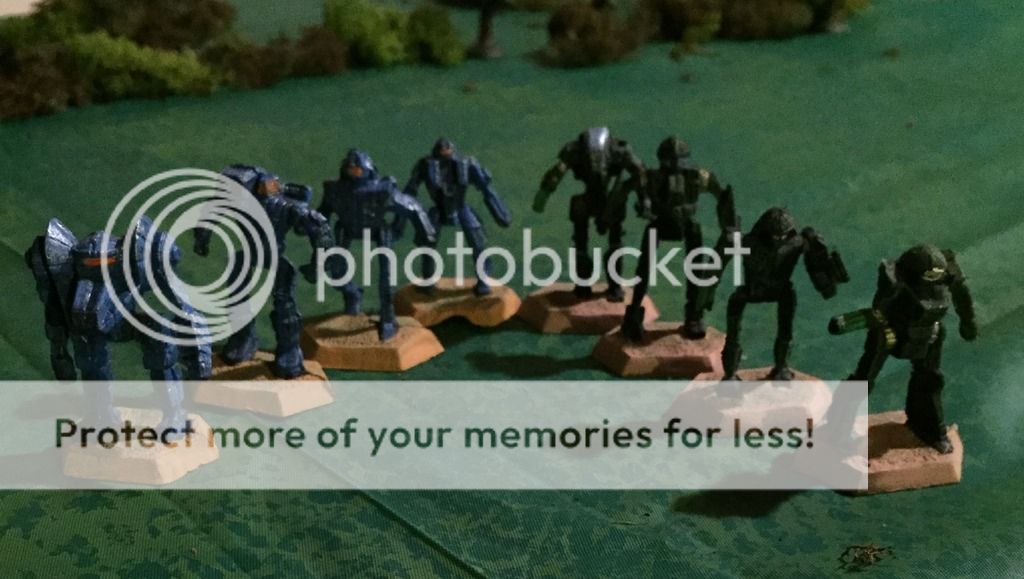
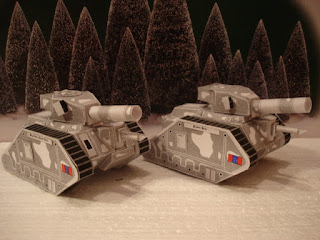
The models are from Catalyst's Battletech 50th Anniversary box.
14th Uhlans (Green Jugs)
3- Light Line (From front to back Enforcer, Trebuchet, Quickdraw)
1-Skirmisher (Assassin)
Strong Hammers (Blue Jugs)
1-Heavy Line (Front, Dragon)
1-Line (Second from front, Hunchback)
2-Light Line (Whitworth, Dervish)
Mission
This is the standard Patrol mission from the rulebook. Therefore, the Strong Hammers are in the center within 6 inches of each other. The Uhlans are deployed anywhere on the board, in cover and at least 12 inches away. Uhlans will be the active unit.
Turn 1
The Uhlans elect to move first. I am careful to recall that an opposing unit may not react if the opponent remains out-of-LOS. They can not react until they are shot at.
My Quickdraw stays in cover and uses an ECCM Burst to make sure he is Fully Obscured. He passes the test. He is ready to react once the shooting starts.
The Assassin attempts to lock onto the trailing Whitworth. He fails his pilot check. However, the Skirmisher decides to open fire on the enemy Jug anyway. Since his weapons ignore cover, he can fire through the trees with no firepower reduction. He just blasts through it with weight of fire. The Whitworth attempt to react, but the Assassin wins the roll and opens fire. The shots ping harmlessly off the Jugs armor and shields.
The Trebuchet steps confidently out of the treeline and locks-on to the Hunchback. He opens fire with his missiles and cannons. The Hunchback fails to React as the trebuchet’s missiles and cannon blast into his side armor. The Cannon shells fail to find a weak point, but the missile strikes home and causes warning lights to flash in the cockpit. 5 hits left on the Hunchback.
The Enforcer moves to keep the squad out of LOS so he can target the lead Dragon one-on-one. He manages to Lock-on, and then opens fire. However, before he can, the Dragon reacts! The Strong Hammer turns to face his lighter opponent head-on. The close range barrage is too much and easily overwhelms the lighter JUGS armor. Point Defense failed to stop any rockets, and the Beam cut through the Enforcers armor reducing him to 2DP and crippling him in a single deadly salvo! The crippled JUGs return fire is pitiful and pings harmlessly off the heavy Dragon’s armor.
The Hunchback turned and clomped towards the Trebuchet that had injured it. He closed the distance quickly and powered up his cannon. The trebuchet still had movement left and reacted to his opponents move. He quickly backpedaled into the treeline for some cover, but couldn’t get far enough away to avoid getting shot at. He was starting to wish he had Braced instead of Locked-on. The Hunchback plants its feet firmly and Braces. Then, he fires. The treeline reduces the firepower by two, but it is still enough to potentially hit the Trebuchet twice. However, the armor saves one fothe cannon shells reducing the Trebuchet to 5 hits.
The Strong Hammer’s Dervish moves to back-up the larger Hunchback, but opts not to fire his missiles for reduced firepower. Instead, he goes on Brace as well.
The Whitworth moves forward and gets a bead on the heavily damaged Enforcer with its Beam. The weapon cuts through the Jugs armor like butter and reduces it down to 1 DP.
Turn 2
The Strong Hammers win the activation roll. This could be bad for the Enforcer.
The Dragon opts to fire on the Crippled Jug. He tries to Lock-on and fails. AS he moves to fire, the Enforcers pilot manages to react. He turns and runs into the nearby treeline, then tries to do an ECCM burst to protect himself, but fails. The Dragon slowly turns and smashes through the trees after his prey. The Dragon’s rockets saturate the area, but the Enforcers Point Defense swats it aside, however, the Heavy Jugs Beam manages to catch the Enforcer and cut him down along with several trees. The Enforcer is Disabled.
The Hunchback holds his ground and successfully Braces again. He goes to fire on the Trebuchet with his forward cannon. However, the Trebuchet reacts first. He bursts through the treeline and begins to approach the enemy Jugs. However, the Dervish reacts successfully.
The Dervish manages to Lock-on and opens fire. Even with the re-rolls for Lock-on nothing finds the moving Trebuchet. The Dervish then turns and moves away at a 90 degree angle. With nothing left to do, play reverts back to the Trebuchet to finish his Reaction. He moves ahead past the Hunchback, and fires on the Whitworth. The Whitworth fails to react. The cannon shells bounce harmlessly off its armor, but two missiles detonate in the Jugs back, reducing it to 4 Hits. Now in the open, the Trebuchet tries to Brace, but fails.
Play now reverts back to the Hunchback. The pilot Braced, so can not move unless he drops Bracing. He has no targets unless he moves, but can not try to use a Pilot skill again this turn. He decides to turn and move towards the Assassin Skirmisher. He fires his cannon and the Assassin fails to react. The shell strikes home and reduces the Assassin to only 3 Hits.
The Whitworth turns back towards the Trebuchet and returns fire. The trebuchet has used all his movement, firepower, and pilot skills so can not attempt to react. The Whitworth’s Beam reduces the Trebuchet to 4 hits.
The Assassin turns and moves quickly across the treeline, covering his movements with an ECCM Burst making him tougher to target. However, his weapon load-out does not allow for a left facing shot.
The Quickdraw burst from his cover and moves out to support the Trebuchet. The Whitworth attempts to react but fails, all though he only has movement left. He opens fire with his Cannon on the Whitworth, but misses. Then, his rockets and Beam attack the rear of the Dervish. The rockets are taken out by Point Defense, while the beam cuts the Dervish down to 5 hits. The Quickdraw finishes by Bracing.
Turn 3
The Strong Hammer win activation.
The Hunchback is in a position behind the Uhlan lines, so no one can react to his movement. He truddles around and faces the back of the Trebuchet. Instead of Bracing, he decides to Lock-on and opens fire. The Trebuchets weapons lock warnings ring out and the pilot attempts to react, but it is too late. The Heavy shells blast into the Trebuchets back, and cripple the Jug (2 Hits left).
Things look bad for the Uhlans.
The Dragon is satisfied that the Enforcer is out of the fight, and moves to get behind the Quickdraw. He can only bring his Beam to bear, but opts not to shoot due to the firepower reduction caused by the treeline. He wants to conserve his ammo. He holds his Pilot skill and Firepower to potentially react.
The Dervish begins to turn and the Quickdraw tries to react, which he successfully does. He opens fire with his full weapon compliment on the Dervish. The rockets miss and the cannons fail to find a weak spot. However, the beam cuts through the Dervish and reduces it to 4 Hits. He then tries to turn and move but the Whitworth tries to react, but fails. The Dragon also tries to React as the Quickdraw moves away, but fails. The Quickdraw moves behind the Hunchback, and Braces.
Play returns to the Dervish. He moves to try and get a clean shot at the Quickdraw, but can only get and Obscured shot which would reduce his firepower to very small chance at success. He decides to hold onto his firepower, and also Braces.
The Whitworth moves towards the Trebuchet, who tries to React, which he does successfully. This time the Jug Pilot Braces. He then tries to fire his reduced Firepower at his approaching adversary. The Whitworth’s Point Defenses take down the approaching missiles. The Whitworth returns fire and the Trebuchet easily absorbs it.
The Assassin moves and tries to take a sniper shot at the Dervish from the treeline. The Dervish tries to react, but fails. The Gatling and Rockets fail to make a dent in the Dervish.
Turn 4
Uhlans win activation.
The Trebuchet passes a Pilot Check to make a run order. When he tries to move the Whitworth reacts successfully. The Whitworth decides to finish the job, locks-on and disables the Trebuchet with a burst of rocket and cannon fire.
With that, the Uhlan’s have decided that discretion is the better part of valor. The Assassin activates and falls back off the board.
The Quickdraw makes a Pilot Check to run and passes. However, when he tries to move the Dervish attempts to activate, which he does successfully. A barrage of missiles home in on the fleeing JUG and cripples the Quickdraw.
The Dervish fails to perform an ECCM burst to cover himself. The Quickdraw completes his turn and can just barely get to the board edge and away.
Conclusion
Strong Hammers hand the Uhlan’s a decisive defeat. So much for disrupting the VolSaab Corporations interests on Mundos. Two disabled and 1 crippled Jug out of 4 is not a good ratio, and in exchange they only lightly damaged the Strong Hammers. I guess they lived up to their names.
Here is what I learned about the game system itself.
1.Winning Activation is not inherently good.
2.Choose when to use your Pilot Skills carefully, and pick the one you will need. This turned out to be a big part of the game.
3.Getting to the sides and behind opponents limited their return firepower and forced them to make decisions about movement that impacted their abilities to use certain Pilot Skills.
4.Making opponents move allowed you to react to them and potentially get the drop on them.
5.The Action/Reaction system was pretty fun, and reacting to reactions wasn’t as hard as I had feared.
6.Having a reference card to keep track of what each Jugs had available for firepower, Hits, and what Pilot Skill they had on was really useful. Bummer.
7.Terrain and Ranges reduction of Firepower still made taking cover and gaming ranges important. I wasn’t sure how this would play out in the field. Also, reacting and moving out of fire arcs was a good tactic.
8.Missiles are really good, but can be nullified by PD. Beams rule as they can only be saved while bracing.
9.Concentration of firepower is critical, do not spread it out!
10.The game maneuvered and played like I imagined big, stompy robots would
Overall, I would call this a success!
Polanski’s Lancers were contracted by Lacstar Industries to harass the assets of the VolSaab Corporation on the colony world of Mundos. The 14th Uhlans were assigned the task by their CEO and covertly deployed to Mundos for the operation.
Of course, VolSaab’s facilities and territory on the forest world were not undefended. They had contracted site protection out to the mercenary company known as Thor’s Hammers. A Line Unit known as the Strong Hammers were currently on rotation at Mundos.
The Uhlans are primarily a light Line and Skirmisher force. Under the cover of darkness and strong ECM, the Uhlans began to infiltrate into VolSaab territory in an attempt to draw the defenders away from the main Corporate compound. The Strong Hammers did not take the bait, and instead only sent a patrol of Line and Light Line Jugs to investigate their perimeter as the strong use of ECM tipped off their Officers to potential enemy activity.
Forces
The models are from Catalyst's Battletech 50th Anniversary box.
14th Uhlans (Green Jugs)
3- Light Line (From front to back Enforcer, Trebuchet, Quickdraw)
1-Skirmisher (Assassin)
Strong Hammers (Blue Jugs)
1-Heavy Line (Front, Dragon)
1-Line (Second from front, Hunchback)
2-Light Line (Whitworth, Dervish)
Mission
This is the standard Patrol mission from the rulebook. Therefore, the Strong Hammers are in the center within 6 inches of each other. The Uhlans are deployed anywhere on the board, in cover and at least 12 inches away. Uhlans will be the active unit.
Turn 1
The Uhlans elect to move first. I am careful to recall that an opposing unit may not react if the opponent remains out-of-LOS. They can not react until they are shot at.
My Quickdraw stays in cover and uses an ECCM Burst to make sure he is Fully Obscured. He passes the test. He is ready to react once the shooting starts.
The Assassin attempts to lock onto the trailing Whitworth. He fails his pilot check. However, the Skirmisher decides to open fire on the enemy Jug anyway. Since his weapons ignore cover, he can fire through the trees with no firepower reduction. He just blasts through it with weight of fire. The Whitworth attempt to react, but the Assassin wins the roll and opens fire. The shots ping harmlessly off the Jugs armor and shields.
The Trebuchet steps confidently out of the treeline and locks-on to the Hunchback. He opens fire with his missiles and cannons. The Hunchback fails to React as the trebuchet’s missiles and cannon blast into his side armor. The Cannon shells fail to find a weak point, but the missile strikes home and causes warning lights to flash in the cockpit. 5 hits left on the Hunchback.
The Enforcer moves to keep the squad out of LOS so he can target the lead Dragon one-on-one. He manages to Lock-on, and then opens fire. However, before he can, the Dragon reacts! The Strong Hammer turns to face his lighter opponent head-on. The close range barrage is too much and easily overwhelms the lighter JUGS armor. Point Defense failed to stop any rockets, and the Beam cut through the Enforcers armor reducing him to 2DP and crippling him in a single deadly salvo! The crippled JUGs return fire is pitiful and pings harmlessly off the heavy Dragon’s armor.
The Hunchback turned and clomped towards the Trebuchet that had injured it. He closed the distance quickly and powered up his cannon. The trebuchet still had movement left and reacted to his opponents move. He quickly backpedaled into the treeline for some cover, but couldn’t get far enough away to avoid getting shot at. He was starting to wish he had Braced instead of Locked-on. The Hunchback plants its feet firmly and Braces. Then, he fires. The treeline reduces the firepower by two, but it is still enough to potentially hit the Trebuchet twice. However, the armor saves one fothe cannon shells reducing the Trebuchet to 5 hits.
The Strong Hammer’s Dervish moves to back-up the larger Hunchback, but opts not to fire his missiles for reduced firepower. Instead, he goes on Brace as well.
The Whitworth moves forward and gets a bead on the heavily damaged Enforcer with its Beam. The weapon cuts through the Jugs armor like butter and reduces it down to 1 DP.
Turn 2
The Strong Hammers win the activation roll. This could be bad for the Enforcer.
The Dragon opts to fire on the Crippled Jug. He tries to Lock-on and fails. AS he moves to fire, the Enforcers pilot manages to react. He turns and runs into the nearby treeline, then tries to do an ECCM burst to protect himself, but fails. The Dragon slowly turns and smashes through the trees after his prey. The Dragon’s rockets saturate the area, but the Enforcers Point Defense swats it aside, however, the Heavy Jugs Beam manages to catch the Enforcer and cut him down along with several trees. The Enforcer is Disabled.
The Hunchback holds his ground and successfully Braces again. He goes to fire on the Trebuchet with his forward cannon. However, the Trebuchet reacts first. He bursts through the treeline and begins to approach the enemy Jugs. However, the Dervish reacts successfully.
The Dervish manages to Lock-on and opens fire. Even with the re-rolls for Lock-on nothing finds the moving Trebuchet. The Dervish then turns and moves away at a 90 degree angle. With nothing left to do, play reverts back to the Trebuchet to finish his Reaction. He moves ahead past the Hunchback, and fires on the Whitworth. The Whitworth fails to react. The cannon shells bounce harmlessly off its armor, but two missiles detonate in the Jugs back, reducing it to 4 Hits. Now in the open, the Trebuchet tries to Brace, but fails.
Play now reverts back to the Hunchback. The pilot Braced, so can not move unless he drops Bracing. He has no targets unless he moves, but can not try to use a Pilot skill again this turn. He decides to turn and move towards the Assassin Skirmisher. He fires his cannon and the Assassin fails to react. The shell strikes home and reduces the Assassin to only 3 Hits.
The Whitworth turns back towards the Trebuchet and returns fire. The trebuchet has used all his movement, firepower, and pilot skills so can not attempt to react. The Whitworth’s Beam reduces the Trebuchet to 4 hits.
The Assassin turns and moves quickly across the treeline, covering his movements with an ECCM Burst making him tougher to target. However, his weapon load-out does not allow for a left facing shot.
The Quickdraw burst from his cover and moves out to support the Trebuchet. The Whitworth attempts to react but fails, all though he only has movement left. He opens fire with his Cannon on the Whitworth, but misses. Then, his rockets and Beam attack the rear of the Dervish. The rockets are taken out by Point Defense, while the beam cuts the Dervish down to 5 hits. The Quickdraw finishes by Bracing.
Turn 3
The Strong Hammer win activation.
The Hunchback is in a position behind the Uhlan lines, so no one can react to his movement. He truddles around and faces the back of the Trebuchet. Instead of Bracing, he decides to Lock-on and opens fire. The Trebuchets weapons lock warnings ring out and the pilot attempts to react, but it is too late. The Heavy shells blast into the Trebuchets back, and cripple the Jug (2 Hits left).
Things look bad for the Uhlans.
The Dragon is satisfied that the Enforcer is out of the fight, and moves to get behind the Quickdraw. He can only bring his Beam to bear, but opts not to shoot due to the firepower reduction caused by the treeline. He wants to conserve his ammo. He holds his Pilot skill and Firepower to potentially react.
The Dervish begins to turn and the Quickdraw tries to react, which he successfully does. He opens fire with his full weapon compliment on the Dervish. The rockets miss and the cannons fail to find a weak spot. However, the beam cuts through the Dervish and reduces it to 4 Hits. He then tries to turn and move but the Whitworth tries to react, but fails. The Dragon also tries to React as the Quickdraw moves away, but fails. The Quickdraw moves behind the Hunchback, and Braces.
Play returns to the Dervish. He moves to try and get a clean shot at the Quickdraw, but can only get and Obscured shot which would reduce his firepower to very small chance at success. He decides to hold onto his firepower, and also Braces.
The Whitworth moves towards the Trebuchet, who tries to React, which he does successfully. This time the Jug Pilot Braces. He then tries to fire his reduced Firepower at his approaching adversary. The Whitworth’s Point Defenses take down the approaching missiles. The Whitworth returns fire and the Trebuchet easily absorbs it.
The Assassin moves and tries to take a sniper shot at the Dervish from the treeline. The Dervish tries to react, but fails. The Gatling and Rockets fail to make a dent in the Dervish.
Turn 4
Uhlans win activation.
The Trebuchet passes a Pilot Check to make a run order. When he tries to move the Whitworth reacts successfully. The Whitworth decides to finish the job, locks-on and disables the Trebuchet with a burst of rocket and cannon fire.
With that, the Uhlan’s have decided that discretion is the better part of valor. The Assassin activates and falls back off the board.
The Quickdraw makes a Pilot Check to run and passes. However, when he tries to move the Dervish attempts to activate, which he does successfully. A barrage of missiles home in on the fleeing JUG and cripples the Quickdraw.
The Dervish fails to perform an ECCM burst to cover himself. The Quickdraw completes his turn and can just barely get to the board edge and away.
Conclusion
Strong Hammers hand the Uhlan’s a decisive defeat. So much for disrupting the VolSaab Corporations interests on Mundos. Two disabled and 1 crippled Jug out of 4 is not a good ratio, and in exchange they only lightly damaged the Strong Hammers. I guess they lived up to their names.
Here is what I learned about the game system itself.
1.Winning Activation is not inherently good.
2.Choose when to use your Pilot Skills carefully, and pick the one you will need. This turned out to be a big part of the game.
3.Getting to the sides and behind opponents limited their return firepower and forced them to make decisions about movement that impacted their abilities to use certain Pilot Skills.
4.Making opponents move allowed you to react to them and potentially get the drop on them.
5.The Action/Reaction system was pretty fun, and reacting to reactions wasn’t as hard as I had feared.
6.Having a reference card to keep track of what each Jugs had available for firepower, Hits, and what Pilot Skill they had on was really useful. Bummer.
7.Terrain and Ranges reduction of Firepower still made taking cover and gaming ranges important. I wasn’t sure how this would play out in the field. Also, reacting and moving out of fire arcs was a good tactic.
8.Missiles are really good, but can be nullified by PD. Beams rule as they can only be saved while bracing.
9.Concentration of firepower is critical, do not spread it out!
10.The game maneuvered and played like I imagined big, stompy robots would
Overall, I would call this a success!
Wednesday, December 28, 2016
Wargaming on a Budget- Paper Templates
If you are anything like me, your wargaming eyes are
bigger than your wallet. There are so
many fun and interesting rulesets, miniatures, board lay-outs, and genres that you want to try
but you can only have so many models! What’s
a great way to playtest a set of rules without spending a ton of money on
miniatures? Well, there are a few ways
to do it:
1.
Generic Miniatures- If your minis are generic
enough, they can cross over into multiple roles. A fantasy mini is a fantasy mini no matter
what fantasy game you are playing. I use
the same models for Dragon Rampant as
I do Frostgrave.
2.
Proxies- using miniatures of one type to stand
in for another. You pretend that a GW Space Marine
is actually a battle golem for a fantasy system.
I also like to use green army men and other similar toys for cheap 3d proxies.
3.
Templates- The last way, and one of my favorite
ways; is by using simple paper templates to represent the unit or mini.
For paper templates, there are a few methods to go about it. You can do it the easy way, or the hard
way. Here are some examples:
1.
Counters- Counters are flat 2d cut-outs that you
move around the board. They always
remind me of the old Hex and Chit games of the Avalon Hill/Boardgame era of
wargaming. They aren’t much to look at,
but they do the job as intended. This is
the easiest way.
I plan on using this method for
playtesting Horizon Wars from Osprey
games prior to writing my review. I also
use this method for games of AquanauticaImperialis and Castles in the Sky.
2.
Stand-ups- Stand-ups harken back to my early
days in wargaming. The old, venerable Rogue Trader booklet for Warhammer 40K had a scenario in the
back. It was the Crimson Fists vs. Ork
Raiders for the “Battle at the Farm”.
The back of the book had a number of counters you would copy, past to
thin card, cut out, and then use tabs to make them stand-up. I frequently make and use stand-ups when playtesting
skirmish rules.
 |
| Battle at the farm Counters |
I started by using Gladiator
stand-ups to test The Games: Blood and Spectacle
prior to purchasing Gladiator’s from Crusader. In fact, you can find Stand-ups for Men of Bronze and Turf War. I will be using
these to test these rules before buying any models as well. I
also found some cool stand-up templates for triremes and galleys to use with Poseidon’s Warriors.
3.
The third way is by far the most difficult way
to use paper templates, and only a mad man would attempt it. However, some insane individuals will go so
far as to build scale paper mock-ups of the models in order to use them in
game.
Making such paper mock-ups is a
skill and hobby in its own right, and not one that should be attempted by the faint
of heart.
If you are looking for good paper templates to use as
stand-ups or counters, I can heartily recommend the Junior General site. It is filled with good, fun content for any
period from ancients to sci-fi.
I
typically just image search some cool minis or historical images, copy them,
resize them in MS Paint, and paste them into a PowerPoint document. Then I print them, cut them out, paste them
together to stand-up, and I am ready to go.
I can get entire armies put together for playtesting in a matter of
hours, instead of days.
I never really let a lack of miniatures get in the way of
getting a good game in, and you shouldn’t have to either. With a bit of creativity and fun you can make
whatever you need to play for very little cost.
Then, if you like the game enough you can decide to invest in those
precious, precious models and accessories to go with them.
Happy wargaming!
Happy wargaming!
Monday, December 26, 2016
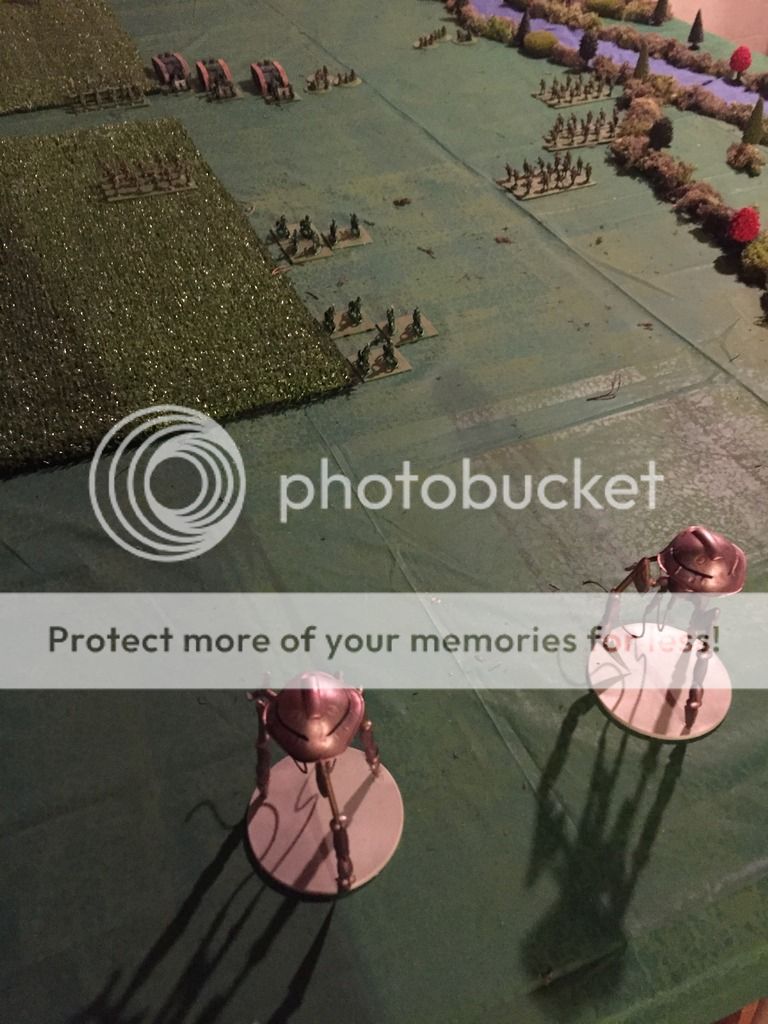
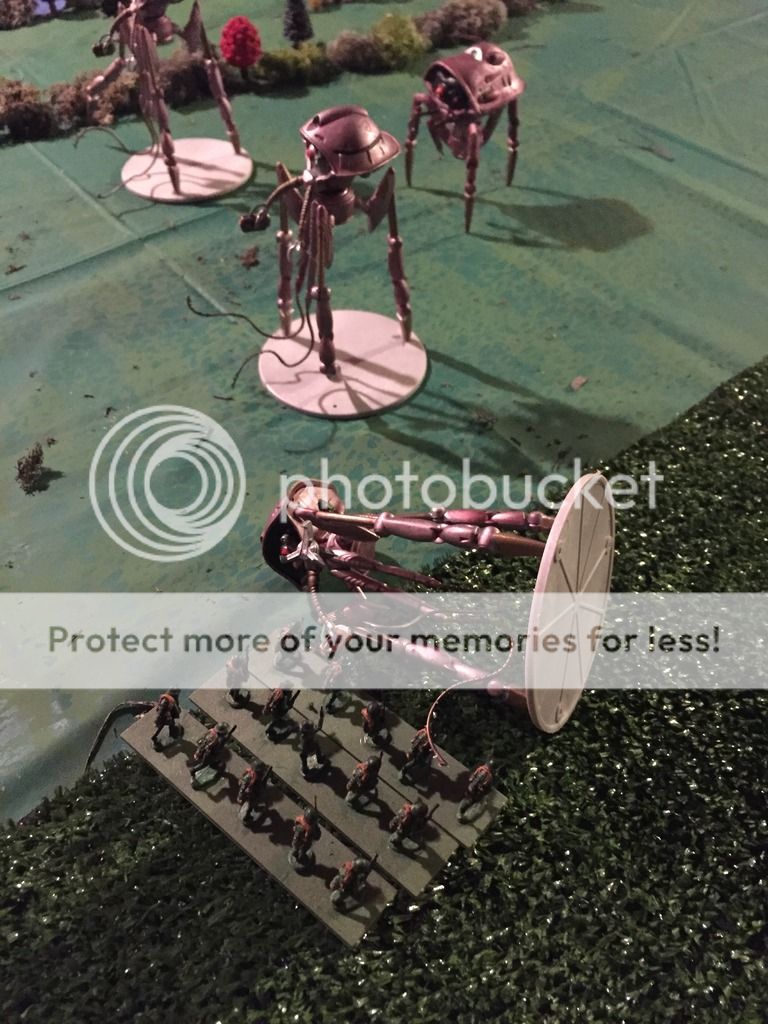
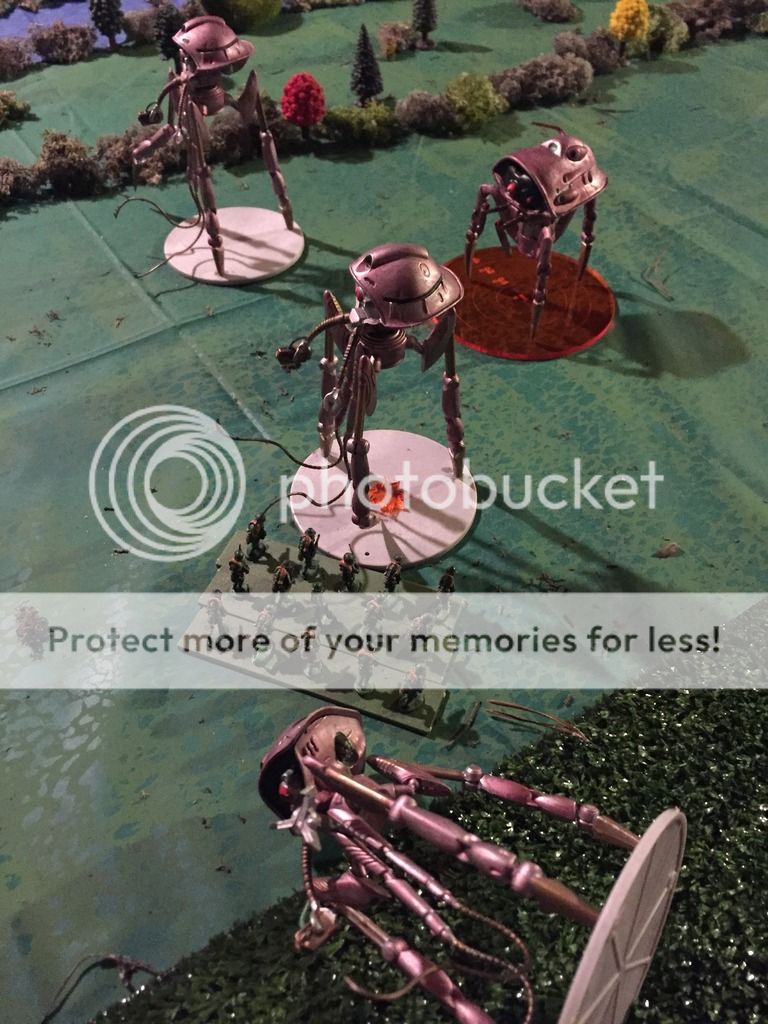
All Quiet on the Martian Front- Battle Report- Retreat from the Yellow Medicine Upper Agency
After the Minnesota Volunteers crushing defeat at the Battle of Camp Release, a general withdrawal to Fort Ridgely was ordered. However, the orderly withdrawal down the Minnesota River Valley soon turned into a disordered route as Martian Scouts and Harvesters raced up the valley in search of prey. Reports of Martian sightings as far East as New Ulm sowed panic into the human defenders.
The action at Yellow Medicine (Also known as the Sioux Upper Agency) was typical of the chaos during the Militia’s general retreat.
Martians:
3 Scouts
1 Harvester (played by a slaver)
Minnesota Militia:
5 Infantry squads
2 Rough Riders
2 Machine gun squads
1 squad of MKIIs
1 battery of field guns
Set-up
Minnesota Units are placed randomly using a scatter die and 2d10 for distance from the center of the board. They are all facing Eastward towards the board edge and escape downriver. The Martians are placed in a line on the Westward side of the valley about 6 inches in from the board edge.
Special Rules
Human units are disordered. The Human player must first pass a Rally check to be able to control any units. Otherwise, they will head towards the Eastward board edge at full speed.
Human units score points for each unit that makes it off the board. Martians score points for destroying Human units, and double points for any unit consumed by a Harvester. The side with the most points at the end of the game wins.
Martians begin with the Initiative automatically.
Turn 1
Initiative: Martians
Martians:
The Martians move forward at full speed and catch up to a lagging Rough Rider squad. Their Heat Rays make short work of the unit. All the retreating humans are alerted to the pursuing aliens.
The Scouts tower over the units in the rear, their shadows falling over their prey.
Humans:
3 Infantry Units and both Machine Gun units pull themselves together enough to stop running.
The last Infantry Unit desperately assaults the closest Scout to try and hold them off so others can escape. Others try to take cover and prepare to sell their lives dearly.
A Ragged cheer goes up as the brave infantry squad manages to destroy a Scout using grenades! There is hope yet! Other shooting or attacks are ineffective.
Turn 2
Initiative: Humans
Humans:
Most of the units in the retreat manage to get a grip to mount a fighting withdrawal. 1 Infantry Unit still remains routing. The brave 5 Platoon storms over the wreckage of the downed Scout and try to assault the next Scout.
A barrage from the Field Guns fails to damage the harvester. This time, the attack of 5th Platoon only manages to damage the armor of the Scout. They fall back to the wreckage of their last victim for cover.
Martians:
The Scouts continue to advance, while the harvester moves to deal with the 5th Platoon.
A scout burns two Rough Riders to cinder, but he last one stays in ready to fight! The other one kills a squad of doughboys with a Heat Ray, but fails to scatter the rest. The Harvester burns out two squads from 5th Platoon and the rest scatter in terror. Another unit destroyed!
Turn 3
Initiative: Martians
Bad times for the Humans as the Scouts are rushing the Machine Gun nests that the Humans had managed to dig in and set-up a crossfire with! The Northern scout manages to vaporize and rout the Machine-gunners on his side of the battlefield. However, his brother Scout and Harvester fail to break the opposite bank.
Humans:
The Mark II tanks fire on the undamaged scout, and a lucky hit causes it to explode in a pillar of green fire!
The field guns drop a barrage on the remaining scout and damage its legs. The last machine gun squad fires on the Harvester, but the bullets just ping harmlessly off its armor. The last rough rider squad attacks the Scout, but fails to do anything of note.
The MkII’s and an infantry squad withdraw off the board successfully.
Turn 4
Initiative: Humans
Most of the Minnesota Volunteers manage to flee covered by a single infantry and machine gun unit. Screening fire on the last Scout damages its armor further.
Martians:
The last scout tries to move, but the roll-off is a tie so it stays wobbling in place. Firing fails to hit the machine gunners in the woods.
Turn 5
Initiative: Martians
The Scout again tries to move and lurches forward into Heat Ray range. The Harvester does the same. They both sweep their Heat Rays over the area the Machine Gunners have taken cover. One unit is killed, but the other fire and withdraw off the board in good order.
The last scout is further damaged by the covering fire, and its Heat Ray is damaged.
Conclusion
The Martians lost two Scout Tripods of 300 points, and the last scout was seriously damaged! However, the victory conditions were not set around losses to the Martians, but losses for the humans.
The Martians managed to destroy:
1 Infantry Squad
1 Machine Gun Squad
1 Rough Rider squad
For 115 points
They also damaged 1 Rough Rider squad, Machine gun squad, and Infantry squad, but they were not destroyed so do not count.
The humans evacuated:
1 squadron of MKII tanks
1 Battery of Field guns
3 Infantry squads
For 410 points
Looks like a victory for the Minnesota Militia!
After the Martian rebuff at Yellow Medicine, the Minnesota Militia was given enough breathing room to regroup. Martian raids down the valley were halted and straggling units were able to regroup at Fort Ridgeley. Despite the set-back, the Martian threat to the Minnesota River Valley was far from defeated. On the contrary, it was still on the offensive.
All Quiet on the Martian Front- Battle Report- Fall of Camp Release
After the Martian attacks out of the Great Wood were thwarted at Beaver Creek Ford, the Martians pulled back and regrouped. The strong human presence at Camp Release could not simply be bypassed as the invaders had hoped. Instead, they would need to go through Camp Release.
Early in the morning, a Rough Rider patrol raced back to Camp Release. They anxiously informed Captain Nix that the Red menace was on the move. They had counted several large and a few smaller tripods advancing up the Minnesota River Valley and towards their position. This looked like the moment that the Minnesota Volunteers had waited for with dread. The Martians were coming.
Captain Nix hastily typed up a report and gave it to the Rough Riders. He sent them back to Fort Ridgeley to report on the coming battle and to send reinforcements westward. The riders were tired, but they rushed to their newly fueled machines and raced off.
The sound of Martian war horns was heard in the distance as the Rough Riders drove off. The Volunteers gripped their rifles just a bit tighter, and exchanged nervous looks with each other. Then, the commander of a MkIII shouted and pointed to the distant horizon. The early morning sun flashed reddish off the carapace of an approaching Tripod. Soon, it was joined by more as the Martian advance approached down the valley.
Captain Nix quickly counted up the number of Tripods and offered up a prayer. With a confidence that he didn’t feel, he walked over to his command tank. He climbed up the side and took his position, field glasses in hand.
The battle of Camp Release was about to begin!
The Red Menace
6 Assault Tripods- 2 Black Dust, 1 Green Gas
3 Scout Tripods- 1 with Targeting Box
1 Grenadier
The Minnesota Volunteers
1 Command Tower
2 Squads of MKII tanks
1 Squad of MKIII Tanks
1 Command Tank
2 Machine Gun Squads
1 Field Gun Battery
3 Squads of Doughboys
1 squad of Rough Riders
Entrenchments
Set-up
The Humans were set-up behind the earthworks of Camp Release. The main wall was manned by a squad of MKIII tanks, supported by a squad of machine Gunners in each corner. They were supported to the flanks by a squad of MKII’s on each side and backed up by a squad of infantry.
The command tower was protected by a squad of infantry, and the field guns and last squad manned the rear most dug-outs. The squad of Rough Riders was ready to sally out the north wall.
The Martians lined up to the West. Their southern flank was anchored by the grenadier and a scout. The Assaults, Specialists, and remaining Scouts were scattered across the Western most board edge in a line, ready to advance.
The birds of the Minnesota River Valley were uncharacteristically quiet. A few hawks, joined by crows and ravens lazily circled high overhead. They were preparing for a feast.
The Mission
The Martians are trying to break the Human defenders by turn 6.
The entrenchments are Def +4, Armor +2
Turn 1
Initiative: Martians
The Martians rush forward eager to close the gap and get inside the Human base. They approach with their Heat Rays flashing out. However, the earthworks hold and repulse the long range shots.
A scout on the flank light up a machine gun squad with its targetter. The Grenadier fired on the unit, but the shock canisters hit the earthworks.
However, the Martians continue their advance.
Humans
The Human units shuffle around and return fire. The Rough Riders hug the earthworks as they approach the Northern Scout.
The tanks open fire with an ear-splitting roar, but no Tripods go down! One Assault tripod lost 2 armor and the Scout has his Heat Ray damaged.
The Human Infantry moves to potentially counter-charge any units that breach the earthworks.
Turn 2
Initiative: Humans
The Rough Riders race out to confront the northern most scout. They fire their machine gun as they approach but fail to find a weak point. The tanks open fire and plink more armor off the leading scout, and the Assault tripod in the vanguard.
The southern machine gun squad opens fire at the vanguard Assault machine, and hits something critical with its spray of bullets. The machine goes up in a huge green flash!
Martians
Despite the loss of one of their own, the Tripods pressed onward into the storm of fire. They had no other choice and needed to get past the human earthworks.
An injured Black Dust carrying Martian draws Human blood when he drops a barrage of Black Dust on the Tripod killing Machine-gun squad. The brave humans don’t stand a chance and are all killed by the hideous Martian weapon.
The Northern most Scout turns and Heat Rays the Rough Riders trying to scout behind the Martian lines. He vaporizes a squad, and the rest decide to run route. However, they will have to try to get through the Martian lines!
The Grenadier again fails to find the mark despite the help of a scout with a Targetter.
Things look bad for the humans. The Scout raced back and breaks the Rough Riders. Plus, the vanguard Scout and another Assault have breached the walls of Camp Release!
Turn 3
Initiative: Martians
The Martians continue to press their attack! Things just went from bad to worse for the Human defenders! The Martians move to hem in the Prey-that-Stings by blocking off the exits to the Camp.
Now, the Martian Heat Rays begin to take their toll on the Volunteers. 2 squads of Infantry from separate Platoons are vaporized. The first platoon decides to route. Another Heat Ray destroys a pair of MKII’s at close range causing the thirds crew to bail-out.
The Martians tighten the noose. 1st Platoon scatters as the Black Dust equipped Tripods tours over them.
Humans
Seeing the trap closing, the Infantry charge the heavily damaged Tripod blocking their escape route. The tanks fall back and try to find a way to bust the noose. The Field Commander uses Industrial Might, and a new Unit of MKII’s enter the field and move towards the Camp.
Desperate cannon fire, machine gun fire, and howitzer blasts ring out across Camp Release. The MkIII’s, Command Tank of Capt. Nix, and the Northern Machine Gun squad combine fire and bring the Green Gas equipped Tripod down in a heap. That’s two down!
The infantry assault on the Scout fails to further damage it and is forced to fall back!
Turn 4
Initiative: Martians
The Martian reprisals are terrible to behold! Heat Rays lash out at the trapped Human tanks, and burn s one them into slag. Only a single MKIII remains operational in the Camp. Black Dust Launchers make short work of the Field Guns and Machine-gun teams.
Those humans who survived the onslaught try to stumble back to the command tower. Capt. Nix, his tank slagged is one of them.
With their second move, the aliens seem content to seal of all the Camp exits. The end is nigh for the Minnesota Volunteers.
Humans
The remaining infantry storm the heavily damaged scout once again! Meanwhile, reinforcements in the form of a Machine Gun team arrive on the scene.
The few remaining survivors in the command tower cheer as Machine gun fire from the tower takes down one of the Scout Tripods in the camp! However, it is only a matter of time unless the noose can be broken.
The reinforcing machine gun team opens fire on the damaged tripod, and damages it further, but also kills some of their own men. However, it is a desperate act to potentially save more!
The MkII’s manage to ping the armor on the Black Dust Tripod, but it is still blocking the escape route.
The last desperate infantry assault fails to destroy the damaged scout! It has 2 armor left and can’t move any further.
Turn 5
Initiative: Martians
A Black Dust equipped Tripods moves to support the damaged Scout.
The Grenadier manages to drop shock canisters onto the command tower and destroy it. The Black Dust Launcher tripod drops smoke onto the last infantry Platoon and kills them all.
Humans
The last remaining Machine Gun unit and MKII’s manage to finally take down the vanguard scout by depleting him to 0 armor!
Conclusion
With some sense of honor and dignity left, the Minnesota Volunteers call it a game. Everyone who was in Camp Release was killed or scurrying into hiding at this point. The reinforcing Machine Gun squad and MkII’s decide to withdraw before the 5 remaining Tripods begin to focus on them!
With the Fall of Camp Release, the path was clear for a continued Martian advance through the Minnesota River Valley.
Final Thoughts
The Tripods had an advantage in points going into this battle. However, I feel pretty confident in saying that they kicked the Minnesota Volunteers backsides! My opponent didn’t just breach the walls, but also used my own walls to box me into a death trap. This was a very clever tactic for a Martian. Let this be a lesson to future Human commanders! Trenches and walls are good, but forts are bad!
We both need to do a better job using Command Tokens, and perhaps the Minnesota Volunteers would have benefited by using Blips in this game. Oh well, maybe next time! So far, the campaign has been pretty even going.
All Quiet on the Martian Front- Battle Report- Battle for Beaver Creek Ford
At Birch Coulee in 1862, Dakota forces ambushed a group of soldiers that had camped there for the night. The battle lasted all day in the waist-high grass. It was not a decisive battle and the Dakota ended up withdrawing under cover. Beaver Creek Ford was just a few miles north of this historical battlefield.
In 1914, the Minnesota Volunteers were dug-in along the Beaver Creek Ford as a fallback position from further up the Minnesota River Valley. Camp release still held strong against the Martian invaders, even if it hadn’t been truly tested yet. The Volunteers were at the ford mostly to help direct traffic and support fleeing refuges heading east, and ensure military units heading west received priority.
The Beaver Creek Ford became the front lines as a Pod of Martian Invaders came barreling down the Beaver Creek from the Great Woods to the north. It was an unexpected approach and the Volunteers were caught flat-footed and unprepared. Lt. Nix and his men would probably have been butchered, but the friction of war is a funny thing.
Captain Jones, a relation to the hero of Fort Ridgelely during the Dakota War; was leading a company of Steam Tanks west to rotate and replace a unit at Camp Release. His Company happened to be approaching the Beaver Creek Ford when the Martians attacked.
Can the brave defenders of Humanity repel the Martian invaders? Will the Martians be able to cut-off and isolate the Volunteers at Camp Release? The battle of Beaver Creek Ford is shaping up to be a decisive battle, unlike Birch Coulee.
Martian Invaders
2 Scout Tripods
3 Assault Tripods
1 Assault Tripod with Black Dust Launcher
The Minnesota Volunteers
Lt. Nix’s Company
- 5 Platoons of Dough Boys
- 2 Machine Gun Support Squads
- 1 Field Gun Battery
Cpt. Jones Tank Company
- 1 MKIIc Command Tank
- 6 Baldwin MKII Tanks
- 3 MKIII Tanks
Mission
This battle has straightforward objectives. Break the enemy force. The Martians have to lose 4 Units, and the Humans need to lose 8 units.
However, the Martians will automatically have the first initiative since they are ambushing the Volunteers.
Set-up
The North side of the battle field is a series of wooded bluffs and hills that form the edge of the Minnesota River Valley. Beyond is the Great Woods. Cutting North to South across the center of the board is Beaver Creek, and the Ford is on the South side of the creek in the flat expanse of the River Valley. The creek is lined with underbrush and rocks.
Lt. Nix’s Company is dug in and in position along the Beaver Creek Ford. The shrubs lining the banks provide some basic cover to the infantry models there. The Field Gun Battery is deployed on a nearby hill overlooking the Ford on a wooded bluff. Capt. Jones’ tanks are moving along the River Valley heading west.
The Martians are in a tight cluster on the north side of the board moving down the Beaver Creek towards Lt. Nix’s troops.
Turn 1
Initiative: Martians get first turn per this scenario
Martians
With the Prey-that-Stings sighted, the Martians move towards the enemy and try to spread out a bit.
The first scout tries to sweep the Filed Guns, but the woods protect the gunners for the moment. The treetops burst into flames. The shrubbery around Beaver Creek bursts into flames as Heat Rays burn into the banks. 4 squads of Dough Boys are incinerated in the initial attack! 5th Platoon breaks and tries to run for it. However, they are scattered as Martian war-machines press forward into the River Valley.
Volunteers
The last squad from 4th platoon bravely charges into the oncoming Scout Tripod to slow it down. Meanwhile, their comrades prepare sell their lives dearly in their dug-outs along the ford. Capt. Jones’ tanks deploy to engage.
The assault fails, and fire from their comrades ends up catching the remnant of 4th platoon as well. However, Jones and his tanks do their job. A barrage of coordinated fire takes out the approaching Scout and severely damages the legs and heat ray of the closest Assault Tripod.
Turn 2
Initiative: The Martians are left reeling but the sudden arrival of Jones and his tanks. The Volunteers press the counter-attack!
Humans
Despite the trees flaming around them, the Field Gun battery manages to put a hit on the damaged Assault Tripod.
Jones’ Tank Company presses forward and opens fire on the Invaders. Their aggressive attack pays dividends. Jones’ command tank makes for the Ford and fires at the Scout, taking out a point of armor.
The Baldwin’s fire for effect, and the damaged tripod explodes in a blinding green flash, quickly followed by a second one. Once the human’s vision clears, the damaged Assault Tripod and the Black Dust Launcher have been incinerated in the explosion. A ragged cheer goes up!
The Tanks decided to continue to press their attack forward, but were careful about their own spacing, trying to stay in echelon to reduce potential sweeps from Martian Heat Rays.
Martians
The Martians were momentarily stunned by the loss of the Tripods so quickly! However, their cold Martian minds quickly assessed the situation and moved to counter the Humans.
The scout moved behind a tall, odd rock formation and then blasted a squad from 3rd Platoon. The rest of the survivors went running. The Assault Tripods moved into the stream bed for limited cover, and opened fire on the Lead MKII tanks. One began to melt and steam like crazy. His fellows thought better of their aggressive attack and began to back up. However, a second Heat Ray blasts scatters the units as the survivors abandon their tanks and flee into the woods.
One of the Assault Pods moved and scattered what was left of 4th Platoon.
Score:
Americans have lost 4 squads.
Martians have lost 3 Tripods
Turn 3
Initiative: The Humans press onward!
Humans
The MkIII’s and Command Tank take-on the first Tripod, while the remaining MkIIs and Field guns attack the second. Despite unloading everything the humans had, neither Tripod waivered in the face of mankind’s firepower!
Martians
The Scout moved out of hiding and tried to sweep the closest Machine-gun units. However, their position at the edge of the stream protected them from the searching beam. The Assaults tried to eliminate the Baldwin’s with combined fire, but the sturdy armor of the tanks held up tot eh assault.
The aliens moved back into the light cover of the stream bed.
Turn 4
Initiative: Martians win
Martians
The Lead Tripod moves along the stream bed and instead of firing on the MKII Command tank, fires a sweep at Lt. Nix and his men near the ford. Two squads are killed, but Lt. Nix keeps the rest of the platoon steady.
The Scout scuttles from the wooded bluffs and moves towards the Field Guns. A blast from his Heat Ray fails to find its mark. The last Tripod fires on the MkIIIs but fails to damage them.
The Martians begin to fall back a bit and re-deploy towards the north.
Humans
The Humans are allowed to concentrate their firepower on one of the Assault Tripods. After a withering hail of fire, form the Tanks, Field Guns, and a Machine-gun squad, the Tripods crumples into Beaver Creek, its hull smoking and ruined.
Conclusion
With the destruction of another Assault Tripod, The Martians quickly make a fighting withdrawal back up Beaver Creek, their Heat Rays lashing out at anyone foolish enough to follow them. The Minnesota Volunteers are left in control of the Beaver Creek Ford, and critical logistics lines are maintained.
After the battle, word reached Fort Ridgeley and both Lt. Nix and Capt. Jones were awarded a citation for bravery in the face of the enemy. Lt. Nix was recalled to Fort Ridgeley, and Capt. Jones continued to his post at Camp Release. There he was lionized by the men, and tales of the Battle of Beaver Creek quickly spread through the camp.
With the attempts to bypass Camp Release thwarted, the Martians were left with only one alternative! They had to smash through the hastily constructed human defenses there in order to proceed up the Minnesota River Valley. They began to martial their war machines for the task.
Wow, the 4” Guns did the trick today! I was really lucky to blow-up an Assault Tripod, and then take out the Black Smoke Launcher before it even got to fire! The martians were even trying to spread out to avoid such a chain reaction. That was very lucky and not something I can rely on to happen in the future! After that, the Martians just didn’t have the firepower to really recover.
The Tank Company was just throwing massive amounts of dice out every turn, and inevitably some of that is going to stick. Once it starts to stick, then things go downhill for the Tripods fast. In this game, I was allowed to focus my firepower too much, and I am sure my buddy won’t let that happen again.
[URL=http://s1382.photobucket.com/user/EasynotEZE/media/Mobile%20Uploads/image_zpsnnhchrll.jpeg.html][IMG]http://i1382.photobucket.com/albums/ah273/EasynotEZE/Mobile%20Uploads/image_zpsnnhchrll.jpeg[/IMG][/URL]
All Quiet on the Martian Front- Battle Report- Battle of Acton
The Minnesota Volunteers had set up a fortified camp in the Minnesota River Valley at Camp Release. The River Valley would be the easiest approach for Martian tripods as the Great Woods made rapid Martian movement challenging. The Tripods had harassed relief columns and scouting patrols around Camp Release, but that wasn't the only place the Tripods could attack. The Minnesota Volunteers went about fortifying nearby towns with crude earthworks and mustering defense forces in the region.
This proved timely as a Martian scouting force lurched out of the woods at the edge of Acton, north of the Minnesota River Valley. Only a thin screen of Volunteers and hastily constructed Earthworks stood between the martians and the town.
Martian Scout Force
3 Scout Tripods
1 Assault Tripod with Green Gas Launcher
Minnesota Volunteers
1 MkIIC Command Tank
3 MarkII Baldwin Tanks
1 battery of Field Guns
1 support squad of HMGs
3 Infantry squads
2 Rough Rider squads
Earthworks are Def +3, A +2
Set-up
The Martians emerged near the edge of the treeline west of Oli Ulafson's soybean fields. They spread out in a towering, red line.
The Volunteers were deployed to defend in depth. Our front, a squad of doughboys entrenched in some earthworks, while their squad mates took position in the Soybean fields. They were backed up but a line of Earthworks with the field guns, HMGs, and MKIIC tank dug-in. Behind them was the mobile reserve of tanks. The rough riders were hiding in the forest north of the fields.
Mission
The Martians have 6 turns to try and break through to Acton or route the Minnesota Volunteers from the field. The Volunteers are trying to break the Martian forces first.
Turn 1
Martian Initiative
Martians:
The Tripods burst forth from the treeline, with the scouts forming a tripod wall in front of the Green Gas launcher.
The lead humans are just out of range, so the Tripods have to decide to move forward and weather a storm of shells, or wait? They decide to press forward conscious of their mission. They must get to the town before darkness sets in. They move forward once more.
Humans:
The Humans elect to stay in position and ready their weapons. The decision to hold position means the Volunteers in the soybean fields are out of range still. However, the lead platoon fires from their entrenchments. The sound of a volley of rifle fire breask the pre-battle silence, and it is followed by a roar of gunfire as the rest of the Americans open fire.
A lucky shot from the rifleman damages the lead Scouts legs, causing it to move erratically. A cheer goes up from the Doughboys! The Field guns also manage to damage a second scout.
The humans are content to hold their positions for now.
Turn 2
Martians win
Martians:
The martian invaders move forward at full speed. The first scout burns down two squads of 2nd Platoon with its heat ray. The remains of the platoon scatter and run, removing them as a threat. His fellow scout sweeps and kills a single squad of 3rd Platoon in the soybean field. They prepare their grenades for close assault. The Green Gas launcher takes out a squad of entrenched troopers from first platoon, but the unit holds.
The Martians ignore the humans and continue to move forward.
Humans:
With the Tripods racing towards them the human commander begins to sweat. The Rough Rider squads burst from their hiding spots and race towards the nearest Scout. The 3rd Platoon turns around and charges into the Scout Tripod. 1st platoon stays entrenched where they are. The gunline hastily reloads and fires again!
The field guns fail to find a weak spot on the approaching lead Scout. The command squad and the tanks open fire and manage to ping the armor on the lead scout twice, but it isn't nearly enough to bring it down! The machine guns add their weight of fire, and take off three more armor chits, but the scout keeps coming! The dough boys of 3rd Platoon valiantly try to tie up the second scout with an assault, but fail to hit a weak point.
The Rough Riders close in on the Scouts. Meanwhile the Baldwin tanks move to try and physically block the shortest distance to Acton behind them.
Turn 3
Martians win initiative again.
Martians:
The lead Scouts race forward and are practically on-top of the Human defenders! The final scout tries to move, but ends up stumbling backwards. The Assault tripod also moves forward, but is wary of the Rough Riders.
The Assault Tripods Heat ray sweeps and takes out a Rough Rider element and squad from 3rd Platoon. 3rd Platoon decides to run for Acton in terror.
The lead scout sweeps the Baldwin tanks, but fails to damage any of them! The second tripod Heat Rays the HMGs in the earthworks and manages to kill one element, while the others rout in terror from the huge machine! The stumbling scout even manages to use its heat ray and kill a sqaud from 1st Platoon, but the units stays in its place.
The second scout races forward and routs the fleeing HMG squads. Next turn he will plunge into the town of Acton unless stopped! The first scout tries to go around the earthworks, and the Assault Tripod moves up to support the heavily damaged scout.
Humans:
Things look grim, and only a miracle will protect the citizens of Acton! The tanks and Field Guns shuffle about to get a shot at the second Scout. Meanwhile the Rough Riders and Command Tank try to handle the first Scout.
The Rough Riders fire desperately and wildly at the first Tripod. They take off more armor and damage the Tripods Heat Ray. The Command tanks machine gun finally finds a gap int eh first scouts depleted armor, and tears into the machine mercilessly! The Tripod explodes spectacularly!
The Field Guns and Baldwin MkII tanks fire desperately at the second scout about to enter Acton, however, all of their shots either miss or ping harmlessly off the Scout's armored carapace. It looks like Acton will burn!
Seeing that the cause is lost, the Command Tank retreats into the town to flee and gives the signal to withdraw. The MkII Baldwins try to follow suit, but are still at the edge of the town.
Conclusion
With that we decide to call the game.
The Minnesota volunteers abandon their dug-outs and retreat to a pre-selected rally point. The undamaged Scout and Assault Tripod make short work of the town Acton, as the civilians flee for their lives. At Fort Ridgeley, they can see the horizon to the North glow red from the flames of the town. Meanwhile, command now needs to worry about marauding Tripods bypassing the Minnesota River Valley completely and mkaing a bead for Fort Snelling and the capital at St. Paul.
So, how did things go? Well as the Volunteers player, I completely botched using the Rough Riders in this one. Ideally they needed to tie up some of those fast moving scouts, but by the time I had them moving, it was too late. The Tripods had penetrated to deeply and too quickly. Also, the HMGs routing when they did put a huge hole in my battleline that the Scout easily walked through. I feel like the first Scout took a horrendous pounding, soaking up 9 hits before exploding! However, that was off-set by the third Tripod having its legs crippled early so things balanced out in the end. My MKII Baldwins also held up to some punishment! If I would have used my Rough Riders better, this game could have been much different.
I was not that impressed by the Green Gas Launcher on the Assault Tripod. The Area of Effect is not good enough and the Black Dust Launcher seems like a much better buy, and looks cooler too! Other than that, the speed of the Scouts did the trick this game. If my opponent only had Assaults, I would have had another turn or two to hold the Red Menace off and maybe make a difference. Oh well.
Martian Victory
Subscribe to:
Comments (Atom)

