Showing posts with label Minnesota River Valley Campaign. Show all posts

Thursday, May 25, 2017

All Quiet on the Martian Front: Battle Report- Counter-attack at Yellow Medicine River

After the defeat at Camp Release, the Martians attempted to chase down the fleeing humans.  However, they encountered unexpectedly stiff resistance.  The delay allowed the Minnesota volunteers to regroup at Fort Ridgeley.  High Command at Fort Snelling rushed reinforcements to the area to bolster the defenses. 

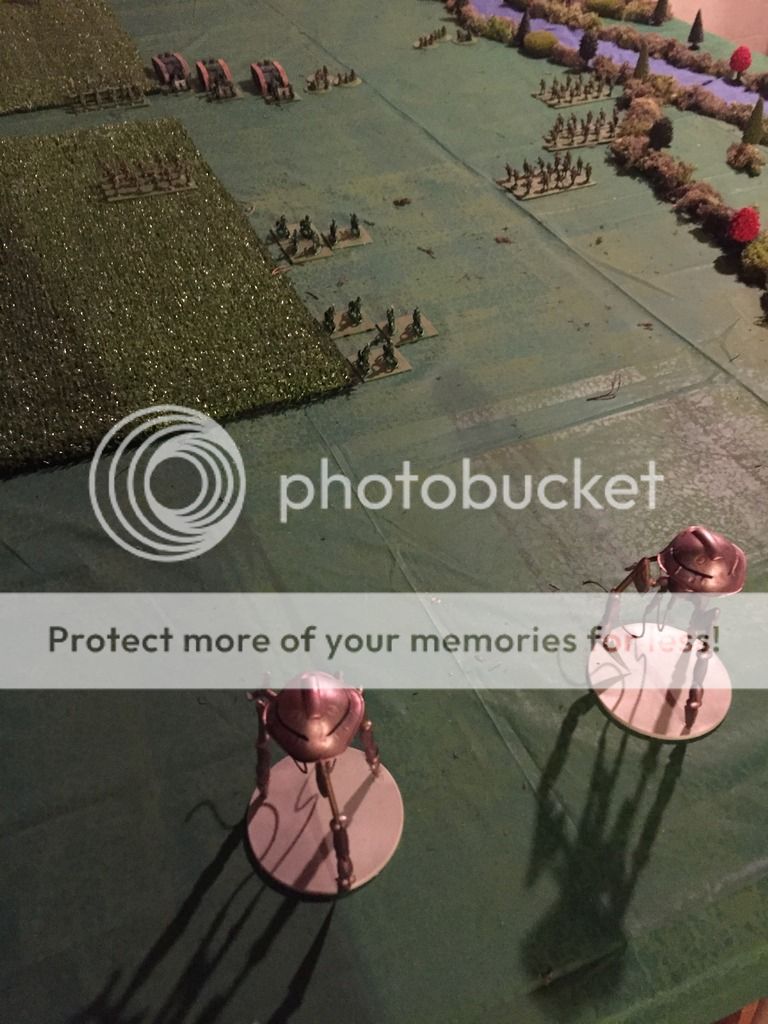
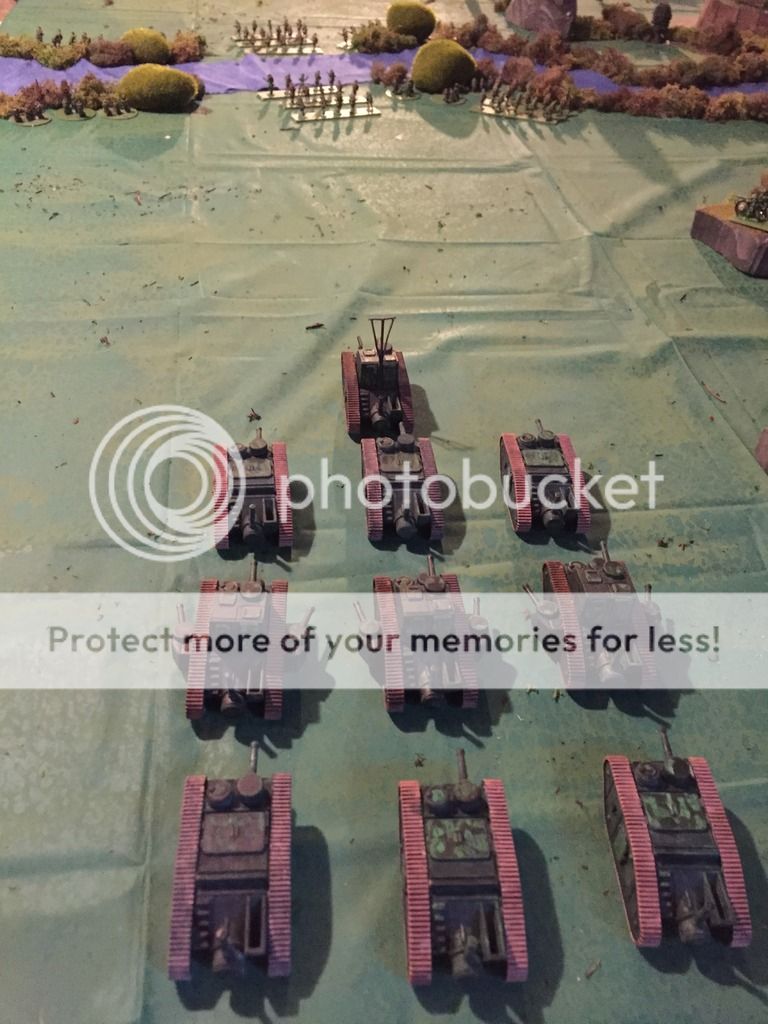
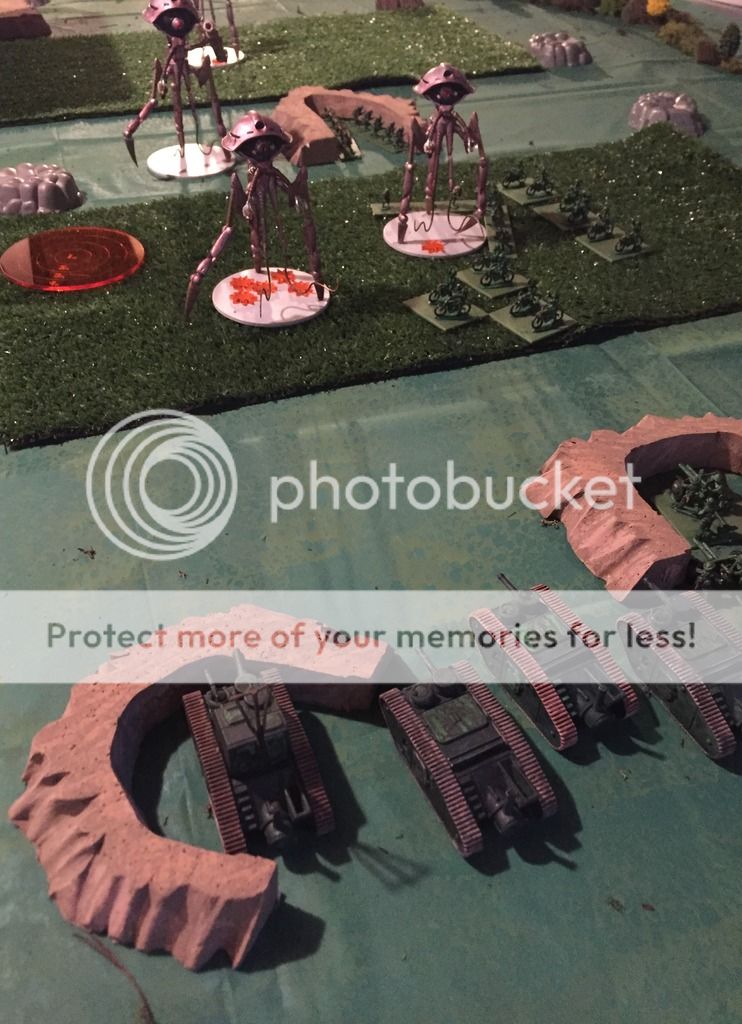
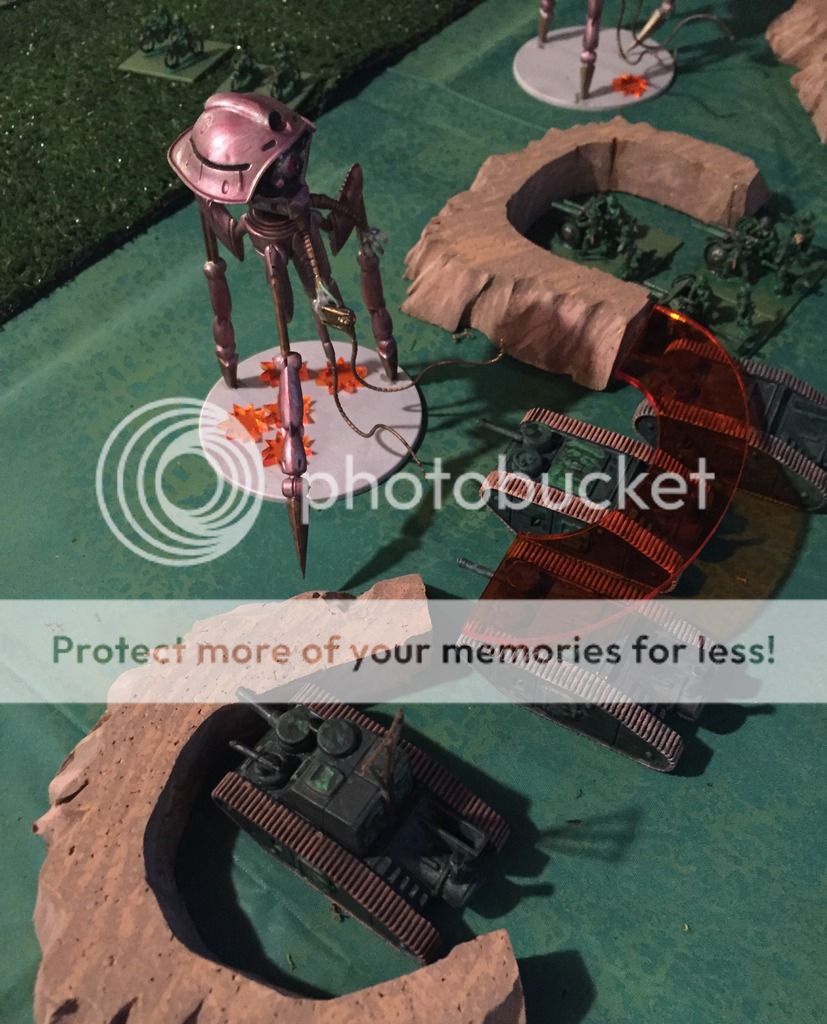
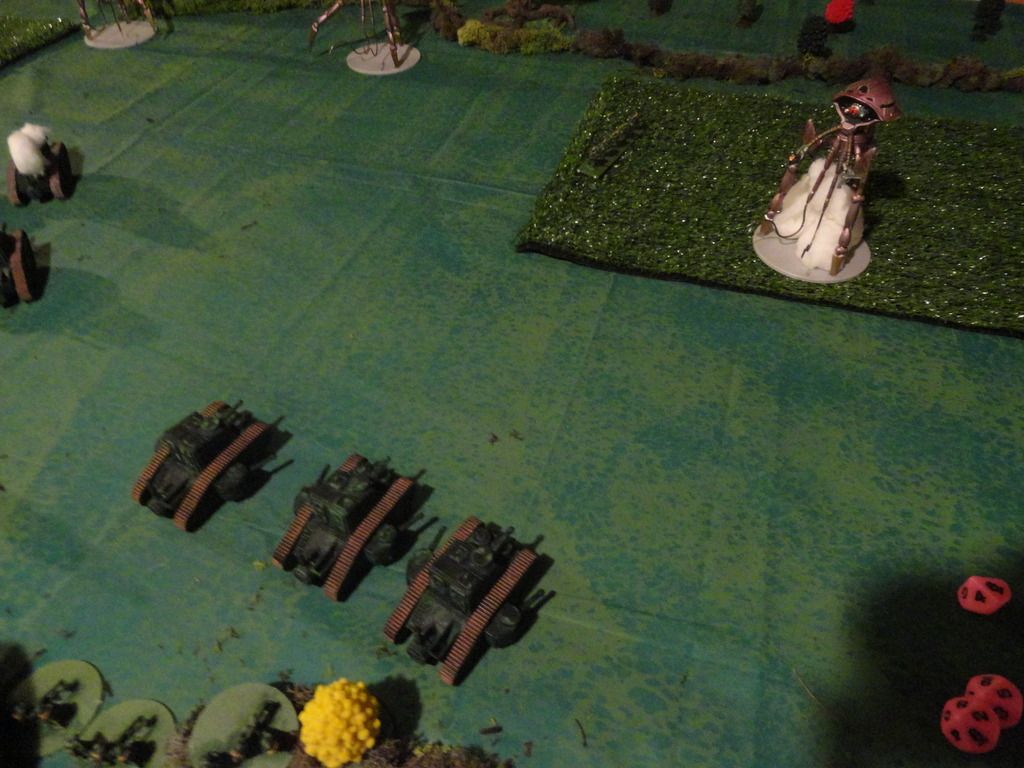
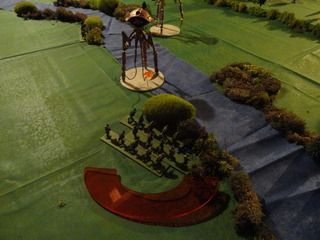
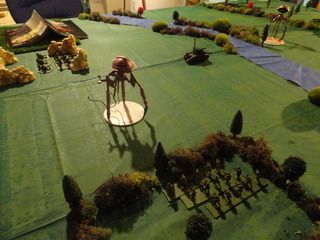
After the success of the rearguard, the Minnesota Volunteers sent an armored column back up the river to blunt the continued Martian advance and to probe the enemy for potential weakness.  A screening force of Rough Riders went ahead of the main force looking for trouble.  Behind this screen came steaming the armored column. 

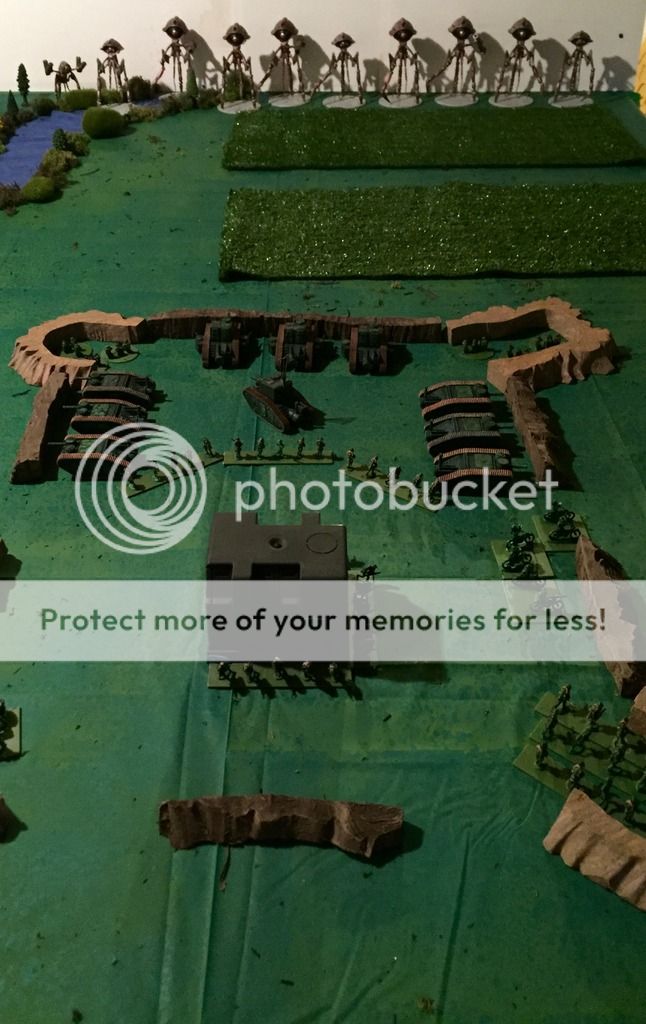
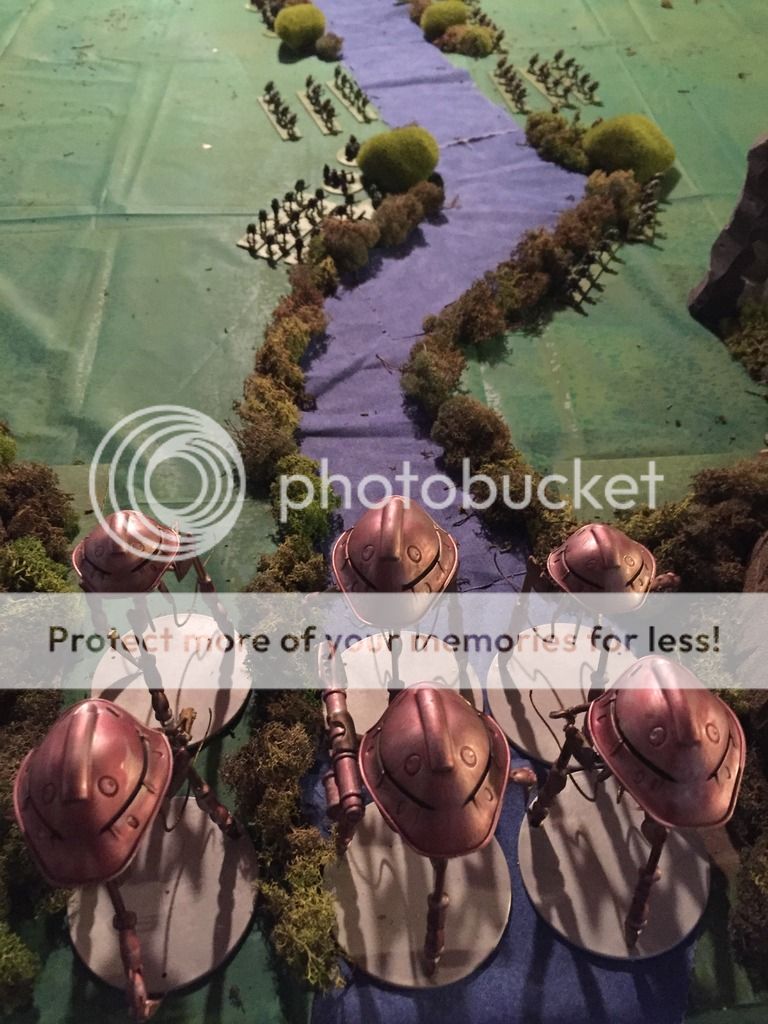
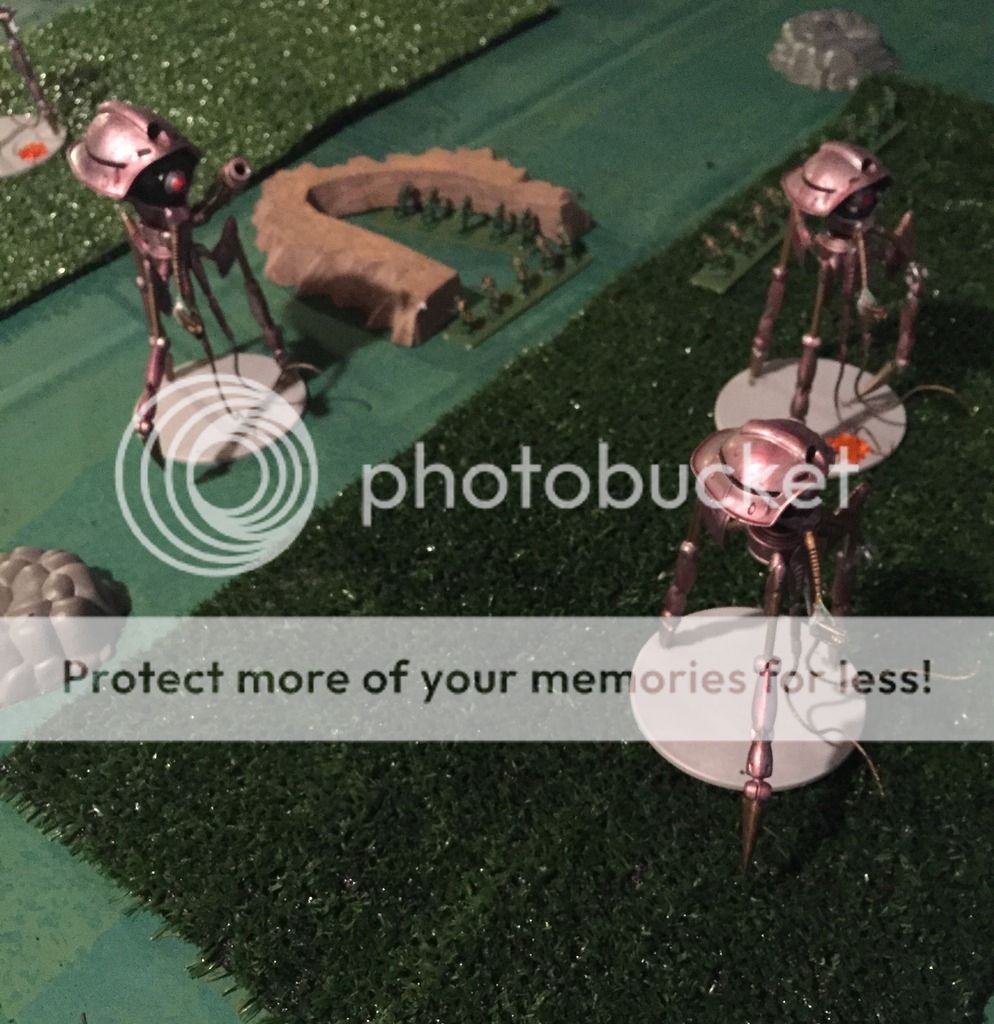
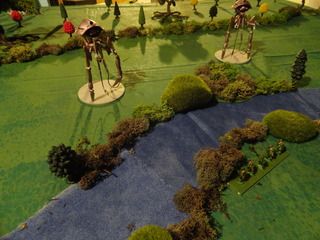
Little did the humans know, but a Martian advanced guard had been put in place to act as a trip wire for the rest of the cell.  These machines were dug into the woodlands, fields, and bluffs of the region.  There they waited for the expected human counter-attack.

Forces

Martian Advanced Guard  
Scout + Target- 150
Grenadier- 100
Slaver Tripod- 100
2x Lobotons- 40
3x Drones- 60
3x Assault Tripods


Minnesota Volunteers
2 Rough Rider Squads- 90 points

Reserves-
1 MkII Command Tank-
3 MK II Tanks- 240
3 MK II Tanks- 240
3 MKIII Tanks- 280
1 Field Gun Battery- 80

Mission
The Martians are in hiding using Blip markers scattered around the board.  1 Blip marker per unit, so it is clear Tripods are about, but unclear where they are.  Blips are revealed when you come within 6 inches of them, they move, or they shoot. 

The Minnesota Volunteers will have initiative to start the battle.  The bulk of the Minnesota forces are in reserve.  They will begin to arrive in Turn 2 on a d6 roll of 5+ with each subsequent turn reducing it 1 until they auto arrive at 1+. 

The treeline is soft cover for all units for Def +1.  

The Martians are trying to destroy the human attackers while the Humans are trying to drive the Martians away and press on up river. 

Set-up
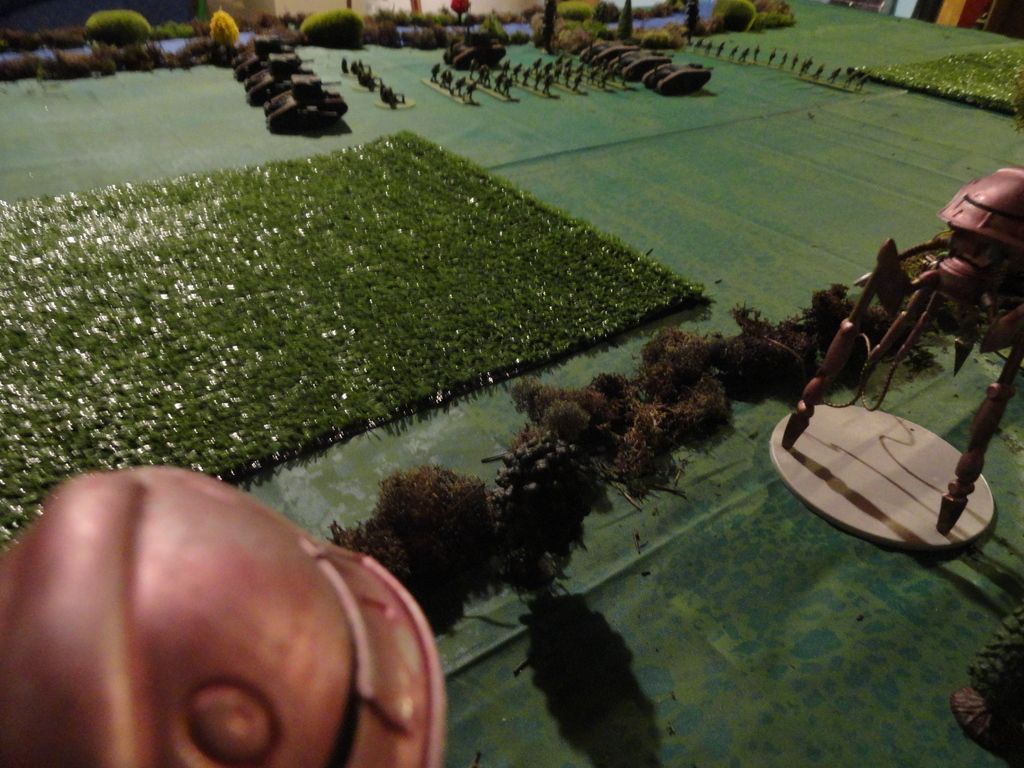
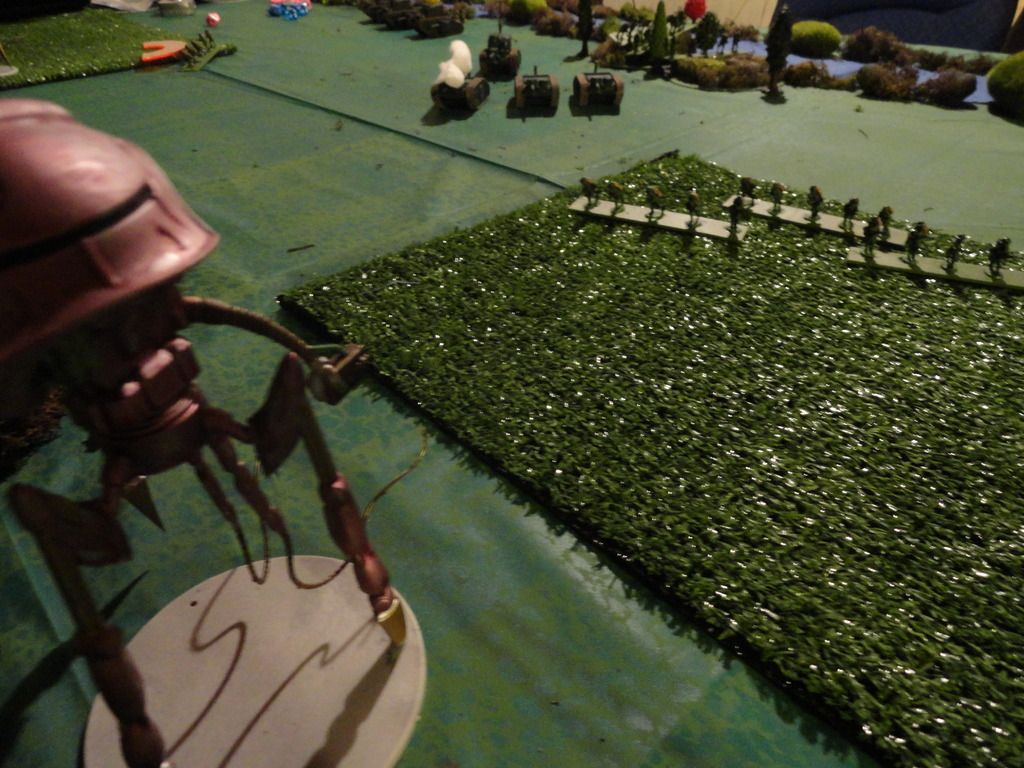
The board is fields to the south, with the dense Great Woods on the North side.  The River is assumed to be just off board to the south.  A few scattered bluffs block off the fields and woods. 

On the Easy side, two squads of Rough Rider scouts are deployed 6 inches in from a short board edge. The Minnesota Volunteers will arrive on this edge.  Martian blips are along the tree line and behind a few bluffs. 


Turn 1:
Initiative:  Minnesota Volunteers

The Rough Riders race forward but are still too far away to reveal any blips.  Those canny Martians are in deep cover. 

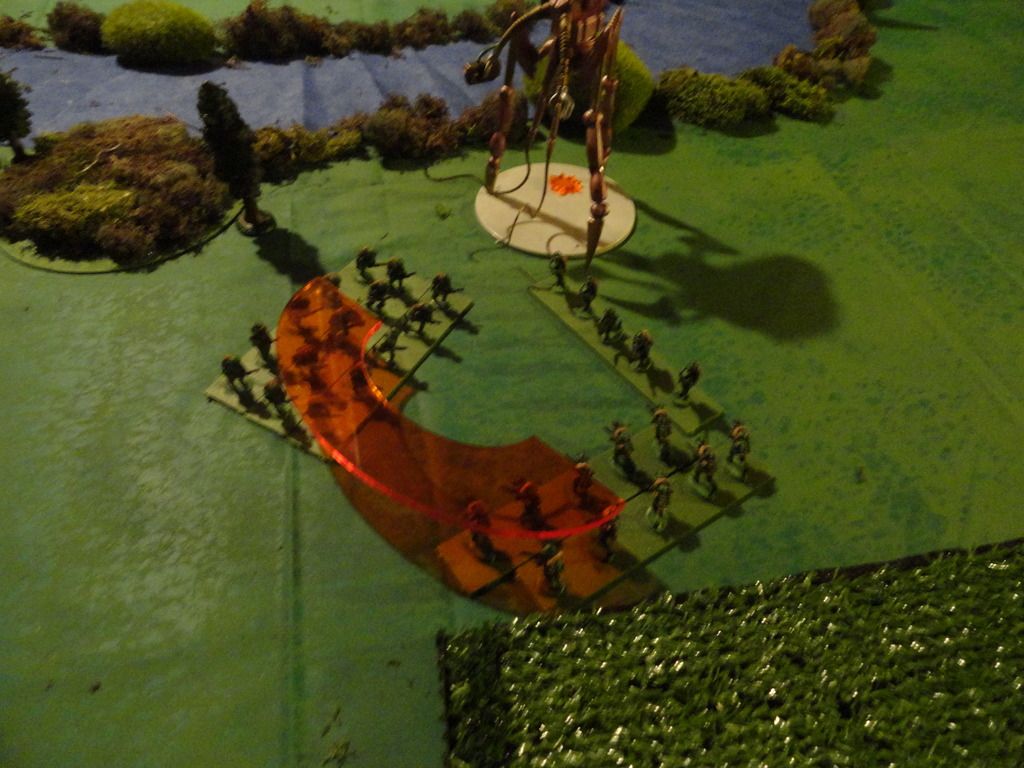
However, a scout Tripod chooses to rise up from behind a bluff in front of the first Rough Rider squad.  Instead of using its fearsome Heat Ray, it illuminates the 2nd Rough Rider squad near the woods.  From the distant tree line the familiar double “Whoomp” of a grenadier tripod can be heard.  Dreaded B;ack Dust fall within the squad and kill 2 units, and cause the third to flee.  The Scout, its mission accomplished falls back from the advancing humans. 

Turn 2:
Initiative: Martians win!

The scout paints the second Rough Rider Squad.  This time, Black Dust rains on them from the Grenadier and causes one unit to wither and die.  However, his squad mates stay in the fight!

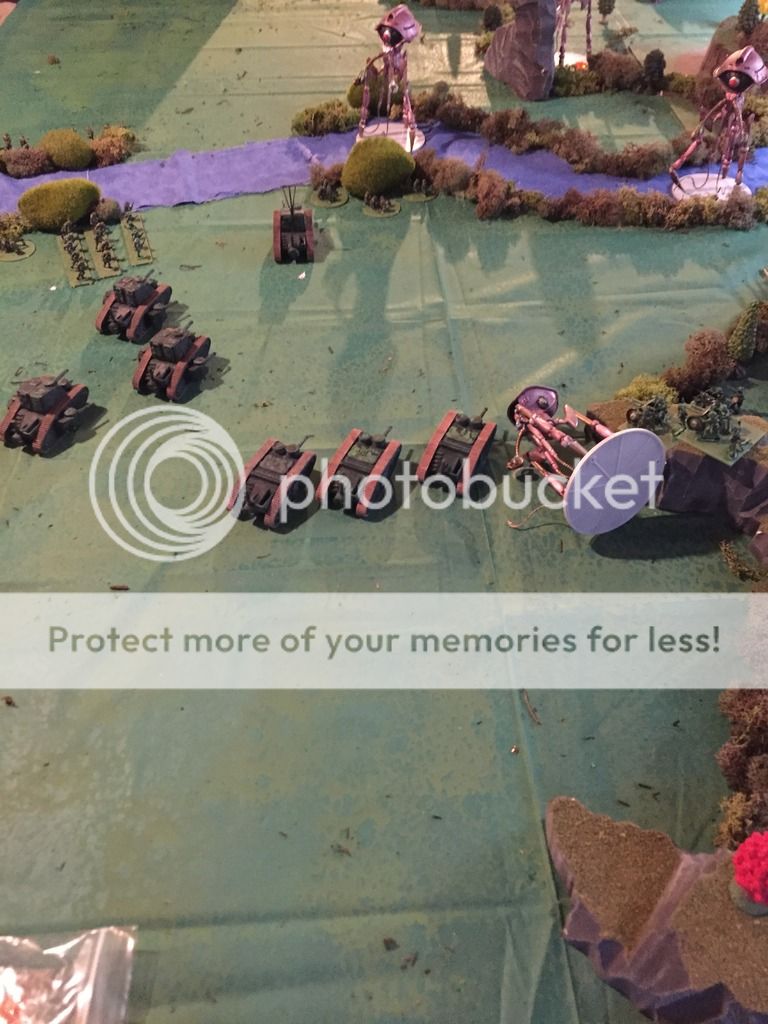
The fleeing cyclists from 2nd Squad rally and turn their bikes around.   The first squad takes cover behind a bluff, while the remains of the second head for the closest blip in the treeline.  Meanwhile, the rest of their column begins to rumble into the area.  The command tank leads the MkIIIs and a squad of Mark IIs pulling the field guns. 


In their second move, the 2nd squad of Rough Riders revealed two blip markers to be Lobotons! 

Turn 3:
Initiative: Minnesota Volunteers

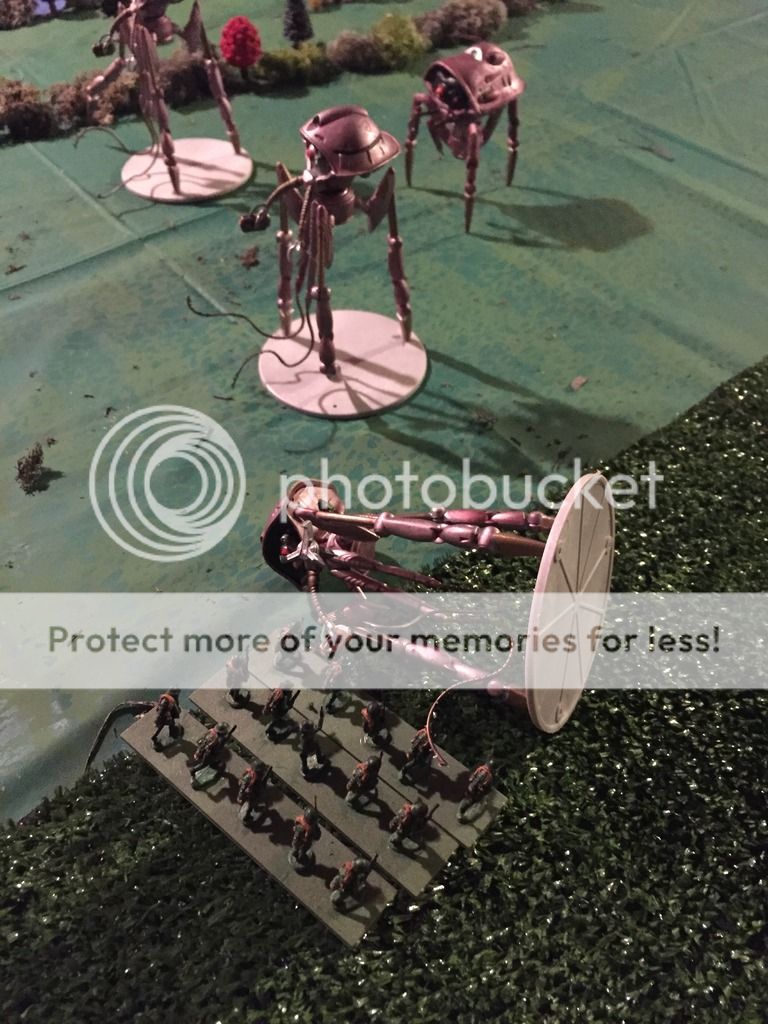
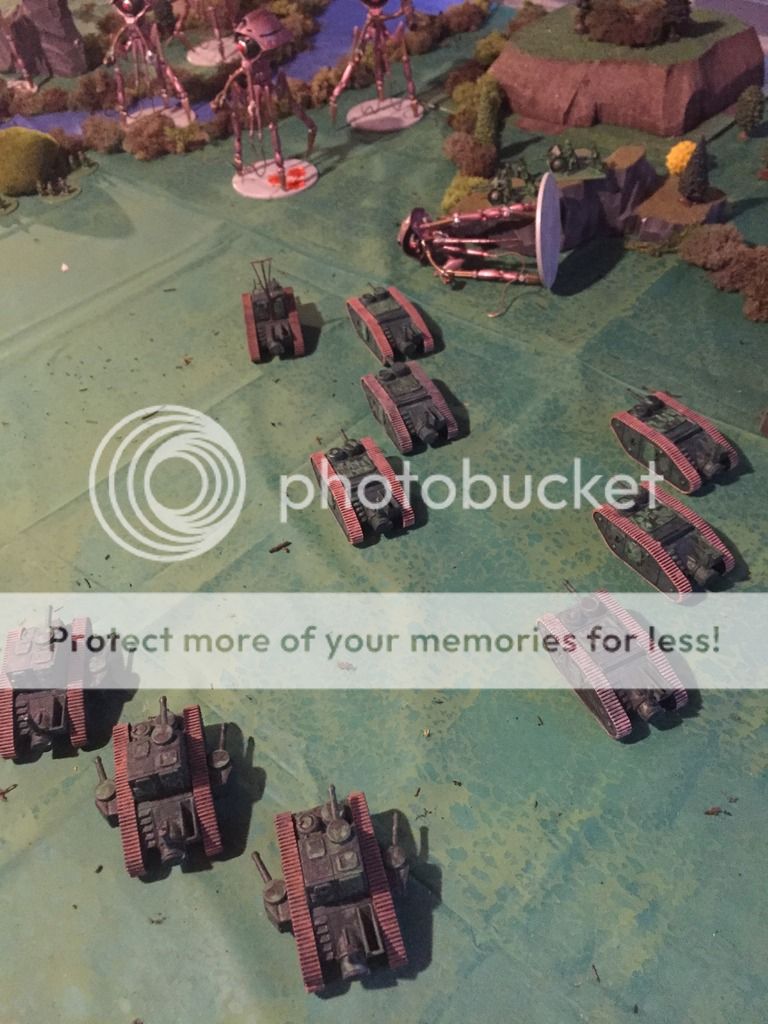
The Rough Riders scoot along the tree line and reveal a unit of Drones!  The field Battery unhook and set-up to fire.  Meanwhile, the last of the armored column rumbles onto the board. 


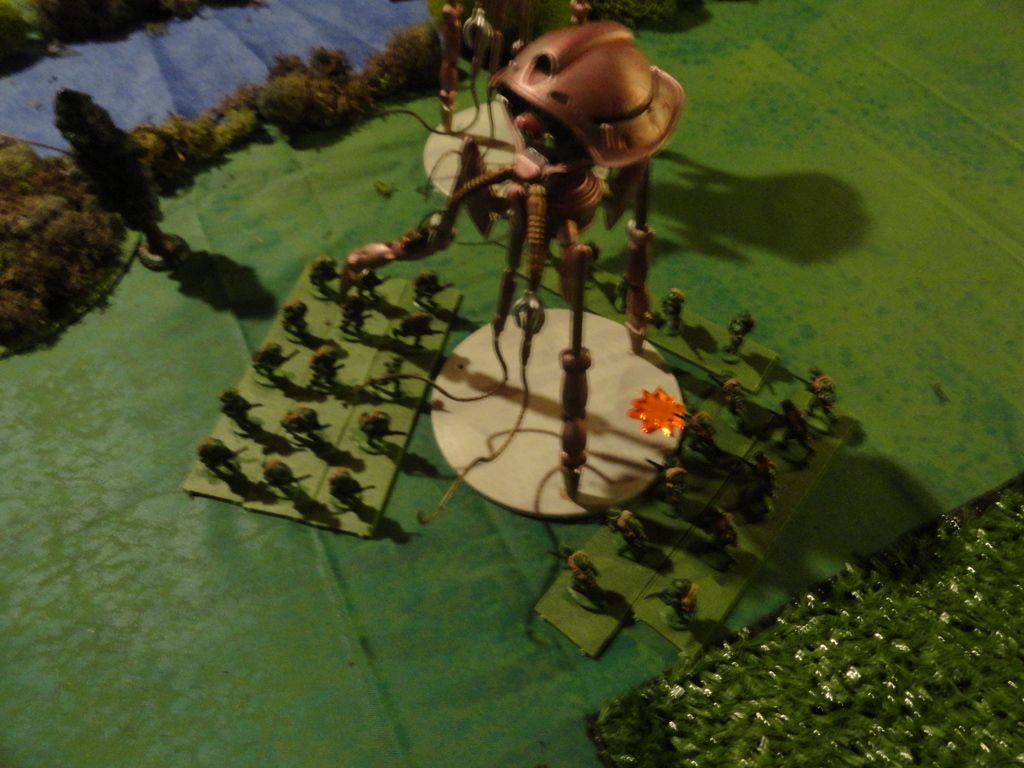
 The MKIII’s target the scout and open fire with a deafening barrage.  The scout loses a point of armor. The MkII’s reduce the Loboton slicers to 1 stand.  In response, the rest of the alien monsters stumble out of their hiding places to attack the humans!


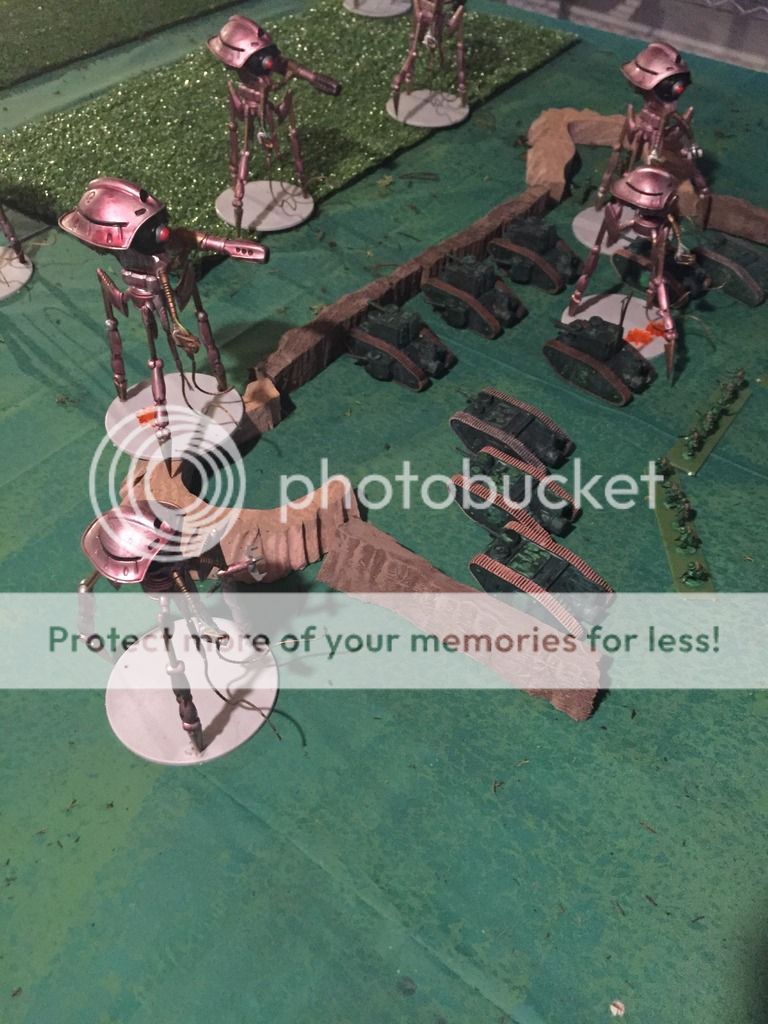
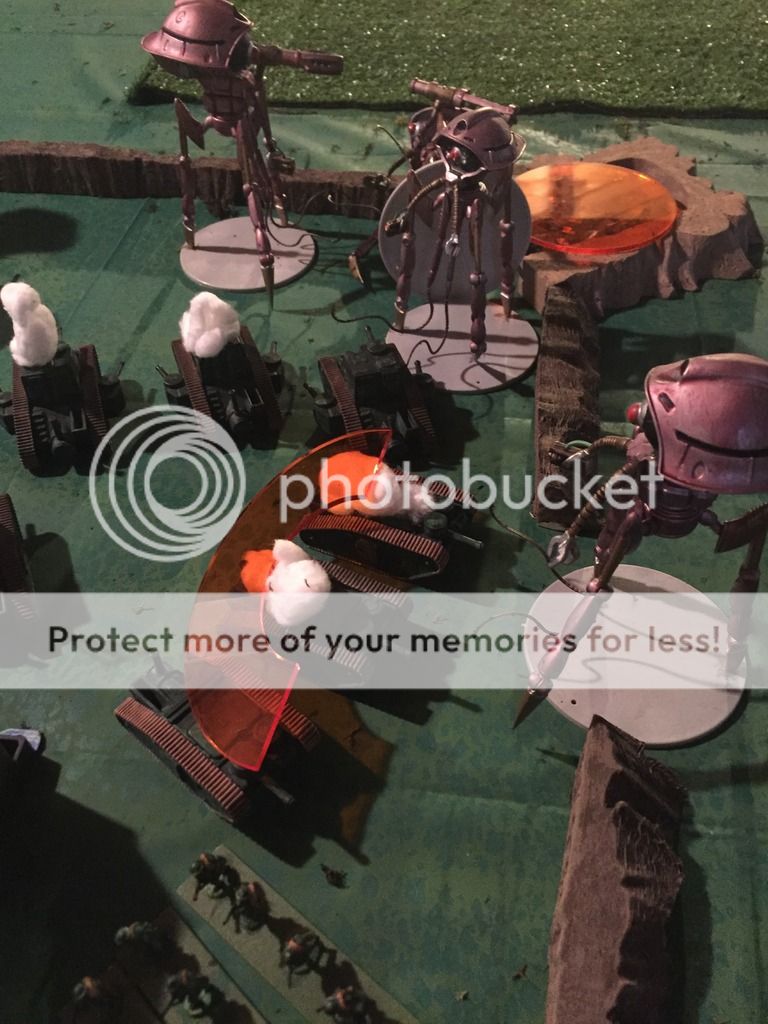
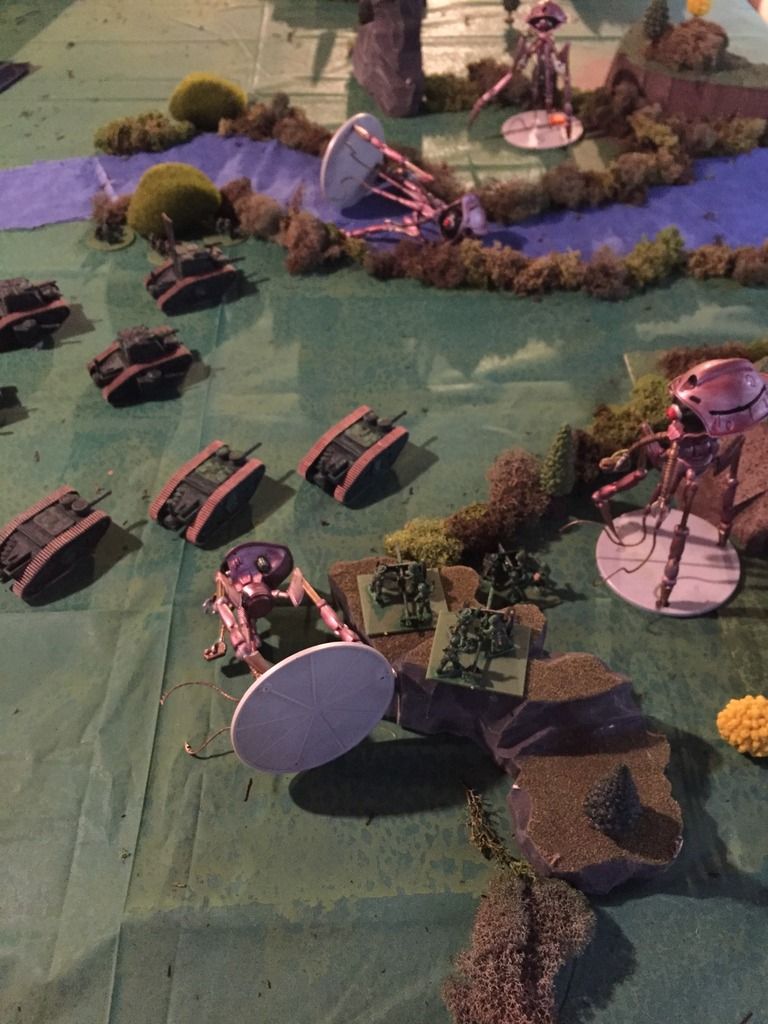
Heat Rays reach out to the advancing Tanks!  In the barrage, a MkII is detonated by shock canisters and two of the leading MKII’s are brewed up!  The human remnants stay in the fight.  Martian Drones swarm the Rough Riders of 2nd squad.  The brave riders are all killed! 


Turn 4:
Initiative: Minnesota Volunteers

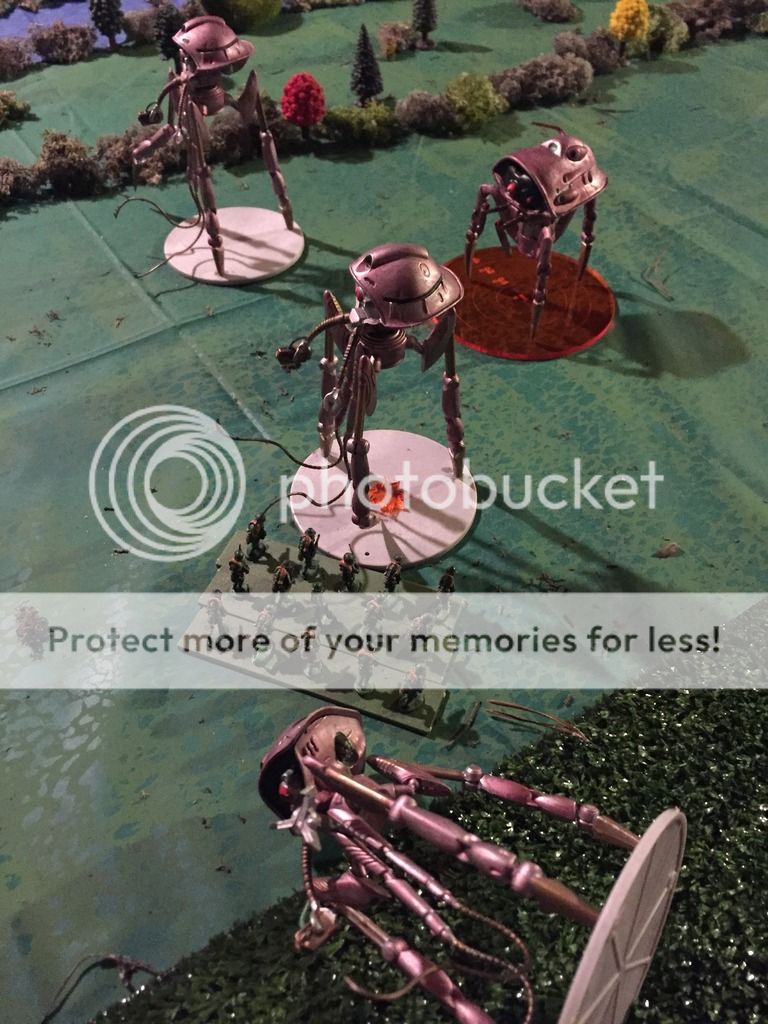
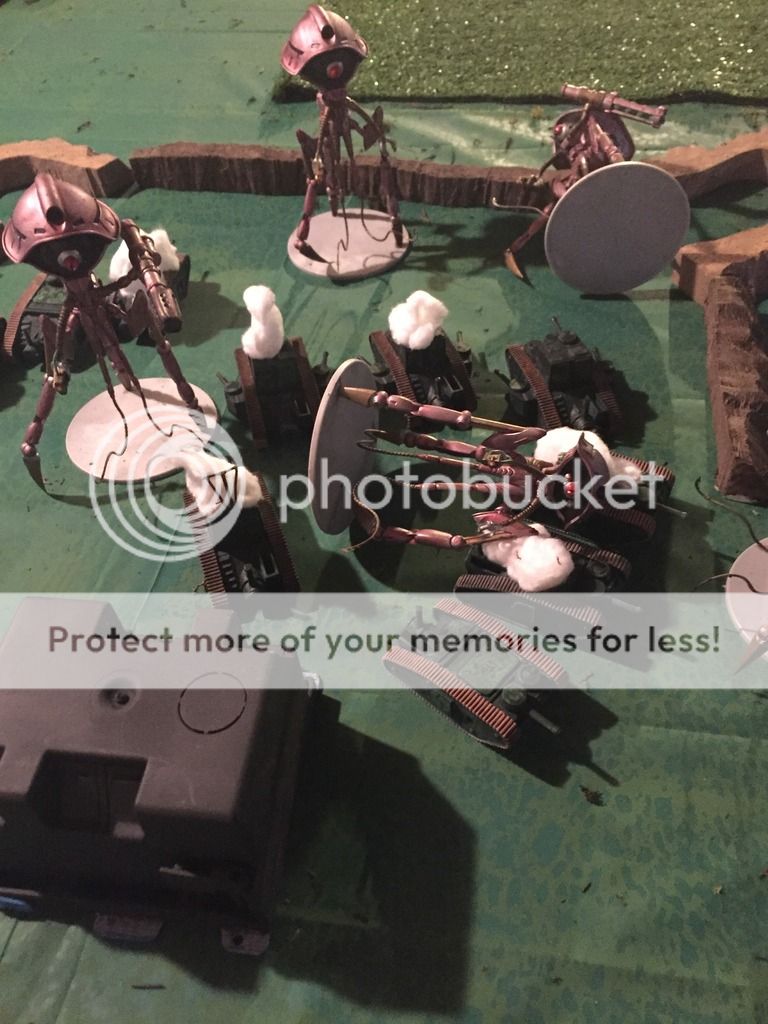
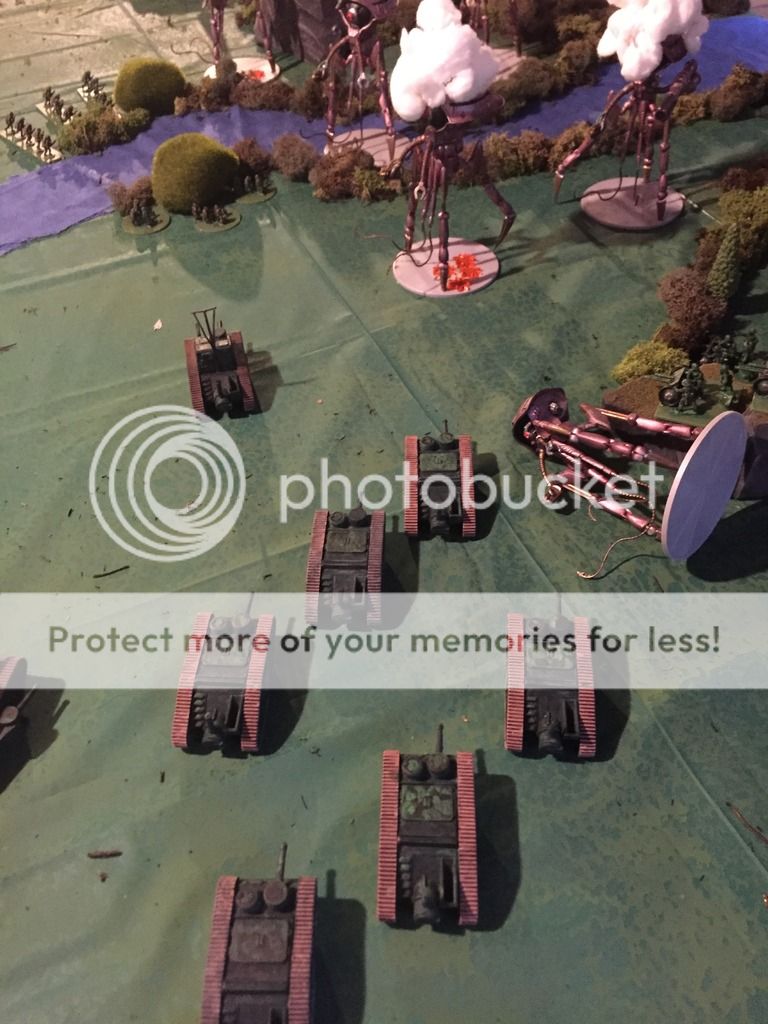
The human advance is slowed by burning tanks, but they manage to form a firing line to concentrate their fire on the Martian slaver.  The barrage starts with the Command tanks machine gun cutting down the approaching Slicers.  With that, the signal flag goes up and the rest of the tanks open fire on the Slaver in a coordinated salvo!  The Field Batteries also target the Slaver, but the barrage manages to take out a nearby Drone.  Despite all the firepower, the Slaver still stands tall. 

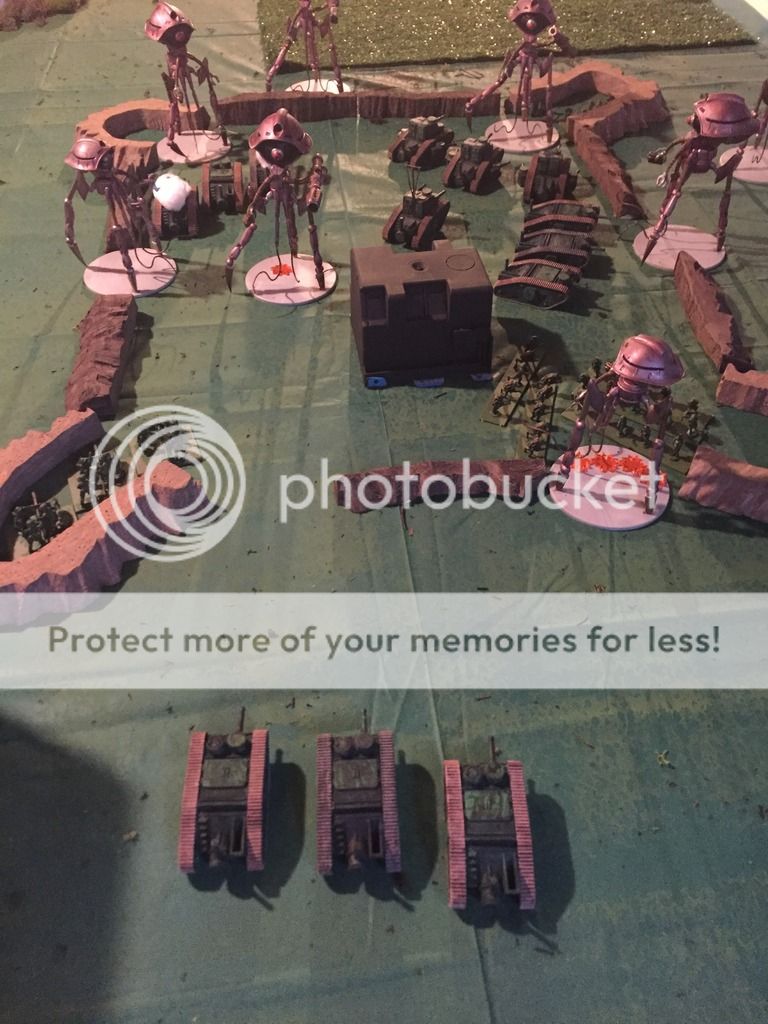
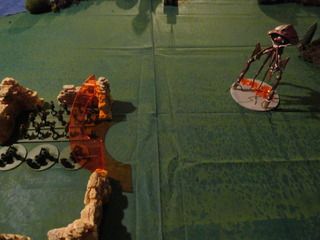
The Martian counter-attack is fierce!  The last of Squad 1’s MKII’s is brewed up by the Blasters.  Meanwhile, various single shots from Heavy Heat Rays eliminate the last two MkIII tanks.  Things do not look good for the Volunteers.  
   

The Martian infantry presses forward and closes in on the tanks.  Their masters continue to lurk cautiously in the tree line. 

Turn 5:
Initiative: Minnesota Volunteers

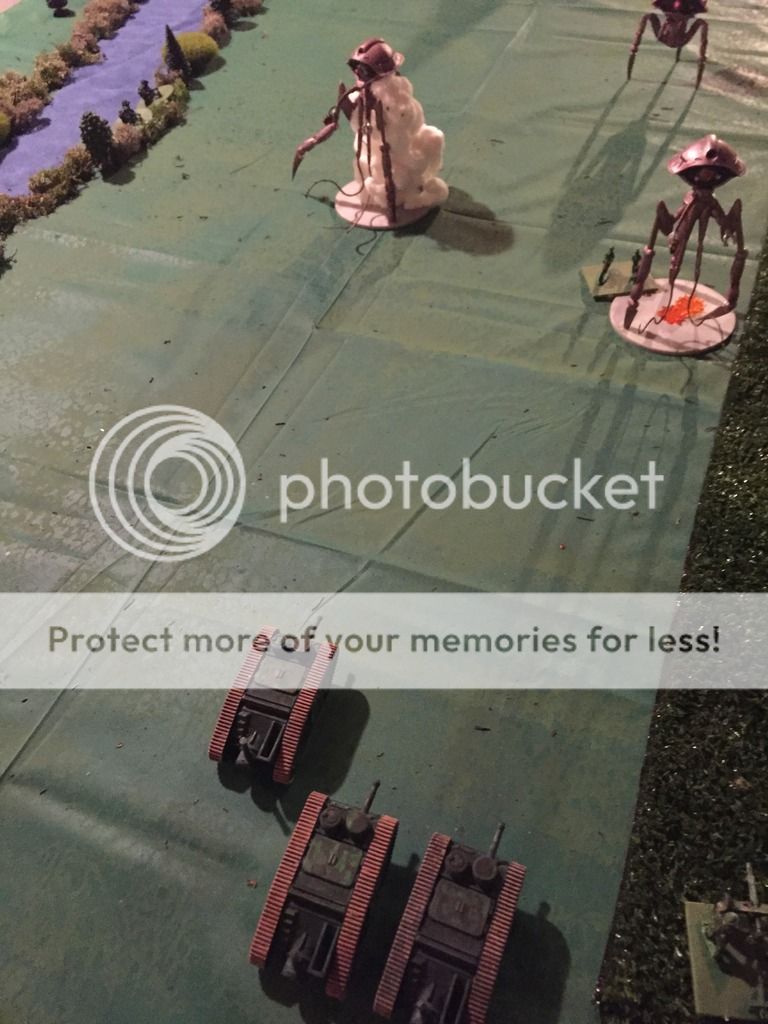
The remaining Volunteers slowly start falling back, their cannons blazing.  However, their fire is relatively ineffective.  The machine gun from the Rough Riders only manages to take out 1 Blaster.  The field batteries quickly limber up as the Minnesotans prepare to withdraw off the board. 


The Martians sense victory and their war horns begin to blow to signal for a pursuit.  Their Heat Rays lash out with precision fire.  The Human Command tank explodes from a direct hit!   Black Dust from the grenadier and Loboton fire takes out two more MKIIs.  As the Martian forces close in the last few Minnesotans decide that retreat is not enough and instead break into a rout! 


Conclusion
With the defeat of the Minnesotans counter-attack the Minnesota River Valley returned to a hostile stalemate.  The Martian advance had been blunted, but the Humans had failed to gain back any territory lost to the advancing Tripods.  Instead, a stalemate developed near the Wood Lake area of the river.  Minnesotan and federal engineers began to hastily assemble defensive emplacements there of barbed wire, trenches, and gun emplacements. 

Meanwhile, replacement equipment from the Twin Cities industrial area began to pour into the Minnesota River Valley.  Fort Snelling even received authorization to deploy Federal troops to support the defenses.  A showdown was coming between man and Martian in the Minnesota River Valley.


Final Thoughts
Huh, Lobotons are kind of cool.  They are dirt cheap and forced me to draw back as my daughter pressed forward.  They were hardly worth shooting, but I couldn’t let them just keep coming.  On the other hand, I couldn’t seem to get solid shots on the Slaver either.  In this game I managed 5 damaging hits, to 13.  That will never allow you to win. 


Kudos to my kid for concentrating her firepower.  I got too aggressive with my tanks and pushed them too far forward.  I should have kept them at range and forced the Martians to come to me.  I might have been able to divide them and pick them off piece meal.  However, she stayed disciplined and let her firepower take its toll. 

The Minnesota River Valley Campaign continues!

Monday, December 26, 2016

All Quiet on the Martian Front- Battle Report- Retreat from the Yellow Medicine Upper Agency

After the Minnesota Volunteers crushing defeat at the Battle of Camp Release, a general withdrawal to Fort Ridgely was ordered.  However, the orderly withdrawal down the Minnesota River Valley soon turned into a disordered route as Martian Scouts and Harvesters raced up the valley in search of prey.  Reports of Martian sightings as far East as New Ulm sowed panic into the human defenders.  

The action at Yellow Medicine (Also known as the Sioux Upper Agency) was typical of the chaos during the Militia’s general retreat.  

Martians:
3 Scouts
1 Harvester (played by a slaver)

Minnesota Militia:
5 Infantry squads
2 Rough Riders
2 Machine gun squads
1 squad of MKIIs
1 battery of field guns

Set-up

Minnesota Units are placed randomly using a scatter die and 2d10 for distance from the center of the board.  They are all facing Eastward towards the board edge and escape downriver.  The Martians are placed in a line on the Westward side of the valley about 6 inches in from the board edge.


Special Rules

Human units are disordered.  The Human player must first pass a Rally check to be able to control any units.  Otherwise, they will head towards the Eastward board edge at full speed.  

Human units score points for each unit that makes it off the board.  Martians score points for destroying Human units, and double points for any unit consumed by a Harvester.  The side with the most points at the end of the game wins.  

Martians begin with the Initiative automatically.

Turn 1
Initiative: Martians

Martians:
The Martians move forward at full speed and catch up to a lagging Rough Rider squad.  Their Heat Rays make short work of the unit.  All the retreating humans are alerted to the pursuing aliens.

The Scouts tower over the units in the rear, their shadows falling over their prey.

Humans:
3 Infantry Units and both Machine Gun units pull themselves together enough to stop running.


The last Infantry Unit desperately assaults the closest  Scout to try and hold them off so others can escape.   Others try to take cover and prepare to sell their lives dearly.

A Ragged cheer goes up as the brave infantry squad manages to destroy a Scout using grenades!  There is hope yet!  Other shooting or attacks are ineffective.
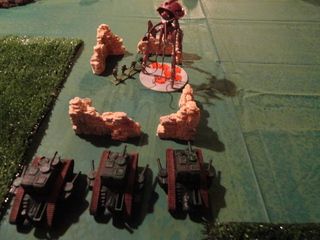
Turn 2
Initiative: Humans

Humans:
Most of the units in the retreat manage to get a grip to mount a fighting withdrawal.  1 Infantry Unit still remains routing. The brave 5 Platoon storms over the wreckage of the downed Scout and try to assault the next Scout.


A barrage from the Field Guns fails to damage the harvester.  This time, the attack of 5th Platoon only manages to damage the armor of the Scout.  They fall back to the wreckage of their last victim for cover.

Martians:
The Scouts continue to advance, while the harvester moves to deal with the 5th Platoon.

A scout burns two Rough Riders to cinder, but he last one stays in ready to fight!  The other one kills a squad of doughboys with a Heat Ray, but fails to scatter the rest.  The Harvester burns out two squads from 5th Platoon and the rest scatter in terror.   Another unit destroyed!

Turn 3
Initiative: Martians

Bad times for the Humans as the Scouts are rushing the Machine Gun nests that the Humans had managed to dig in and set-up a crossfire with!  The Northern scout manages to vaporize and rout the Machine-gunners on his side of the battlefield.  However, his brother Scout and Harvester fail to break the opposite bank.
 
Humans:
The Mark II tanks fire on the undamaged scout, and a lucky hit causes it to explode in a pillar of green fire!


The field guns drop a barrage on the remaining scout and damage its legs.  The last machine gun squad fires on the Harvester, but the bullets just ping harmlessly off its armor.  The last rough rider squad attacks the Scout, but fails to do anything of note.

The MkII’s and an infantry squad withdraw off the board successfully.

Turn 4
Initiative: Humans

Most of the Minnesota Volunteers manage to flee covered by a single infantry and machine gun unit.  Screening fire on the last Scout damages its armor further.

Martians:
The last scout tries to move, but the roll-off is a tie so it stays wobbling in place.  Firing fails to hit the machine gunners in the woods.

Turn 5
Initiative: Martians

The Scout again tries to move and lurches forward into Heat Ray range.  The Harvester does the same.  They both sweep their Heat Rays over the area the Machine Gunners have taken cover.  One unit is killed, but the other fire and withdraw off the board in good order.

The last scout is further damaged by the covering fire, and its Heat Ray is damaged.

Conclusion
The Martians lost two Scout Tripods of 300 points, and the last scout was seriously damaged!  However, the victory conditions were not set around losses to the Martians, but losses for the humans.

The Martians managed to destroy:
1 Infantry Squad
1 Machine Gun Squad
1 Rough Rider squad
For 115 points

They also damaged 1 Rough Rider squad, Machine gun squad, and Infantry squad, but they were not destroyed so do not count.

The humans evacuated:
1 squadron of MKII tanks
1 Battery of Field guns
3 Infantry squads
For 410 points

Looks like a victory for the Minnesota Militia!

After the Martian rebuff at Yellow Medicine, the Minnesota Militia was given enough breathing room to regroup.  Martian raids down the valley were halted and straggling units were able to regroup at Fort Ridgeley.  Despite the set-back, the Martian threat to the Minnesota River Valley was far from defeated.  On the contrary, it was still on the offensive.

All Quiet on the Martian Front- Battle Report- Fall of Camp Release

After the Martian attacks out of the Great Wood were thwarted at Beaver Creek Ford, the Martians pulled back and regrouped.  The strong human presence at Camp Release could not simply be bypassed as the invaders had hoped.  Instead, they would need to go through Camp Release.  

Early in the morning, a Rough Rider patrol raced back to Camp Release.  They anxiously informed Captain Nix that the Red menace was on the move.  They had counted several large and a few smaller tripods advancing up the Minnesota River Valley and towards their position.  This looked like the moment that the Minnesota Volunteers had waited for with dread.  The Martians were coming.  

Captain Nix hastily typed up a report and gave it to the Rough Riders.  He sent them back to Fort Ridgeley to report on the coming battle and to send reinforcements westward.  The riders were tired, but they rushed to their newly fueled machines and raced off.  

The sound of Martian war horns was heard in the distance as the Rough Riders drove off.  The Volunteers gripped their rifles just a bit tighter, and exchanged nervous looks with each other.  Then, the commander of a MkIII shouted and pointed to the distant horizon.  The early morning sun flashed reddish off the carapace of an approaching Tripod.  Soon, it was joined by more as the Martian advance approached down the valley.  

Captain Nix quickly counted up the number of Tripods and offered up a prayer.  With a confidence that he didn’t feel, he walked over to his command tank.  He climbed up the side and took his position, field glasses in hand.  

The battle of Camp Release was about to begin!


The Red Menace
6 Assault Tripods- 2 Black Dust, 1 Green Gas
3 Scout Tripods- 1 with Targeting Box
1 Grenadier

The Minnesota Volunteers
1 Command Tower
2 Squads of MKII tanks
1 Squad of MKIII Tanks
1 Command Tank
2 Machine Gun Squads
1 Field Gun Battery
3 Squads of Doughboys
1 squad of Rough Riders
Entrenchments

Set-up
The Humans were set-up behind the earthworks of Camp Release.  The main wall was manned by a squad of MKIII tanks, supported by a squad of machine Gunners in each corner.  They were supported to the flanks by a squad of MKII’s on each side and backed up by a squad of infantry.

The command tower was protected by a squad of infantry, and the field guns and last squad manned the rear most dug-outs.  The squad of Rough Riders was ready to sally out the north wall.

The Martians lined up to the West.  Their southern flank was anchored by the grenadier and a scout.  The Assaults, Specialists, and remaining Scouts were scattered across the Western most board edge in a line, ready to advance.

The birds of the Minnesota River Valley were uncharacteristically quiet.  A few hawks, joined by crows and ravens lazily circled high overhead.  They were preparing for a feast.

The Mission
The Martians are trying to break the Human defenders by turn 6.

The entrenchments are Def +4, Armor +2

Turn 1
Initiative: Martians

The Martians rush forward eager to close the gap and get inside the Human base.    They approach with their Heat Rays flashing out.  However, the earthworks hold and repulse the long range shots.  

A scout on the flank light up a machine gun squad with its targetter.  The Grenadier fired on the unit, but the shock canisters hit the earthworks.  

However, the Martians continue their advance.

Humans
The Human units shuffle around and return fire.  The Rough Riders hug the earthworks as they approach the Northern Scout.  

The tanks open fire with an ear-splitting roar, but no Tripods go down!  One Assault tripod lost 2 armor and the Scout has his Heat Ray damaged.  

The Human Infantry moves to potentially counter-charge any units that breach the earthworks.         

Turn 2
Initiative: Humans

The Rough Riders race out to confront the northern most scout.  They fire their machine gun as they approach but fail to find a weak point.  The tanks open fire and plink more armor off the leading scout, and the Assault tripod in the vanguard.  

The southern machine gun squad opens fire at the vanguard Assault machine, and hits something critical with its spray of bullets.  The machine goes up in a huge green flash!  


Martians
Despite the loss of one of their own, the Tripods pressed onward into the storm of fire.  They had no other choice and needed to get past the human earthworks.

An injured Black Dust carrying Martian draws Human blood when he drops a barrage of Black Dust on the Tripod killing Machine-gun squad.  The brave humans don’t stand a chance and are all killed by the hideous Martian weapon.


The Northern most Scout turns and Heat Rays the Rough Riders trying to scout behind the Martian lines.  He vaporizes a squad, and the rest decide to run route.  However, they will have to try to get through the Martian lines! 
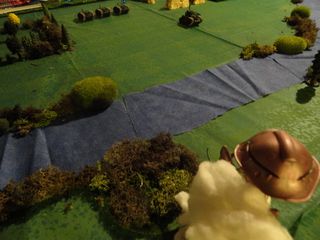
The Grenadier again fails to find the mark despite the help of a scout with a Targetter.

Things look bad for the humans.  The Scout raced back and breaks the Rough Riders.  Plus, the vanguard Scout and another Assault have breached the walls of Camp Release!  


Turn 3
Initiative: Martians

The Martians continue to press their attack!  Things just went from bad to worse for the Human defenders!  The Martians move to hem in the Prey-that-Stings by blocking off the exits to the Camp.  


Now, the Martian Heat Rays begin to take their toll on the Volunteers.  2 squads of Infantry from separate Platoons are vaporized.  The first platoon decides to route.  Another Heat Ray destroys a pair of MKII’s at close range causing the thirds crew to bail-out.  

The Martians tighten the noose.  1st Platoon scatters as the Black Dust equipped Tripods tours over them.  

Humans
Seeing the trap closing, the Infantry charge the heavily damaged Tripod blocking their escape route.  The tanks fall back and try to find a way to bust the noose.  The Field Commander uses Industrial Might, and a new Unit of MKII’s enter the field and move towards the Camp.

Desperate cannon fire, machine gun fire, and howitzer blasts ring out across Camp Release.  The MkIII’s, Command Tank of Capt. Nix, and the Northern Machine Gun squad combine fire and bring the Green Gas equipped Tripod down in a heap.  That’s two down!  

The infantry assault on the Scout fails to further damage it and is forced to fall back! 

Turn 4
Initiative: Martians

The Martian reprisals are terrible to behold!  Heat Rays lash out at the trapped Human tanks, and burn s one them into slag.  Only a single MKIII remains operational in the Camp.  Black Dust Launchers make short work of the Field Guns and Machine-gun teams.  


Those humans who survived the onslaught try to stumble back to the command tower.  Capt. Nix, his tank slagged is one of them.   

With their second move, the aliens seem content to seal of all the Camp exits.  The end is nigh for the Minnesota Volunteers.    

Humans          
The remaining infantry storm the heavily damaged scout once again!  Meanwhile, reinforcements in the form of a Machine Gun team arrive on the scene.  

The few remaining survivors in the command tower cheer as Machine gun fire from the tower takes down one of the Scout Tripods in the camp!  However, it is only a matter of time unless the noose can be broken.  


The reinforcing machine gun team opens fire on the damaged tripod, and damages it further, but also kills some of their own men.  However, it is a desperate act to potentially save more!  

The MkII’s manage to ping the armor on the Black Dust Tripod, but it is still blocking the escape route.  

The last desperate infantry assault fails to destroy the damaged scout!  It has 2 armor left and can’t move any further.  

Turn 5
Initiative: Martians

A Black Dust equipped Tripods moves to support the damaged Scout.  

The Grenadier manages to drop shock canisters onto the command tower and destroy it.  The Black Dust Launcher tripod drops smoke onto the last infantry Platoon and kills them all.  

Humans
The last remaining Machine Gun unit and MKII’s manage to finally take down the vanguard scout by depleting him to 0 armor!  

Conclusion
With some sense of honor and dignity left, the Minnesota Volunteers call it a game.  Everyone who was in Camp Release was killed or scurrying into hiding at this point.  The reinforcing Machine Gun squad and MkII’s decide to withdraw before the 5 remaining Tripods begin to focus on them!

With the Fall of Camp Release, the path was clear for a continued Martian advance through the Minnesota River Valley.  

Final Thoughts
The Tripods had an advantage in points going into this battle.  However, I feel pretty confident in saying that they kicked the Minnesota Volunteers backsides!  My opponent didn’t just breach the walls, but also used my own walls to box me into a death trap.  This was a very clever tactic for a Martian.  Let this be a lesson to future Human commanders!  Trenches and walls are good, but forts are bad!     

We both need to do a better job using Command Tokens, and perhaps the Minnesota Volunteers would have benefited by using Blips in this game.  Oh well, maybe next time!   So far, the campaign has been pretty even going.  

All Quiet on the Martian Front- Battle Report- Battle for Beaver Creek Ford

At Birch Coulee in 1862, Dakota forces ambushed a group of soldiers that had camped there for the night.  The battle lasted all day in the waist-high grass.  It was not a decisive battle and the Dakota ended up withdrawing under cover.  Beaver Creek Ford was just a few miles north of this historical battlefield.

In 1914, the Minnesota Volunteers were dug-in along the Beaver Creek Ford as a fallback position from further up the Minnesota River Valley.  Camp release still held strong against the Martian invaders, even if it hadn’t been truly tested yet.  The Volunteers were at the ford mostly to help direct traffic and support fleeing refuges heading east, and ensure military units heading west received priority.  


The Beaver Creek Ford became the front lines as a Pod of Martian Invaders came barreling down the Beaver Creek from the Great Woods to the north.  It was an unexpected approach and the Volunteers were caught flat-footed and unprepared.  Lt. Nix and his men would probably have been butchered, but the friction of war is a funny thing.  


Captain Jones, a relation to the hero of Fort Ridgelely during the Dakota War; was leading a company of Steam Tanks west to rotate and replace a unit at Camp Release.  His Company happened to be approaching the Beaver Creek Ford when the Martians attacked.


Can the brave defenders of Humanity repel the Martian invaders?  Will the Martians be able to cut-off and isolate the Volunteers at Camp Release?  The battle of Beaver Creek Ford is shaping up to be a decisive battle, unlike Birch Coulee.

 Martian Invaders
2 Scout Tripods
3 Assault Tripods
1 Assault Tripod with Black Dust Launcher
   
The Minnesota Volunteers
Lt. Nix’s Company
- 5 Platoons of Dough Boys
- 2 Machine Gun Support Squads
- 1 Field Gun Battery

Cpt. Jones Tank Company
- 1 MKIIc Command Tank
- 6 Baldwin MKII Tanks
- 3 MKIII Tanks

Mission
This battle has straightforward objectives.  Break the enemy force.  The Martians have to lose 4 Units, and the Humans need to lose 8 units.

However, the Martians will automatically have the first initiative since they are ambushing the Volunteers.

Set-up
The North side of the battle field is a series of wooded bluffs and hills that form the edge of the Minnesota River Valley.  Beyond is the Great Woods.  Cutting North to South across the center of the board is Beaver Creek, and the Ford is on the South side of the creek in the flat expanse of the River Valley.  The creek is lined with underbrush and rocks.  

Lt. Nix’s Company is dug in and in position along the Beaver Creek Ford.  The shrubs lining the banks provide some basic cover to the infantry models there.  The Field Gun Battery is deployed on a nearby hill overlooking the Ford on a wooded bluff.  Capt. Jones’ tanks are moving along the River Valley heading west.  

The Martians are in a tight cluster on the north side of the board moving down the Beaver Creek towards Lt. Nix’s troops.

Turn 1
Initiative:  Martians get first turn per this scenario

Martians
With the Prey-that-Stings sighted, the Martians move towards the enemy and try to spread out a bit.

The first scout tries to sweep the Filed Guns, but the woods protect the gunners for the moment.  The treetops burst into flames.  The shrubbery around Beaver Creek bursts into flames as Heat Rays burn into the banks.  4 squads of Dough Boys are incinerated in the initial attack!  5th Platoon breaks and tries to run for it.  However, they are scattered as Martian war-machines press forward into the River Valley.

Volunteers
The last squad from 4th platoon bravely charges into the oncoming Scout Tripod to slow it down.  Meanwhile, their comrades prepare sell their lives dearly in their dug-outs along the ford.  Capt. Jones’ tanks deploy to engage.

The assault fails, and fire from their comrades ends up catching the remnant of 4th platoon as well.  However, Jones and his tanks do their job.  A barrage of coordinated fire takes out the approaching Scout and severely damages the legs and heat ray of the closest Assault Tripod.


Turn 2
Initiative: The Martians are left reeling but the sudden arrival of Jones and his tanks.  The Volunteers press the counter-attack!

Humans
Despite the trees flaming around them, the Field Gun battery manages to put a hit on the damaged Assault Tripod.

Jones’ Tank Company presses forward and opens fire on the Invaders.  Their aggressive attack pays dividends.  Jones’ command tank makes for the Ford and fires at the Scout, taking out a point of armor.
The Baldwin’s fire for effect, and the damaged tripod explodes in a blinding green flash, quickly followed by a second one.  Once the human’s vision clears, the damaged Assault Tripod and the Black Dust Launcher have been incinerated in the explosion.  A ragged cheer goes up!


The Tanks decided to continue to press their attack forward, but were careful about their own spacing, trying to stay in echelon to reduce potential sweeps from Martian Heat Rays.

Martians
The Martians were momentarily stunned by the loss of the Tripods so quickly!  However, their cold Martian minds quickly assessed the situation and moved to counter the Humans.

The scout moved behind a tall, odd rock formation and then blasted a squad from 3rd Platoon.  The rest of the survivors went running.  The Assault Tripods moved into the stream bed for limited cover, and opened fire on the Lead MKII tanks.  One began to melt and steam like crazy.  His fellows thought better of their aggressive attack and began to back up.  However, a second Heat Ray blasts scatters the units as the survivors abandon their tanks and flee into the woods.  


One of the Assault Pods moved and scattered what was left of 4th Platoon.

Score:
Americans have lost 4 squads.
Martians have lost 3 Tripods

Turn 3
Initiative: The Humans press onward!

Humans
The MkIII’s and Command Tank take-on the first Tripod, while the remaining MkIIs and Field guns attack the second.  Despite unloading everything the humans had, neither Tripod waivered in the face of mankind’s firepower!

Martians
The Scout moved out of hiding and tried to sweep the closest Machine-gun units.  However, their position at the edge of the stream protected them from the searching beam.  The Assaults tried to eliminate the Baldwin’s with combined fire, but the sturdy armor of the tanks held up tot eh assault.

The aliens moved back into the light cover of the stream bed.

Turn 4
Initiative: Martians win

Martians
The Lead Tripod moves along the stream bed and instead of firing on the MKII Command tank, fires a sweep at Lt. Nix and his men near the ford.  Two squads are killed, but Lt. Nix keeps the rest of the platoon steady.

The Scout scuttles from the wooded bluffs and moves towards the Field Guns.  A blast from his Heat Ray fails to find its mark.  The last Tripod fires on the MkIIIs but fails to damage them.

The Martians begin to fall back a bit and re-deploy towards the north.

Humans
The Humans are allowed to concentrate their firepower on one of the Assault Tripods.  After a withering hail of fire, form the Tanks, Field Guns, and a Machine-gun squad, the Tripods crumples into Beaver Creek, its hull smoking and ruined.


Conclusion
With the destruction of another Assault Tripod, The Martians quickly make a fighting withdrawal back up Beaver Creek, their Heat Rays lashing out at anyone foolish enough to follow them.  The Minnesota Volunteers are left in control of the Beaver Creek Ford, and critical logistics lines are maintained.  

After the battle, word reached Fort Ridgeley and both Lt. Nix and Capt. Jones were awarded a citation for bravery in the face of the enemy.  Lt. Nix was recalled to Fort Ridgeley, and Capt. Jones continued to his post at Camp Release.  There he was lionized by the men, and tales of the Battle of Beaver Creek quickly spread through the camp.    

With the attempts to bypass Camp Release thwarted, the Martians were left with only one alternative!  They had to smash through the hastily constructed human defenses there in order to proceed up the Minnesota River Valley.  They began to martial their war machines for the task.

Wow, the 4” Guns did the trick today!  I was really lucky to blow-up an Assault Tripod, and then take out the Black Smoke Launcher before it even got to fire!  The martians were even trying to spread out to avoid such a chain reaction.  That was very lucky and not something I can rely on to happen in the future!  After that, the Martians just didn’t have the firepower to really recover.

The Tank Company was just throwing massive amounts of dice out every turn, and inevitably some of that is going to stick.  Once it starts to stick, then things go downhill for the Tripods fast.  In this game, I was allowed to focus my firepower too much, and I am sure my buddy won’t let that happen again.            

[URL=http://s1382.photobucket.com/user/EasynotEZE/media/Mobile%20Uploads/image_zpsnnhchrll.jpeg.html][IMG]http://i1382.photobucket.com/albums/ah273/EasynotEZE/Mobile%20Uploads/image_zpsnnhchrll.jpeg[/IMG][/URL]

All Quiet on the Martian Front- Battle Report- Battle of Acton

The Minnesota Volunteers had set up a fortified camp in the Minnesota River Valley at Camp Release.  The River Valley would be the easiest approach for Martian tripods as the Great Woods made rapid Martian movement challenging.  The Tripods had harassed relief columns and scouting patrols around Camp Release, but that wasn't the only place the Tripods could attack.  The Minnesota Volunteers went about fortifying nearby towns with crude earthworks and mustering defense forces in the region.  

This proved timely as a Martian scouting force lurched out of the woods at the edge of Acton, north of the Minnesota River Valley.  Only a thin screen of Volunteers and hastily constructed Earthworks stood between the martians and the town.

Martian Scout Force
3 Scout Tripods
1 Assault Tripod with Green Gas Launcher

Minnesota Volunteers
1 MkIIC Command Tank
3 MarkII Baldwin Tanks
1 battery of Field Guns
1 support squad of HMGs
3 Infantry squads
2 Rough Rider squads

Earthworks are Def +3, A +2

Set-up
The Martians emerged near the edge of the treeline west of Oli Ulafson's soybean fields.  They spread out in a towering, red line.

The Volunteers were deployed to defend in depth.  Our front, a squad of doughboys entrenched in some earthworks, while their squad mates took position in the Soybean fields.  They were backed up but a line of Earthworks with the field guns, HMGs, and MKIIC tank dug-in.  Behind them was the mobile reserve of tanks. The rough riders were hiding in the forest north of the fields.

Mission
The Martians have 6 turns to try and break through to Acton or route the Minnesota Volunteers  from the field.  The Volunteers are trying to break the Martian forces first.

Turn 1
Martian Initiative

Martians:
The Tripods burst forth from the treeline, with the scouts forming a tripod wall in front of the Green Gas launcher.

The lead humans are just out of range, so the Tripods have to decide to move forward and weather a storm of shells, or wait?  They decide to press forward conscious of their mission.  They must get to the town before darkness sets in.  They move forward once more.      


Humans:
The Humans elect to stay in position and ready their weapons.  The decision to hold position means the Volunteers in the soybean fields are out of range still.  However, the lead platoon fires from their entrenchments.  The sound of a volley of rifle fire breask the pre-battle silence, and it is followed by a roar of gunfire as the rest of the Americans open fire.

A lucky shot from the rifleman damages the lead Scouts legs, causing it to move erratically.  A cheer goes up from the Doughboys!  The Field guns also manage to damage a second scout.
The humans are content to hold their positions for now.

Turn 2
Martians win

Martians:
The martian invaders move forward at full speed.  The first scout burns down two squads of 2nd Platoon with its heat ray.  The remains of the platoon scatter and run, removing them as a threat.  His fellow scout sweeps and kills a single squad of 3rd Platoon in the soybean field.  They prepare their grenades for close assault.  The Green Gas launcher takes out a squad of entrenched troopers from first platoon, but the unit holds.

The Martians ignore the humans and continue to move forward.          


Humans:
With the Tripods racing towards them the human commander begins to sweat.  The Rough Rider squads burst from their hiding spots and race towards the nearest Scout.  The 3rd Platoon turns around and charges into the Scout Tripod.  1st platoon stays entrenched where they are.  The gunline hastily reloads and fires again!

The field guns fail to find a weak spot on the approaching lead Scout.  The command squad and the tanks open fire and manage to ping the armor on the lead scout twice, but it isn't nearly enough to bring it down!  The machine guns add their weight of fire, and take off three more armor chits, but the scout keeps coming!  The dough boys of 3rd Platoon valiantly try to tie up the second scout with an assault, but fail to hit a weak point.

The Rough Riders close in on the Scouts.  Meanwhile the Baldwin tanks move to try and physically block the shortest distance to Acton behind them.

Turn 3
Martians win initiative again.

Martians:
The lead Scouts race forward and are practically on-top of the Human defenders!  The final scout tries to move, but ends up stumbling backwards.  The Assault tripod also moves forward, but is wary of the Rough Riders.

The Assault Tripods Heat ray sweeps and takes out a Rough Rider element and squad from 3rd Platoon.  3rd Platoon decides to run for Acton in terror.


The lead scout sweeps the Baldwin tanks, but fails to damage any of them!  The second tripod Heat Rays the HMGs in the earthworks and manages to kill one element, while the others rout in terror from the huge machine!  The stumbling scout even manages to use its heat ray and kill a sqaud from 1st Platoon, but the units stays in its place.

The second scout races forward and routs the fleeing HMG squads.  Next turn he will plunge into the town of Acton unless stopped!  The first scout tries to go around the earthworks, and the Assault Tripod moves up to support the heavily damaged scout.


Humans:
Things look grim, and only a miracle will protect the citizens of Acton!  The tanks and Field Guns shuffle about to get a shot at the second Scout.  Meanwhile the Rough Riders and Command Tank try to handle the first Scout.

The Rough Riders fire desperately and wildly at the first Tripod.  They take off more armor and damage the Tripods Heat Ray.  The Command tanks machine gun finally finds a gap int eh first scouts depleted armor, and tears into the machine mercilessly!  The Tripod explodes spectacularly!


The Field Guns and Baldwin MkII tanks fire desperately at the second scout about to enter Acton, however, all of their shots either miss or ping harmlessly off the Scout's armored carapace.  It looks like Acton will burn!

Seeing that the cause is lost, the Command Tank retreats into the town to flee and gives the signal to withdraw.  The MkII Baldwins try to follow suit, but are still at the edge of the town.

Conclusion
With that we decide to call the game.

The Minnesota volunteers abandon their dug-outs and retreat to a pre-selected rally point.  The undamaged Scout and Assault Tripod make short work of the town Acton, as the civilians flee for their lives.  At Fort Ridgeley, they can see the horizon to the North glow red from the flames of the town.  Meanwhile, command now needs to worry about marauding Tripods bypassing the Minnesota River Valley completely and mkaing a bead for Fort Snelling and the capital at St. Paul.

So, how did things go?  Well as the Volunteers player, I completely botched using the Rough Riders in this one.  Ideally they needed to tie up some of those fast moving scouts, but by the time I had them moving, it was too late.  The Tripods had penetrated to deeply and too quickly.  Also, the HMGs routing when they did put a huge hole in my battleline that the   Scout easily walked through.  I feel like the first Scout took a horrendous pounding, soaking up 9 hits before exploding!  However, that was off-set by the third Tripod having its legs crippled early so things balanced out in the end.  My MKII Baldwins also held up to some punishment!  If I would have used my Rough Riders better, this game could have been much different.

I was not that impressed by the Green Gas Launcher on the Assault Tripod.  The Area of Effect is not good enough and the Black Dust Launcher seems like a much better buy, and looks cooler too!  Other than that, the speed of the Scouts did the trick this game.  If my opponent only had Assaults, I would have had another turn or two to hold the Red Menace off and maybe make a difference.  Oh well.

Martian Victory  

All Quiet on the Martian Front- Battle Report- 2nd Battle of Camp Release

The presence of the Martian invaders in the Minnesota River Valley had been confirmed.  The commander at Fort Ridgely immediately sent additional troops up river to reinforce and garrison Camp Release.  It was at Camp Release where the Minnesota Volunteers had managed to push back initial Martian scout Tripods.  

As the Reinforcements moved up river, they were ambushed by a hunting Pod of aliens.  The troops were caught between the Martians and the river as the huge alien machines reared up from the forest and advanced.   

Martian Ambush Pod
2 Martian Scout Pods
1 Assault Pod

Minnesota Militia Scouting Party
3 Infantry Squads
Machine-Gun Squad
MkII Baldwin Tanks
MKIII Steamers
MKIIc Command Tank

Scenario:
The Militia is moving up the Minnesota River Valley to reinforce Camp Release.  The river is on the left of their column, and the forest is 10 inches in from the right long board edge.  The Humans are in the approximate middle of the board.  The Martians can be placed anywhere within the tree line.

The game ends after the opposing army is broken or 6 turns.  

Set-up:
The Militia set-up moving up the river in the middle of the board.  Ann infantry screen is out front followed by the MKIIs, more infantry, the machine-gunners, and the MkIII.  The commander is riding along to the river side of the column.

The Martians have the Assault Tripod moving to cut-off the column of troops.  The two scout Tripods are sweeping in from the back edge.


Turn 1
Initiative: Minnesotans
The Minnesotans win Initiative.  The Militia quick move to face the approaching alien menace!  The 4 inch guns on the MkII's and the command tank open fire on the leading tripod, but fail to phase it.  The MKIII's fare no better against the Scouts.   The infantry continues to move forward, while the tanks try to stay out of Sweep range.

The Martians lumber out of the cover of the Forest, slowing them down.  However, they want to close the gap so they can sweep with their Heat Rays.  The first Scout scorches the first two squads of Third Platoon into dust, but the last squad still wants revenge!  The Assault Tripod pops one of the MkIIs, but his comrades keep steady.  The Tripods press the attack!


Turn 2
 Initiative: Minnesotans.
The rear of the column pours fire into the second scout tripod, attempting to bust it open.  This time a shot form the MKIII's hits something vital and the Scout bursts into flames!  A cheers goes up fromt eh human forces, but nothing else seems to stick.  The Tanks move around to try to reduce incoming fire and get into firing positions later.

Undeterred by the destruction of their fellow, the Martians again move forward. The Assault Tripod fails to sweep the MkIIs, and the Scout misses the Command tank.  With their poor shooting, the Martians scuttle away to reduce the number of incoming shots.


Turn 3
Initiative: Martians
The Scout moves a bit closer, but the bigger Tripods is happy where he is.  The Scout manages to sweep and destroy both of the remaining MKII's this time.  The Assault Tripod failed to hit the Command tank.  The Tripods then retreat further up river.

The Minnesotan infantry move up to try and get into assault range.  The tanks also move to attack range, but despite a lot of shooting at the Scout, nothing seems to penetrate its armored hood.

Turn 4
Initiative: Minnesotans
The tanks form a solid firing line.  Meanwhile, the Minnesotan infantry swarm out and two platoons attack the scout Tripod with grenades and elan.  The tanks manage to damage the Assault Tripods steering mechanisms with a powerful barrage.  The assault works a single armor point is removed from the Scout.


Martian retaliation is fearsome.  The Scout walks away from the assault units, and the bigger tripod sweeps over the brave Minnesotans.  The squads are killed, and the rest of the Militiamen flee in terror from the alien machines.  The Scout also sweeps the MKIII's and destroys one.  The Minnesotans are dwindling.  The Scout advances trying to catch the last squad of Third Platoon and destroy them.  


Turn 5 
Initiative: Minnesotans
The Minnesotans fall back away from the approaching alien.  Perhaps the Scout was too aggressive as the MKIIIs pound the advancing machine and terror away armor and damage its Heat Ray.

The Assault Tripod hit the command tank in the flank with its Heat Ray, but the Tank survives the smoldering inferno.  The Scout manages to gain control of its Heat Ray long enough to vaporize the remains of Third platoon.

With that, the Minnesotan commander orders all trooper to retreat.  The tank crews abandon their vehicles and take cover near the brush covered banks of the river.  The Scout Martian covers his larger brother as the two Martian Machines break off and head back into the cover of the forest.  The Assault Tripod stumbles and stops as it jerkily moves away from the battlefield.

Conclusion
This was a close battle.  One scout was destroyed, the other was down to half, and the Assault Tripod was walking funny.  The infantry went squish in this one, and gave up the game.  The MKIII's are very impressive tanks.  Too bad I like the MKII model so much, because the MKIII is FAR superior.  I think I want to get my hands on another Starter Set to bulk out my forces a bit, but I am unsure how easy that is going be be forward.  

The Minnesota Militia was unable to reinforce Camp Release, leaving it open for a potential Martian attack.  Will the Martian invaders be able to over run the defenders of Camp Release?  Will the Minnesotans keep the invaders from pressing down the Minnesota River Valley all the way to Fort Snelling?  Stay tuned to find out!

All Quiet on the Martian Front- Battle Report- 1st Battle of Camp Release

The commanding officer at Fort Ridgely has suddenly been flooded by refugees from further up the Minnesota River Valley, an event eerily like the start of the last Dakota War.  However, the Dakota had long since been moved to the reservations.  From their jumbled tales, he suspects that the War of the Worlds has come to his sleepy command.  Quickly, he organizes his local militiamen and sends them up river to find out what is going on.  In the meantime, he sends word to his superiors at Fort Snelling to prepare to reinforce and help defend the river valley.

Martian Scout Pod
3 Martian Scout Pods

Minnesota Militia Scouting Party
3 Infantry Squads
Machine-Gun Squad
MkII Baldwin Tanks
MKIII Steamer Tanks
MKIIc Command Tank

Scenario:
The Militia is moving up the Minnesota River Valley to investigate reports of Martian Red Weed sighted in the area, and to see if it heralds the approach on the Martian invader into the Minnesota territory.

usdakotawar.org- MNHS.org


They have camped over night near the burned out ruins of a farmhouse.  The troops are uneasy.  They turn in with a single Platoon on guard duty.  With the arrival of daybreak, they realize with horror that a Pod of Martian Scout Tripods was active in the area.  The closest one had taken up a resting position in a nearby woods.  As dawn arrives, both sides suddenly realize the close proximity they are to danger.

With startled shouts, the platoon on guard begins to wake their comrades and man the defenses.  The Martian blasts his war horns and summons his fellows into battle!


Special Rules:
Reserves- 2 Martian Scouts begin the game in reserve. Infantry units and the first Martian scout can take action immediately.

The game ends after the opposing army is broken.

Set-up:
The Militia set-up on their half of the board.  The Command Tank is placed anywhere within 12 inches of the short edge, and 24 inches in from the edge.  All human units must be deployed within 8 inches of the command tank to represent the human camp.

The Martian Tripod is set-up on the opposite side within 6 inches of the short board edge and 12 inches from either side.  They are set-up in a light wooded area.

Turn 1
Initiative: Minnesotans
The Minnesotans win Initiative.  The Infantry scrambles for cover in the farmhouse ruins and the orchard, while the watch platoon prepares to fire on the revealed scout.  The Command Tank moves over to the side of the ruins.

The Scout moves to the edge of the woods and waits, blowing his martian horns and waiting for reinforcements.

Turn 2
Initiative: Martians
A second scout appears from deeper in the woods and answers his friend's call.  The first scout waits, while the second one moves up.  

No more Minnesotans come to their comrades aid.  The third platoon moves up towards the stream banks to dig in.

Turn 3
Initiative: Martians
The first scout breaks the woodline.  He aims his Heat Ray at the troopers in the 1st Platoon near the stream.  He fires.  He hits with a 10, and the infantry element gets incinerated, but they stay put.  The second scout burst through the woodline and prepares to surge forward.

The Minnesotans hold in cover and wait for the Scouts to approach.  They ready their weapons.


Turn 4
Initiative: Martians
The two martians move closer to the 1st platoon, intent on incinerating them piecemeal.  They open fire, the first misses his target element, but the second incinerates one of them.  The last unit holds.  One of the scouts moves towards the 2nd platoon.

In return the Minnesotans jump into the action.  No reinforcements come to the battle.  The command tanks 4-pounder booms out across the field of battle, but the shot goes wide.  The last of 1st Platoon takes careful aim and fires.  Most of the shots bounce off harmlessly, but one shot takes off a point of damage.  2nd platoon misses.  They stay in cover.

Turn 5
Initiative: Martians
The first scout crosses the stream to engage 2nd Platoon.  The other one moves to finish off 1st Platoon.  The Valiant boys of 1st platoon are killed where they stand.  The other scout tries to sweep 2nd Platoon, but misses.  The first scout crosses back over the stream and takes cover in the brush.

The Minnesotans get ready to counter-attack the cautious scouts.  They can almost hear their reinforcements rumbling up behind them.  The 2nd Platoon opens fire with rifles and manages to damage the first scout again.  The command tank again misses.


Turn 6
Initiative: Martians
The scouts move boldly across the stream now.  Scout 2 opens fire on the command tank, but misses.  The second scout misses a sweep on the 2nd Platoon.   Scout 2 moves deeper into Minnesotan territory,while the first scout takes cover on the opposite side of the stream bed.


Both of the Tank platoons enter on the Minnesotan board edge.  The Type II's are crushing the soy bean fields as they approach, while the threes move across the open ground.  2nd Platoon begins to fallback towards the Orchard while the command tank presses forward.

The Tanks open fire with a thunderous boom.  Shells seem to ping harmlessly off the alien scout's  carapace.  3rd Platoon and the machine-guns open up on the probing scout, but fail to damage it.  The command tank's machine gun chatters away and blasts into the damaged Scout, damaging its Heat Ray.

Turn 7
Initiative: Minnesotans
The Tanks finally hit the Scout deep in their territory and damage its legs.  This time, the Scout martian is getting hammered by rifles and machine-guns to reduce it to 5 Armor.  The Command Tank uses his machine-guns again and damages Scout #1.

The last Martian enters the battlefield.  Scout #2, damaged and immobile uses his Heat Ray to sweep the ruins of the farmhouse.  He kills 2 Infantry elements and 1 Machine-gun unit.  The Machine-Gun squad is broken by the attack.  Scout #1 tries to fire on the Command Tank and fails to fire.  Scout #2 manages to stumble into the ruined farmhouse and completely break the machine-gun teams.


The remains of 3rd Platoon assault Scout #2 in the farmhouse.  The MkII and III's move up.  The assault fails as the tripod stands above it all.  The tanks fire on the Tripod in the Farmhouse ruins, the barrage kills the Minnesotan platoon and only scratches the Tripod.  The command tank fires his machine-guns at Scout #1 and fails to damage anyone.

Turn 8
Initiative: Minnesotans
The MKIII tanks open fire on Scout in the farmhouse.  Their shots find their mark and the alien explodes.  Too bad the explosion catches the MkIII unit and causes two of them to explode as well.  The Command tank riddles Scout #1 with machine-gun fire but fails to finish it.


The heavily damaged Scout #1 tripod retreats towards the wood line.  Meanwhile, Scout #3 moves up.  The Heat Ray of the Scout hits the Command Tank, but fails to damage it.

The MkIIs move up.  The Command Tank retreats from the approaching Scout tank, but is still in front of his troops. As he withdrawls, he fires his 4-inch gun and hits the Scout directly in the eye causing it to be destroyed.


Conclusion
With the destruction of his pod-mates, Scout #1 withdraws from the field, leaving it to the humans.  It was critical that he reported the contact to his superiors.

The Minnesotans regroup around the Command tank.  After picking over the remains of the destroyed Tripods, a few select pieces are sent by messenger back to Fort Ridgeley.  High Commands' worst fears have been realized.  The Martian menace has been confirmed in the Minnesota River Valley.  With that, word went to Fort Snelling to begin gathering additional soldiers and forces for the coming campaign.          
   
 Humans win the initial engagement in the Minnesota River Valley.