
This proved timely as a Martian scouting force lurched out of the woods at the edge of Acton, north of the Minnesota River Valley. Only a thin screen of Volunteers and hastily constructed Earthworks stood between the martians and the town.
Martian Scout Force
3 Scout Tripods
1 Assault Tripod with Green Gas Launcher
Minnesota Volunteers
1 MkIIC Command Tank
3 MarkII Baldwin Tanks
1 battery of Field Guns
1 support squad of HMGs
3 Infantry squads
2 Rough Rider squads
Earthworks are Def +3, A +2
Set-up
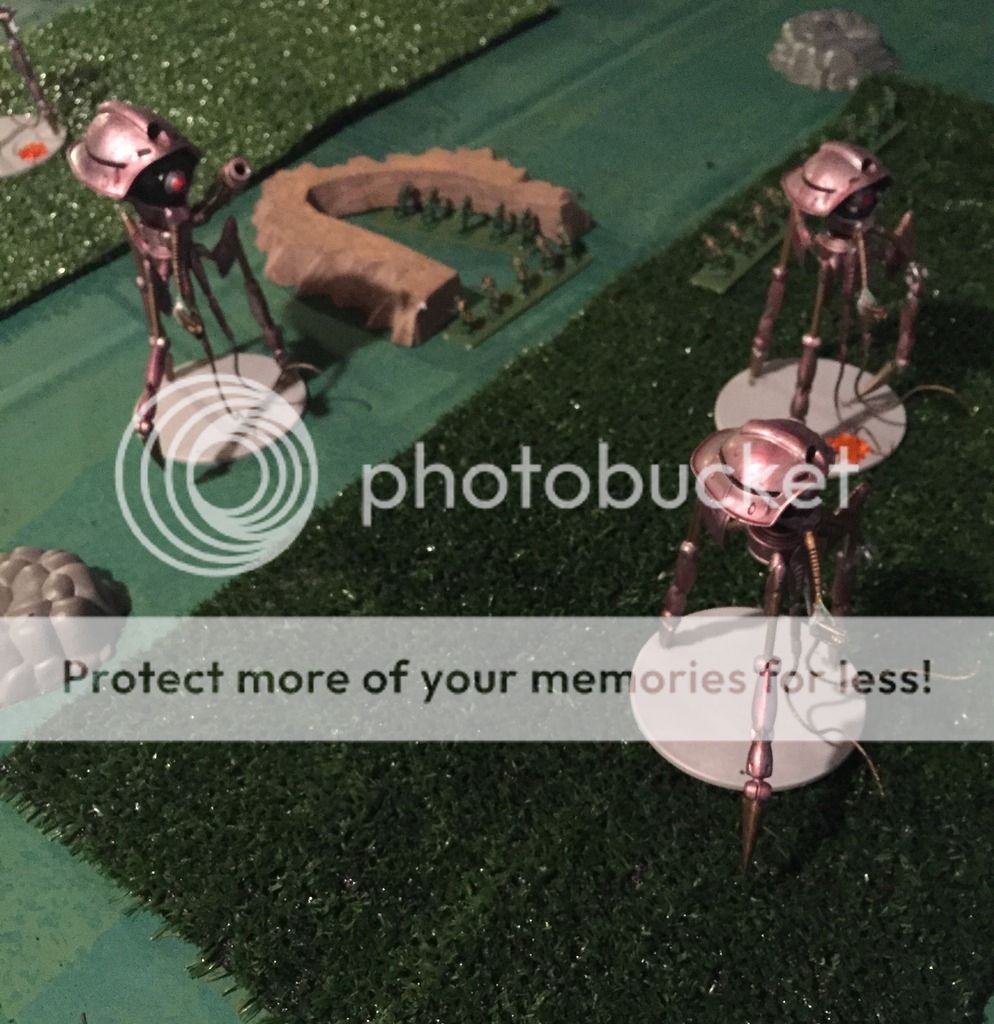
The Martians emerged near the edge of the treeline west of Oli Ulafson's soybean fields. They spread out in a towering, red line.
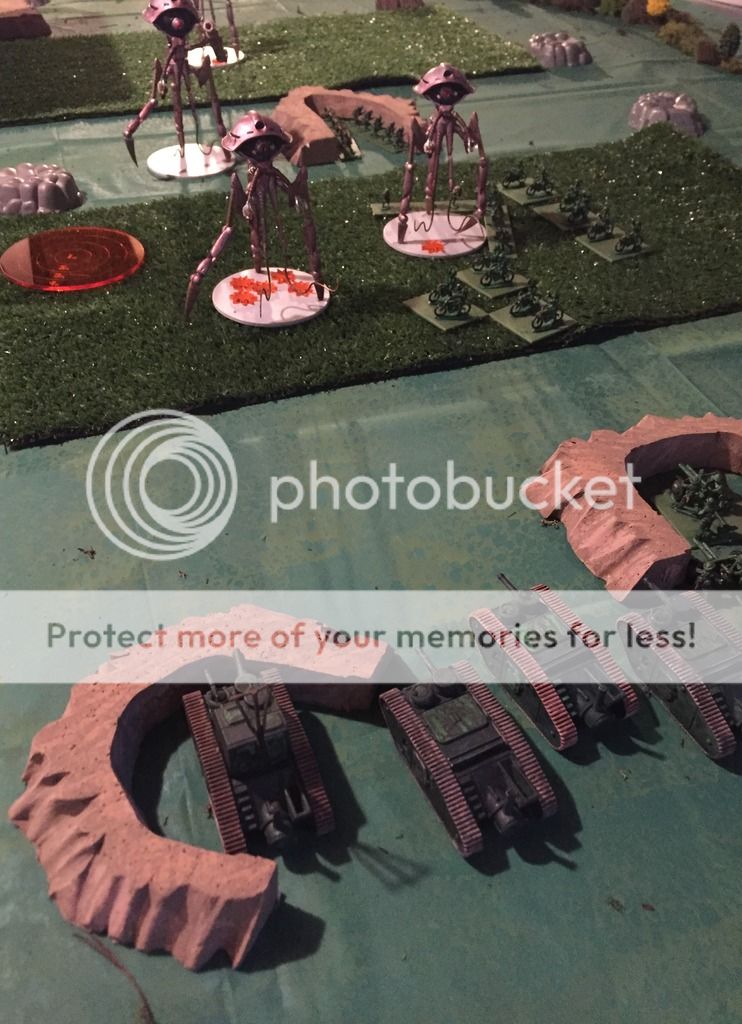
The Volunteers were deployed to defend in depth. Our front, a squad of doughboys entrenched in some earthworks, while their squad mates took position in the Soybean fields. They were backed up but a line of Earthworks with the field guns, HMGs, and MKIIC tank dug-in. Behind them was the mobile reserve of tanks. The rough riders were hiding in the forest north of the fields.
Mission
The Martians have 6 turns to try and break through to Acton or route the Minnesota Volunteers from the field. The Volunteers are trying to break the Martian forces first.
Turn 1
Martian Initiative
Martians:
The Tripods burst forth from the treeline, with the scouts forming a tripod wall in front of the Green Gas launcher.
The lead humans are just out of range, so the Tripods have to decide to move forward and weather a storm of shells, or wait? They decide to press forward conscious of their mission. They must get to the town before darkness sets in. They move forward once more.
Humans:
The Humans elect to stay in position and ready their weapons. The decision to hold position means the Volunteers in the soybean fields are out of range still. However, the lead platoon fires from their entrenchments. The sound of a volley of rifle fire breask the pre-battle silence, and it is followed by a roar of gunfire as the rest of the Americans open fire.
A lucky shot from the rifleman damages the lead Scouts legs, causing it to move erratically. A cheer goes up from the Doughboys! The Field guns also manage to damage a second scout.
The humans are content to hold their positions for now.
Turn 2
Martians win
Martians:
The martian invaders move forward at full speed. The first scout burns down two squads of 2nd Platoon with its heat ray. The remains of the platoon scatter and run, removing them as a threat. His fellow scout sweeps and kills a single squad of 3rd Platoon in the soybean field. They prepare their grenades for close assault. The Green Gas launcher takes out a squad of entrenched troopers from first platoon, but the unit holds.
The Martians ignore the humans and continue to move forward.
Humans:
With the Tripods racing towards them the human commander begins to sweat. The Rough Rider squads burst from their hiding spots and race towards the nearest Scout. The 3rd Platoon turns around and charges into the Scout Tripod. 1st platoon stays entrenched where they are. The gunline hastily reloads and fires again!
The field guns fail to find a weak spot on the approaching lead Scout. The command squad and the tanks open fire and manage to ping the armor on the lead scout twice, but it isn't nearly enough to bring it down! The machine guns add their weight of fire, and take off three more armor chits, but the scout keeps coming! The dough boys of 3rd Platoon valiantly try to tie up the second scout with an assault, but fail to hit a weak point.
The Rough Riders close in on the Scouts. Meanwhile the Baldwin tanks move to try and physically block the shortest distance to Acton behind them.
Turn 3
Martians win initiative again.
Martians:
The lead Scouts race forward and are practically on-top of the Human defenders! The final scout tries to move, but ends up stumbling backwards. The Assault tripod also moves forward, but is wary of the Rough Riders.
The Assault Tripods Heat ray sweeps and takes out a Rough Rider element and squad from 3rd Platoon. 3rd Platoon decides to run for Acton in terror.
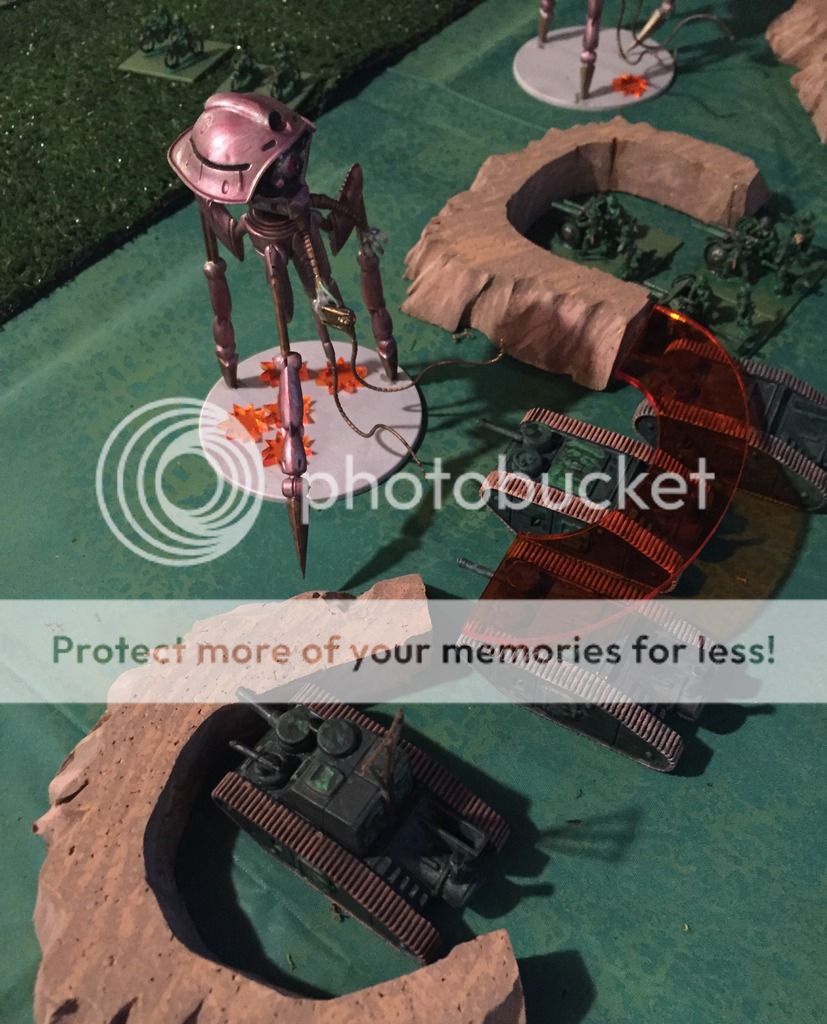
The lead scout sweeps the Baldwin tanks, but fails to damage any of them! The second tripod Heat Rays the HMGs in the earthworks and manages to kill one element, while the others rout in terror from the huge machine! The stumbling scout even manages to use its heat ray and kill a sqaud from 1st Platoon, but the units stays in its place.
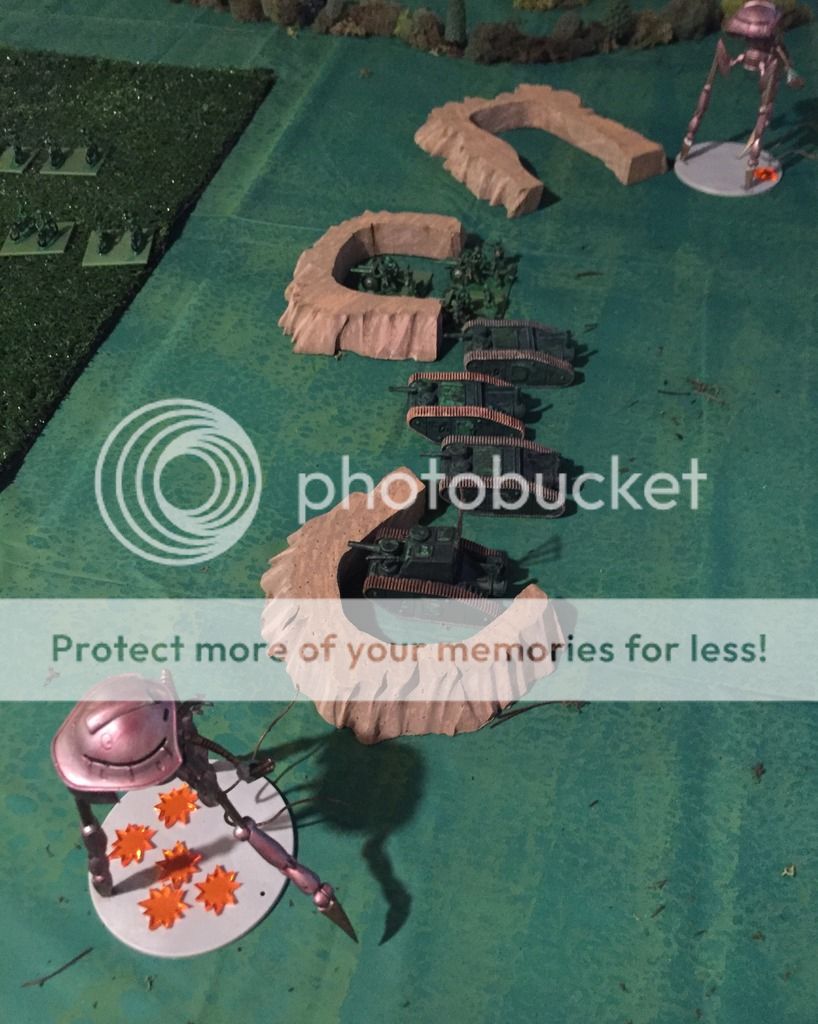
The second scout races forward and routs the fleeing HMG squads. Next turn he will plunge into the town of Acton unless stopped! The first scout tries to go around the earthworks, and the Assault Tripod moves up to support the heavily damaged scout.
Humans:
Things look grim, and only a miracle will protect the citizens of Acton! The tanks and Field Guns shuffle about to get a shot at the second Scout. Meanwhile the Rough Riders and Command Tank try to handle the first Scout.
The Rough Riders fire desperately and wildly at the first Tripod. They take off more armor and damage the Tripods Heat Ray. The Command tanks machine gun finally finds a gap int eh first scouts depleted armor, and tears into the machine mercilessly! The Tripod explodes spectacularly!

The Field Guns and Baldwin MkII tanks fire desperately at the second scout about to enter Acton, however, all of their shots either miss or ping harmlessly off the Scout's armored carapace. It looks like Acton will burn!
Seeing that the cause is lost, the Command Tank retreats into the town to flee and gives the signal to withdraw. The MkII Baldwins try to follow suit, but are still at the edge of the town.
Conclusion
With that we decide to call the game.
The Minnesota volunteers abandon their dug-outs and retreat to a pre-selected rally point. The undamaged Scout and Assault Tripod make short work of the town Acton, as the civilians flee for their lives. At Fort Ridgeley, they can see the horizon to the North glow red from the flames of the town. Meanwhile, command now needs to worry about marauding Tripods bypassing the Minnesota River Valley completely and mkaing a bead for Fort Snelling and the capital at St. Paul.
So, how did things go? Well as the Volunteers player, I completely botched using the Rough Riders in this one. Ideally they needed to tie up some of those fast moving scouts, but by the time I had them moving, it was too late. The Tripods had penetrated to deeply and too quickly. Also, the HMGs routing when they did put a huge hole in my battleline that the Scout easily walked through. I feel like the first Scout took a horrendous pounding, soaking up 9 hits before exploding! However, that was off-set by the third Tripod having its legs crippled early so things balanced out in the end. My MKII Baldwins also held up to some punishment! If I would have used my Rough Riders better, this game could have been much different.
I was not that impressed by the Green Gas Launcher on the Assault Tripod. The Area of Effect is not good enough and the Black Dust Launcher seems like a much better buy, and looks cooler too! Other than that, the speed of the Scouts did the trick this game. If my opponent only had Assaults, I would have had another turn or two to hold the Red Menace off and maybe make a difference. Oh well.
Martian Victory
No comments:
Post a Comment