Shortly after the Fourth Macedonian War, the Greek Acheaen League rose up against Rome. This war was one of defiance after Rome's high-handed treatment of the League during the 3rd and 4th Macedonina War.
The Roman's took hundred of hostages from the League and refused to return them or even entreat the ambassadors sent to secure their release. In addition, populist generals were elected to the Achaean League leadership on a platform of reforms and taxation that would be counter to Roman interests. Finally, Rome's efforts to reduce the size of the League by severing several cities and limiting the size of the League. These three issues were politically unbearable to the Acheaen League and war was decided upon.
It is unlikely that the Greeks had any hope of beating the Romans. After all, the Romans had just defeated the much larger Macedonians and the Seleucid Empire. However, it was a war of defiance. It is best known for two key battles, the Battle of Scarpheia and the Battle of Corinth. There may have also been several smaller skirmishes that were unrecorded.
The outcome was the total defeat of the Acheaen League. As punishment, Rome complete destroyed Corinth, killed all the men, and sold the women and children into slavery. All of the cities wealth was looted and sent back to Rome. The Greeks were no longer a force in the Eastern Mediterranean after this cataclysmic defeat. Today, we are going to be playing one of those unrecorded skirmishes and battles. As the Romans closed in on Corinth, Critolaus tried to break the oncoming encirclement in order to keep the war going. Today, we will play out this encounter.
You can order the Wars of the Republic rules here.
Forces:
It is an excuse to put my Lorica Hamata wearing Romans up against some of my painted Greeks for Men of Bronze. I am excited to be using two fully painted armies instead of my infamous Paper Templates like last time these two armies met on my wargame table.
Roman Triplex Acies- Praetor Matellus
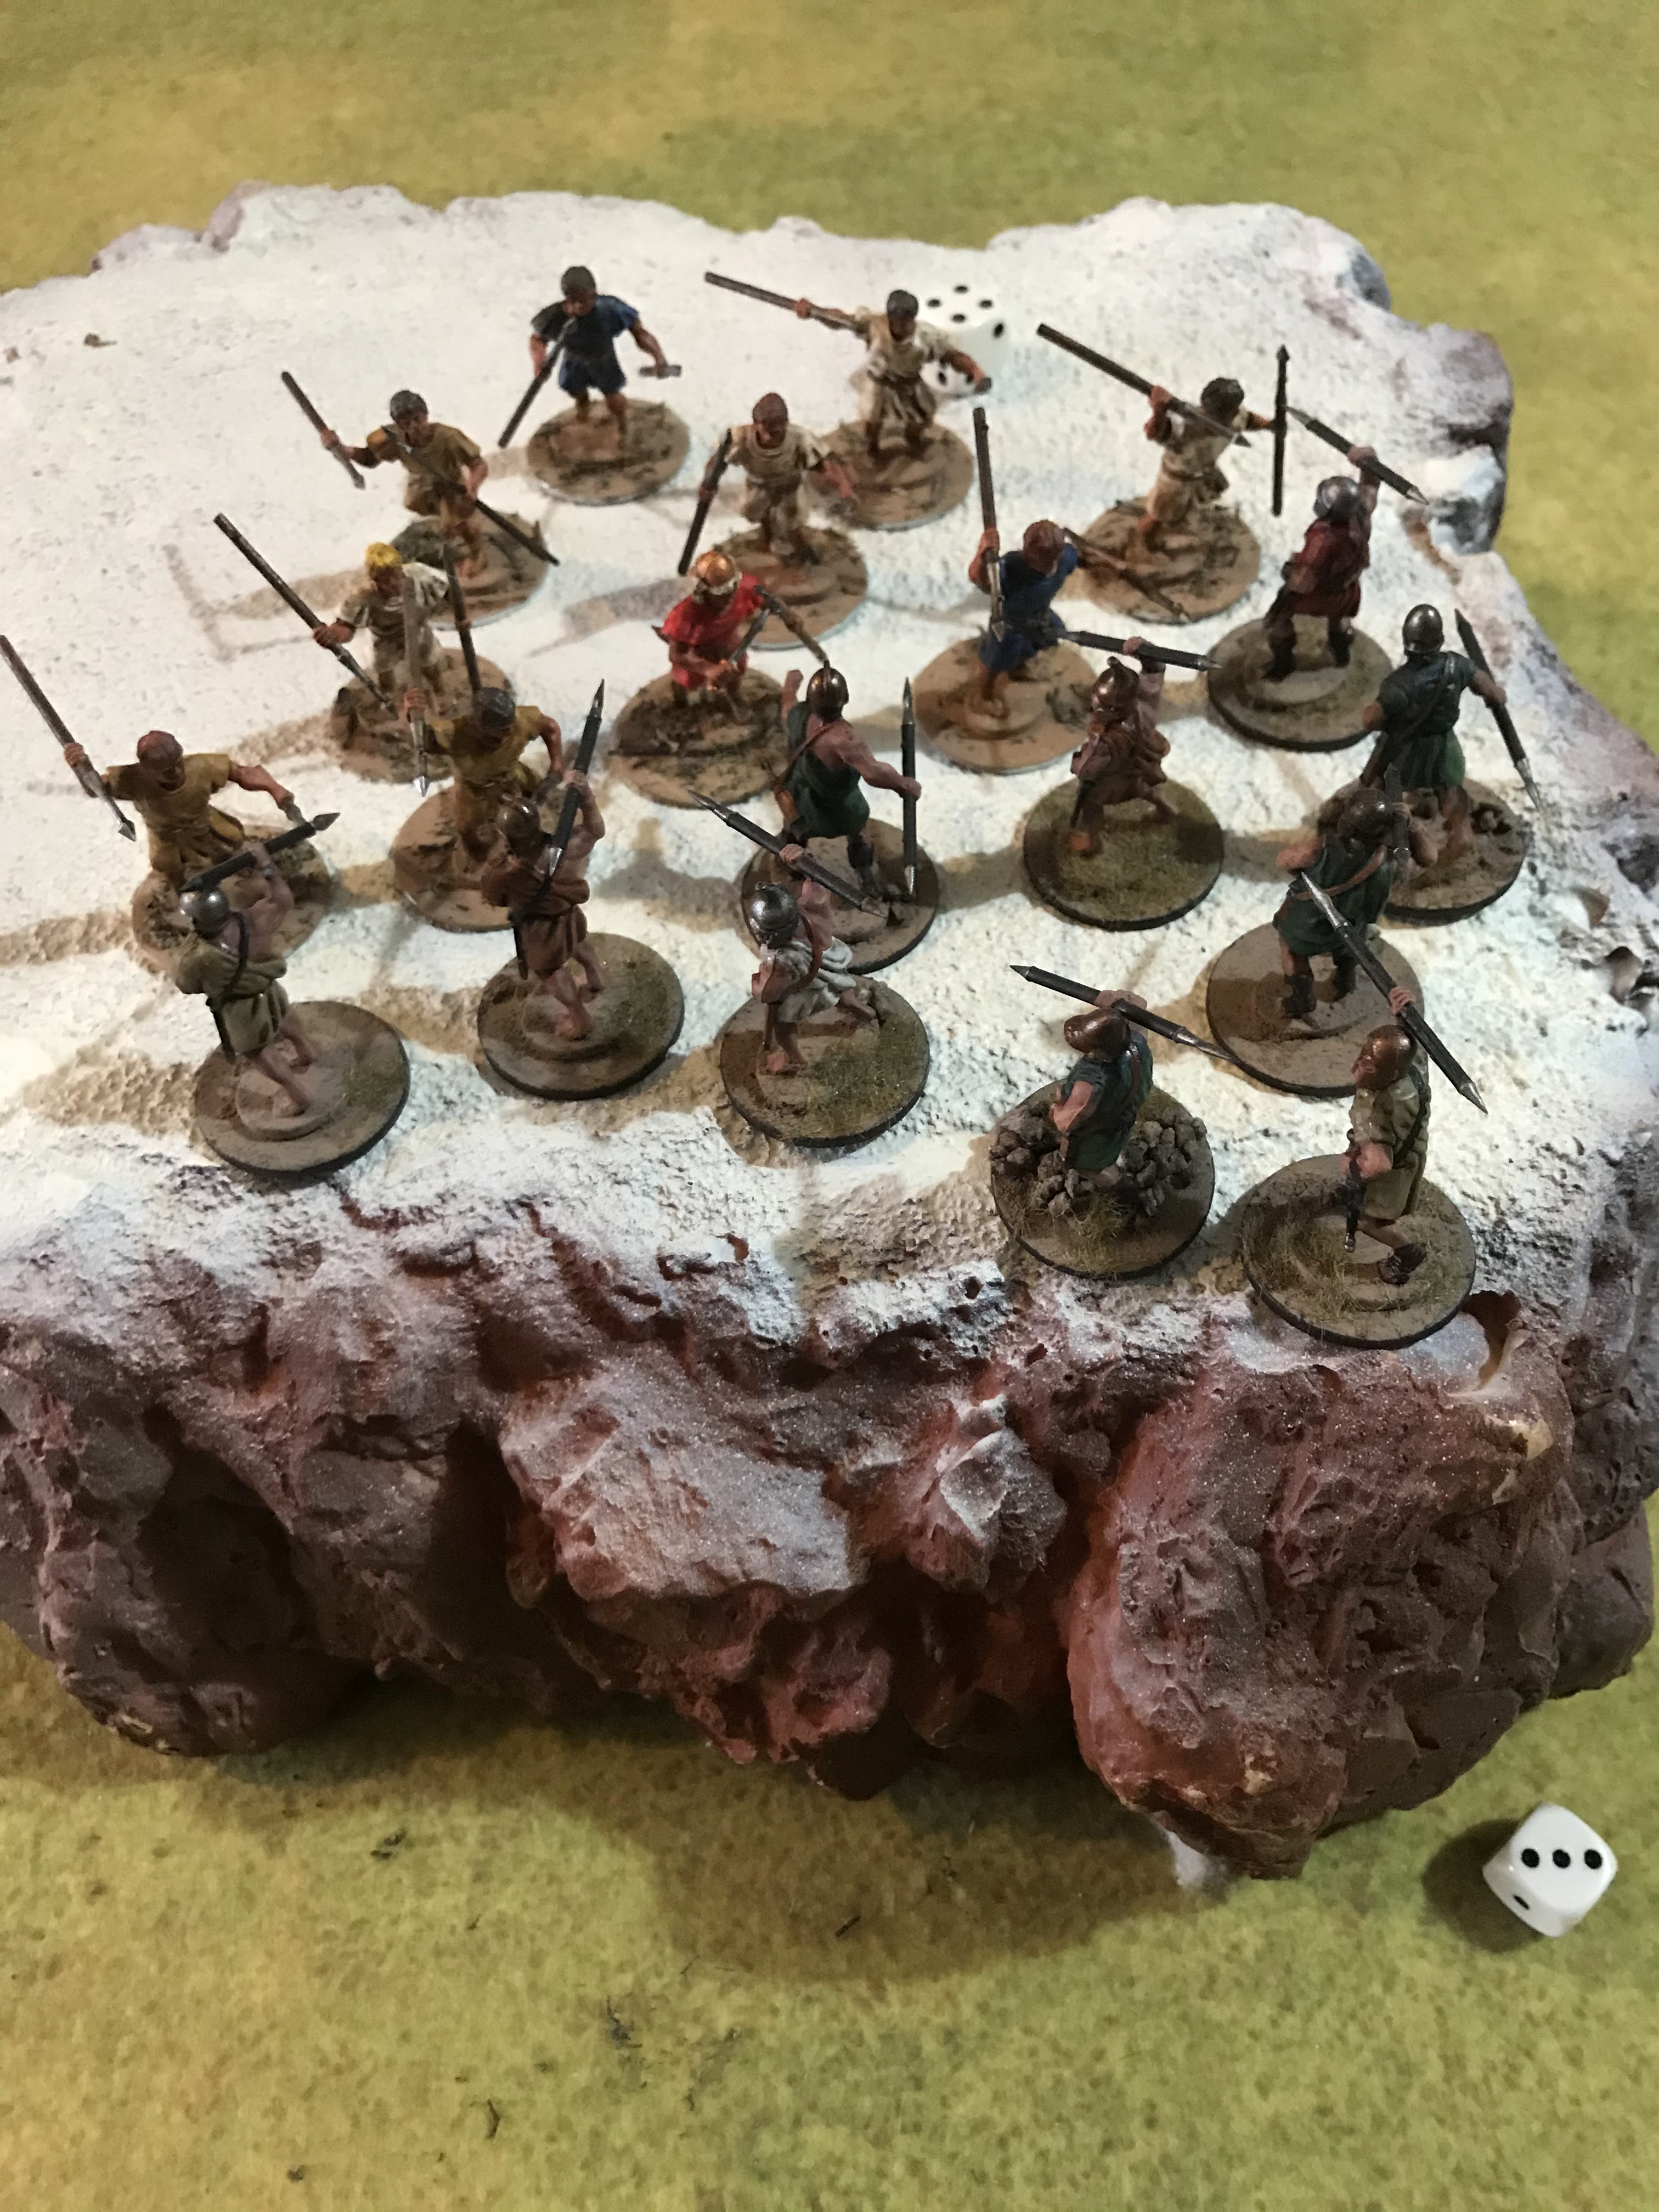
1 Skirmisher
1 Triarri
1 Principes- Praetor
2 Hastati
Rival City-States- Critolaus of Megalopolis
2 Drilled Hoplites- 1 with General
1 Militia Hoplites
1 Light Infantry- Peltasts
1 Skirmisher- Psiloi
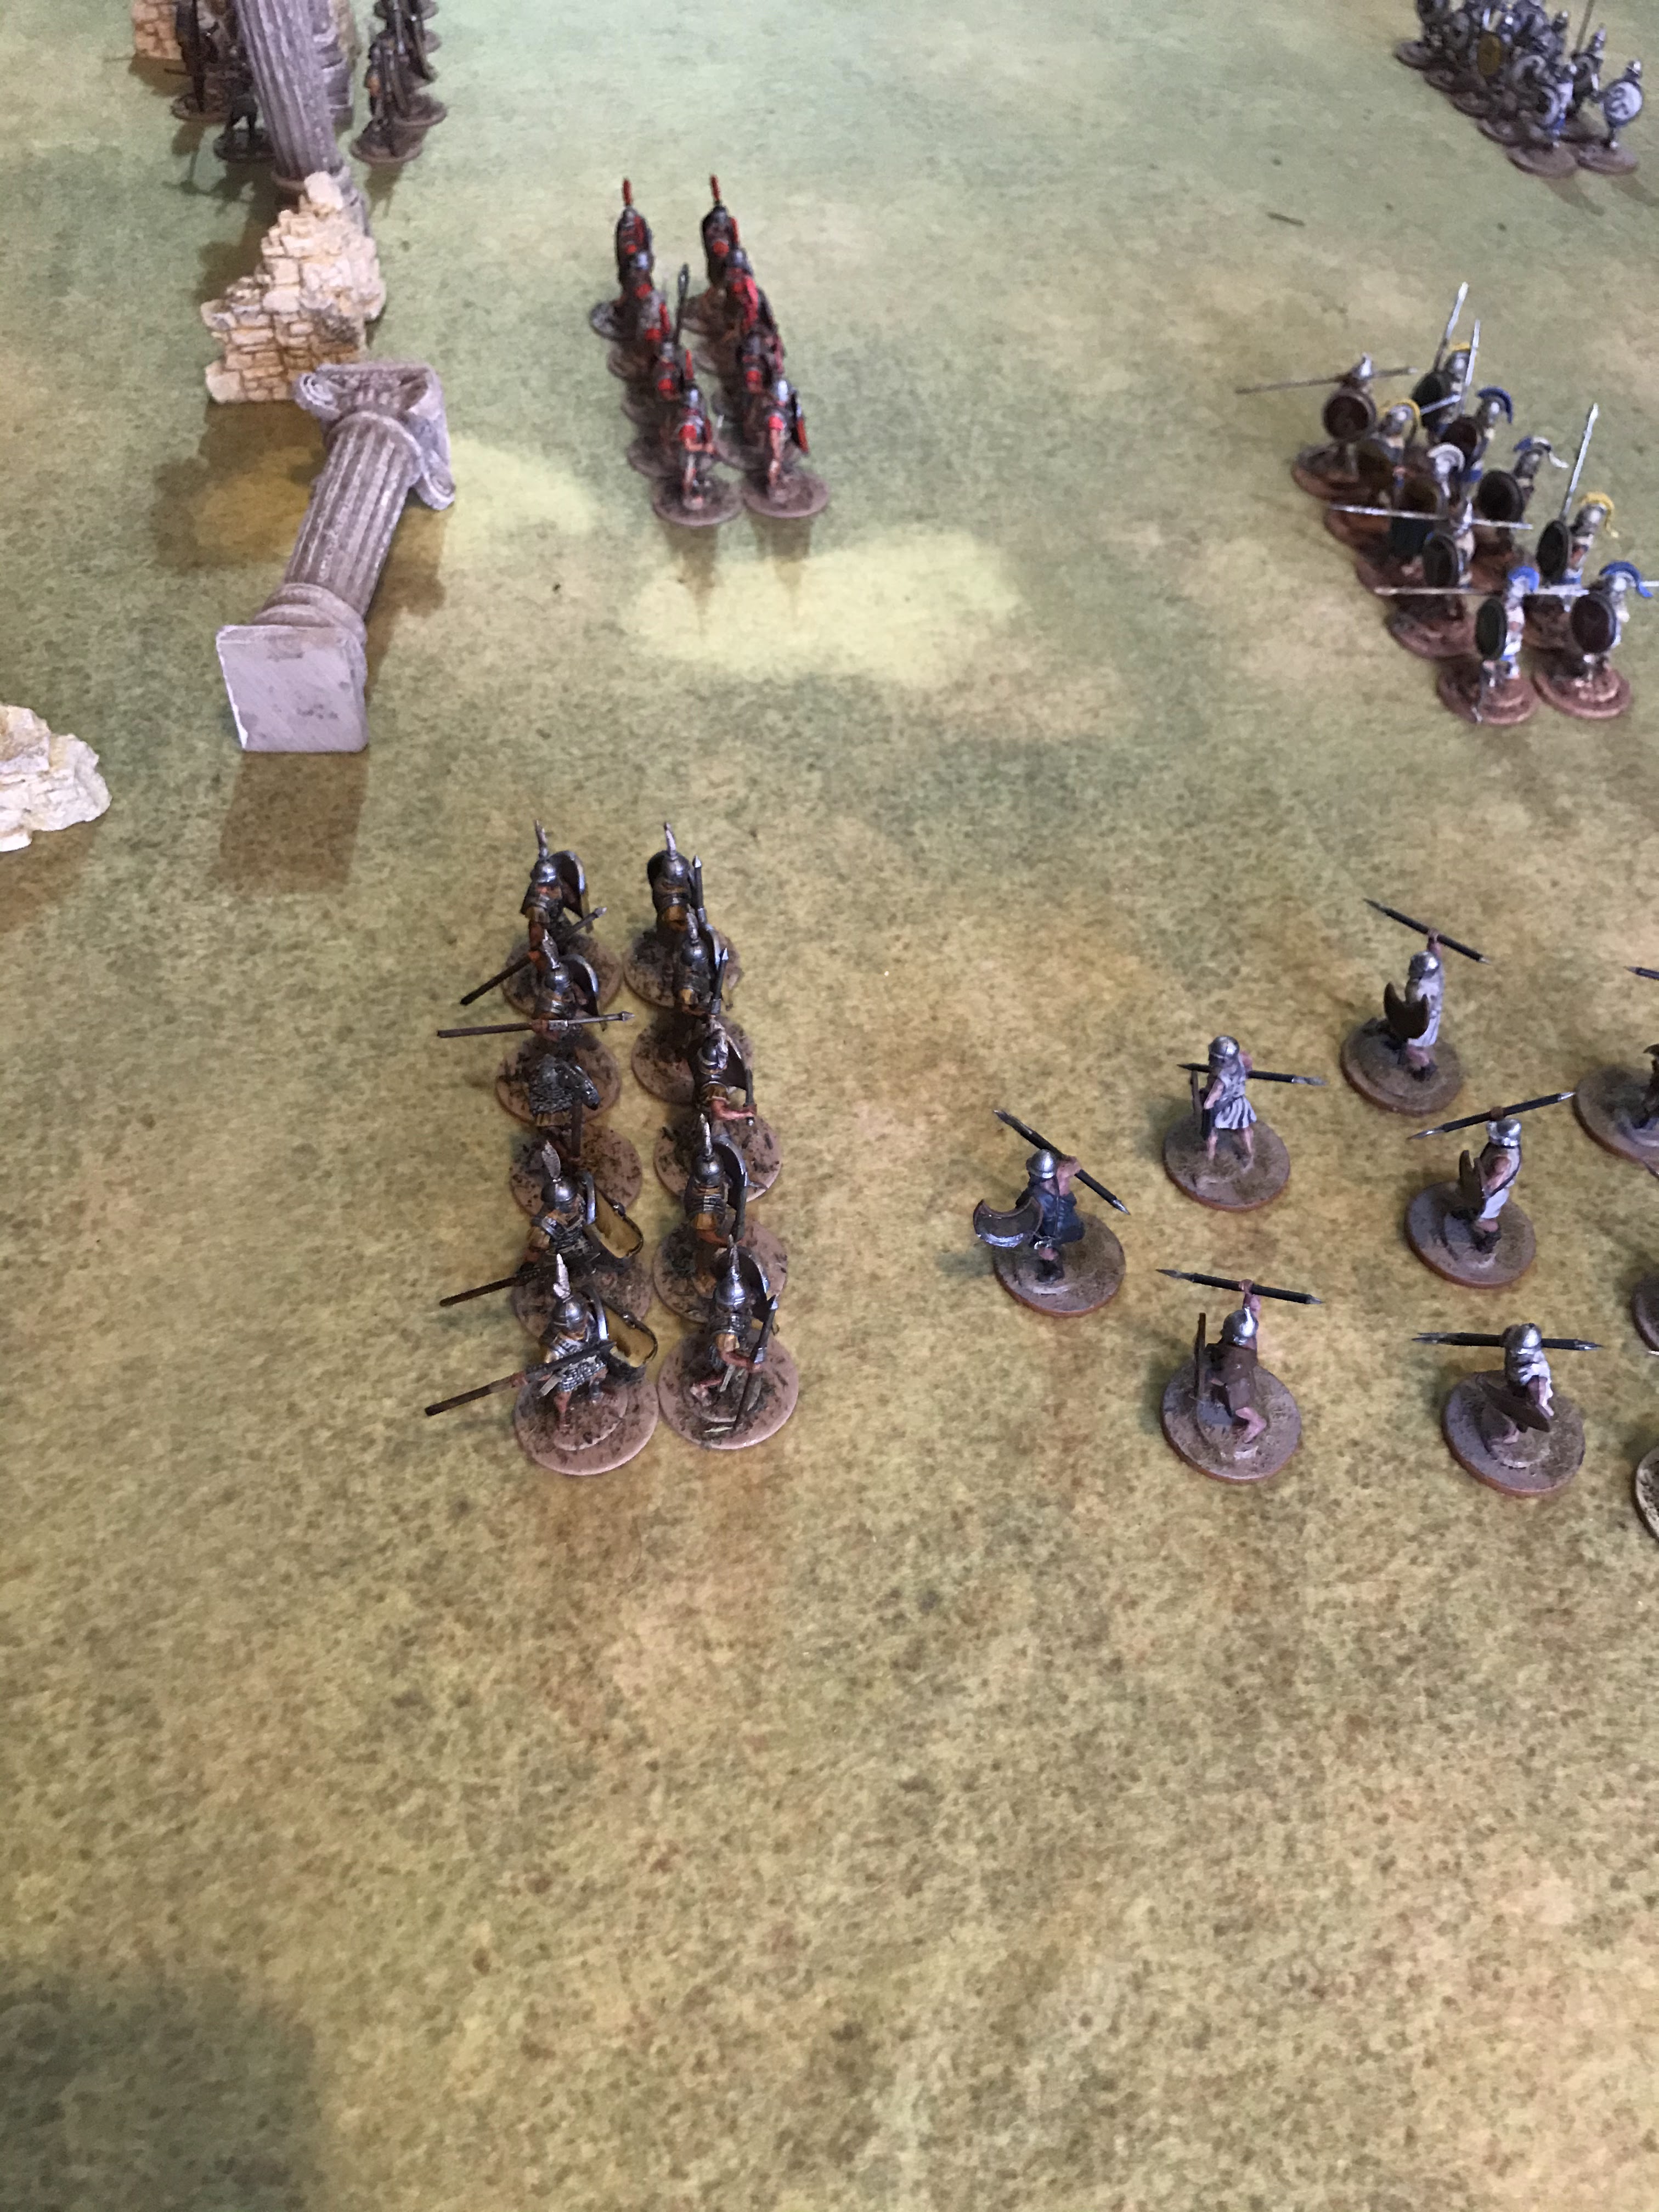
Set-upThis was completed using the rules laid out by the rules in the booklet. The board is 72 x 48 MU with an MU being 1 inch. The board was divided into 6 grid spaces and terrain rolled and placed using the chart. The Players took turns rolling and placing terrain, with the player being able to place the terrain anywhere they wished in the grid square.This system led to the following set-up.Grid 1 is the Roman right, 2 Roman center, and 3 is Roman left. Grid 4 is Greek left, 5 is Greek center, and 6 is Greek right.Grid 1- No Terrain
Grid 2- Stone Walls
Grid 3- Stone Walls
Grid 4- Hill
Grid 5- No terrain
Grid 6- No terrain
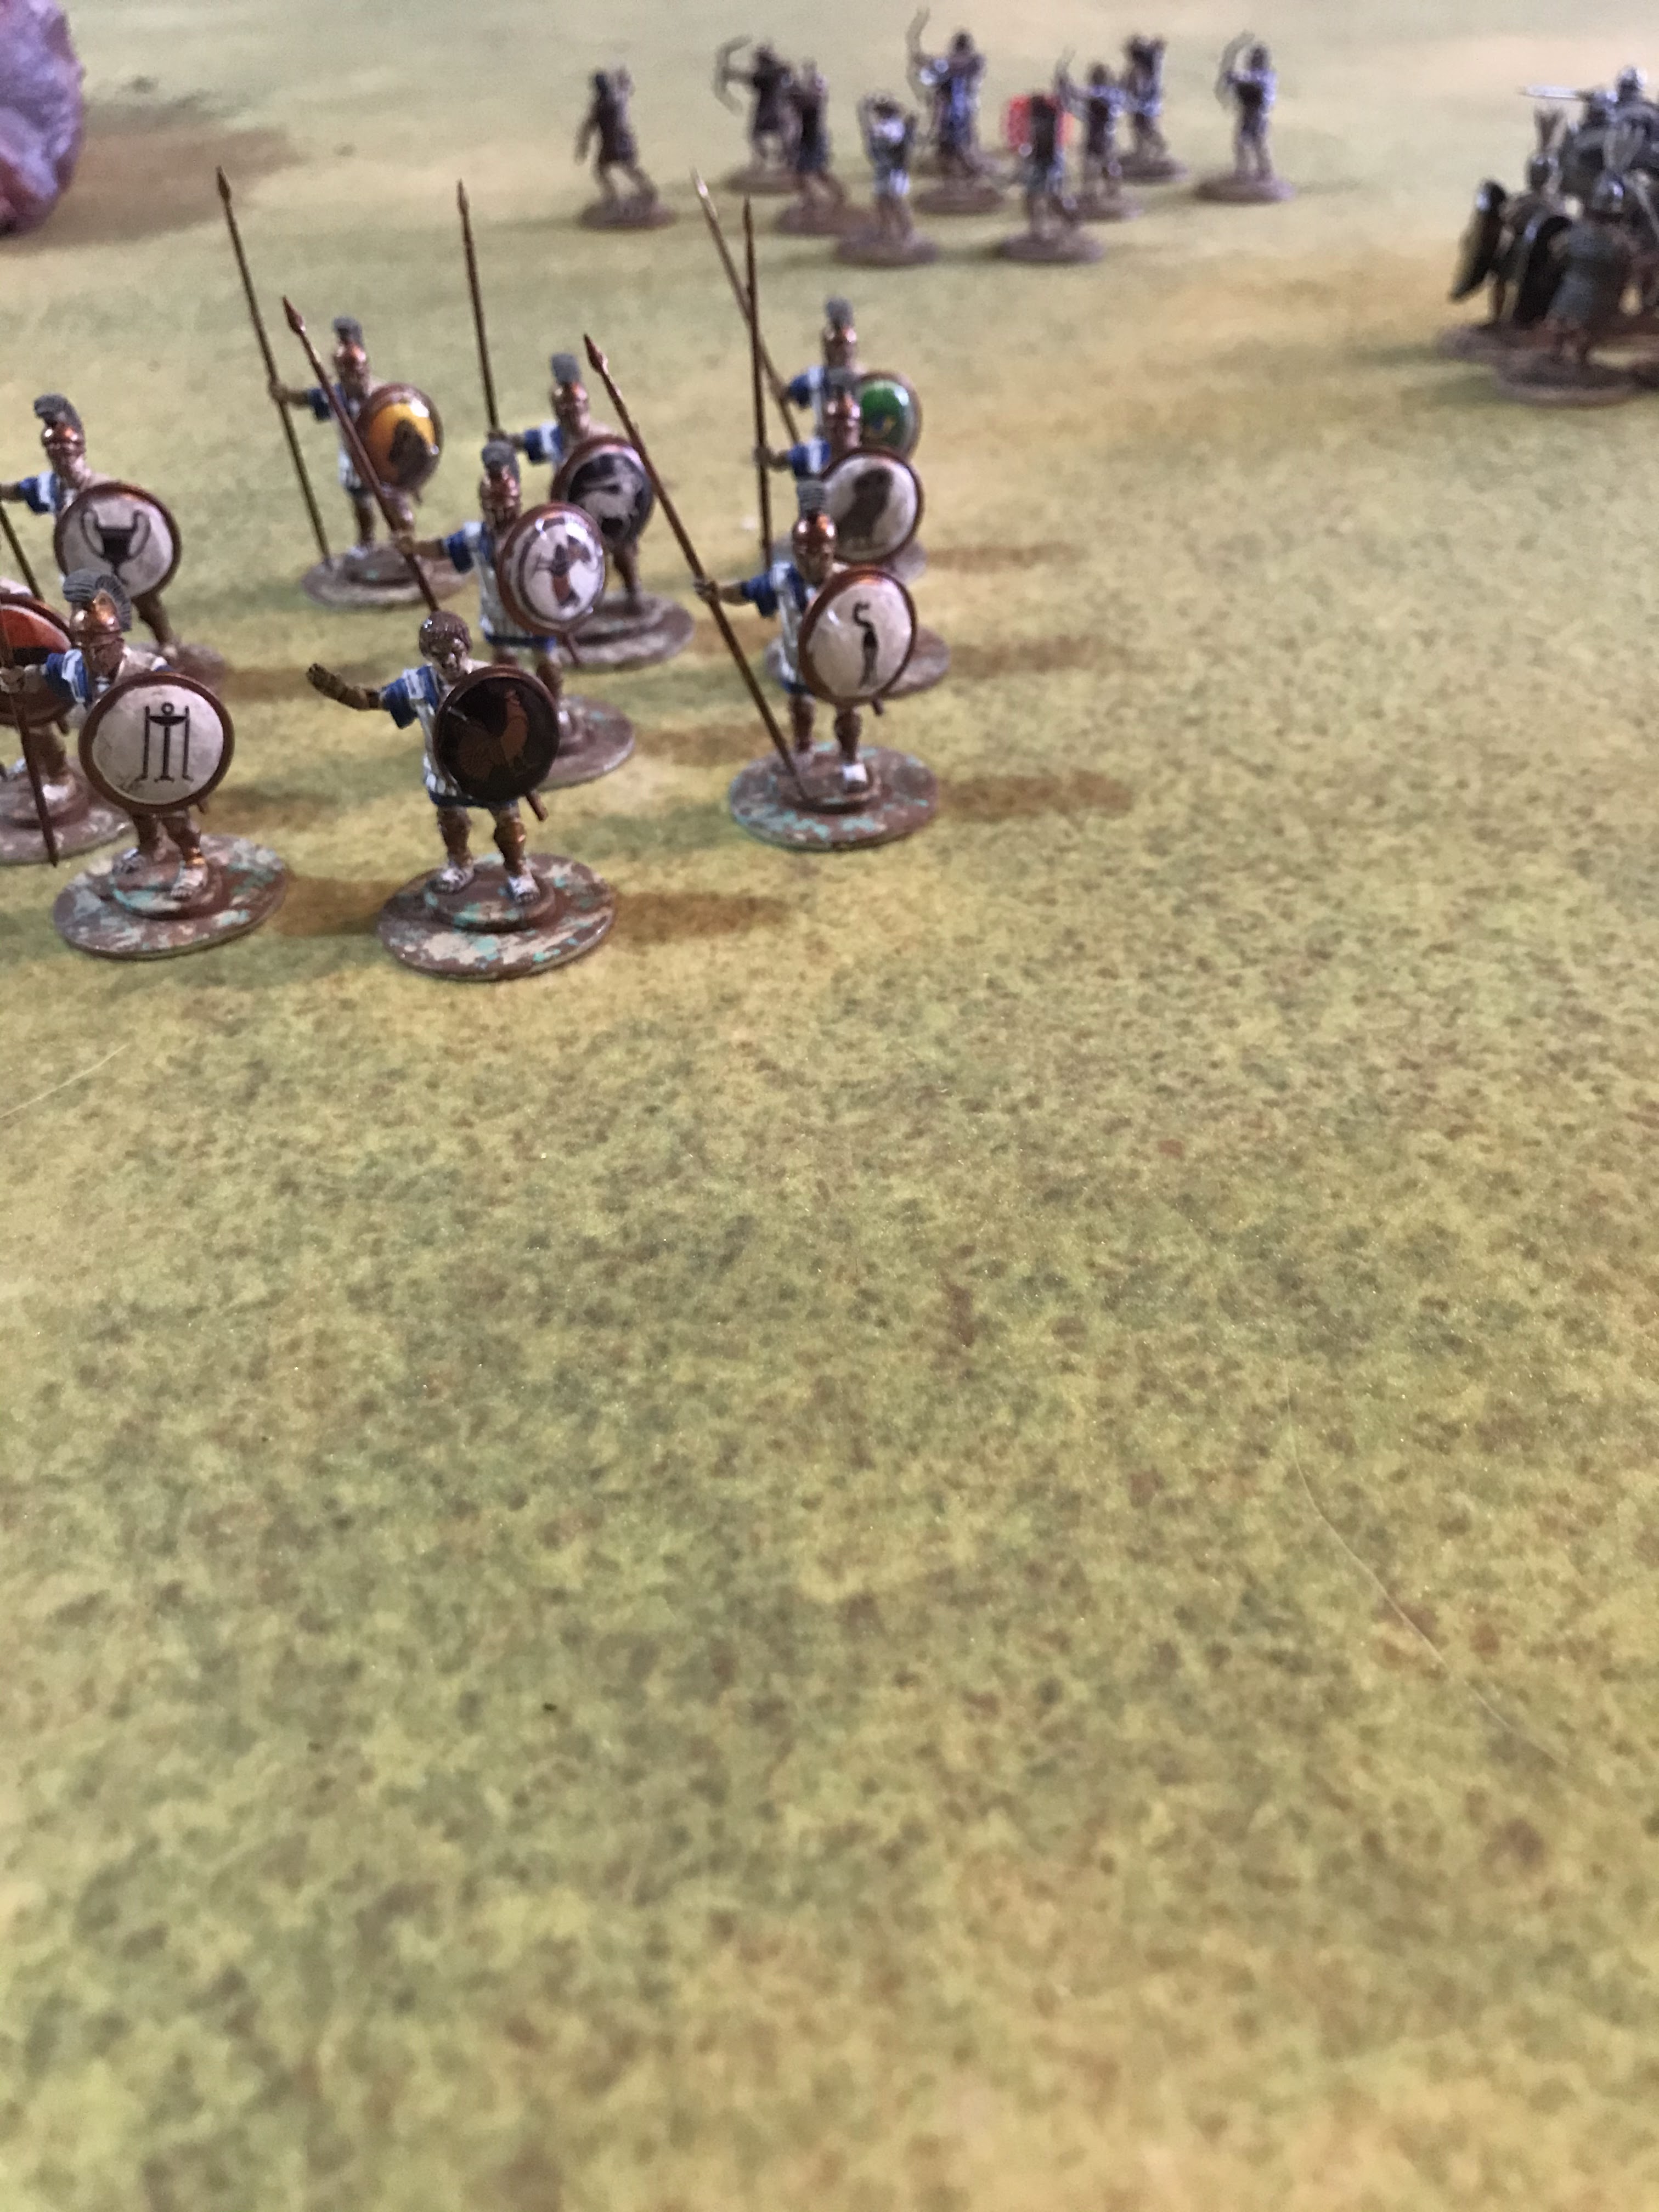
The Greeks are deployed from left to right in the following way; Peltasts, Drilled Hoplites (Critolaus), Drilled Hoplites, Militia Hoplites, Psiloi. None of the Greeks are in Phalanx.
The Romans are from their left to right; Skirmishers, Triarri, Hastati, Principe (Matellus), Hastati The Hastati are in Legion behind the walls. The Principes are also within the walls, but in loose formation.
Mission
We also randomly determined the scenario and came up with a Breakthrough scenario where the Greeks are Attackers. The Greeks are trying to exit the opposite side of the board with 10 Points of units, while the Romans are trying to stop them. The game will last 8 turns, until the Greeks get 10 points off the board, or either army Collapses.
Both armies will have the Hungry and Thirsty complications apply to them at the start of the game. The Roman Principes and the Greek Psiloi are suffering from Hungry and Thirsty Complication. (5+ Attack rolls)
Turn 1:
The Romans and Greeks collect their Commander's Gaze tokens, 7 for the Greeks and 6 for the Romans. The Romans bid 3 to the 2.
Move:
The Romans start by moving up their Hastati to "man the walls" at the edge of the ruined hamlet.
The Greeks then manage an Interrupt and take over. The Peltasts move up on the Greek left, with the Psiloi moving up on the Greek right. The Greeks take shelter behind the hill. Then, the Hoplite units move forward in loose formation.
The Greeks have all moved, so play turns back to the Romans. The Principes move up and start emerging from behind the walls to challenge the Greeks approaching. The Triarri also move forward, with their flank being covered by their own Skirmishers.
Melee:
None
End:
None
Turn 2:
Romans and Greeks collect their full Commander's Gaze as no one has lost a unit yet. The Greeks bid 3 to the Roman 2. Greeks move out first.
Not much changes in their strategy as they push forward across the board. One of the Drilled Hoplites lines up on the Principes and snaps into Phalanx formation for a Commander's Gaze point. The Militia Hoplites drift over to the hill, while the Psiloi use an Arete Point and climb to the top. The Romans do not try to interrupt and let the Greek strategy play out.
The Roman Triarri sees an chance and aggressively moves towards the Militia Hoplites and then snap into phalanx, with their flank covered by Skirmishers. The Principes move out beyond walls and also snap into Legion.
None
End:
None
Turn 3:
Much like last turn, they all collect their Commander's Gaze, and the Romans bid 2 to the Greek 3. Greeks move out first.
Move:
The Greek left flank moves forward along the edge aggressively. The Drilled Hoplite on that flank also moves diagonal in loose formation to line up on the Hastati behind the wall and snap into Phalanx formation. The Psiloi on the hill use a Gaze and skirmish across the top of the hill to prepare to rain down Javelins.
The Romans The successfully interrupt. They use the maneuverability of the Legion to move the right flank Hastati over the wall and then back into Legion. The left side Hastati also shuffle sideways to the center of the ruins. The Principes shuffle sideways to line up with the Drilled Hoplites in formation.
The Triarri moves forward towards the Militia Hoplites, with the Skirmishers covering them on the flank still. They skirmishers us a Commander's Gaze point to throw Javelins at the Greeks on the hill, but even with re-rolls fail to cause any Courage loss. The cover of the hillside was useful.
The Greeks let the Romans do all their movement before taking over. The Militia Hoplites see the danger of the approaching Triarri, and snap into Phalanx of their own. The Drilled Hoplite in the center of the board squares off with the Prinicpes and also snaps into Phalanx formation.
Melee:
None
End:
None
Turn 4:
Both sides collect their Commander's Gaze tokens and consider their bids. Both sides bid 3, and neither wishes to up their bid. A roll-off comes up with the Romans going first.
Move:
The Hastati on the right moves sideways to block the approaching Light Infantry from getting off the board. The Principes also slide that direction to square off with a Drilled Hoplite unit cleanly. The last Hastati unit moves up to the walls in the wreckage.
The Roman Skirmishers charge up the hill towards the Psiloi. The Greeks choose to Evade. However, it is just not enough despite a good Evade roll. The Skirmishers manage to catch the Greeks.
The Triarri also choose to charge the Militia Hoplites. If they are broken, it leaves the Greeks flanks open. However, their charge comes up short! This leaves the Triarri out of formation and wavering in front of the enemy!
With all actions taken, the Greeks take over. The Militia Hoplites can not miss the opportunity and charge into the Roman Triarri. In addition, the Drilled Hoplites next door break into loose formation and charge into the Triarri flank as a support unit.
On the Left Flank, the Light Infantry is blocked by the Hastati, but they close and throw Javelins to no avail. The last Drilled Hoplite unit moves closer to the Principes, but does not charge. The Greeks are out of Commander's Gaze tokens.
Melee:
The Roman's start with the Triarri combat. The Romans are rocked by the ferocity of the Greek attack and reduced 3 Courage, and then fail a Discipline check and lose 1 more. They are wavering at 1 Courage and pushed back 1 MU.
The Roman Skirmishers also reduce the Psiloi 1 Courage and lose 0 in return due to the Greeks being Thirsty and Hungry. The Psiloi do not waver, but are pushed back 3 MU to the edge of the hill top.
End:
None
Turn 4:
Both sides collect their Commander's Gaze. No side has lost a unit.... yet. Therefore, both sides need to consider their bids for Initiative. At this point, my opponent noticed that I did not deploy my Archer unit! Woops. They graciously allowed me to treat them as being impacted by the Delayed Deployment complication from the rule book. There is no way they will make it across the board, but they still might do.... something? Anyway, the Romans bid 4, to the Greek 2 so They get to go first!
Move:
The Roman Principes charge into the Drilled Hoplites while the Greeks use Commander's gaze to Counter-Charge! The Greeks then try to steal the initiative from the Romans, but fail on the roll-off.
The Romans use their last Commander's Gaze for the Hastati on the right to charge into the Greek Peltasts/Light Infantry in front of them. Those guys are not going to be getting off the board unless they get some help from somebody.
The Hastati on the left struggle over the wall, and end up free of terrain. They are still in Open Order though.
With no other movement, the Romans cede the turn to the Greeks. The Archers make their reserve roll and come onto the board..... finally. There is no other movement.
Melee:
The Romans decide to start with the melee on the Roman Right between Hastati and Peltasts. A battle the Peltasts can not win! The Romans cause the Greeks to Waver and push them back 1 MU, reducing them to 2 Courage left.
Next, we go to the Hungry and Thirsty Principes vs the Drilled Hoplites. The Principes Pila barrage hampers the Hoplites defenses. However, both sides lose 1 Courage as the Hungry and Thirsty hampered the Principes attack!
The Triarri fight desperately for their life in the center. They fail to injure the Militia Hoplites and are shattered by the combined Militia and Drilled Hoplites. That leaves a big hole in the Roman lines. Can the Greeks exploit it?
The skirmisher battle on the hill is indecisive.
End:
The Roman Triari rout! Freeing up the Drilled and Militia Hoplites. The Roman Hastati watch them flee, but their courage holds and they get ready to fill the gap.
Turn 5:
With the loss of the Triarri, the Romans are down to 5 Commander's Gaze. The Greeks still have 7. The Greeks bid 2, to the Roman 0. Greeks go first.
Move:
The Drilled hoplites scramble back to face the Hastati and snap into Phalanx. The Militia Hoplites make a bee line for the board edge in their formation, but they may not make it in time, while the Archers follow them. The Greeks have no more moves, so cede it back to the Romans.
The Hastati on the left form back up into a Legion and start shifting to the left to try and block the exits.
Melee:
The Greeks decide to start on the Hill, with the Skirmisher fight. Despite being Hungry and Thirsty the Greeks give as good as they get. Both sides lose 1 Courage and start to Waver.
Next the Greeks go to the far left side of the line. Here, the Hastati blow through the Greek Peltasts and scatter them. The Greeks are pushed back 1 MU, and then turn to flee.
Finally, In the Principe vs Drilled Hoplite fight, re-rolls come fast and furious. However, the Hoplites have the advantage to the Hungry and Thirsty Principes. They manage to reduce them 1 more Courage! However, Matellus sees the Hastati best their foe, and tells his men to hold on just a bit longer. Help is on the way!
End:
The Greek light infantry hoofs back to Corinth. The Archers and Drilled Hoplites in the center see them flee, and they begin to waver!
Neither side needs a collapse test yet.
Turn 6:
Both sides have lost 1 Commander's Gaze due to casualties. Romans bid 0, to the Greek bid of 2. Greeks go first again.
Move:
The Greeks start by rallying, re-directing and re-forming their Drilled Hoplites in the center. This puts the Hastati on the Roman left in a bit of a pickle. They have to choose who they want to try to stop getting off the board. The Romans respond by using a Gaze and stealing the initiative!
They decide to Charge the Drilled Hoplites, who promptly counter-charge!
On the Roman right, the Hastati there also break formation and then charge into the flank of the Greek Hoplite and Principe battle. Ouch! The Romans have no further movement, so the Greeks take over again.
The Archers stay wavering, but pass a Discipline check to move. They head for the gap in the Roman line. The militia Hoplites lead the way forward.
Melee:
The Romans have the Initiative, and choose to start with the Principe Battle. It is a swirling battle, and the Hoplites lose 1 Courage and start Wavering. However, the Principes also lose 1 Courage and are reduced to 1 Courage! The Romans step back 1 MU. The 5+ "To hits" from the complication is really impacting the Romans today!
With no Commander's Gaze left for re-rolls, the next battle is on the hill. Stalemate.
In the Hastati and Drilled Hoplite battle, both sides roll poorly and their is another stalemate.
End:
None
Turn 7:
The Romans have 5 to the Greek 6 Commander's gaze tokens. Neither side bids for initiative, instead saving their Gaze for re-rolls. Greeks win the roll-off
Move:
The archers pass a Discipline Check and make for the bboard edge. The Militia Hoplites also break formation and run for the back line and safety.
Melee:
The Greeks start with the Principes fight. They smell blood in the water as a victory there will force a Collapse test for the Romans. Both sides put everything they have into this fight! The Hoplites lose 1 Courage. They were wavering and lose formation, so they can not quite get the hits they need, despite using several re-rolls! The Greeks are pushed back 2 MU this time! Have the tables turned?
The Hoplites in the Greek middle hit the Hastati with an unexpected intensity that drives the Romans back 1 MU, and they start to waver!
The Skirmisher battle on the hill continues to be indecisive.
End:
None
Turn 8:
Both sides are in this to win this! The Romans have 5 to the Greek 6 in Commander's Gaze. The Greeks bid 1 to 0 to go first. They win the initiative.
Move:
The Militia Hoplites runs to safety, but they are 3 MU short of the board edge! With that, it is clear that the Greeks need to force the Romans to Collapse if they wish to win. Can the Romans hold out?
The Archers use a Gaze to Rally, and then charge into the Melee with the wavering Hastati. Burning those Gaze for this instead of re-rolls may cost the Greeks later. We will see.
Melee:
To heighten the suspense, the Greeks choose to start melee with the Skirmishers on the hill. Stalemate still. Being in difficult terrain has made that battle indecisive.
The Greeks then go to the Principe battle. This looks like the decisive point of the battle. There is a flurry of re-rolls, and once the dust settles and the combat is cleared, both sides are left routing from the field.... along with their commanders!
The Hastati in the center are wavering and buffeted by the desperate Hoplites and their allies. The Romans lose 1 courage, but barely hold on. They get pushed back 2 MU and have 1 Courage left.
End:
Both sides need to take a Collapse test as their Commanders have been routed from the field. For the Greeks, the Skirmishers on the Hill that are Hungry and Thirsty stay in the fight, as does the Drilled Hoplites in the center of the Greek line. The Archers and Militia Hoplites collapse and flee the battle.
The Romans make their tests. Their skirmishers decide to call it a day, and break. The last Hastati unit hangs-on, valiantly holding off the Greeks for a Roman win!
Conlusion
The Romans manage to beat back the Greek attempt to break out from Corinth. Instead, the Roman's keep closing the net and closing in on the Achaean League's stronghold. This looks like the end is near for the Achaean League.
Well, that was a battle to the last dice rolls. That is the way it should be.
Forgetting my archers may or may not have been a big deal in the end result. Who knows? That is one of the disadvantages of doing these games in stages. I write up the general idea, scenario, and forces a few weeks or days before I actually get to play them! Sometimes, things get lost in the transition from game set-up to board... in this case an entire unit! Woops.
Once the battle got underway, I started to ask myself why I took such slow units? I really needed some Cavalry to scoot across the board and escape! I ultimately had to get 10 points off, so that is probably 2 units at least. Once I smashed through the Triarri, I thought I had a chance to do it. Ultimately though, my break through units were too slow! Who would have thought that Hoplites were not the best unit to "break out" with! That missed Triarri charge almost cost the Romans the game.... almost.
The added mobility of the Roman units in the horizontal was very important in this game. Their ability to stay in formation and scoot sideways allowed them to fill holes and cover gaps as they appeared. The improved mobility of the Maniple over the Phalanx helped the Romans get where they needed to be, before they needed to be there.
The complications played a big part in the battle today. I am convinced the only reason the Principes lost was because they were suffering from "Hungry and Thirsty". They were having a tough time scoring 5+ on the attack. Even with some help, they were struggling and made this game closer than it should have been.
One thing that will "trouble" some gamers out there is that some units alone simply can not hurt a Roman unit in Legion. They can not score 4 hits to cause 1 Courage loss. In this game, once the Hastati came to grips with the Greek Peltasts/Light Infantry there was no way the Greeks could win that fight. As the designer, I am completely okay with this! The trick is to use combinations of units to support in the attack in order to get the dice you need. Plus, sometimes tying up a unit is just as important as being able to kill them. In this game, if the Light Infantry had lasted 1 turn longer, it would have changed the outcome in the Principe fight completely and probably led to a Greek victory. It is not always about damage output to be effective.
The Roman Skirmishers did their jobs admirably and tied up my fastest unit for the entire game. I should have helped them out to free them up, BUT even if they got off the board that would only have been 2 points out of 10.
Ultimately, I lost a tough battle it the final battle. There were lots of "What if" moments and key decisions that led to the eventual defeat. These decisions were both strategic and tactical in nature. It gave me a lot to think about how to approach a Break Through scenario like this in the future. Overall, fun was had by all and that is the most important thing!
Become a Patron and get access to all the cool stuff, a peak behind the curtain of Blood and Spectacles, and early-access to playtest games!
Check out the latest publications and contact me at our
Blood and Spectacles website


Great battle report! Thanks for sharing.
ReplyDeleteI think that breakthrough scenarios rarely translate well into the typical, "equivalent forces," setup of most wargames. The attacker is put into the position of, "Do I play the scenario or do I rout my opponent?" Too often, the latter ends up being the right answer.