

The Corinthian War was a conflict between the city-states of Sparta and a coalition of rival states that lasted from 395BC to 387 BC. The alliance included Thebes, Athens, Argos and Corinth. The alliance was displeased with Sparta’s aggressive expansionism in Ionian, and Greece. The majority of the conflict on land revolved around major battles near Thebes and Corinth.
The Battle below is between Sparta and the Corinthian allies. Many of the battles were recorded by Greek historians, but todays has been lost to the shrouded mists of time. This was a battle that took place after the Battle of Nemea in 394 BCE. The Spartans won at Nemea and began to march towards Corinth to try and enter Boetia. However, Argive Hoplites managed to link up with Corinthian survivors of Nemea to try and block them prior to meeting at the Isthmus of Corinth.
The Forces
Corinthians
2 Drilled Hoplites
1 Militia Hoplite
1 Psiloi
1 Archers
1 Peltast
-Total 38 Points

Spartans
2 Elite Hoplites
1 Drilled Hoplites
2 Psiloi
-Total 38 Points

These two lists are the lists straight from the Men of Bronze sample army lists. In addition, this battle will be a re-match from the first shared Men of Bronze battle report using the same armies. The major difference this time is that they are all painted miniatures!
Set-up
We use the terrain set-up rules straight from the rulebook. We are using a 72BW x 48BW where each BW is equal to 1 inch. Therefore I will be using a 6 x 4 foot board.
We divided the board into 6 segments and rolled for terrain. We got the following, and placed them on the board per the rules. 1-3 is the North side where the Corinthians will be. 4-6 is the South side where the Spartans are.
1. Swamp
2. No terrain
3. Grove of Trees
4. No terrain
5. 2 Level Hill
6. No terrain
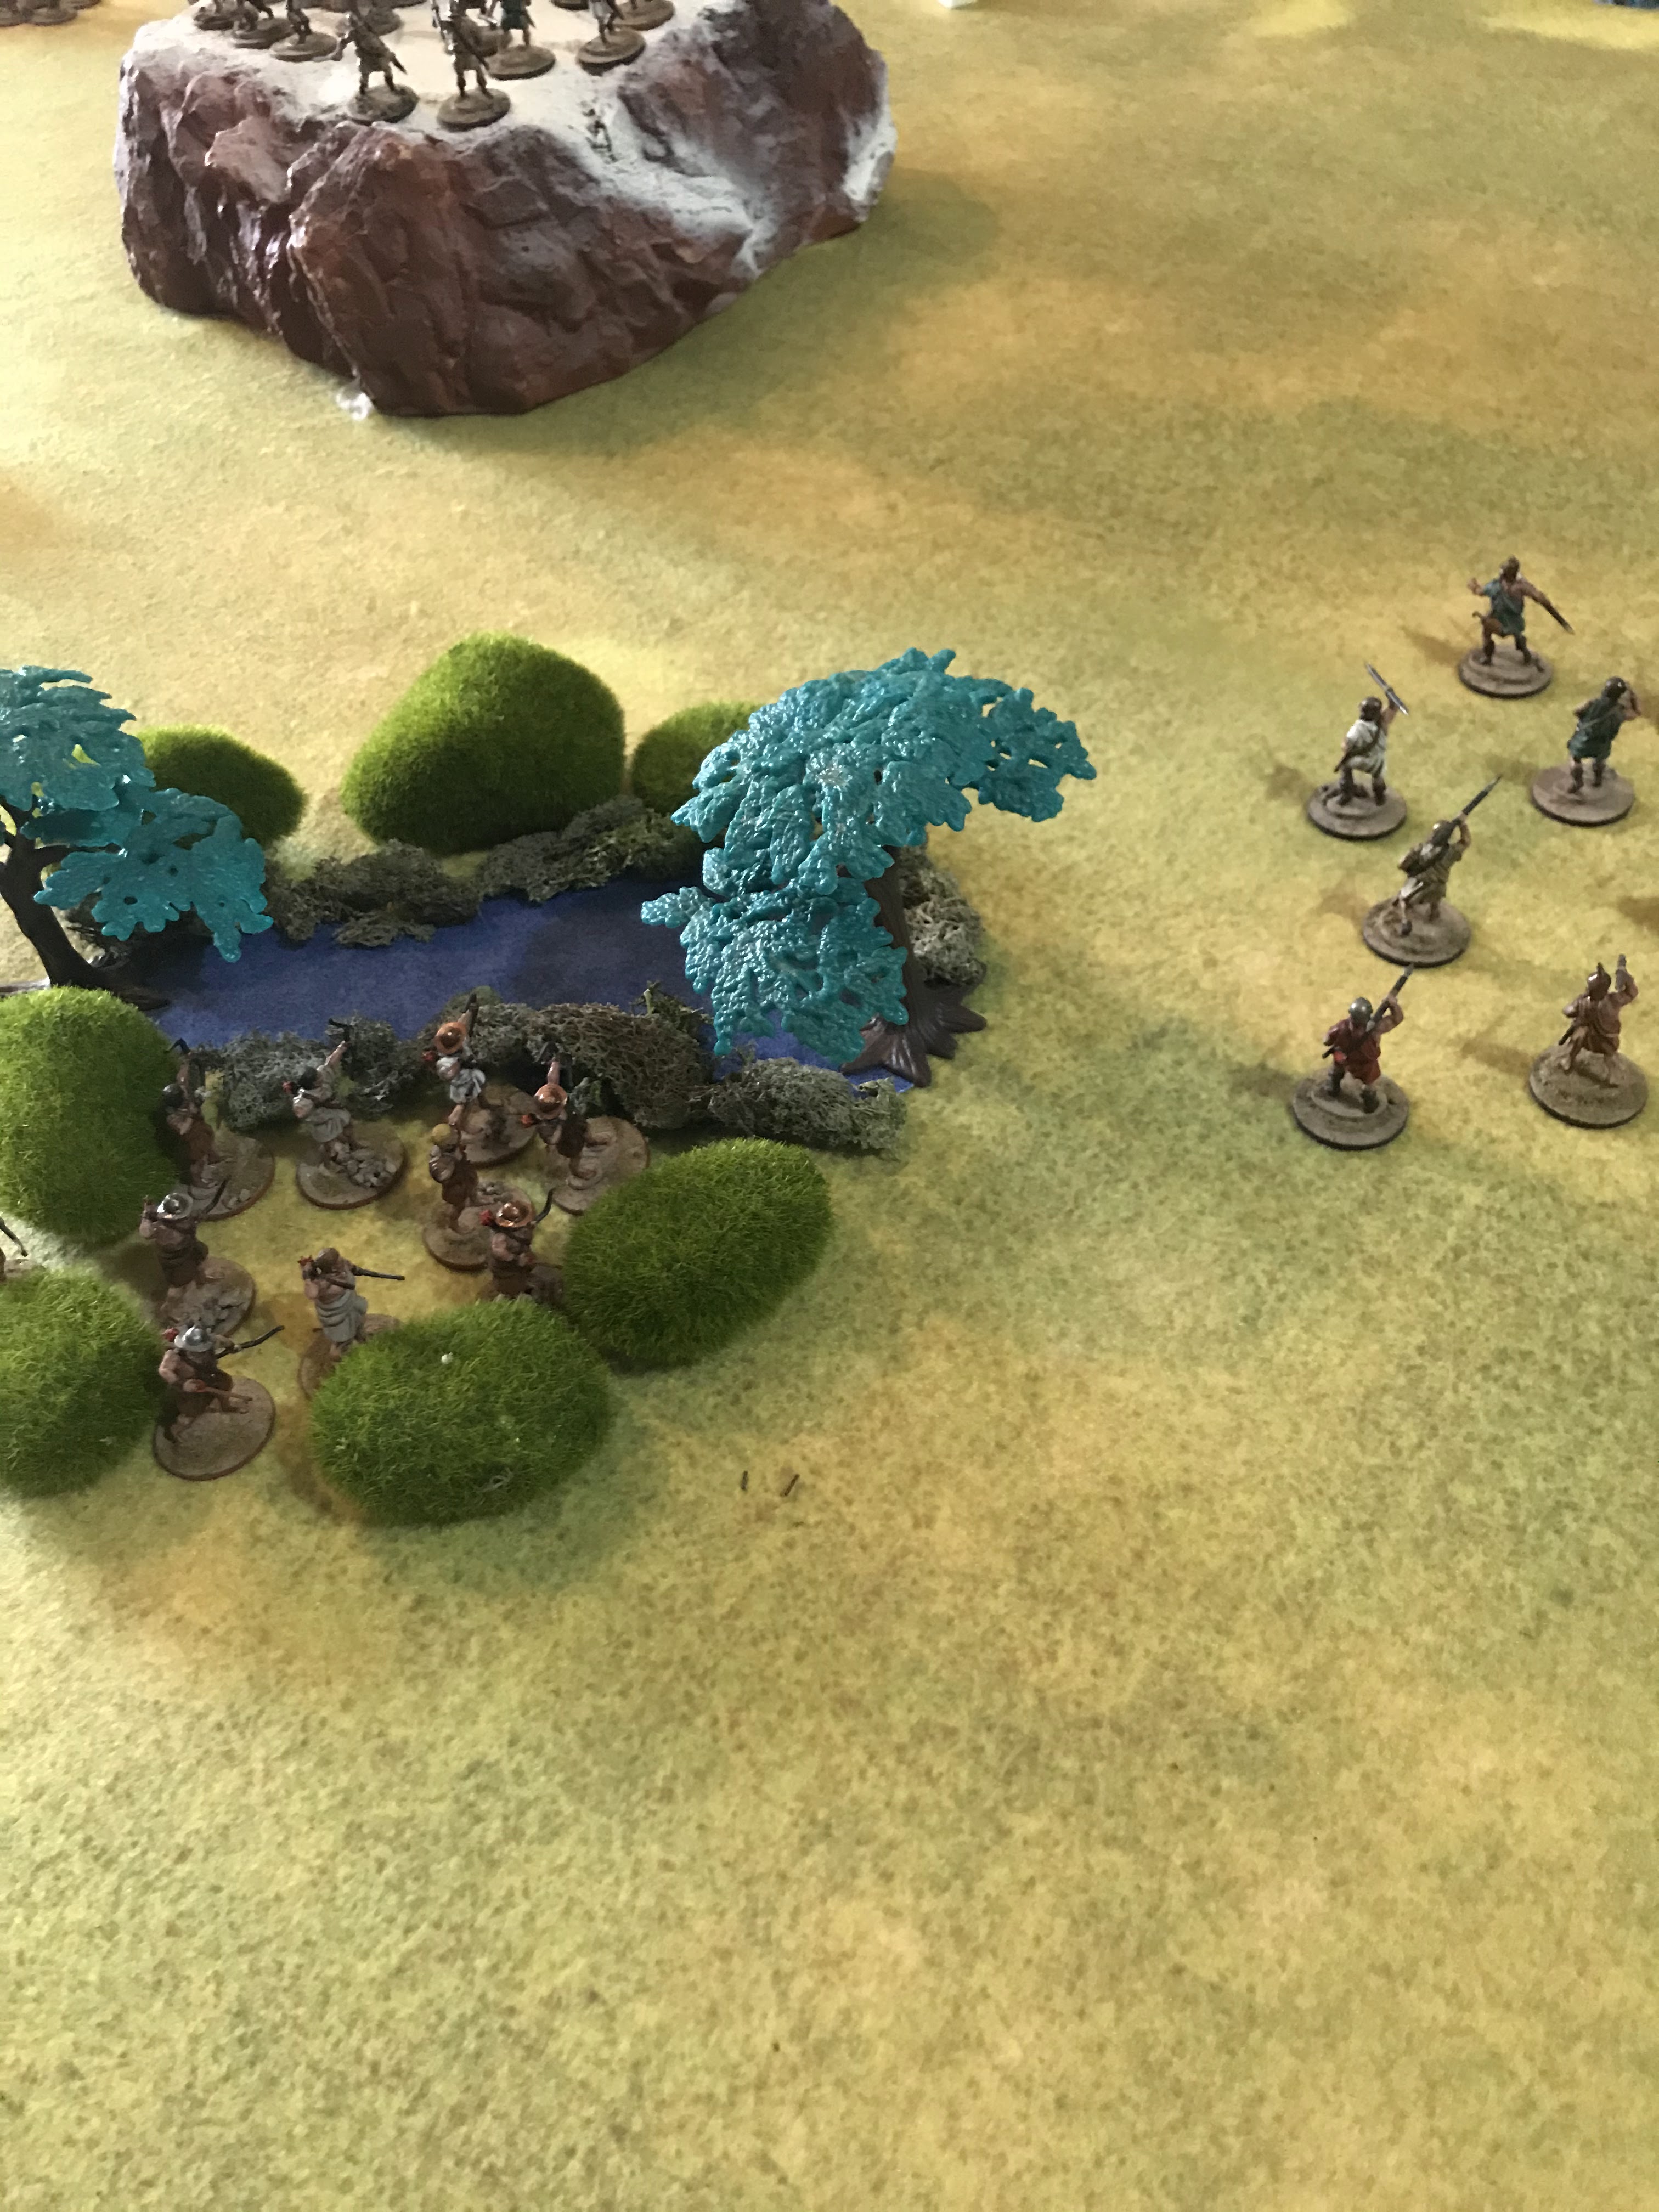
The Spartans have an interesting deployment with their Phalanxes on the East side of the hill with their flanks anchored by the edge of the board and the hill itself, and their Psiloi units are on the opposite side of the board, across from the swamp area.
 |
| Spartans in loose formation stare across at the Corinthian Hoplites ranked up |
The Corinthians have their Peltasts in the grove, then their 2 Drilled and Militia Hoplite units in the center, and then the Archers and Psiloi moving towards the swamp. Their Drilled Phalanx are in formation all ready.
 |
| Corinthian Psiloi on the right flank observe the Spartan line |
Mission
This is a pitched battle. Each side is attempting to collapse the enemy army. No fancy mission objectives or complications in this battle.
Let us begin!
Turn 1:
Both sides collect their Arete Points, Spartans have 6 and the Corinthians 7. The Spartans bid 6 and so do the Corinthians. After the roll-off, the Corinthians win to go first.
They first spend their last Arete Point so their Peltasts can Skirmish through the grove. The rest of the army moves forward. The Drilled Hoplites started in Phalanx and stayed in it, while the Militia Hoplites were in loose formation. The Archers moved up by the swamp, and the Psiloi also moved forward to get around the terrain and towards the enemy flank.


The two forces collect their Arete Points again. This time, the Corinthians bid 6 again. The Spartans bid 0, as they want them all to form into Phalanx or Skirmish.
The Peltasts again use an Arete Point to skirmish through the grove, and stay in cover there. The two Drilled Phalanxes push up. The Militia Hoplites move up and form into Phalanx at an angle to their companions approach. The Archers struggle through the swamp and line up along the banks of the pond, ready to rains arrows down on the Spartan Psiloi. Meanwhile, the Corinthian lights continue to aggressively advance forward to get around the swamp edge.

The Spartans do not try to interrupt any of the Corinthian moves. Instead, both Spartan Psiloi use Skirmishing to climb up to the top of the hill in the center of the board rapidly. The Spartan Perikoi (Drilled Hoplites) inch up a few base widths, but stay in loose formation. Meanwhile, the Spartiates move up in echelon, turn and form into phalanx. This puts their battle line at an angle to the approaching Corinthians.
 |
| Spartans on the left side |
Turn 3:
The two forces gather their Arete Points and plan their strategy for the turn. The Corinthians bid 5, and the Spartans bid none. The Corinthians go first and move their Peltasts in the grove and spend an Arete Point to skirmish with them. The Spartans try to interrupt, but fail.
 |
| Spartans in the distance, Corinthians in the Foreground |
The Perikoi (Drilled Hoplites) form into Phalanx and move up to use the hill to protect their flank. The Spartiates move up and form an angled line to the Corinthians. With all Spartan units moved, play turns back over to the Corinthians. The remaining Drilled Hoplites move up, but keep their flank protected by the Grove and the Peltasts found there. 

It looks like the big clash will start next turn, as both battle lines look like they have drawn themselves up into the formations they want.

Turn 4:
The two sides collect their Arete Points. No one has lost a unit, so both sides have their full points to start with. The Corinthians bid 2 Arete to gain initiative while the Spartans hold onto all of theirs for Counter-charges, re-rolls, etc.
The turn begins with the Corinthian Drilled Hoplite on the left, near the grove declaring a charge on the Spartiates on the edge. Of course, the Spartans choose to counter-charge. Both sides get 4 hits, and both sides lose 1 Courage. The Corinthians are pushed back 3 Base Widths.
 |
| Spartans are closest to the camera |
The Corinthian Peltasts decide to join in on the melee, and charge out of the Grove and attack the Spartan flank there. The peltasts hit hard, and reduce the Spartans another 2 Courage! The Spartans are down to 2 Courage now. This pushes the Spartans backwards 2 Base widths. The Spartans must make a Courage test, which they fail and start to Waver. Ouch!
From there, the Corinthians decided they could not make further charges and hit the Spartans, unless they played along and counter-charged. The Archers tried to move out from around the swamp, but the difficult ground hindered them. Finally, their Psiloi on the flank ran towards the hill. They ceded the rest of the turn to the Spartans.
For their part, the Spartans not in combat continued to march forward. One of the Psiloi units on the hill moved up a bit, and tossed their javelins with an Arete point at the Militia Hoplites. With a re-roll, they were able to cause them to lose 1 Courage.
Turn 5:
Despite the mauling the Spartiates on the Spartan right took, they are still in the fight. All sides still have full Arete Points. The Spartans decide to bid 0 this time, while the Corinthians bid 4. The Corinthians go first.
They start by resolving the melee at the left of their line between the Spartiates and the Drilled Hoplites with Peltast support on the flank. The Spartiates reduce the Corinthians 1 more Courage, but it is not nearly enough as the Spartiates are routed, with all their Courage spent. Their commander is turned about as the unit is pushed back an base width. 

The Corinthians then have their other Drilled Hoplite unit charge into the Perikoi who gamely counter-charge. The Spartan Perikoi inflict 2 Courage loss, but only lose 1 in return. They push back the Corinthians 1 base width.

At this point, the Spartans try to grab the initiative with an Arete Point and they win the roll-off. Both Psiloi units come charging down the hill and into the exposed flank of the Militia Hoplites from Corinth's allies. They had lost Courage due to a Javelin barrage previously. The Psiloi, with the help of some re-rolls; manage to score enough hits to rout the Hoplites! 

The last Spartiate unit shuffles around using their Drilled trait to go sideways away from the victorious Corinthians. Play turns over back to the Corinthians as the Spartans have no more units.
The Corinthian Psiloi charge into the rear of the Spartan Psiloi. Their charge is well timed, as the combined unit was weakened from the fight with the Militia Hoplites. All the Spartan Psiloi are routed. Meanwhile, the archers maneuver their way free of the swamp. 

End:
In the end phase, the Spartans have three of their 5 units flee. The Spartans that see the fleeing troops keep their cool. On the Corinthian side, the Archers and the Psiloi see the Militia Hoplites flee, and both start wavering. The Psiloi are on the brink of routing.
The Spartans have to make some Collapse tests as their General was lost, and they have lost over 25% of their army. The Perikoi decide to Collapse and flee, leaving only the Spartiates left on the field.
Turn 6
The Spartans only collect 1 Arete Point, and they sit on it. The Corinthians collect 7 and spend 2 to ensure the Spartans can not go first.
The Corinthian Drilled Hoplites break into loose formation, pivot, and re-form. Using 1 Arete Point. They then charge in with the Peltasts supporting them. The Spartans receive them on the flank. Despite all the reasons in the world for the Spartans to lose, they manage to remove 1 Courage from the Corinthians and reduce them to 2 Courage, and lose only 1 in return.

The second Drilled Hoplite unit then declares a charge and joins the melee, reducing the Spartans a further 1.

Turn 7- Final Turn
The Spartiates managed to hang on. If they can defeat the main Drilled Hoplite force with 2 Courage left, they will sweep all the support units off the field as well. They only need to inflict 2 Courage loss.
The Spartans again sit on their 1 Arete for re-rolls. The Corinthians also sit on their Arete Points for Re-rolls. The Initiative roll-off does not matter, and the two sides go to resolve the huge melee between the last Spartiates and the Corinthian Hoplites.
The determine if attack dice begins, and the Corinthians get a lot of attack dice and re-rolls. They easily blow away the last 3 Courage of the Spartiates. However, the Spartans could manage a draw if they can remove those last two hits. They roll their dice, and count up their successes. They use their last re-roll and.....

The Spartans flee the field, their courage spent! The Corinthians hold the field of Mars. The survivors begin grimly gathering up the Spartan panoplies to construct a trophy. The Spartan incursion into the isthmus of Corinth has been thwarted yet again by Argive and Corinthian arms.
Conclusion:
As the Spartan player, my defeat lay in my deployment. I let my Spartiates' flank hang-out exposed and that is something you can NOT do in a Hoplite battle. In retrospect, I should not have thought that the board edge would be sufficient, since my plan was always to pivot and fight it out under my Psiloi on the hill raining down Javelins and flank charges. Once I saw Peltasts in the Grove, I should have re-thought my plan and put some Psiloi on the right, and left 1 to go on the hill.
I was surprised on how fast the Corinthian Drilled Hoplites and flanking Peltasts ripped through my Spartan Elites. However, the Peltast flank charge roll was spectacularly good!
I planned on using my Psiloi to harass the Militia with Javelins and Flank attacks. That worked as intended, but the Corinthian Psiloi were able to get around the swamp quicker than I anticipated. They rear charged my light troops into oblivion.
My loss here, and the loss of the Spartans; was pretty decisive. No wonder they decided to turn to the sea (with Persian support) to continue the war. The first time these two forces met, the Spartans hung on for a win. This time, the Corinthian victory was decisive. Ouch!
For those who own Men of Bronze, Thanks! Secondly, the first supplement is available on the Wargame Vault called Hercules Abroad. It includes new lines of battle for areas outside of Greece, Campaign rules for linked games, and an FAQ. You can find it here.

You can follow Blood and Spectacles Facebook page for more fun: https://m.facebook.com/pg/BloodandSpectacles/posts/?ref=bookmarks&mt_nav=0
Or our website:
Or our Messageboard:
Or our Wargames Vault Page:
Blood and Spectacles Wargames Vault Page
Great Battle report! I am going to answer in detail on LAF...
ReplyDelete