

The French had long managed a toe hold into the South Pacific island atoll changes in the form of radio stations, refueling depots, and small trading posts. The British had also been active in the region, arguably to protect their colonies in Australia and New Zealand. A great deal of shipping from all the Great Powers move through the region by sea and air, making it an important strategic location for all the Great Powers. Plus, it's remote nature makes it a great posting for an aspiring, up and coming officer.
The British had ignored the French control of the Bass Islands and established a small coaling station on the island of Rapa Ti. In response, the French South Pacific Air Squadron under Commodore Valjean declared the island under French Sovereignty and began a blockade of the Coaling station with his airships.
The British were keen to keep their Coaling Station open and sent in the South Pacific Flying Squadron to maintain the station. Immediately, Commander Smythe-Butler decided to raise the blockade and try to retrieve the British personnel at the location.
The two small fleets moved to engage off the coast of the island.
Mission:
We used the scenario generator to determine the mission, complications, and terrain for this battle report. Today, we came up with a Blockade Run mission with the British as the attackers. To improve their chances of success, Commodore Smythe-Butler has decided to approach the island at Night.
Set-up:
We are using a 48MU x 48MU sized board, with 1 MU being an inch.
The area of the engagement has a number of small islands, including one with an altitude 3 Mountain in the center, two with altitude 1 hills, and another that is barely above sea level. They form a small chain concentrate across roughly the center of the board.
 |
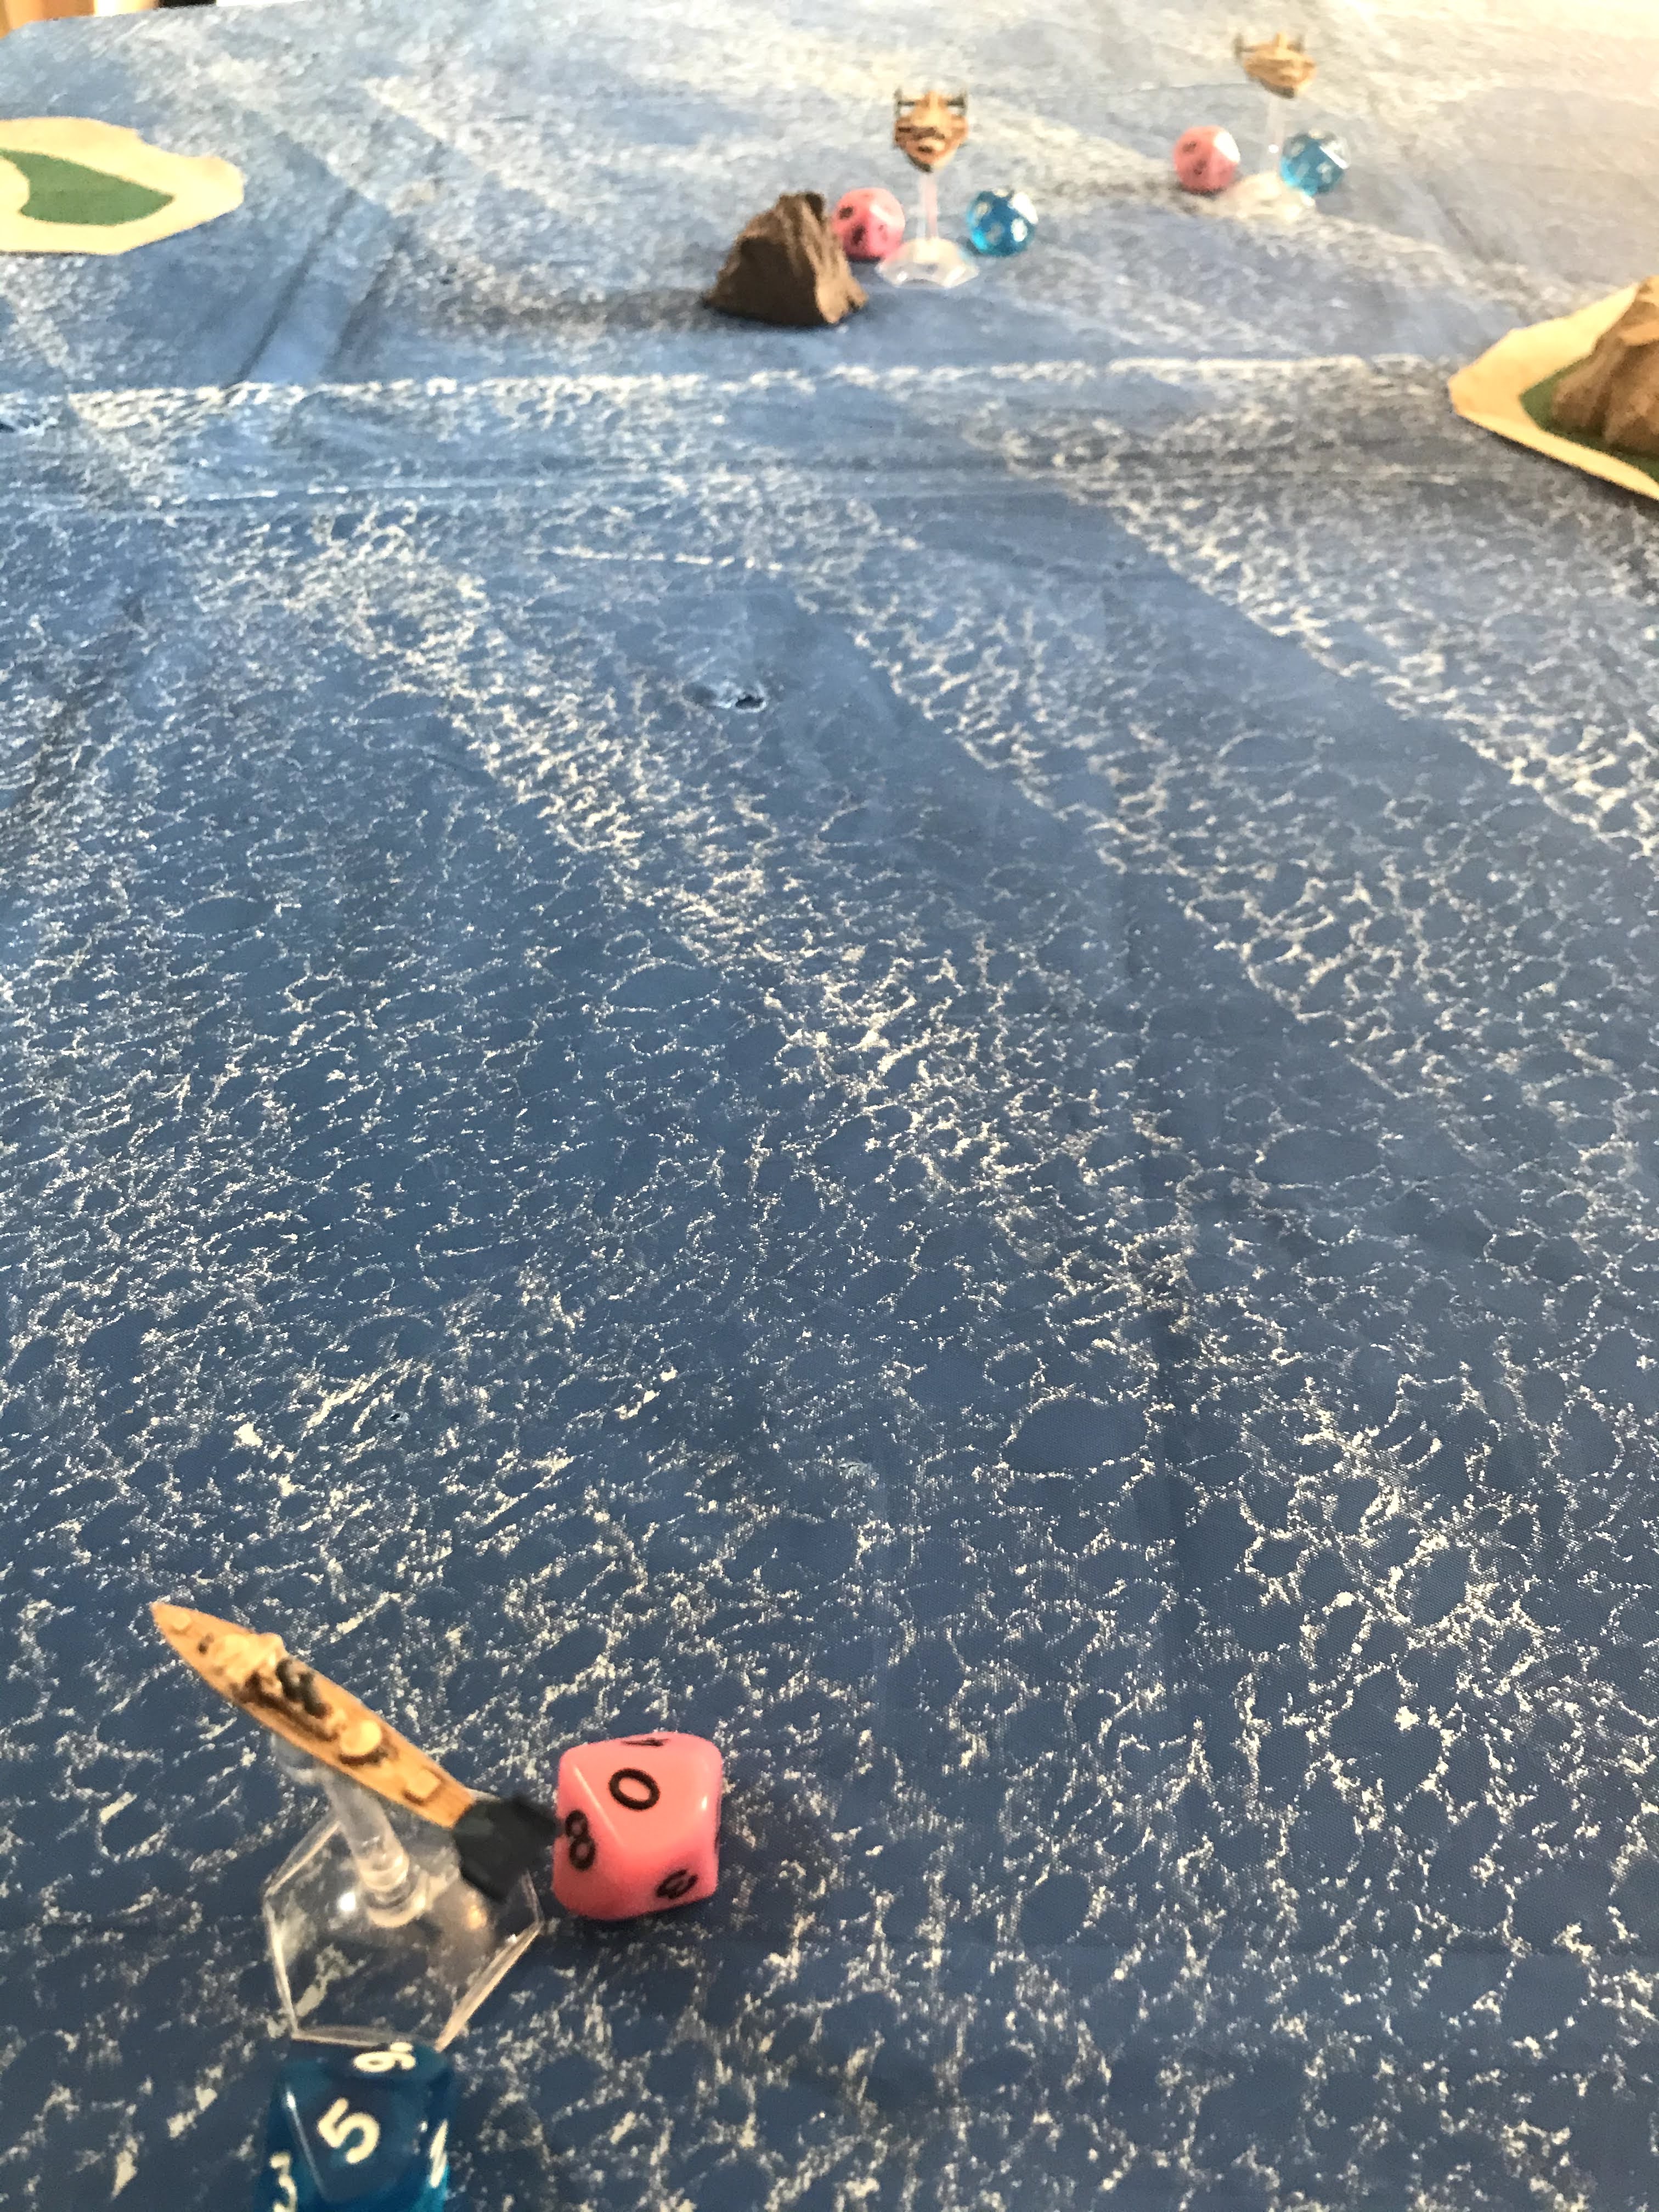
| The French fleet deployed |
The French are on the north side of the board steaming along in line a stern at mid-altitude and medium speeds. They are led by the Chasseur destroyer, the Gloire, the Descartes, and the tail ship is the D'iberville. The British are moving in on the South side, moving at line abreast. They are coming in fast and at high altitudes. The Left is the Arethusa, then Bull Finch, then the Duke, with the Minotaur on the right.
 |
| The British Flying Squadron.... ummm.... flying? |
Forces:
British:
HMS Ajax- Commodore Smyth-Butler
Minotaur Class Armored Cruiser- Command Ship
- Command: 3- Commander Smythe-Butler
HMS Majesty- Captain Winston
Duke of Edinbourgh Cruiser
- Command: 2
HMS Arrow- Captain Osgood
Arethusa Light Cruiser
- Command: 2
HMS Spirit- Captain Michaels
Bull Finch Destroyer
- Command: 3
French:
Toulouse- Commodore Valjean
Gloire Class Armored Cruiser - Command Ship
- Command: 4- Commodore Valjean
Morrocco- Captain D'strang
D'iberville Class Cruiser
- Command: 2
Pepin- Captain Feyette
Descartes Class Cruiser
- Command: 2
Roland- Captain Bourbon
Chasseur Class Destroyer
- Command: 2
Turn 1:
Thanks to having an escort, the French roll 5 dice and score 4 successes. The British have two escorts and also roll 5 dice. They score a single success. The French opt to let the British go first this turn. The French have 4 potential Commands while the British only have 1.
Move:
The HMS Arrow cranks up her screw speed and thrashes her way up to altitude 8. Crewmen grab supplemental oxygen tanks or attach their hoses to the Oxygen ports and prepare for action. The HMS Spirit is all ready pretty high, and speeds up and turns towards the mountain.
Meanwhile the Commodore orders the HMS Ajax to Crash dive and drops to back from 7 to 5. The HMS Majesty continues on course.
The Captain Bourbon of the Roland makes an all ahead command and speeds up to 8. The Toulouse makes a Come to New Heading Command and turns into the oncoming British line. The Pepin stays in with the battle line of the Toulouse. Meanwhile the Morrocco speeds up, gains altitude, and turns to try and hunt down the British Escorts that are inbound.
Battle:
None, as no one has the range or LOS due to the darkness.
End:
No action needed.
Turn 2:
The French earn 4 Command successes, the the British 2. Again the French elect to let the Brits go first.
Move:
The British Cruisers decided to go low, and started to drop altitude to 4 and 5 respectively. In the meantime, their escorts stayed high and on the opposite side. This forced the French to consider how to engage the British and slow them down.
The French Destroyer kept sprinting towards the far edge of the airspace to try and get around the side of the British Cruisers. The Toulouse turned to intercept them, and the Pepin followed in a battle line. Meanwhile, the Morocco stayed high and fast to try and intercept the British Escorts. Her powerful torpedo arrays were excellent counters to the British escorts.
Battle:
The two sides were beginning to enter long range and Torpedo ranges. However, the darkness kept visibility limited to short range, so there is probably another turn or two of maneuver before things heat up!
End:
No actions needed.

Turn 3:
This time, the French score 1 Success, and the British get 2! They set these successes aside for Commands later in the turn. This time, the British elect to have the French go first.
Move:
The French begin by moving the Toulouse to try to intercept the incoming British cruisers. The Commodore orders the ship to create a smokescreen and the engine room starts to over stoke the boiler successfully shrouding the ship in smoke.
The HMS Ajax and Majesty begin to move to bracket the French Armored Cruiser. However the Pepin is dutifully falling into position behind the Commodore's ship. The Destroyer drops altitude and gains speed and is ready to pivot for her attack run.
The HMS Spirit turns into try and get the range and angle on the Pepin for a torpedo barrage, as the Morocco closes in on the British escort high above a rocky island. The HMS Arrow turns to potentially broadside the French ship below her.

Battle:
The Morocco's spotters call out the position of the HMS Spirit in front and above them. The gunners respond by firing a Torpedo barrage at the small British ship. The ships Point Defenses take-out 1 incoming torpedo and two others streak past. However, three hit the ships side but only two successfully detonate for 2 hits and 4 friction! The forward guns also pepper the British Destroyer for 1 more friction, and 2 hits.

The Captain of the HMS Arrow is able to get a clear bead from the guns firing on the Morocco, and commands his crew to lock-on and fire. The cannons reach out and strike home! The Light battery shells ping harmlessly off the Morocco's armored belt, but the Medium Batteries find a soft spot and cause 2 clean hits!
The HMS Arrow also fires its light battery at the French Torpedo Cruiser. However, the height and size difference makes the firing ineffective.
The rest of the two fleets do not have LOS in the darkness.

End:
Now we apply damage. The British HMS Spirit takes 4 armor loss to the torpedo barrage, and also has its Rudder Jammed. The Morocco loses two armor points, but also has its bridge damaged by the shelling, and the forward light battery is out of action!
Despite the heavy damage to his destroyer, Captain Michaels passes his Strike Your Colors test!
The HMS Spirit manages to repair its damaged rudder, and the Morocco fixes its light battery. However, the Morocco's bridge is still damaged. This could impact its ability to re-load torpedoes.
Both the British and French have high enough Command rolls to remove all the Friction from their ships.
Turn 4:
The two sides tie with 3 success on the Command dice. Since the French have the higher command rating, they win. They choose to go first.
Move:
The Toulouse and the HMS Ajax move up to engage each other at close range and the same altitude, armored cruiser against armored cruiser. Meanwhile, the French destroyer Roland moves and sets up for a torpedo barrage on the Ajax.
HMS Spirit tries to doodge past the French blockade, and the Morocco moves to follow her. She fails to re-load her Torpedo tubes due to the darkness and her damaged bridge. The HMS Majesty sneaks up towards the French Torpedo Cruiser, as the Pepin continues to support the Toulouse.
Lastly, the HMS Arrow makes way to break through the blockade by slipping past the French line.

Battle:
Commodore Piet has the Toulouse Focus Fire on the Ajax. In return, the Ajax Braces. The HMS Ajax is pounded by the heavy battery of the French ship, but thanks to bracing manages to weather the storm with only 1 Friction.
The HMS Majesty tries to Fire for Effect on the Morocco, but the gunner's are not prepared for such a command. Instead, she fires normally. Three shells hit home, but two are deflected by the Morocco's armored belt. 1 manages to strike home as a Hit, plus she gains 1 Friction marker.
The Morocco fires on the HMS Spirit with her light batteries. Captain Michaels orders his crew to Brace and negates 1 hit, but still takes 1 more! That was the last British command.

HMS Ajax returns fire on the Toulouse. The cannons roar as the shots from the Toulouse smash against her armor. In return, they put 3 Friction markers on the French Cruiser and manage 1 hit!
The Roland fires a spread of Torpedoes into the Ajax's side. However, they all miss and fly at the Toulouse! Thankfully, prepared Point Defense gunners take out the torpedoes but cause more Friction on the French ship.
Finally, the Pepin's Captain orders the crew to Fire for Effect on the Ajax, using the last of the French Commands. The bow Air Torpedoes either miss or are destroyed by the Ajax's Point Defense. This gives her 1 more Friction. The shells from the cruiser's Medium battery cause another 2 Friction, but none of the hits penetrate the Ajax's tough armor.

End:
The French apply damage first, and the Toulouse loses 1 armor point. The HMS Spirit also loses 1 armor point, taking her to 1 remaining!
Again, Captain Michaels passes his Strike Your colors test and stays in the fight.
The Morocco manage to rouse their injured bridge crew and bypass the damaged communication tubes. The Bridge is back to being fully functional.
The French and British are skilled enough officers to remove all friction.

Turn 5:
Both sides score 3 success again. The French have the Initiative and choose to go second.
Move:
The HMS Arrow and HMS Spirit make for the objective, and bleed height for speed. The Morocco comes about to give chase, but has lost them in the darkness. The ship also fails to re-load her tubes again.
The Majesty and the Ajax also plow through the French line. The Ajax goes lower and fails to put up a smokescreen.
The French Destroyer races below her larger brothers as she re-loads her torpedo tubes. The Toulouse tries to come around to rake the Ajax, with the Pepin following behind. However, the darkness makes sighting the British cruiser difficult.

Battle:
The Ajax uses her stern battery on the Pepin, who braces for the fire. However, the height difference saves the Pepin from any damage. The Pepin only has light batteries that can fire back, and she opts to hold her fire.
The Majesty focuses fire on the Morocco, and despite hitting her with several shells only causes 3 friction and 1 Hit.
No one else has the range or LOS in the darkness.

End:
The Morocco loses 1 more armored point.
The French roll well enough to remove the Friction.
Turn 6: The Final Turn
The French win with 4 to 3 successes. They let the British go first knowing the HMS Spirit will get off the board.
Move:
The heavily damaged HMS Spirit makes it past the Blockade.
The Morocco realizes it is in big trouble with the HMS Majesty on its tail. The Captain orders a Crash Dive, she drops from 6 to 3, and stalls from the sudden maneuver. If she can not re-start, she will continue to fall in the end phase.
The HMS majesty stays in pursuit of the Morocco, but she is being shadowed by the Roland.
The Toulouse and the Pepin try to maneuver back to the battle, but they are out of position.

Battle:
The HMS Majesty fires a stern shot at the pursuing Destroyed, but misses. The Cruiser can no longer see the Morocco in the darkness.
The Roland's torpedo attack causes 1 hit, but it bounces off the British cruiser's armor.
Meanwhile, the Ajax manages to get the drop on the Roland at altitude 3. The crew Braces just in time. The Ajax's broadside smashes into the little ship and causes 4 hits and 1 friction!

End:
The Roland has her Bridge damaged, her point defenses destroyed, and loses two armor points.
The British and French can remove their Friction.
Conclusion:
The Telegraph was more than happy to print the story of the daring rescue of the British Navy personnel from Rapa Ti. They neglected to mention that the British had set-up their coaling station illegally in the first place. Commodore Smythe-Butler had special commemorative medals created and distributed to the crewmen and officers who took part in the expedition. They wore them with pride amongst London and the countryside, but after a few weeks the novelty wore off for the British public.
Meanwhile, the Foreign offices of both nations came together and hammered out a deal. The British Coaling Station would stay, but French ships would also be welcomed to buy coal there as well. The French would guarantee the protection and safety of the British there. In exchange, the British recognized French suzerainty over Rapa Ti. Of course, money also exchanged hands via Swiss accounts.
The British manage to break through the blockade and retrieve their personnel from the Coaling Station. Not only did they get a ship off the board, they managed to cause 7 damage to 5 received. It was a close run thing though, because if the Morocco had been able to re-load her torpedo tubes, it is likely the HMS Spirit would have been immobilized and sunk with 0 armor left.
Things looked good for the French in the Mid-game, with the D'iberville doing its job against the British Destroyer. However, the Bridge Damage from the HMS Arrow meant she could not re-load her tubes when I needed her to. My Gloire and Descartes got out maneuvered and were not available for the end game. My Destroyer was deployed poorly and should have been hunting enemy escorts instead of trying to snipe cruisers.
In the late stages of the game, the British cruisers were running amok against my lighter French vessels. Despite being at different altitude, the British had enough firepower to still make it stick. The final barrage against my Destroyer caught me off guard and railed the poor little thing! Without that, I at least would have beat them on damage.
The darkness complication had a huge impact on this game! With the limited line of sight, you had to get up close and personal, and once you did your shots were hitting pretty hard. The bigger ships were able to weather it okay, but the lighter escorts were swiss cheesed. Not even altitude difference and size difference was enough to help them this time. Air Torpedoes do not care about such things, and the British cruisers still had enough firepower up close to make hits stick. Lesson learned I guess.

No comments:
Post a Comment