

Commodore Leftbridge could not believe what his spotters were calling in. He had to see it for himself. When he raised his own binoculars to his eyes, he could not deny it. Seeing was believing.
Commodore Leftbridge's small command had been cruising the Caribbean on routine patrol. The usual stuff of rescuing would-be sailors, customs enforcement, and showing the flag with the local British citizens. The close proximity to French colonies in the region had never really been much of an issue. They kept to their sky ways, and the British tended to keep to theirs.
Now however, the Frenchies looked like they were feeling a bit feisty. The Foreign Office had cabled Leftbridge in Bermuda and let him know a new French officer was en route to station at Martinique. The cable claimed he was hot-blooded and eager to prove himself. They didn't say he was a looking for trouble.
A French cruiser was now flying provocatively close to the Commodore Leftbridge's flotilla. The question was, what to do about it.
Today's battle report is V4 Castles in the Sky play test. I am intentionally using asymmetrical forces to see how they stack up against each other.
Forces
Royal Navy
Arethusa Class Light Cruiser- Command 2
Bull Finch Destroyer- Command 4
Shah Class Frigate- Command 4
L'Aire National
Gloire Class Armored Cruiser- Command 1
Mission
This is a Raiders mission with the French as the Attacker. They are attempting to disable or destroy the Arethusa Light Cruiser. The British are attempting to drive the French attacker away. This game will last 6 turns.
Set-up
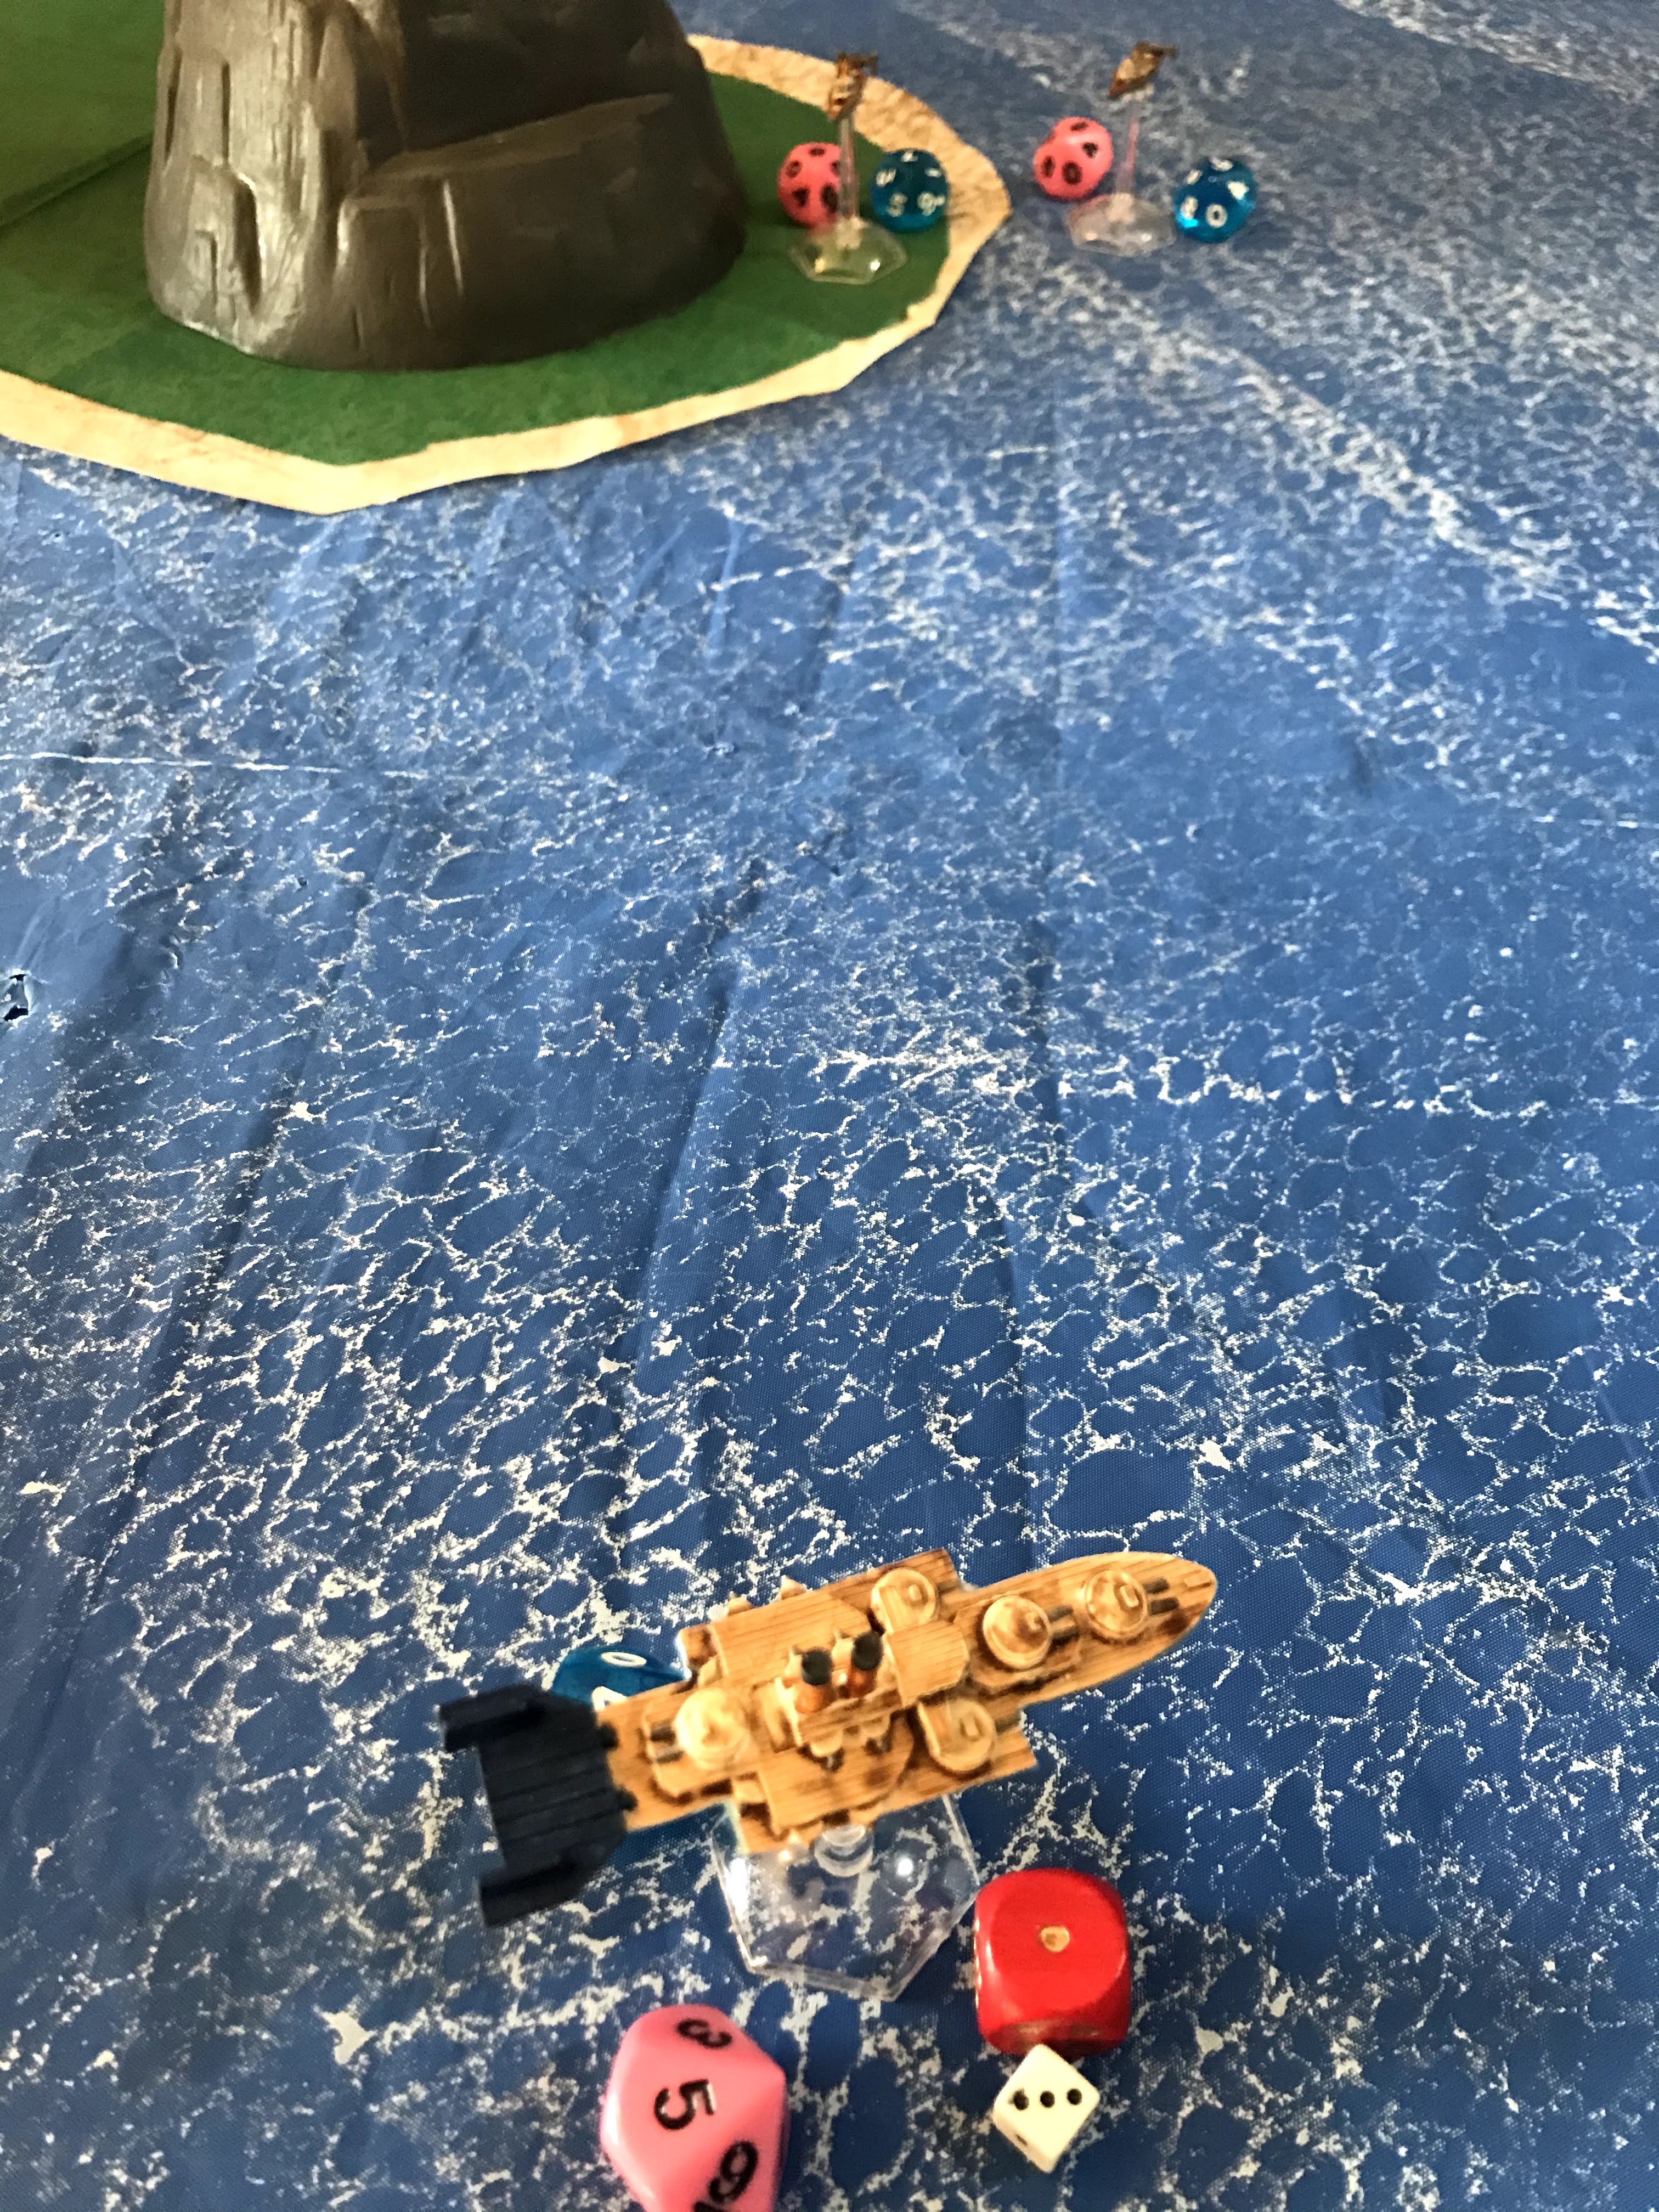
We rolled for complications and terrain as normal. Since this is in the Caribbean, it will mostly take place over ocean. It is a 48MU x 48MU board. 1 MU = 1 inch. We rolled up no complications.
For terrain we rolled up an Alt 3 Mountain, two island (land based terrain with no impact), and a cloud bank at Alt 2. We followed the terrain placement rules to place the terrain with the mountain and one island on the British side of the board, and an island and the cloud bank on the French side.

The British were in a group to the West with the Shah lagging slightly behind moving up the middle of the board at mid-altitude and speed. The French started on the Northeast side of the board, steaming towards the British at full speed and mid-altitude.

Turn 1:
The French win initiative with 1 success, to the British 0. The French also have 1 Command. They decide to go first.
Move:
The French Captain issues an Full Ahead when the British force is sighted, but the Boiler is not prepared and the ship fails to respond due to a failed Command Check.
The British Flotilla Commander also sees the French heavy Cruiser and immediately realizes she is out-gunned and out-armored. The small ships begin to scatter, with the Bullfinch and Shah going up 2 altitude bands to try to get above the fray. Meanwhile, the Arethusa turns away.
Battle:
None. No one has the range.
Turn 2:
The French fail to get any Commands this turn, and the British score two successes. They opt to move first.
Move:
The Arethusa drops altitude to gain speed as she speeds up. The Gloire turns to keep her to the front. Meanwhile, the Destroyer and Frigate are moving to try and get behind the French Cruiser.
Battle:
The distances are still too far.

Turn 3:
The French win Initiative with 1 success. They let the British go first this time.
Move:
The Arethusa dives towards the clouds for cover. The Gloire keeps closing the range. Meanwhile, the Shah goes to Altitude 6 while the Bullfinch keeps cruising at 7 altitude. They also are closing the distance for a Torpedo attack.
Battle:
The British Bullfinch fires a Torpedo Salvo at the French Cruiser. The Torpedoes race to their target. Two streak by harmlessly. One is destroyed by point defense guns, while the last one strikes home. It manages to detonate on a lightly armored part of the Cruiser and cause a Hit!
The Gunnery Officer let's the Gloire's captain know that the British ship is in long range. However, the Captain opts to hold fire until they can get closer. He wants the first salvo to be devastating.
The Shah also fires a pair of torpedoes. 1 misses, while the other crashes into the armored belt of the French Cruiser, causing only friction.
End:
The Gloire loses 1 point of armor, but a Fire also begins where the torpedo struck!
The French also had 3 Friction markers, but a good Command roll allows them to shrug off the Friction this turn.
Turn 4:
The French score 1 success, to the British 2. This time, the British make the French go first!
Move:
The Gloire drops altitude as she tries to bleed some speed off.
The Arethusa makes for the cloud bank, but does not make it in time. The Bull Finch gets Commanded to Re-load and does so successfully. She moves towards the French ship. The Shah also gets to Re-load. She also tries to keep the French ship in her sights.

Battle:
The Gloire's Captain tries to give a Fire for Effect command, but interference on the Telecomm scrambles the order. Her bow batteries still fire on the smaller, lighter Arethusa, but miss the mark.
The Shah and Bull Finch fire another air torpedo salvo, but vigilant Point Defense gunners on the Gloire destroy them before they can hit home. This leaves the French cruiser with 3 Friction tokens.
End:
The Gloire fails to put out her fire, and loses another armor point. She also only manages to remove 1 of the 3 Friction markers.
Turn 5:
Both sides score 1 success. However since the British have far more Command dice they can choose who has initiative. They choose to move first this time.
Move:
The Arethusa slows down as she races into the cloud bank and into cover.
The Gloire is slowed by the Friction, but manages to climb one altitude. Not as high as the approaching British escorts.
The Bull Finch Re-Loads successfully and presses her attack. She is confident she has the height to advantage. Meanwhile, the Shah gains more speed and breaks off away from the French Cruiser.
Battle:
The French desperately try to get targets, but the altitude/size difference is too great and no shots are available. They are sitting ducks.
The Bull Finch fires another Torpedo salvo at close range. The Gloire's Point Defense destroy 1, and 1 misses. Two more strike the Cruiser, but fail to cause damage to the weakened armor.

End:
The Gloire's crew manage to get the fire extinguished below decks! In addition, they quickly batten down and manage to clear the Friction markers on the ship!
Turn 6: Final Turn
The British score 1 success to the French 0. They choose to go first this time.
Move:
The Arethusa speeds up and dodges away and out of the clouds and away from the French cruiser. The Gloire continues to slowly rise up, but it can not out maneuver the smaller British Escorts who easily out climb her and stay away from her guns.

Battle:
No one has the right altitude or angle to successfully fire on an enemy vessel.
End:
None
Conclusion:
The British win by successfully avoiding the French cruiser's guns, while managing to reduce her 2 Armor points! Jolly good show!
As the French commander, I was hampered by my very low starting Command rating! I could not get any of my Commands off, and I failed to put out a Fire in a timely way. It also hampered my ability to clear Friction. Meanwhile, the British Destroyer and Frigate commanders were command 4 and were easily able to get their Re-Load Commands for their Torpedo Tubes. This left me at a huge disadvantage in this battle! In addition, I simply could not get the right height, speed, or range to deal with any of these smaller ships decisively as the French captain.
Therefore, the results of the battle were as I intended. The Escorts could out-maneuver the big ships and still cause enough damage to win. Therefore, the weaker Escorts still have an important role to play even in a big ship duel! Plus, big ships alone can not counter Destroyer, Frigates, Patrol Boats, etc. That means, for a Commander to be successful in negating these threats, you need Escorts of your own. Taking the biggest and baddest ship is not always the best decision, instead you need a mixed fleet to be successful. Perfect!
Overall, I was very frustrated to play as the French Cruiser, but the rules worked as intended. That makes this a win for the system in general!

No comments:
Post a Comment