
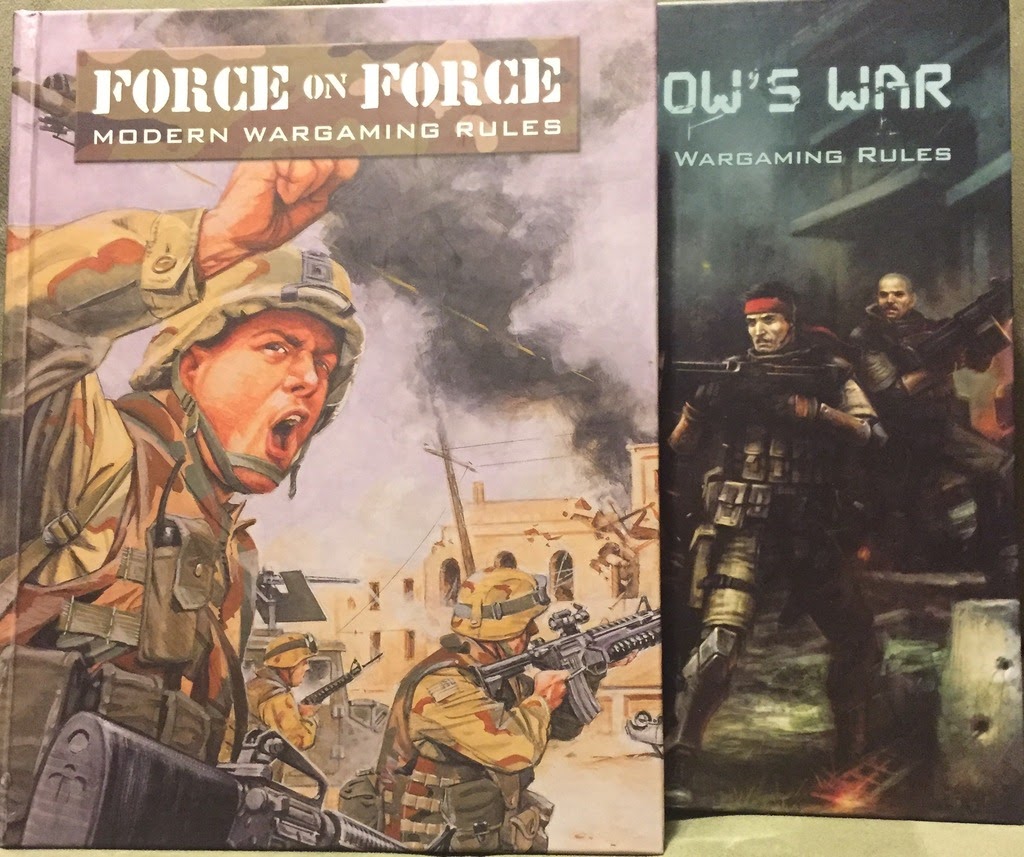
This is the first scenario in the Tomorrow’sWar rulebook called Lost and Found. Hopefully after this battle report you can see for yourself how accurate my review was. Some people feel that this scenario is unbalanced. We will have to see what happens.
An Imperial Tie Striker was lost on routine air patrol on the forest planet of Tabletooine. The Imperial pilot escaped and is evading rebel troopers in a nearby outbuilding. Imperial Stormtroopers from a nearby garrison have been sent in to locate and rescue him and recover the Tie’s recorder device.
The miniatures are old Star Wars Micro Machine toys that are probably 10mm scale or so? The terrain is my trusty green mat, lichen, and electrician’s box that have served me well for so many games.
Forces:
The Galactic Empire
1 Squad of Garrison Stormtroopers
Troop Quality/Morale: d8/d10
Tech Level 3
Armor: 2D
1 Imperial Navy Leader- Blaster Rifle
Fireteam Alpha
1 Repeating Blaster
1 Concussion Grenade Launcher
3 Blaster rifles
Fireteam Bravo
1 Repeating Blaster
1 Concussion Grenade Launcher
3 Blaster rifles
Fireteam Charlie
1 Repeating Blaster
1 Concussion Grenade Launcher
3 Blaster rifles
Rebel Scum
Rebel infantry
Troop Quality/Morale: d6/d10
Tech Level: 2
Body Armor: Blast Vests 2D
Team 1
1 Leader with Blaster rifle
1 Medic with Blaster rifle
1 Repeating Blaster
1 Concussion launcher
3 Rebels with Blaster Rifle
Team 2
1 Repeating Blaster
1 Concussion Grenade Launcher
3 Blaster rifles
Team 3
1 Repeating Blaster
1 Concussion Grenade Launcher
3 Blaster rifles
Team 4
1 Repeating Blaster
1 Concussion Grenade Launcher
3 Blaster rifles
Mission
Imperial forces are attempting to rescue their downed
pilot and retreat with them off board. A
Stormtrooper team needs to come within cohesion distance of the pilot to add
them to the squad and get them off board.
The Rebel Scum are trying to stop the Imperials form succeeding.
The pilot adds no firepower, defense, or morale to a
squad they are with. If the squad they
are with is wiped out, then they move to the nearest cover.
Terrain is 1D defensive terrain. Woods and building block
LOS.
The Rebel Scum are in ambush so they will fire
first. In addition, they can not be targeted
unless they are in optimal range and a TQ check is passed.
Turn 1:
The Stormtroopers survey the scene and push forward. Alpha and Beta move up and take position in
the ruins. Charlie rushes ahead and takes
cover by a woodline. Their officer
surveys the scene. According to his
intel, the pilot should be near the barn in the courtyard. Everything seems quiet.
In the far barn, the rebel officer watches the Stormtroopers
begin to deploy in his magnoculars. Her
is confident that he has set-up a kill-zone around the barn. Team 3 moves secretly in the woodline to
approach the barn out of Line-of-sight.
Squad 4 moves up in the cover of the stream bed, and out of view of the
Imperials.
No one takes a shot, instead they are waiting for the
optimum time to fire.

Turn 2:
The Stormtroopers maintain the Initiative.
Alpha squad moves forward to secure the stream bed by the
nearest bridge while Bravo covers them.
Charlie repositions to cover the bridge crossing as well, but hugs the
tree line. With no enemy sighted, the
Officer and Alpha squad breaks cover and dash to the streambed by the bridge
for cover. Still no sign of the enemy,
this could be a cake walk after all.

The rebels continue to creep into position for an
ambush. Team 3 rushes from the jungle
and to the edge of the barn out of sight of the advancing Imperials. Team 1 leaves the barn and moves through the
jungle into a better firing position on the approach to the barn. Team 4 hugs the stream bed and moves
forward. Team 2 readies to fire next
turn.
Tension is mounting as the Stormtroopers approach their
objective.
Turn 3:
Charlie and Bravo take positions to cover Alpha as they
move across the first bridge. As they
approach the opposite side, the point Trooper calls out a warning. Rebels have been spotted in the tree line. Since the unit was all ready declared active
and action taken before spotting the rebels, the Stormtroopers are caught out
in the open!
Team 2 decides to open fire at the Imperials, but the Stormtroopers
try to react with movement. They succeed
by 1! The Imperials scramble to cover in
the barnyard for cover. The rebels can
still fire at them, but the Stormtroopers will have improved Defense dice.

Team 2 is 5 rebels with 2 light support weapons for 7
Firepower Dice. The Stormtroopers are 6
troopers with +2 dice from armor, and +1 dice for cover for 9 dice. The rebels score 4 successes and the troopers
score 7. No damage.
Rebel team 3 comes around the barn, and captures the
Stormtroopers in the open in optimal range.
Since the Rebels were in Ambush, the Stormies can not try to fire
back. The Rebels have Firepower of 5
figures +2 for light support and +1 for optimal range. 8 dice vs Stormtroopers with a defense of 6
+2 for armor, but no cover this time for 8 Defense dice. The Imperials get one success more than the
rebels so no hits are taken!
Rebel Team 1 also fires on Alpha squad, but the Imperials
can not fire back as it is an ambush! 9
figures with +2 for light weapons vs. 6 figures with +2 armor and +1
cover. 11 firepower vs. 9 defense. They both score 6 successes and no
casualties!
Finally, Rebel Team 4 in the stream bed moves up and
fires on Charlie. Firepower 5, +2 for
light support, and +1 for optimal range.
Charlie has Defense 5, +2 for armor but no cover. 3 hits vs. 4 defense. No injuries are taken by the Imps.
There was a lot of shooting, but not much hitting by the
rebels.
Turn 4:
The Stormtrooper keep the initiative.
Bravo rushes the bridge with a move and fire on Team 2 of
the rebels. The Rebels try to react by
going deeper into cover to block Line-of-sight.
However, the Rebels fail to react.
Stormies shoot with firepower 5, +2 for light vs. Defense 5 and +2 for
armor and +1 for cover. 6 firepower vs.
5 defense dice. Two rebels go down!
Charlie decides to shoot at Rebel Team 4 in the stream
bed. The rebels try to react with fire. The Stormtroopers win and shoot first. One rebel goes down in the round of
fire.
Alpha decides to move up to rescue the pilot and shoot at
the Rebels in the barnyard, and the rebels opt to react by trying to move out
of Line-of-sight.

The Imperials win the reaction test again. 10 firepower vs. Defense of 7 dice. The close range firefight leaves all the
rebels down and injured.
Team 2 activates and checks its casualties. 1 gets back up, but the other is seriously
injured. They decide to return fire on
the Stormtroopers who try to react with fire of their own. The Stormies win and open up first. 3 rebels go down, and they last fires back
hopelessly and ineffectively.
Team 1 opens fire and the stormies try to react with
movement this time to take cover. The
rebel shots from Team 1 rip up the streambed, but leave the Stormtroopers
unscathed.
Team 4’s causalty is lightly wounded. They decide to fire on Alpha in the
barnyard. The Stormies of Charlie and
Alpha try to react with fire of their own.
The Imperials win the reaction tests again and light up the rebels by
the stream. Two more rebels go
down. Their own shooting is
ineffective.
Turn 4:
Imperials maintain the initiative.
Alpha moves behind the barn to secure the downed rebels of
Team 3 as prisoners. However, Team 1
tries to react with fire. They fail and
Alpha secures the downed rebels and has the pilot.

Bravo aggressively moves towards Team 2 who try to react
with movement. The Rebels succeed and flee
back into the jungle and away from the oncoming troopers.
Charlie opens fire on Team 4 who react with fire of their
own. Impies win and shoot away. Charlie takes out the Rebels in team 4.
Team 2 checks for injuries. 1 dead and the a mix of serious and light
wounds. They choose to fallback off the
board and disengage from the battle.
Team 1 surveys the battlefield and decides to fallback as well. Their best chance at securing the Imperial
pilot has now passed and there is little point in losing more men in a futile
gesture.
The Imperials are left in control of the field with the
pilot.


Conclusion:
Imperial Victory!
Fireteam Charlie quickly secured the rebels in Team 4 as
additional prisoners. The Imperial
troops marched the rebels back to their garrison along with the Imperial Pilot
safely in tow. 10 Rebels captures, 5 dead
or injured, mission accomplished, and no casualties. The boys in white showed why they are the
most feared troops in the galaxy today!
Final Thoughts:
I had read that this scenario was one-sided at I can’t
help but agree. It is intended to teach
you the basics of the game, and it does.
It also serves as a cautionary tale about the importance of building a
solid foundational scenario to work with.
The Troop Quality d6 vs. d8 was decisive as the Stormtroopers were
pretty much doing whatever they wanted whenever they wanted to do it. The rebels only won a single reaction test
all game, so by the time they got to shoot they didn’t have enough firepower to
even scratch the Imperials white armored Defense.
Perhaps if the rebels had more troops in each Team they
could have weathered the firepower and then used it to return fire effectively
against smaller fireteams of Stormtroopers.
However, I am not sure since the Stormtroopers were winning most dice
offs (Reactions, Firepower, Defense) handily.
Next, I plan on replaying this scenario using Rampant
Stars rules to see what happens! It should play very differently.

