

The Assyrian Empire went through various phases of expansion and contraction. The Near East and Fertile Crescent was full of powerful rivals, usurpers, and claimants to the throne of empires. It was always fluctuating between a state of offensive and a position of defense.
During a period of Assyrian contraction, the Egyptian Pharaoh's covetous eyes once again fell on the lands protected by Ashur. This time, the rich trading posts of the Levant along the coast were deemed vulnerable. Pharaoh gathered his army and set out across the Golan to claim these rich and wealthy cities for himself.
Of course, the King of Assyria was not pleased. He called upon his local Governor to raise a local army and repel the advance of the Pharaoh. The King of Assyria was busy elsewhere, and the Royal army was engaged far away. Therefore, it was up to the local governor to handle the crisis until the King himself could bring his own troops to bear.
Like a thunderbolt, the Egyptians descended on the region. Their arrows were soon blocking out the sun as the Pharaoh's forces sped from the desert. However, the Assyrian forces were soon there to meet them as the Egyptians approached one of the regions many walled cities.
Forces:
I am using the Assyrian Force straight out of the In Strife and Conflict sample army lists.
Assyrian Forces:
Heavy Chariots- General
- Composite Bow
- Iron Weapons
2 Archers
- Composite Bows
2 Auxilliary Troops
- Iron Weapons
2 Warband Infantry
1 Skirmisher
New Kingdom Egyptians:
3 Light Chariots
- Composite Bow
- 1 with General
2 Levy Infantry
- Bows
2 Archers
- Open Order
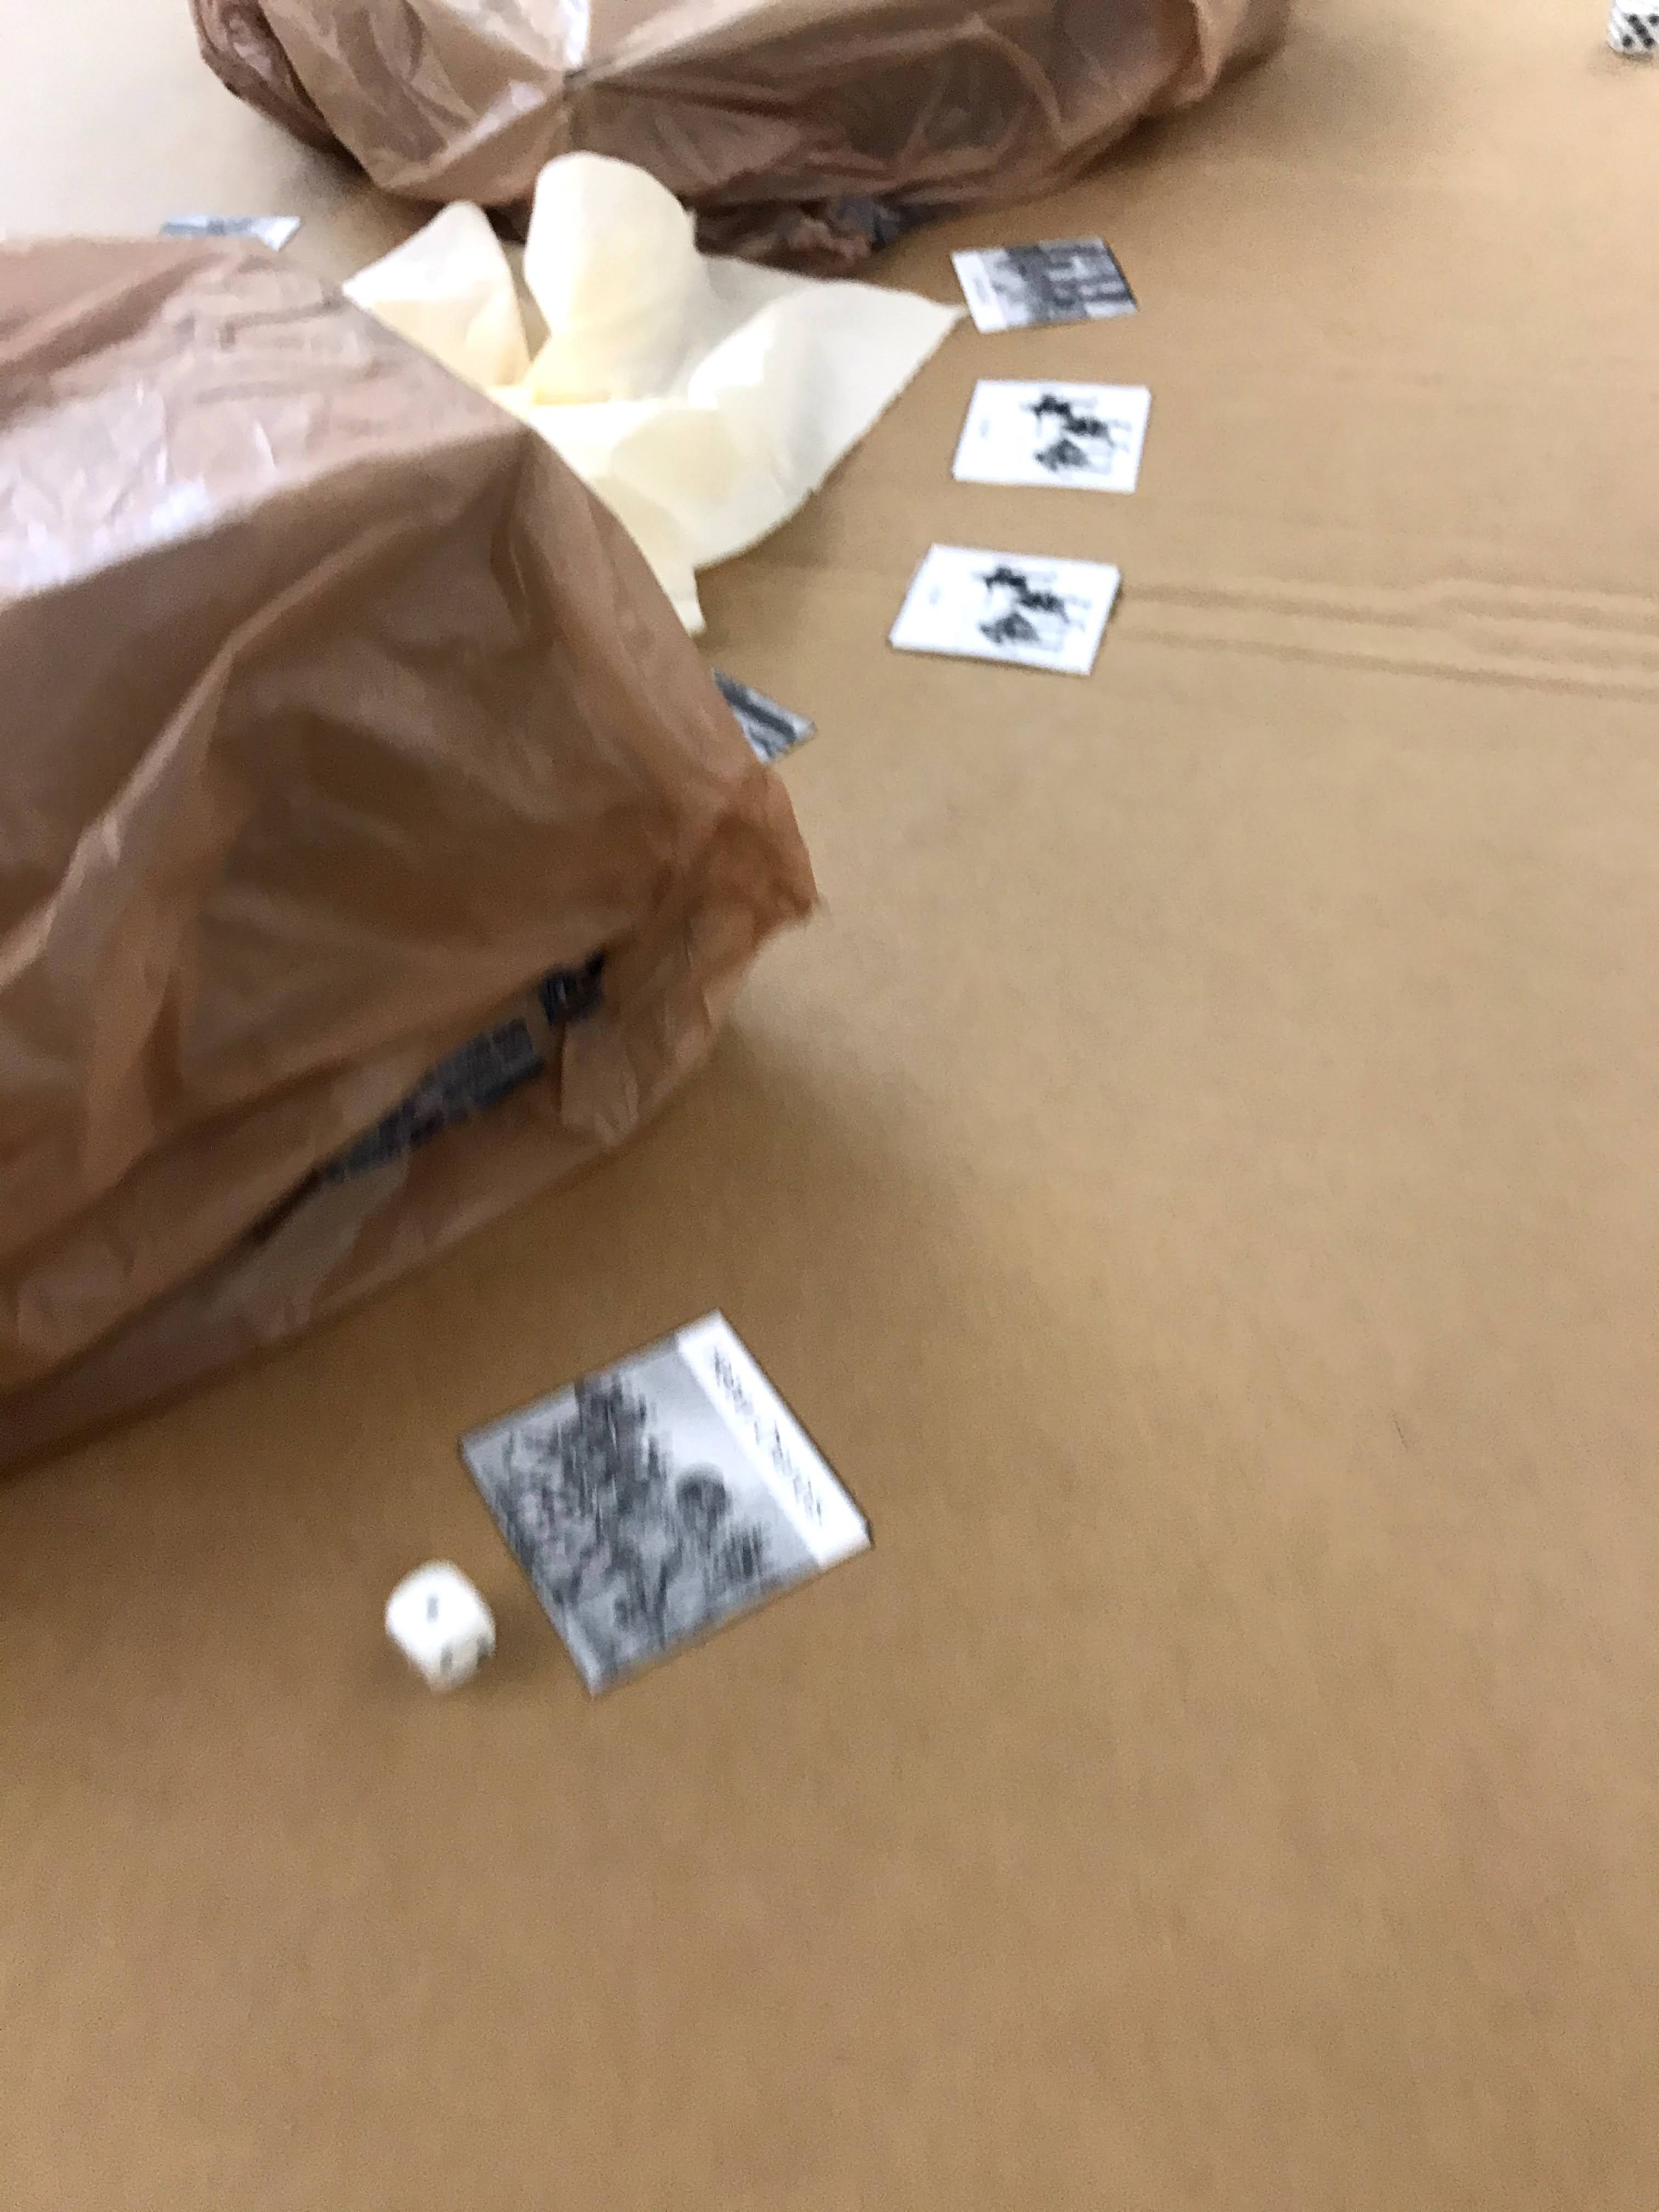
This battle will be using my famous paper templates for this battle, as I do not have suitable armies for this period yet. I find I can create rules faster than I can source and paint figures for them!
Mission:
We randomly rolled a Secure and Control scenario with Delayed Units as the complication.
In this case, we decided the objective would be a Watering Hole the armies need to secure to continue operating in the region. We rolled up terrain as normal, and then placed the Watering Hole in the center of the board.
The Egyptians are the attackers.
Set-up:
We used the rules in the book to set-up the terrain. We rolled up the following terrain: 2 Level hill, Swamp, 1 level hill, and the no additional terrain. Per the Scenario description, The Assyrians set-up the terrain. Unsurprisingly, the Assyrians put the hills on either side of the object, to limit the maneuverability of the Egyptian chariots around the objective.
For this battle we are using a 48MU by 48MU board, with 1 MU being an inch. For the table covering, I am using a cardboard box, and the two hills are more boxes with brown plastic coverings. Why the low rent terrain? Because that is what I had available at the moment!
The Egyptians choose to take the South side of the board, while the Assyrians take the North. It will matter little as the hills are across the center of the board, with the swamp in between around the watering hole.
The Egyptians place the Levy in the center, with the archers on both flanks. The light chariots are placed along right flank.

The Assyrians place their Heavy Chariots in the center, flanked by the Auxiliary Troops as the spearhead of their assault on the watering hole. Archers then are on the flank of each Auxiliary force. Both flanks are then held by the Warbands. Finally, the Skirmishers are placed to the fore of the force.

We then roll for Delayed Units and find the Assyrians are missing 1 Aux Infantry, 1 Archer, 1 Skirmisher, and 1 Warband. There goes a flank!
The Egyptians have two light chariots late for the battle. Their speed should make it not an issue.
Turn 1:
Both sides get their King' Decree tokens to start the game. The Assyrians get 4 and the Egyptians get 5. Those Delayed units reduced the normal total. The Assyrians go ahead and bid all 4 to get the ball rolling, while the Egyptians bid 2. Assyrians go first.
There is no fancy maneuvering here as the two forces move towards the Watering Hole. Chariots from both forces turn to go around the edge of the two tier hill in an encircling maneuver. They are all too far away for shooting or combat yet. The second Assyrian Auxiliary Unit gets to the battlefield. The two Egyptian Chariot units also appear.
Turn 2:
The Assyrians have 5 King's Decree while the Egyptians have all 7. This time, the Pharaoh bids 4, and the Assyrians again bid all 5.
The Assyrians seem focused on getting to the Objective and drive forward with their infantry and archers as fast as they can. The Egyptians do not interrupt. They seem content to wait for their chance to move. Another Unit of Assyrian Archers and Skirmishers show up at the battlefield.
The Egyptians also move forward. The lead Chariot waits for his fellows to catch up. No shooting occurs as the range is still to far.

Turn 3:
The Egyptians bid 5 again, to the Assyrian 0. Looks like the Assyrians want to see how the Egyptian attack develops before committing to their response.
The Egyptians move up across the center line, and the Assyrians let them. As the Egyptians round the hill, they try to fire on the Assyrian charioteers, with Move and Shoot orders. However, they are out of range still.

The final Assyrian unit still does not show up at the battle. Skins will be flayed for this! The Heavy Chariots pull up and wait for the newly arrived Archers who move up to support their general. They seem to be setting up a refused flank as the Egyptian Chariots race towards their edge of the battle. The rest of the army continues to move to the objective.

Turn 4:
The Egyptians again bid 4, and the Assyrians bid 0. The Assyrians seem content to now let the Egyptians move first to show their hands and avoid archery fire.
Egyptian archers take up position at the edge of the swamp leading to the watering hole. There they wait for their Levy Infantry to catch up. The Light Chariots race around the hill and this time the lead chariot has a shot at the Assyrian General! Arrows fly and have the range, but not enough to cause any serious injury yet.
The Egyptian attack only helped the Assyrian Governor determine the range and call the charge. His Heavy Chariot rumble forward. The Egyptians use a Point to evade, while the Assyrians try to pursue. The momentum of the Assyrians is enough, and they slam into the wheeling Egyptian chariots. The Assyrians roll a perfect attack with their iron weapons, and the Egyptian unit is obliterated! First blood to the Assyrians! However, they also lose 1 Courage and begin to waver.

The rest of the Assyrian army moves up. One unit of Archers and the Skirmishers set up to support their general. Meanwhile, the rest move to the watering hole, but are just out of range to fire.
Upon seeing one of their Chariot units plowed through by the Assyrians, one of the remaining light chariots begins to waver.
Turn 5:
The Egyptians get 6 King's Decree compared to the Assyrian 6. This time the Egyptians bid 2, while the Assyrians bid 3. The Assyrians seem ready to go first now. However, the Egyptians decide to throw in 1 more to force a roll off. The strategy worked as the Egyptians win it!
Immediately, they rally their wavering Chariots. The Pharaoh's chariot rushes ahead and charges at the Skirmishers, who try to evade. The Pharaoh pursues and easily catches them. The Chariots reduce them to 1 Courage left, but also lose 1 Courage of their own.
The Assyrians try to interrupt with a King's Decree. The roll-off goes to the Assyrians this time. The archers in the Assyrian right open fire on the last Chariot, but are too far away; even with their Composite bows.
The Assyrian Auxiliary Infantry move up to prepare to assault the watering hole next turn. The warbands are ready to act as a reserve if needed.

As the Assyrian player touches the Heavy Chariot, the Egyptian player decides to try to interrupt with their last King's Decree token. In the ensuing roll-off, the Assyrians win. The Assyrian General rallies his fellow charioteers and turns the corner and makes for the Egyptian infantry and ignores the other Light Chariot.
The second Egyptian chariot moves up and supports the Pharaoh's in combat, and together they scatter the Assyrian skirmishers. As the Skirmishers flee, a band of Assyrian Warband Infantry enter the battlefield nearby.

Turn 6:
Both sides have 6 King's Decree, and there is a tense stand-off around the watering hole. No one really wants to go in first and get shot to pieces by arrow fire. However, the Assyrians bid 1 King's Decree for initiative, but the Egyptians bid 2!
The Pharaoh's Chariots move between the newly arrived Warband and behind the Assyrian archers. They fire their bows, and cause the Archers to lose 1 Courage and begin to Waver. The Chariot is not maneuverable enough for them to get a charge off.
However, the Assyrians see a chance and try to win Initiative with a King's Decree, and succeed. The newly arrived Warband charges the Pharaoh's Chariot, but the Egyptians manage to successfully Evade with a King's Decree. That was close for the Pharaoh!

The Wavering Assyrian Archers fire at the other Egyptian Chariot unit and manage to reduce it down to two Courage. However, it doesn't waver. The rest of the Assyrian infantry closes in on the swamp edge. Meanwhile, the Heavy Chariots move up menacingly on the Egyptian infantry's flank. They fire their Bows at the Levy, but fail to cause any serious damage.
The Egyptian archers fire at the closest Assyrian infantry and cause them to lose 1 Courage from their combined barrage. The Levy infantry fires on the oncoming Chariots, and reduces it to 1 Courage with surprisingly accurate shooting. The Assyrian General does not waver in his duty!
The second Egyptian Chariot moves around the Assyrian Archers nearby and peppers them with arrows and reduces them to 1 Courage.
Turn 7:
Both sides still have 6 King's Decree despite a very active Turn 6. The Egyptians bid 3 King's decree, while the Assyrians bid 2. The Egyptians look like they have won, but the Assyrians decide to throw in one more for a roll-off. The Assyrians win it!
The Assyrian Warband infantry charges into the Pharaoh's chariot, and there is no chance to evade! However, the second chariot is JUST close enough to offer support! It devolves into a bloody melee. Both units are reduced to 1 Courage and are Wavering.

As the Assyrian touches the Heavy Chariots, the Egyptian again uses a King's Decree to contest the Initiative. This time, the Egyptians win it. The Egyptian Levy fires on the Heavy Chariots, and uses their last King's Decree for re-rolls, but fails to finish them off!
The other Levy moves towards the watering Hole with the Archers firing in support. The closest Assyrian infantry is reduce to 2 Courage but is not wavering. The Egyptians have no more actions!
Play goes to the Assyrians. The Heavy Chariots charge into the closest Egyptian infantry. The result is anti-climactic as the Levy lose 1 Courage, and route the Assyrians and their General! This will force a Collapse test at the end of the turn.
The injured Assyrian infantry declares a charge and shambles into the swamp. however, they come up short and begin to waver! The second infantry unit also moves in. The Archers fire on the Egyptian archer unit and easily routs them with their firepower!

The Egyptian units that see their Archers flee, stay strong. However, the Assyrian warband and both archer units flee at the loss of their general! Who will pay them?
Turn 8: Final Turn
Last turn was tough for the Assyrians! We hand out king's Decree and the Assyrians have 3 to the Egyptian 5. However, the Egyptian Chariots are barely hanging on! The Assyrians bid 0 and the Egyptians bid 2.
The Egyptians start by barraging the injured Assyrian Infantry with arrows from their archers. It is enough to destroy the unit and send it packing! The Levy moved up to cover the objective.
Finally, the Assyrian Warband is routed by the Egyptian chariots, but they do enough damage in return for the Pharaoh to call it quits too. The Egyptians and the Assyrians will both need to make Collapse tests at the end of the turn!
Finally, the last Assyrian infantry unit gets to grips with an Egyptian Levy unit in Close Combat in the swamps! The Assyrians and Egyptians are hampered by the Terrain but Egyptian re-rolls means the Assyrian lose 1 Courage to the Egyptian loss of 2. That leaves the Levy with 1 Courage left as they had been hit by the Heavy Chariots before. However, neither side wavers!
The Assyrians neither waver nor Collapse as their fellow infantry unit routs from missile fire. Meanwhile, the Egyptian Levy stay put in the swamp, while the Archers flee!

Conclusion
Night falls, and neither side has decisively beat the other side. The Egyptian Levy hold the Watering Hole, but the Assyrians are also there. Both sides realize that the battle has been a costly draw, and withdraw back to their starting positions from the day before.
The Assyrian Governor has the remaining troops disperse back to the local garrison's to defend the walled cities and to defend against treachery. He knows the King's army will be marching to his aid soon, and he just needs to hang on long enough for the might of the full Assyrian army to arrive. He urgently sends word to the king of his regional armies' defeat using a courier.
The Egyptians also find themselves in a bad position. Their chariot forces were smashed in the fighting, and are in no position to continue without a re-organization. With his striking force in shambles his chances of over-awing a local city and turning it is slim. Without a base of operations in the Levant, the Egyptian supply situation looks tenuous at best. Without the water hole, the Pharaoh's troops will soon become thirsty. Worse, the regional army was broken, but the Assyrian main army could be arriving soon.
After consulting with the gods of Egypt, the Pharaoh prudently withdraws back to the safety of his own realm.
Well, that was good fun! Neither side could rest the upper hand away decisively in the end. As the Pharaoh, I had a blast racing around in my light chariots and shooting at stuff! If only my third unit had not been obliterated by the Assyrian Heavy Chariots so early! Ultimately, my archery platforms provided almost no help with the actual main objective, but it kept the Assyrians from massing their forces at the watering hole as they busily tried to shore up their flank and rear! My Egyptians had worse bows and no Iron weapons, but they held their own.
When the Assyrians connected with their Iron Weapons, they hit very hard. Their improved bow range did not play too much of a part, nor did their slightly improved firepower. My opponent did a great job deploying terrain to make for an exciting game and to limit my improved maneuverability. They forced me to play their game around the objective, and it almost worked!
Overall, I feel like the gameplay experience was a success! It captured the right feel for these type of battles. The chariots were fast, but the limit of the turn radius made a big difference. One way I made the Chariots fast, was also slowing down non-chariot units.
The main weapon of decision was the bow in this game. It caused the most casualties over the course of the game. Sometimes, a barrage of arrows was enough to rout an enemy unit completely! That is one of the main differences between Greek style combat to the Eastern. In Asia Minor, Turkey, Persia, etc. the bow was much more important in warfare.
Finally, I made the Iron Weapons a special rule. If a King's Decree token was used, it would allow bonuses in melee. These extra dice made such units more effective than units without. This feels right as Iron Weapons gave armies of this time period an advantage. I feel the rules captured this well, and was not an overwhelming advantage.
The key to making variant historical games using the Men of Bronze rules is the flavor rules. Things like the Special Rules, Unit details, and the Upgrades can make the core rules fell very different even thought he basic mechanics of the game are basically unchanged. I feel like this is a successful template for future historical rules.
Anyway, enough blathering. I had a lot of fun with this game, and I look forward to playing it again. I will need to look around for some miniatures for this time frame. I prefer 6mm so if you have any suggestions for ranges, please let me know!

No comments:
Post a Comment