

In 1862, the state
of Kenteddy had declared themselves neutral, but Tederalist and Contederates
had both moved into the region.
Contederate sympathizers established an alternate capital at the city of
Bowling Green. However, their numbers
were inferior to that of the Tederalists in the region.
Luckily for the
Contederates, the command in the west was fragmented between several competing
commanders for the Tederalists. This led
to confusion and an inability to unify their efforts. Tederalist Brig. Gen James Bear Garfield attempted moved to drive Contederate Brig
General Humphrey Bearshall from the area as they had been using it to recruit
new bears to their cause.
After maneuvering,
the two, roughly equal forces met not far from the fork in Miller’s Creek. They fought over a small field and swampy
region between the woods and rocky ridge line that was the border of the creek. This battle would help decide who would
control Kenteddy.
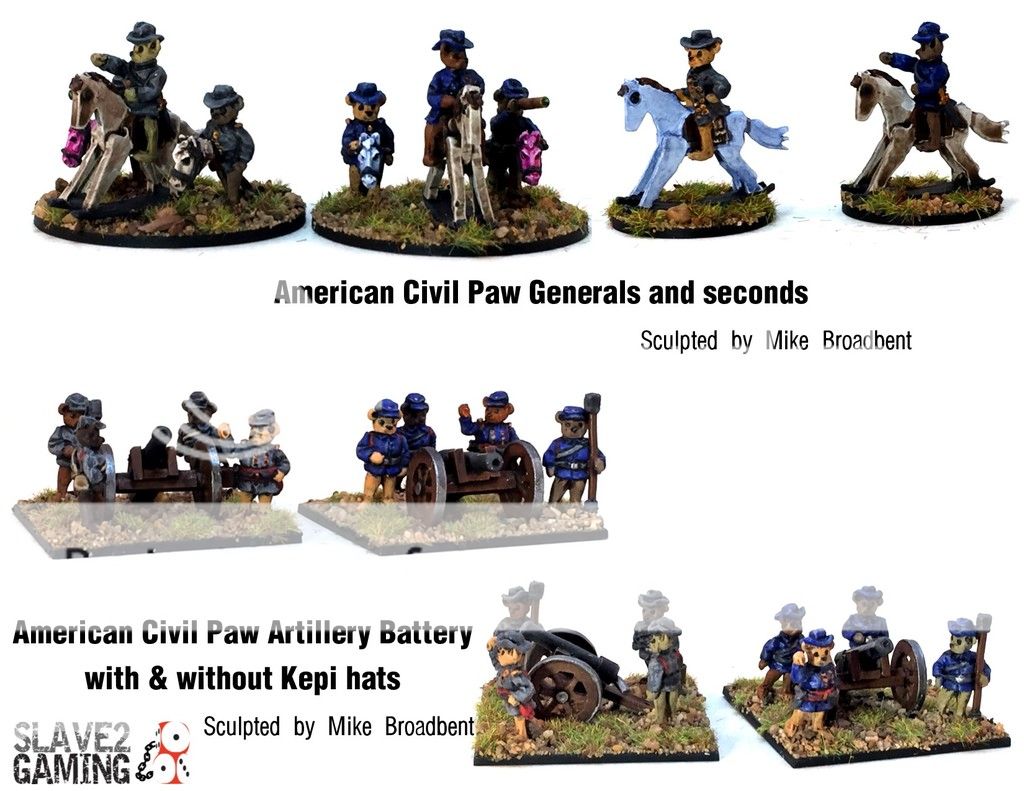
The Forces
Tederalists
-
Brig Gen. James Bear Garfield- Brigade Officer
-
3 Infantry
-
1 cavalry
-
1 Battery of cannons
Contederates
-
Brig Gen. Humphrey Bearshall- Brigade Officer
-
3 Infantry
-
1 Cavalry
-
1 Battery of cannons
I purposely chose identical armies for this battle so
that I can test out the rules fully and highlight how they work. I am interested to see what I find out.
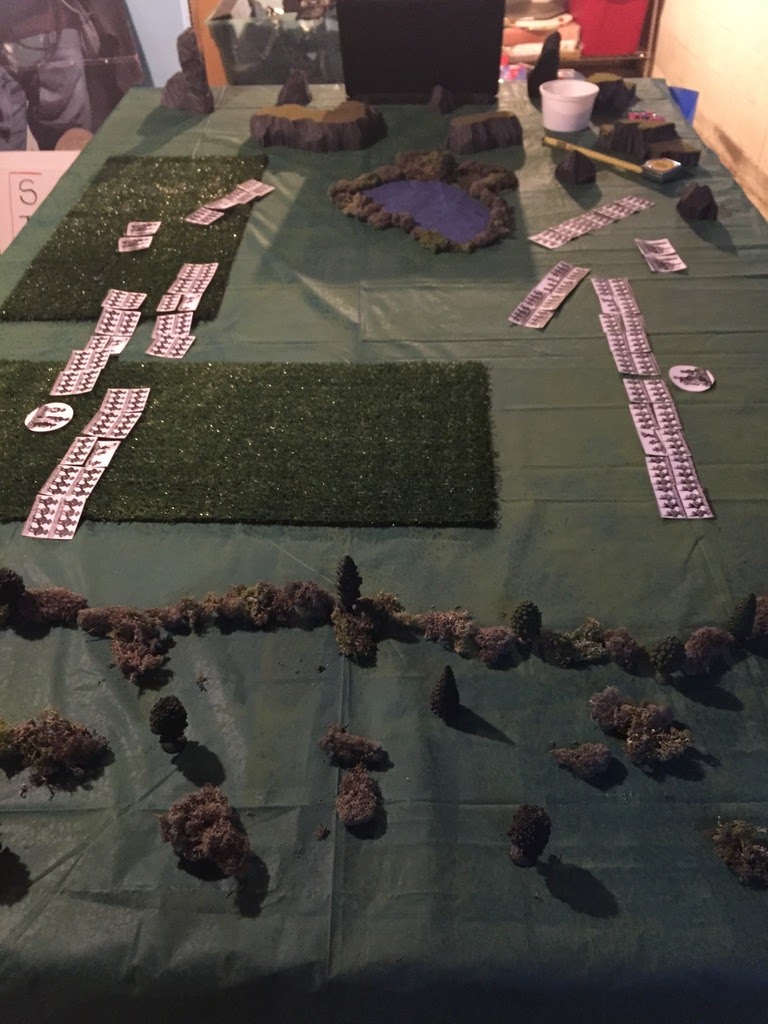
Set-up
The board is 6 x4.
It is flanked by difficult terrain with woods on the west side and rocky
ridges on the east. On the north side is
a couple of small fields that the Tederalists are deployed in. The field will be difficult terrain, but also
offer some light cover. A small pond and
swamp are off-center. On the South side,
the Contederates are deployed in the open.
The Contederates deploy with the cavalry on the left,
then two regiments of Infantry in line, their cannons, the General, and a
column of infantry in the ridgeline.


The Tederalists have two lines of infantry backed up by
the third line with cannons on the left of them. On the far left behind the pond is the
cavalry.


This will be a straight forward battle where each side is
trying to run the other side off the field and out of the state of
Kenteddy. No fancy mission objectives
here just knock the stuffing out of the other side.
Turn 1:
The two sides close in on each other, they are still too
far away to fire, but anticipation is in the air.
Tederalists on the left and Contederates on the
right.
Turn 2:
The Blue Jacket cannons ring out and the balls find their
mark in the advancing Grey cavalry. This
is followed by Union infantry firing into the Contederate hobby horsemen, and a
charge by Union Teddy’s own cavalry. The
Contederates are sent reeling backwards with 4 hits and panicked!
The Contederate infantry advances and manages to injure
some of the opposing infantry in a brisk exchange of musket fire. On the Western flank, musket fire through the
crops does not go the Contederates way.

Turn 3:
Tederalist troops move up and pour fire into the 1st
Contederate infantry regiment. The
Contederates respond with a charge, but are sent reeling back in a panic. The two cavalry units clash again, and the
Contederates are forced back reeling.
The third Tederalist troops form column and charge into
the second Contederate infantry.
However, these Contederates are made of sterner stuff and force them
back panicked. The Contederates must
have a spine of steel as they counter-charge and smash back the Tederalist
cavalry and beat the remnants of the Tederalist infantry again, forcing them
back in a further panic!
This gives general Bearshall some breathing room and he
is able to call in his reserve infantry units.
They dash forward in column and then change to line to back up the 2nd
Contederate infantry regiment. He also manages
to rally his panicked cavalry.
Tederalist General Garfield is not as lucky and fails to
rally any of his panicked units. This
could be the decisive moment of the battle!


Turn 4:
Contederate cannons find the Tederalist cavalry with a
barrage, but fail to break them. The
fierce Contederate 2nd infantry switches into an assault column and
charges into the Tederalist 2nd Infantry in line, who has been
untouched by fire. However, the thin
blue line holds and pushes back the Contederates in a panic!
The 1st Tederalist infantry unit tries to
Volley fire, but is too unorganized.
However, their shooting is still effective, and the 1st
Contederates are near the breaking point!
Sensing that the 1st is about to scatter, General Bearshall
shuffles his 3rd infantry into place to back them up. This re-shuffling was just in time as the 2nd
Tederalist’s fire breaks the 1st Contederate infantry and they
scatter and rout to the rear! They are
first unit broken in the game. General
Bearshall rallies the pancked Cavalry and orders them to fill the game in his
line by the pond. Ineffectual fire from
the rallied unit fails to tell on the 3rd Tederalist forces.
General Garfield fails to rally the panicked 3rd
infantry and they stay in their panicked columns. The Tederalist cavalry charges home on the
Contederate brothers. However, they are
again repulsed and sent panicking backward.
The third infantry manages to pull themselves together enough to change
formation and set-up to backstop the Union lines. With the flight of the Tederalist cavalry,
the artillery fires at the Grey cavalry but fails to cause significant
injury.
Things look bad for the Contederates.

Turn 5
General Bearshall rallies the 3rd Infantry of
the Contederates and they shake out of column and into a firing line. The 1st and 2nd
Tederalist infantry fire on the reformed Contederates with volley fire, but
failed to do more than scratch them!
Gen Garfield rallies his cavalry, but they let eh
artillery do the dirty work. The Union
battery blasts the Contederate cavalry from the field with a precision
barrage. With the Contederate cavalry
fleeing, their batteries try to return the favor on the bluebellies, but fail
to get the range. This allows the
Tederalist cavalry to hit the flank of the Contederate 2nd Infantry,
but the Contederates repulse them easily!

Turn 6
The Contederates try to reform their lines, but an exchange
of fire between the 3rd Tederalist and 2nd Contederates
leaves the Grey bears routing the field.
They had had enough. The
Contederate artillery battery manages to rout the 3rd Tederalist
infantry unit.
Gen. Garfield managed to rally the panicked cavalry, who
rushed forward and opened fire on the last Contederate unit. However, their fire was mostly ineffective.

Conclusion
Gen. Bearshall
surveyed the field and decided discretion was the better part of valor. He ordered a withdrawal, and his last remaining
units retired under artillery fire. His
troops withdrew to Teddessee and left Kenteddy to the Tederalists. The secessionist legislature fled, following
after Gen, Bearshall and his troops.
Gen. Garfield was
unable to follow-up and pursue as he became caught up in the bearocracy of the Tederalist
War Department. The chain of command was
unclear. Despite freeing Kenteddy from
Contederate forces, further follow-up would not come to later.

Final Thoughts
Interestingly enough, shooting was much more effective in
this game that a first read through would indicate. The long charge range seems to indicate that
charging is a preferred attack. However,
I had almost zero positive results from charging. Assault columns were rebuffed by line
formations, cavalry was repulsed by infantry, and even a flank charge
failed! My reading of the ACW would seem
to indicate that this is accurate to the warfare of the time and that charging
was a last desperate strategy. However,
I was really disappointed by the result of the flank cavalry charge.
We were also late to learning the amazing firepower of
artillery in this game. I should have
been using it more effectively, but my own troops often screened their
firepower. It will take careful planning
to make the best use of it next time.
On game mechanics I think some work still needs to be
done on flanking, LOS, and partial LOS/cover firing. I enjoyed the initiative system immensely but
once a unit was destroyed mid-turn there needs to be a way to remove a
counter. I am unsure how that would
work. However, it was a quick game and
ran smoothly.

No comments:
Post a Comment