This game will be using the Aquanautica Imperialis rules in the Operation: Hemlock setting.
The Ammoriss Naval PDF cruiser Saint's Shield steamed ahead with her taskforce arrayed across the Ammoriss Ocean behind her. Their bows cut through the deep blue, cresting the waters into a white spray. Their wake leaving a wide trail behind. Sea birds swirled around the Vox and Augur masts along the bridge of each ship.
Taskforce: Chalice had managed to pen up the Ork fleets sending those foolish enough to leave port to the bottom. However, the Ork air force was still active and a danger to the Ammoriss Navy. Her augurs stretched out looking for just such a threat. The Ammoriss Air PDF had been unsuccessful in shutting down the enemy fliers. Therefore, battle line Guiding Light led by Saint's Shield; was being sent into harm's way to the edge of Ork controlled territory in an effort to stem the Ork air forces ability to hamper Imperial supply lines.
The Captain of Saint's Shield opened his sealed orders and read them to the X.O. As expected, the battle line Guiding Light was to steam to the Green Zone and silence Ork airfields along the coast. The intent was to take the pressure off Imperial Supply Lines from the Ork air boyz. Of course, by attacking the air fields, they would be painting a big bulls-eye on themselves.
Forces:
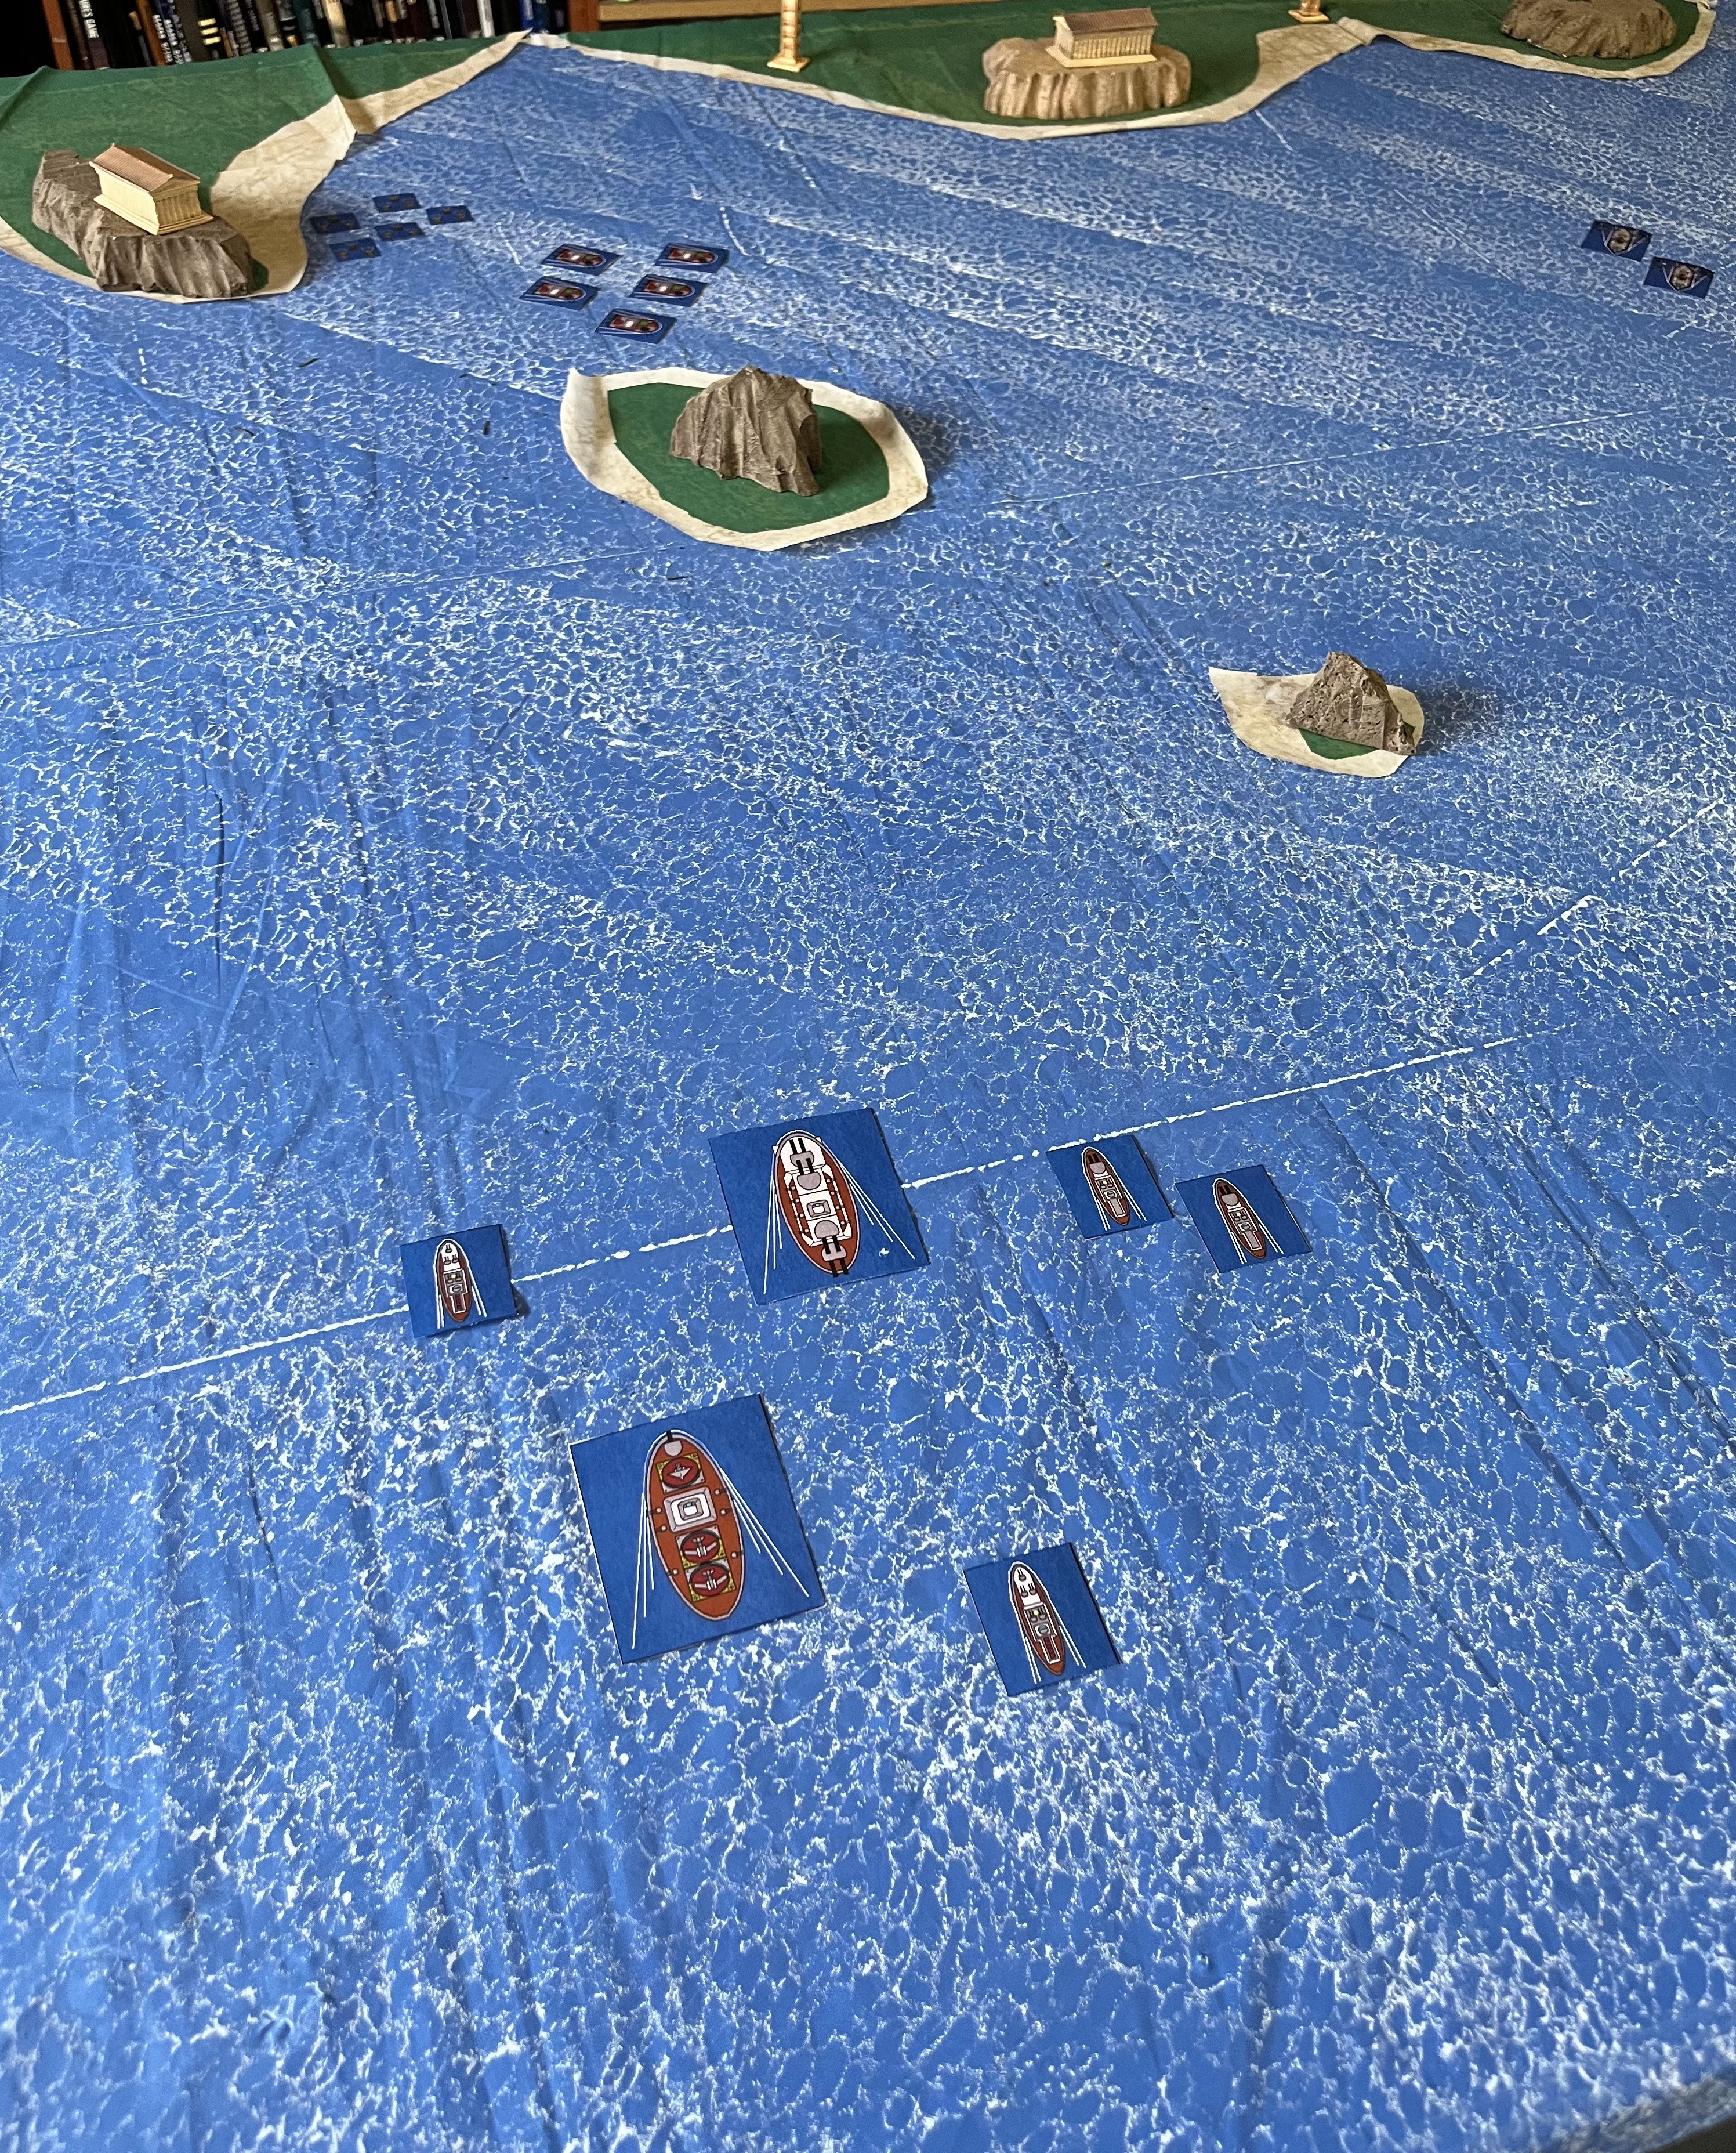
The forces will be made up of the paper templates I made in MS Paint for the game.
Guiding Light
ANS Saint's Shield - Reliable Cruiser
ANS Divine Right - Stalwart Cruiser
Spearpoint 345 - 3 Assured Escorts
Buckler 14 - 2 Protector Escorts
Hunter 878- Hunter Submersible
Green Zone Defense Forces
Big Mekz Boatz- 2 Boiler Boatz - Nobz
Slottaz Tubz- 5 Gun Tubz
Waaagh! Gorgbog - 5 Mob Boatz
Shush-Shush - Sneaky Gitz Submersible
Redtop- Grot Sub
Defgrin- Grot Sub
Squint Eye - Grot Sub
2 Shore Batteries (Weapon Battery, Range 24", Firepower 4, Armor 5+, Hits 4)
2 Fighta-Bommerz sites (Bays 6, Armor 5+, Hits 4)
Mission:
The Imperial forces have 6 turns to move in and cause as many hits on the Fighta-Bommer Sites as possible. They score additional Victory Points for each hit removed from the Fighta-Bommer sites.
The Orks are trying to protect the sites.
Set-up:
The table is a 4x4 play area on my ocean mat. There is a coastline on the north side of the board where the Orks will deploy their shore battery and Fighta-Bomma sites. The Orks can deploy up to 6 inches in from the shoreline.
The Imperial forces will be coming in from the opposite board edge and are deployed up to 12 inches in.
This game, I am using my paper templates as I do not have model versions of all the ship types in use.
Turn 1:
The Imperial forces move to the attack, and the Orks in their small escorts rush to meet them. The channel between the two outlying islands seems like it will be a choke point, and the Assured escorts are outgunned there. However, one of the Gun Tubz strays too close and runs aground in the shallow water near the island. In addition, Ork subs come to fire depth a safe distance away from the Ammoriss Naval PDF taskforce.
At the Chokepoint, the Assureds open fire and sink a pair of Gun Tubz. However, they weather a withering amount of return fire and escape unscathed!
The Saint's Shield trades fire with the Heavy Shore Battery. Even with Bracing the Cruiser takes the worst of it, losing 2 hits to the Batteries 1. The other Shore Battery manages to destroy one of the Assured escorts with a well placed shot.
The Ork subs put fish in the water. The Grot subs attempts are swatted away by PD, while the further away shots keep cruising. However, a flight of Ammoriss bombers from the Stalwart send the Squint Eye to the bottom with precision bombing. 1 flight needs to retrun home to re-arm, but three others are still out there hunting. Clouds of Ork fighta-Bommerz take off from their bases and head towards the PDF ships.
Turn 2:
The Redtop tries to Run Silent, Run Deep but fails and collides with the Protector escort. The two sink to the bottom. However, that is not the last navigation woe for the turn!
The Saint's Shield moves up too close to the island and also runs aground. The Assured rushes past the Ork escorts, while they turn and head throught he chokepoint after the ANS Divine Right. In the process, one of the Boiler Boatz runs aground in shallow water as well!
The Gun Tubz Heavy Kannonz turn the last Protector into a lifeless wreck! A lone bomber squadron swoops in on the Tubz but fails to strike home.
The Saint's Shield and the Heavy Battery trade shots again, with the Battery taking two hits and the armor of the Reliable cruiser shrugging off the attack. The Stalwart, ANS Divine Right is hit by the Boiler Boatz and loses a hit.
Mob Boatz and Fighta-Bommerz swarm the beached Cruiser. She decides to Brace for Impact to weather the storm. PD takes out one squadron of aircraft. Fierce fighting breaks out and 2 Mob Boats are removed from play, but in return the Crew of the Reliable is devastated and reduced to 0. Orks are still swarming their ship.
Ork Torps hit their own Gun Tub and overkill one and send it to the bottom. Fighta-Bommerz swarm the Assured and a bomb turns it into a flaming wreck. Several squadrons need to turn around a re-arm, leaving 4 total in play.
Turn 3:
The ANS Divine Right scoots forward and sends a squadron of Interceptors to clear out a Fighta-bomma over the Saint's Shield. The Reliable cruiser manages to get free of the grounding, but is still being swarmed by Ork Mob Boats and Fighta-Bommaz.
The last Boiler Boat comes up on the Reliable's stern and trades shots with her. The result is a crippled ANS cruiser. The bow of the Reliable fires on the Heavy Shore Battery and destroys it! The crew manages to fend off the last Ork attackers, but not before they wreck the ship's rudder.
Swarms of Ork Fighta-Bommaz again take-off from their bases and head-out to sea looking for the Imperial Carrier. Meanwhile, the Ammoriss Bombers still in the air target the last Gun Tubz and manage to hulk her. One more Squadron heads for home.
Turn 4:
The Divine Right moves towards the coastline. However, Ork Fighta-Bommaz are swarming the area. The Saint's Shield limps away from the island coastline, and towards the Ork beaches. The Ork Shush-Shush moves between the two islands and tries to get a bead on the Carrier.
The crippled cruiser fires a weakened broadside at the first Ork airbase, but fails to land a hit. Being just too far for Bombs, the Carrier launches a sortie of Interceptors that clears the air around the ship of Ork aircraft. Only 1 squadron remains. However, the other squadrons are radioed in and 5 squadrons attack. Three are splashed by PD and two attack but fail to penetrate the Carrier's armor. Only 1 remains in service after the attack.
The last Boiler Boat stalks the Saint's Shield and hits her again for a damaging hit! Several of the hulked ships sink or explode.
Turn 5:
The last Boiler Boat continues to be a nuisance and hits the Divine Right for two hits. However, her bombers take-off and destroy the first of the Ork airbases with an air raid. The Ork planes were busy on the ground re-arming and reloading.
However, heavy fire from the Ork Shore Battery causes 1 more hit, crippling her. Ouch, no more reloading. However, there are still three active bombers out and operational.
The Shush-Shush fires a spread of torpedoes to finish off the Carrier, but they fall just short.
Turn 6:
The cover of night and a chance to escape is fast approaching.
The last Grot Sub comes to firing depth behind the Naval PDF Cruiser. The ANS Divine Right evades the oncoming torpedoes.
The Boiler Boat and the Saint's Shield line up. However, as the two exchange fire, it is the Boiler Boat who wins the engagement. The Saint's Shield is reduced to 0 armor and begins to sink.
The Divine Right and the Shire Battery exchange fire, with the ship taking a hit. The last Ork Air base manages to get a screen of fighta-bommaz up over the battery.
The Shush-Shush reloads her torpedoes and fires again. The Carrier's PD takes out 1, but three get through. However, the ship's armored belt holds up against the onslaught.
See the Ork swarm over the battery, the remaining planes target the Boiler Boat. However, the escort manages to survive the air attack unscathed! With that, the bombers return to their battered carrier.
Conclusion:
Night falls and the ANS Divine Right manages to limb away into the night, badly damaged. Despite wiping out the Ork blue-water Navy, they have proven to still have formidable shore defenses.
The Ammoriss Naval PDF lost 15 Hull points, to the Orks losing 16. A narrow win for the Naval PDF, but I think it is more accurate to call the result indecisive.
The grot squealed as Ripsnogga poked it with the business end of his Herding stick. It looked up with its soft, weak Oomie eyes. The critter was sopping wet from his little swim to the beach. The Ork runtherd saw several more of them flopping through the waves and to the beach. The ship that they came from had heeled over, and settled on the bottom of the bay with part of her hide sticking out. Even from here he could see some figures moving about on the things hull.
He cuffed the wretched cur at his feet, and it squealed again. He grabbed it by the arm and pulled it roughly to its feet and tossed him back to the Gretchin horde behind him. The Grots were glad to see someone joining their ranks that was of lower rank than them! They cackled gleefully and some even did little dances of joy.
Ripsnogga waved his arms around, encompassing the whole beach, "Gather up these little fish! There is work for them to be doing!" He whacked a nearby Grot with his stick for good measure. The little blighters rushed off, eager to grab more Oomiez to their work crews. Finally, someone they could push around!
Become a Patron and get access to all the cool stuff, a peak behind the curtain of Blood and Spectacles, and early-access to playtest games!
Check out the latest publications and contact me at our
Blood and Spectacles website
Become a Patron and get access to all the cool stuff, a peak behind the curtain of Blood and Spectacles, and early-access to playtest games!
Check out the latest publications and contact me at our
Blood and Spectacles website


No comments:
Post a Comment