The French are the defenders and the British are the attackers in this scenario. This is a patrol mission, so it uses standard armor loss for victory conditions.
There were no complications rolled up for our battle today.
The battle will be played on a 48MU by 48MU board. We used a grid system to determine the terrain per the standard rules.
1= Mountain at Alt 1
2= Two clouds at Alt
3= Cloud at Alt 4
4= Cloud at Alt
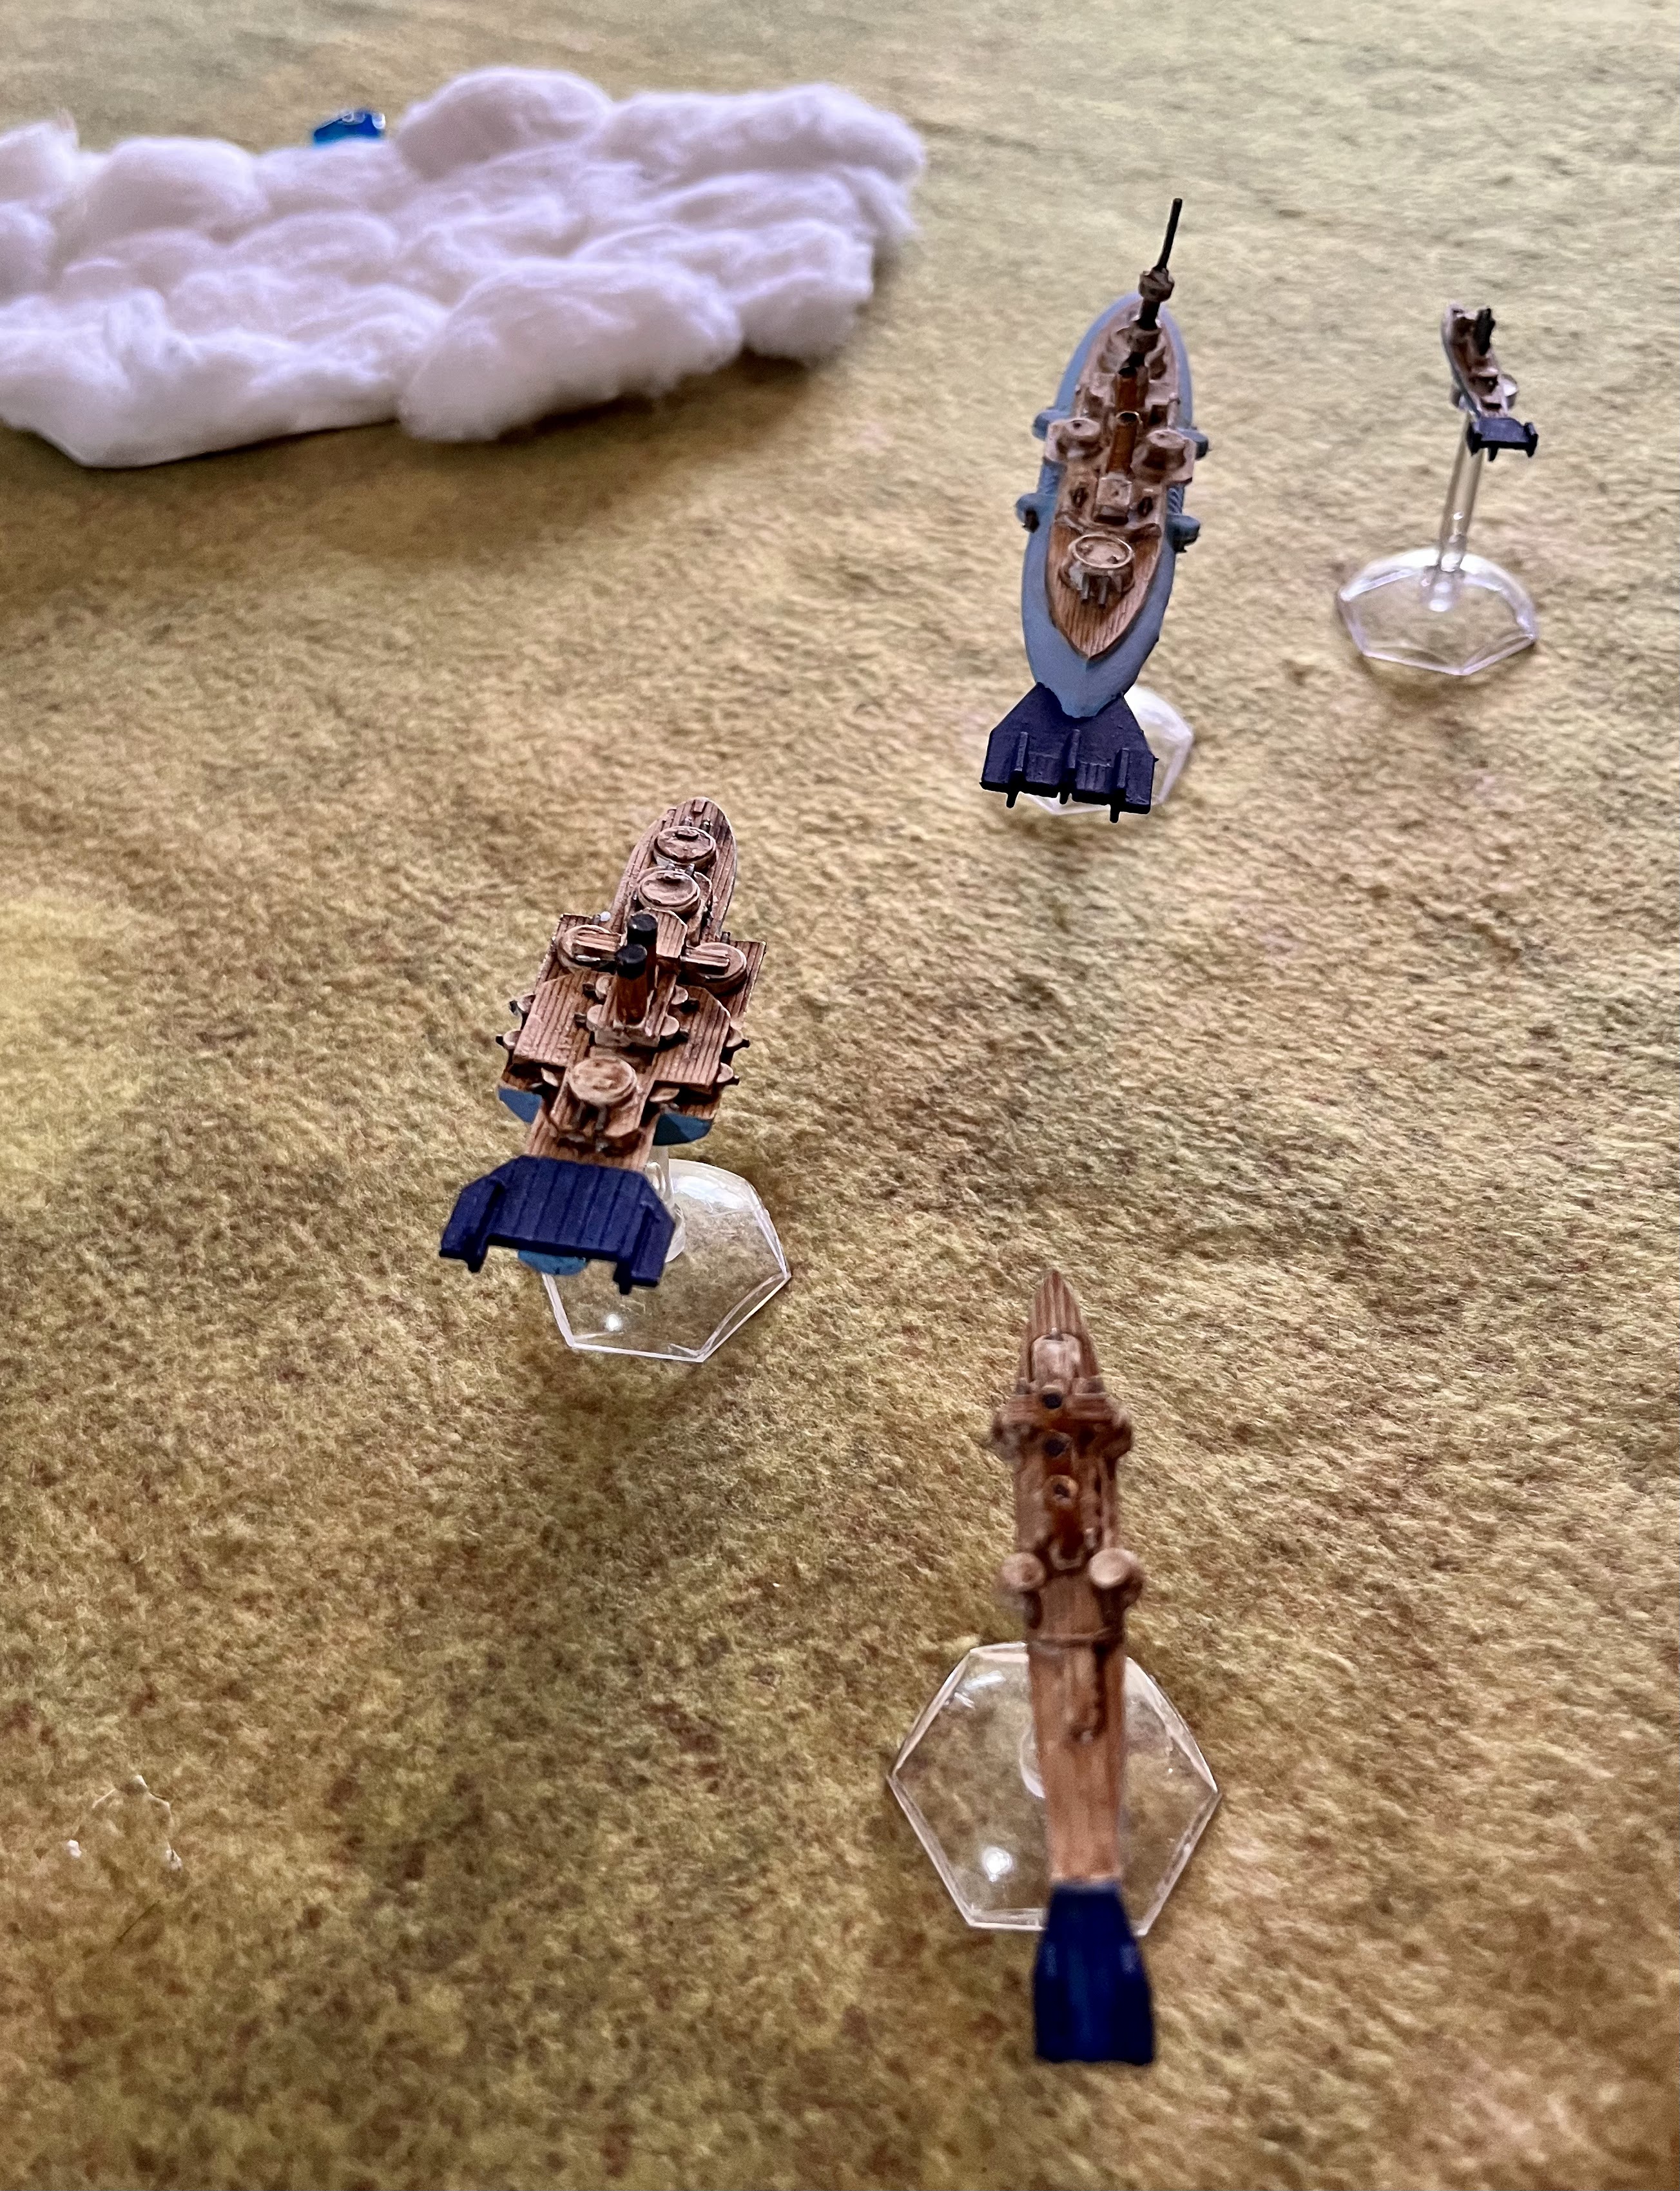
The British can deploy up to 6 MU in on the Grid 1 and 2. They decide to deploy in a familiar formation on the edge of Grid 1. The HMS Malayan supported by the Medusa, followed by the Archeron at a higher altitude supported by the Corsair. They are all at Altitude 3 and speed 4.
The French deploy on the edge of Grid 3, putting them on the same side of the board as the British. They are being led by the Fantassin who is escorting the Camot, then the Cuchinchina, with the Tonkin steaming at the rear of the group. They are at Altitude 5-7, and speed 5.
Turn 1:
Initiative: The British get 2 Commands to the French 0. The British elect to go first this turn.
Move:
The HMS Malayan uses a Stoke the Engines command and speeds up to max speed and turns towards the French fleet. She is eager to come to grips with the enemy. The Medusa speeds up to stay with her.
The French dutifully stay on course, with only the Tonkin accelerating and moving to the outside edge of the fleet.
The Archeron slowly turns but does not accelerate, the HMS Corsair needs to speed up to stay in formation with the Archeron.
Battle:
None
End:
None
Turn 2:
Initiative: The British get 1 Command and the French get 0! The British again decide to go first.
Move:
The HMS Archeron goes first and decides to raise up to get over the mountain between the two fleets, with the Corsair following suit.
The French, maintain course and altitude for now. The Tonkin continues to pull ahead of the rest of the fleet.
The Malayan stays on course and at the present height with her escort.... for now.
Battle:
None
End:
None
Turn 3:
Initiative: This time, it is the British with 0 Commands, and the French have all three. They elect to go first.
Move:
The French Fantassin begins a turn towards the gap between the cloud banks. The British keep pressing in, with no change to altitude or speed. The French ships follow the lead of the destroyer, except for the Tonkin. She drops to 6 and speeds up to 8, ready to use her torpedoes to try and break up the oncoming British force.
Battle:
With the altitude difference and class differences, the two columns are just out of range of each other.
End:
Turn 4:
Initiative: Both sides score 2 Commands, to initiative stays with the French. They elect to go first, confident they know what the British are planning to do.
Move:
The Fantassin quickly and aggressively moves to attack the incoming British with some acceleration, altitude drop, and quick turns that only escorts can manage. Meanwhile, the HMS Archeron crests the mountain top in pursuit of the French line, speeding up as she goes.
The Cuchinchina also speeds up and turns slowly towards the larger level 4 cloud, setting up a run to safety after a exchange of fire with the British? The HMS Corsair gains some altitude to avoid anti-escort fire and moves to make an attack run on the French column.
The Tonkin also turns aggressively to try and turn into the flank of the advancing British forces. The HMS Malayan turns into the attackers and gain altitude to engage.
The Camot stays in tight formation with the Cuchinchina as she turns to put her broadsides on the British. The Captain considers blowing smoke, but decides against it. This will be the turn of decisive action, and he wants his full firepower!
The Medusa stays with her escort.
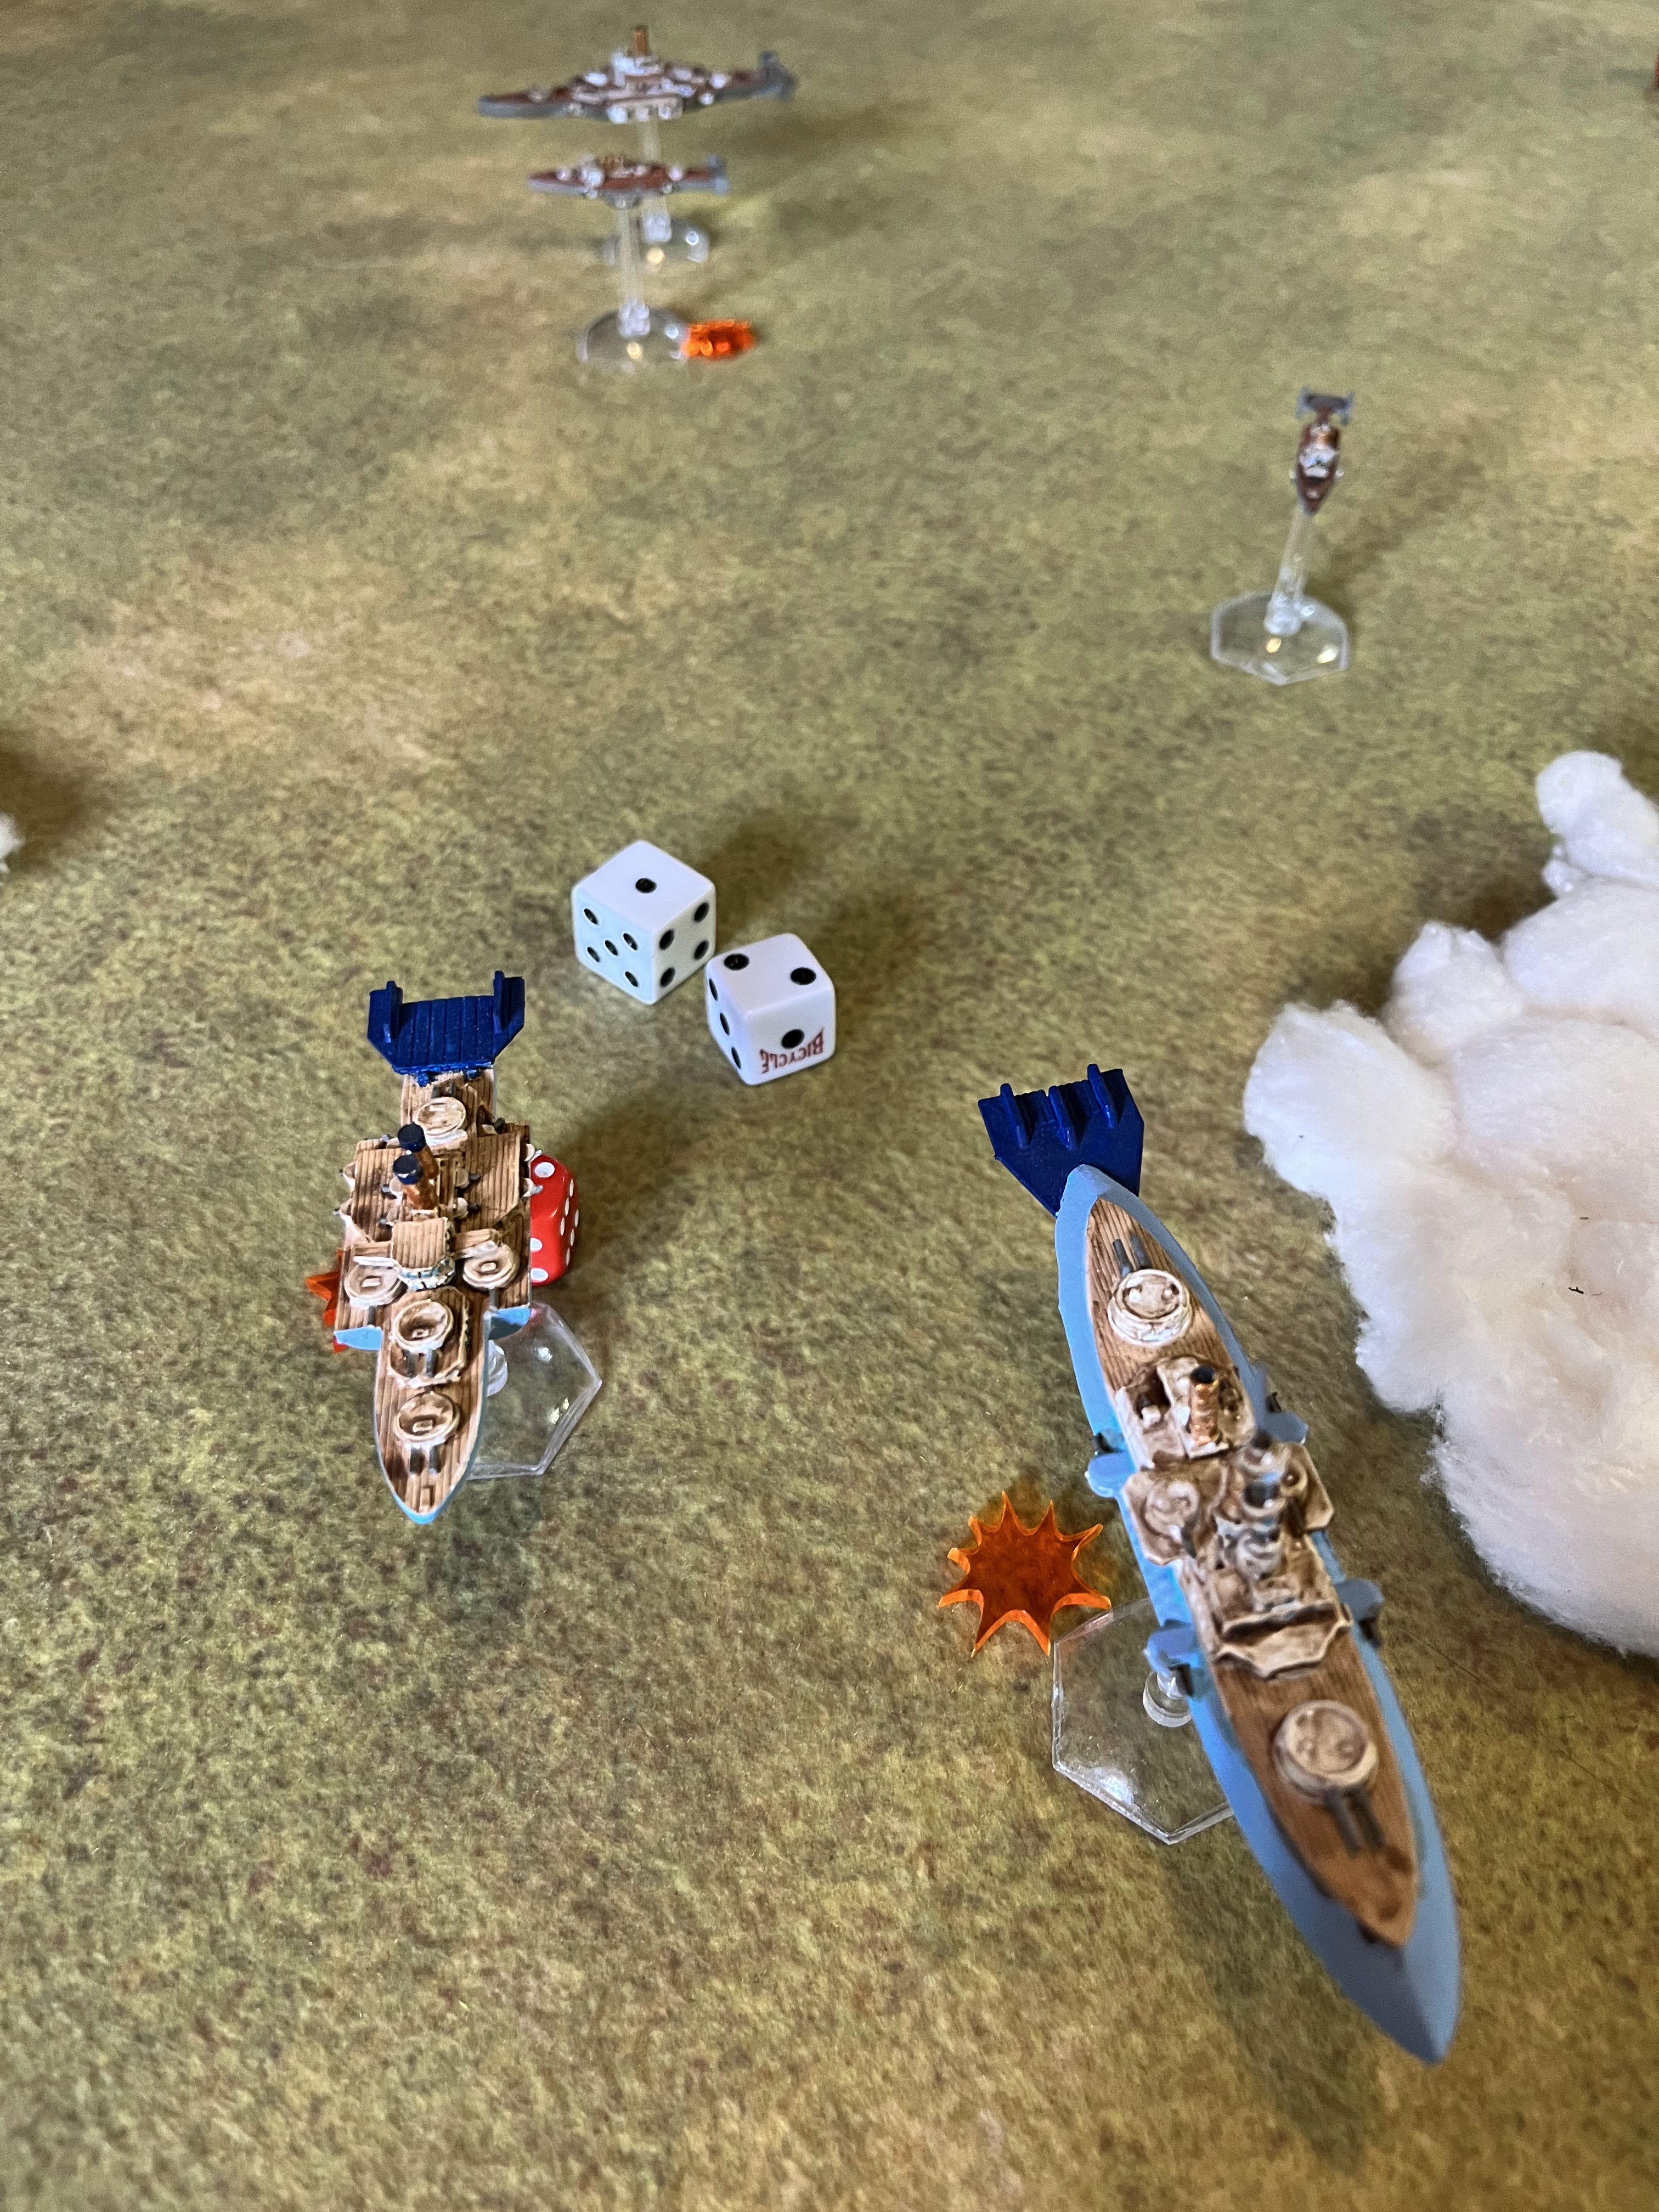
Battle:
Commodore Aubre makes a Fire for Effect Command for the Camot, and her turrets swing into action. The Heavy batteries put two friction on the British battleship, while the port Medium batteries fail to fire due to a technical issue.
The HMS Corsair fires Torps at the Cuchinchina, who goes on a Prepare for Impact command. The Point Defense scratch two inbound, but the last two manage to hit. One manages to to hit hard enough to cause damage!
The Fantassin fires her light battery and torpedoes at the Medusa, but the point defense easily swat the torpedoes out of the sky. Plus, the Fantassin's forward battery runs out of ammo.
The Malayan fires her bow heavy battery at the Cuchinchina, and causes one friction. The TOnkin decides to hold fire, her angle is not great, and the Point Defense of the Medusa will make short work of her barrage.
End:
The Cuchinchina loses some armor to the hit.
The Fantassin and the Camot prepare their jammed weaponry for next turn.
There is only 10 Friction on the board. The French clear the five on the Cuchinchina, while the British are able to clear the five on their two vessels.
Turn 5:
Initiative: The French and the British both only score 1 Command, so the French maintain initiative. They choose to go first, as getting friction on the enemy battleship was critical to avoiding a worse pounding last turn.
Move:
The Tonkin races around behind the British main ships, gaining altitude and maintaining her rapid speed. The Medusa gain height and turns to starboard 45 degrees as she goes.
The Fantassin climbs to altitude 6, and maintains her speed, She dashes around and is now in formation with the Tonkin. The HMS Malayan stays in formation with her escort and turns to bring the French into her broadsides.
The Camot races away from the HMS Malayan, gaining altitude as she goes, her screw churning the air roughly as she races ahead! The HMS Corasir gives chase, eager to fire her torpedoes again, but has not yet re-loaded them.
The Cuchinchina also races away gaining height, however she turns to get tot he starboard side of the French battleship instead of the port side. The HMS Archeron sees the French torpedo ships coming and turns away from them and drops altitude.
Battle:
The stern heavy battery manages to land a telling hit on the HMS Medusa. Return fire misses. The Camot's stern battery also hits the Medusa for 1 friction.
Commodore Duckworth makes a Fore for Effect command, using the British's only command on the HMS Malayan. Her heavy battery broadsides open up. Two shells hit the French battleship, and one causes damage.
The French use their last command to reload torpedoes on the Fantassin. He fires at range, with the HMS Archeron's Point Defense knocking out two. However, the last one strikes home and causes damage.
End:
The Medusa, Camot, and Archeron all lose 1 point of armor.
No ships need to repair damage, no one is sinking, and no one needs to test for a strike your colors test.
There is 7 friction on the board. The French remove two off their battleship, and one off the Medusa. The British get more than enough to remove the last 4 off their ships.
Turn 6: Final Turn
Initiative: Both sides score 1 command, and this time the French elect to go second!
Move:
The Medusa moves ahead and turns to port, heralding the position of the Malayan later in the turn. The Camot stays at speed and moves away as fast as possible, going to altitude 7!
The HMS Corsair wishes to pursue and easily does. She goes to reload torpedoes', and fails! That was the British one command this turn. The Cuchinchina stays with her larger sister ship.
The HMS Malayan also goes up one altitude to pursue the fleeing French, and puts them in her broadsides. The Fantassin goes lower, and slows in pursuit of the HMS Archeron.
The Captain of the Archeron is sick of fleeing, and turns to port and goes up altitude in an attempt to get his light batteries into action against the French destroyer. It might have been enough? The Tonkin also comes up into formation with the Destroyer to target the Archeron.
Battle:
The HMS Archeron is going to fire first. The Tonkin is in her stern arc, but the Fantassin is in the port arc. The Medium Battery and Light Battery open fire and cause 4 friction on the French destroyer. The French commander is glad they did not waste their last command to reload torpedoes on it yet.
The Cuchinchina and Canot measure and adjust, but determine they do not have any shots at the British. The only shots left are the Tonkin vs. the Archeron. The make a Fire for Effect command and let loose with a full spread of torpedoes. One gets blasted in bound, and one outright miss. Two manages to cause damage while the other two detonate harmlessly on the armored belt. That might swing the game to the French!
The HMS Malayan has the Cuchinchina in medium range in her broadside. The heavy guns each get 1 dice to hit them. They both need to hit and damage to tie the game. The shots ring out, and they both hit the fleeing armored cruiser. They need 4+ to penetrate the damaged ship and......
Neither manage to sink home! The French look like they may have squeaked the win with their Fabian style tactics.
End:
The Archeron loses two armor and has her Rudder Jammed. However, her rudder is easily fixed by the crew.
There is 7 Friction on the board, The British manage to clear it all on their own.
Conclusion:
The French managed to pull a squeaker win with some Fabian tactics to avoid losing. It worked! The British were intend on knocking them out of the campaign, but their aggressiveness ended up costing them as one of their cruisers became isolated and out of position, and easy prey for the D'Iberville and Chasseur Destroyer. That brings the campaign back to 5 vs 5.
This time, Captain Montgomery took the blame for the defeat graciously. Commodore Duckworth called him into his office and reamed the destroyer captain out for an hour. If Montgomery had not rushed away to hunt down enemy ships, he would have been in position to provide point defense support for the Archeron. Ultimately, he wasn't and the badly damaged ship forced the British to re-group and escort it home while the French scampered back to their ports in Indo-china.
Despite the loss, Duckworth had little else he could do besides dress down Captain Montgomery. He had been the darling and hero of the last battle. His dedication to duty and heroism was legendary with the crew. Therefore, he left it at that and no other formal charges or reports were made. He had to turn is attention to the French fleet, and not waste his time on internal politics.
Commodore Aubre and the Camot had yet again faced the the power of a Queen Elizabeth class dreadnought and come away with a victory. The French officer wondered how long until his luck ran out. He knew his pre-dreadnought battleship was no match for the British ship one-on-one. He knew he would need to keep playing defensively and with cunning to pry Siam away from the British.
As the warships head home, the HMS Archeron manages to repair two of her three armor loss. The Medusa fails to fix her losses. The French ships manage to repair their damage as well.
The Hue ends her training exercises and returns to the French fleet with 3 more experience. That was not really worth having her out of the line-up for three games, but it was a risk I took and lost. The HMS Achilles also returns to the British fleet after being refitted at Phra Nakron. The Tromblom also completes repairs in Saigon and is back to full strength.
Now, it is time to hand out Experience:
Malayan: 25 + 2 = 27
Medusa: 8 + 1 = 9
Corsair: 10 + 2 = 12
Archeron: 10 + 2 = 12
Camot: 13 + 2 = 15
Cuchinchina: 4 + 3 = 7
Tonkin: 17 + 4 = 21
Fantassin: 8 + 3 = 11
Hue: 7 + 3 = 10
That gives a new level to the Corsair, who gains Cross-Trained which allows it to re-roll a Command Check! That would have been handy this time around! The Archeron gets Disciplined Crew which allows it to remove Friction itself, not just from the Commodore.
The Fantassin gets Drilled Crew which will help reload Torps. The Tonkin gets Marksmen, which allows +1 dice for Fire for Effect commands! That will also be useful!
The British use Laem Chebang to repair the last armor on the HMS Archeron. They convert the Kra Isthmus into a re-roll next game. The French used Hanoi to finish work on the Tromblom. The other two cities are also converted into Re-rolls.
Become a Patron and get access to all the cool stuff, a peak behind the curtain of Blood and Spectacles, and early-access to playtest games!
Check out the latest publications and contact me at our
Blood and Spectacles website


No comments:
Post a Comment