
 |
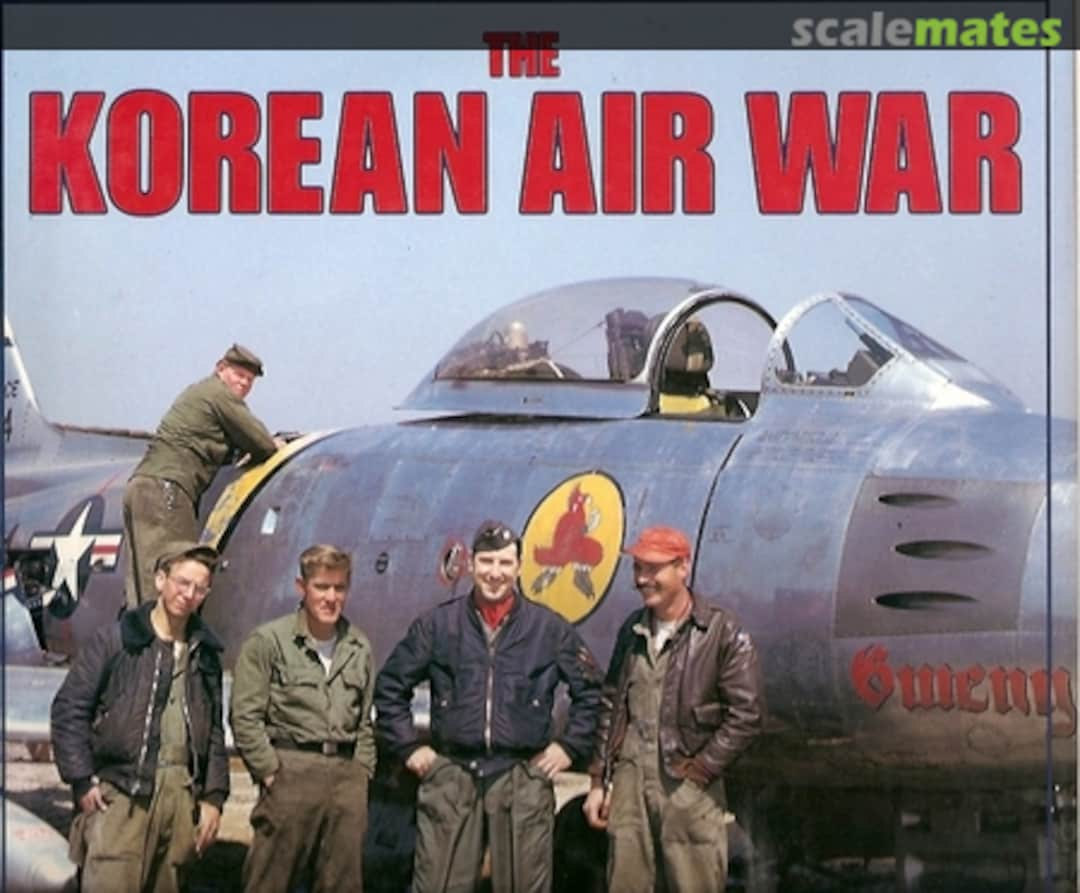
| Image from here: https://www.scalemates.com/books/the-korean-air-war-robert-f-dorr-warren-thompson--109961 |
In late 1950, B-29 strategic raids were still being carried out against North Korean targets. However, these raids were complicated by the arrival of the Russian Mig-15 on the scene. They took a heavy toll on the B-29 bombers. It was soon discovered that the F-80's and F-84s the USAF were using to escort these bombers were ill-equipped to deal with the threat. The new F-86 Sabre was called into service to help escort the B-29s.
On the North Korean side, the Russians were frantically training up North Korean and Chinese pilots to lift some of the burden off their own assets. They could get these new pilots the planes quickly and easily enough, but it took time and combat experience to get them up to skill. The North Koreans also soon learned that the LA-11 Fang was not up to challenge of the B-29 threat. They would need the Mig-15s as well to protect the homeland.
In early 1951, a squadron of B-29s from Japan are attempting to get to North Korea to unload on a factory complex. However, they will have to cross North Korean air space to do so. This squadron is being escorted by F-86 fighters. The North Korean forward observers have detected the attack, and moved to intercept despite their Mig pilots not being fully up to speed.
Forces
USAF
3 B-29 Super Fortress- Experienced Pilots
2 F-86 Sabres- Experienced Pilots
North Korean Air Force
2 Mig-15s- Rookie Pilots
2 Yak-9s- Experienced Pilots
2 La-11 Fangs- Experience Pilots
1 Anti-aircraft Gun
1 Anti-aircraft Cannon
These are roughly equal point forces
Sortie
This is a Bomber Intercept mission. The B-29s will earn extra Kills by making it to the opposite board edge and off the board. The North Koreans are trying to stop them. The USAF is the Attacker in this mission.
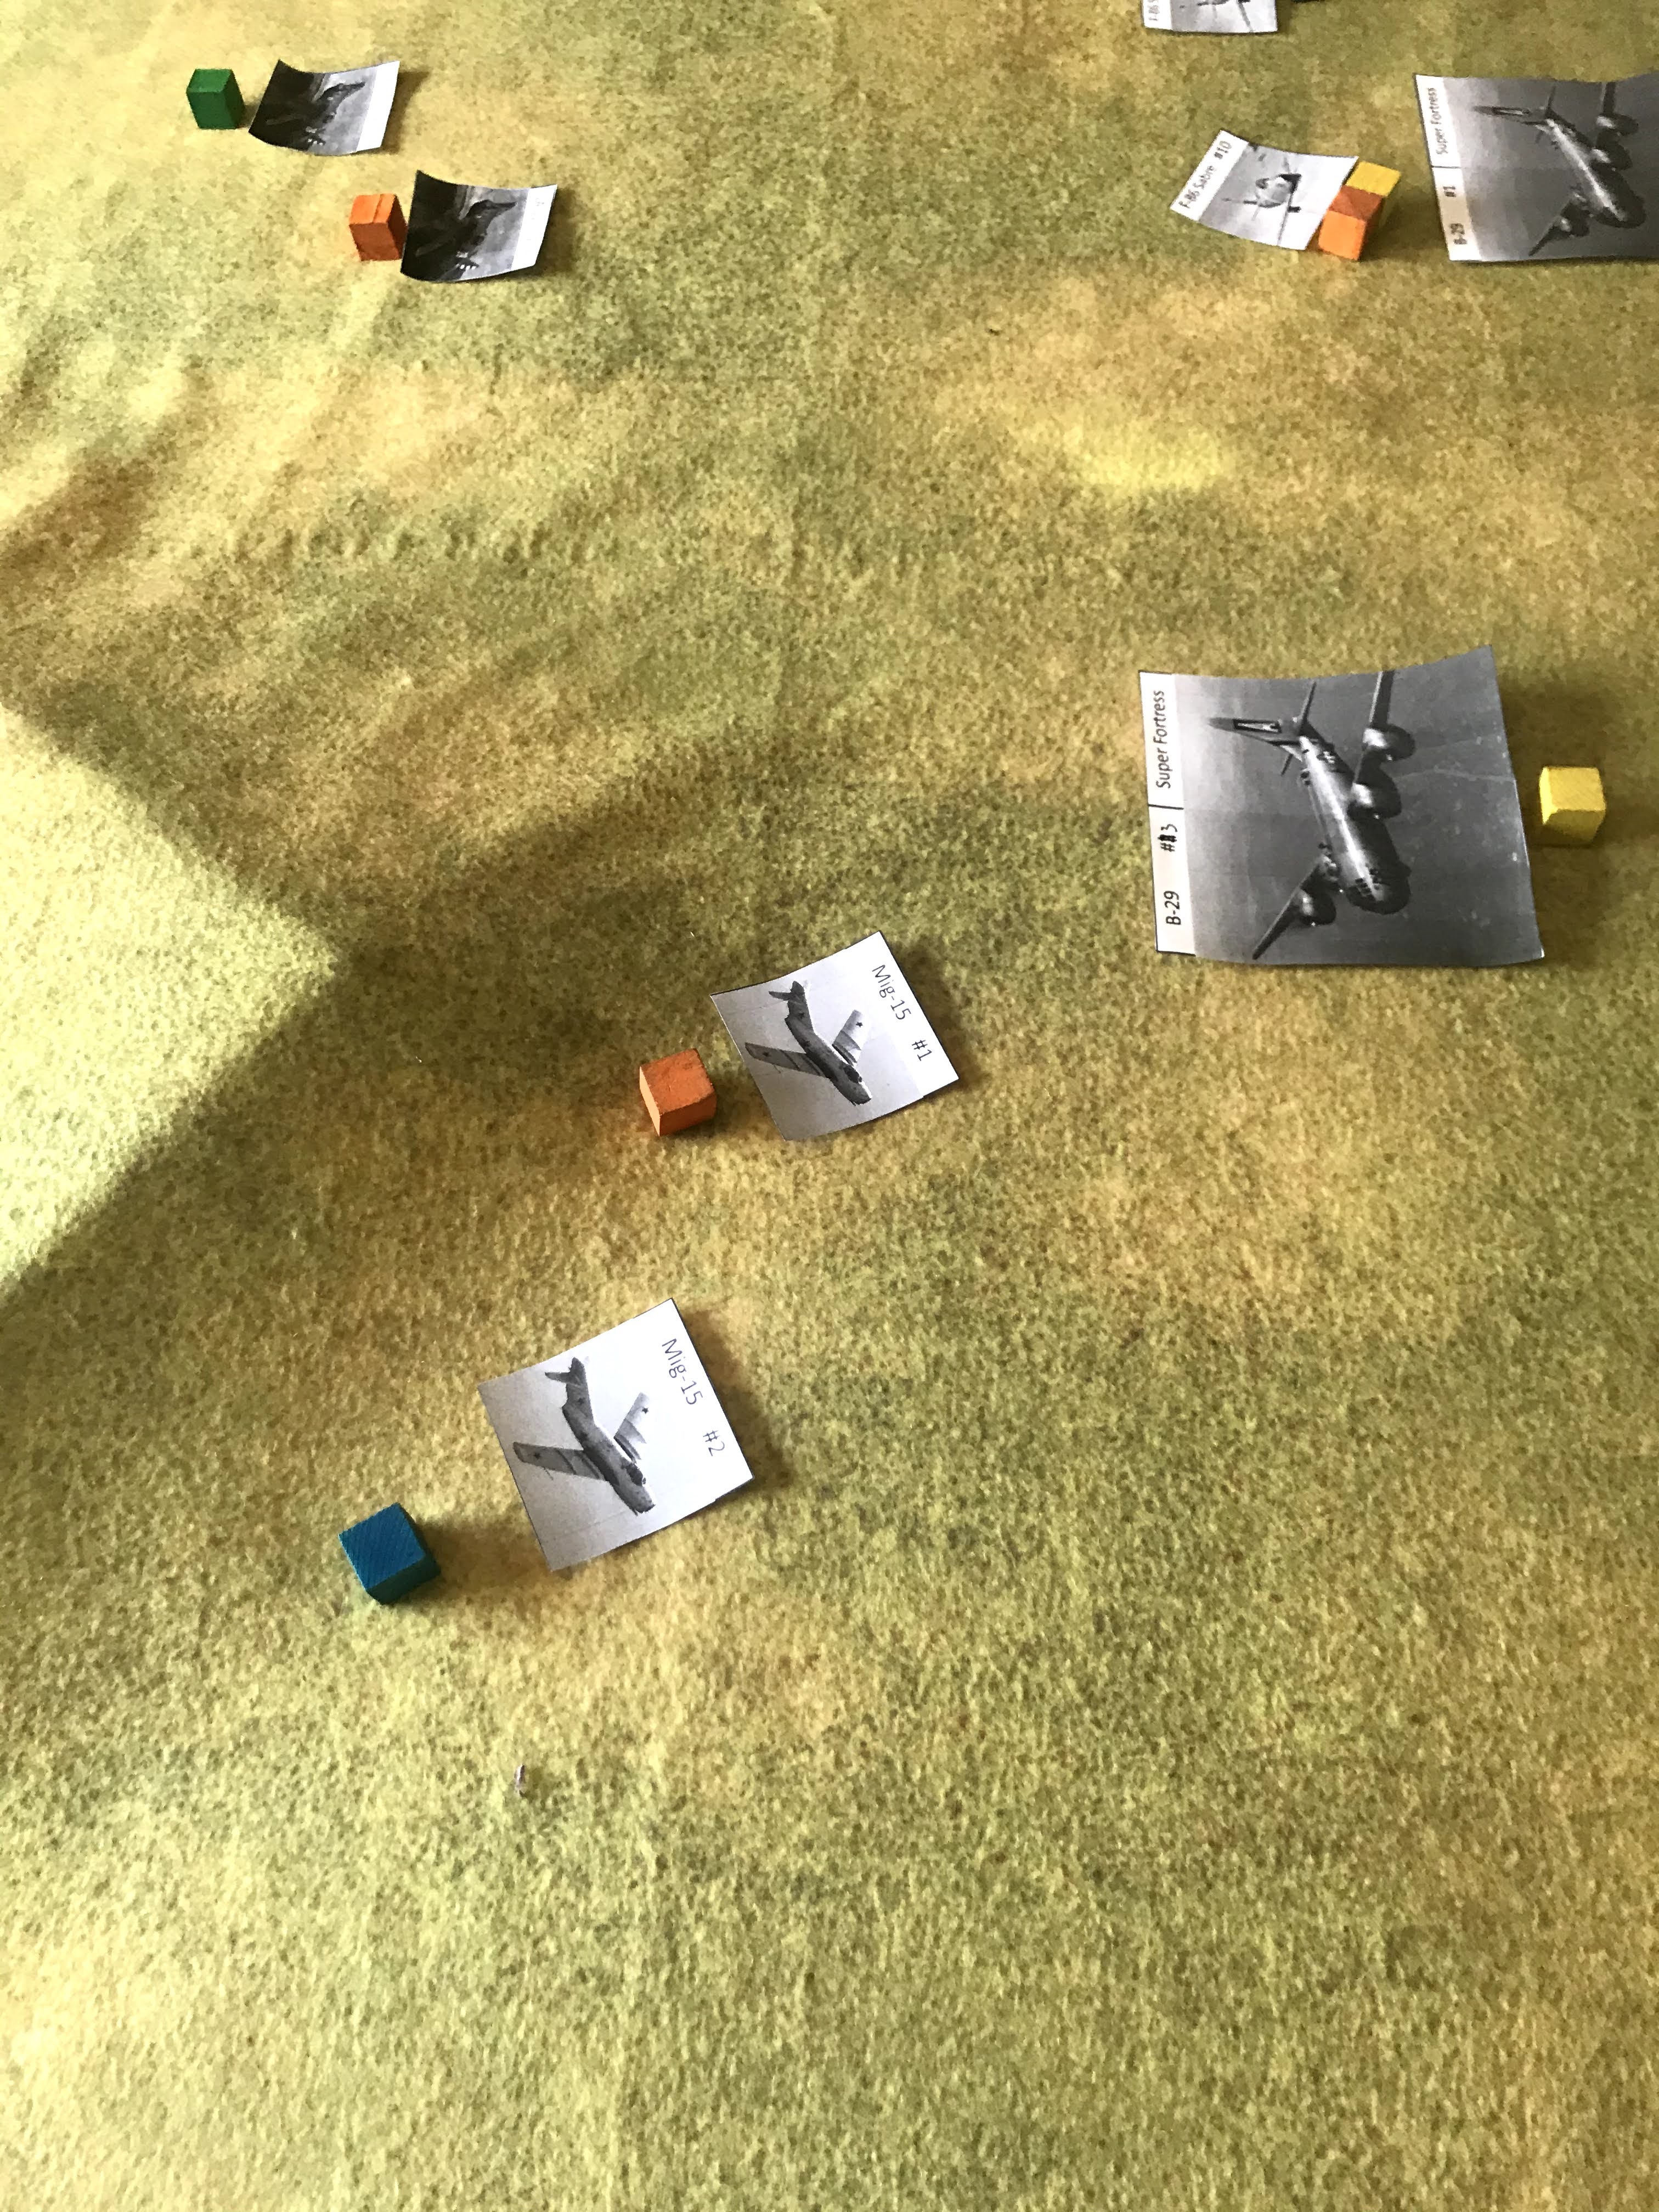
Set-up
The game uses Measurement Units instead of a fixed measurement system. This allows players to match their models and boards. Today I will be using a 48 x 48 MU board, with an MU being 1 inch. We rolled for weather and found it to be Sunny with the Sun coming from the Western side of the board. That will be on the USAF deployment zone's left.
A few hills are added to the North Korean side of the board as the USAF approach North Korean targets. These have no effect on the game at this point.
The Sortie, Weather, and Attacker were all determined via the rules in the White Star/Red Star rules.
Turn 1:
Detection Phase:
Both sides roll for Detection and the USAF is having some problems all ready. The Bombers and their escorts are easily detected, but NONE of the North Korean assets are. That means the USAF will have to deploy their planes on the board now, but the North Koreans won't.
The USAF can be deployed anywhere within 6 inches of their board edge at any height. Once a plane type is deployed, all their peers must deploy within 12 MU of a plane of a similar type. The B-29s push out as far as they can across the center of the board in a line abreast. They are at Combat Altitude. The F-86s go behind the middle B-29 on the board edge and at High Altitude.
No North Koreans are spotted at this time.
Rookie Phase:
All USAF Aircraft move ahead full. There is no shooting.
Experienced Phase:
All USAF Aircraft continue to move ahead full. There is no shooting.

Turn 2:
Detection Phase:
This time, the USAF is much more successful at spotting. The outlines of enemy aircraft are spotted. The Bombardier in the lead B-29 also calls out the location of some North Korean AA swinging into position.
Since the North Koreans were not detected until Turn 2, they can deploy anywhere up to 12 MU in from their board edge. The rules for aircraft of the same type still applies and is intended to keep them in some type of formation upon deployment.
The North Koreans place their La-11 Fangs first. They are set-up to take on the lead enemy Bomber Head-to-Head. They are at Combat Altitude. The Fangs are followed by the Yak-9s. They are flanking the La-11 and trying to take on the Bomber's wing man. The Rookie Mig pilots are set up to sweep in from the Western Sun. They are at Combat Altitude and turned to come in at the third Bomber at an angle. The AA Gun and Cannon are last. They are placed as a back stop and protection from any B-29s escaping the board.

Rookie Phase:
The North Koreans have the most aircraft, so can choose to start moving first or second. They choose to go second so they can see where the Americans end up and then use their numbers to converge on a target.
The B-29 on the left of the USAF formation moves first. It is quickly greeted by 1 of the Rookie Mig-15's flying towards it and opening fire. It is a Long Shot, but the Mig manages to hit. However, the B-29 is made of sterner stuff and weathers the shots. The Mig still has plenty of ammo.
The center B-29 lumbers forward. The lead Mig dashes towards the same B-29 as his wingman, and also takes long shot, but misses. He also still has ammo.
The last B-29 moves straight ahead. No one is in range of his defensive guns. The first La-11 Fang trundles towards his target. The distance is too great for any shooting yet.
The F-86 leader drops one altitude and moves to clear the way in front of the lead B-29. The La-Fangs wingman follows his flight leader towards the lead B-29. Meanwhile, the second F-86 turns to stay with his wingman, but stays at high altitude. You can either turn or change altitude, so he chose to turn.
The Yak-9's turn into the USAF's right flank B-29. The lead Yak takes a long shot. Despite the extra dice to avoid damage, the Yak's aim is true and the first USAF Bomber goes down! First blood to the North Koreans! 

Experienced Phase:
In this Phase, only Experienced Pilots can continue to take actions. That leaves the two North Korean Mig-15s out of the fight. However, the North Koreans choose to make the USAF go first.
The left wing B-29 Super Fortress closes in on the Mig-15s and its defensive guns open up on the lead Mig. Due to the attack angle, he is not shooting into the Western Sun or as a Deflection shot. The Experienced B-29 crew manages to snag the Lead Mig, who fails their Maneuver test to avoid damage. He is shot down! Scratch 1 Communist!
The La-11's wingman tries to clear a path to the B-29 and takes on the F-86 in front of him. He opens fire and gets an impressive set of box cars, but the F-86 jinks out of way and avoids the incoming fire. The Fang still has ammo left.
Despite being attacked, the lead Sabre targets the lead Fang and opens fire at combat range. However, his shots fail to find their marks. Thankfully, he still has ammo to stay in the fight.
The lead Fang also keeps the mission in mind, and heads straight for the B-29. He lines up a shot and opens fire. It is a Long Shot. He manages to blast the B-29's wing off, and the plane begins a quick descent as parachutes appear in its wake. Down to 1 Bomber left!

The last F-86 drops down on the La-11's wingman. He is very close and opens fire with his .50 Cals. He sprays the propeller driven plane with fire. The North Korea manages to evade for a few moments, before a burst of bullets tears his motor apart and he begins to fall from the sky.

With their target downed, the remaining Yaks bank in towards the USAF Sabres. The trailing Yak manages to get a shot off at the zooming jet. It isn't enough to down the USAF pilot.
Turn 3:
Detection Phase:
All Planes have been detected, so no additional action is needed.
Rookie Phase:
The North Koreans still have more planes on the board. However, they see one of the Fangs is still in danger, and decide to go first. The Fang fighter banks hard and heads into the Western Sun.
The USAF moves the last B-29, which finds the La-Fang and the Mig-15 in its Defensive fire range. It opens fire on both. It misses the La-11, and the Mig-15 evades the incoming shots by jinking. The Rookie Mig-15 turns away and tries to evade from the B-29's guns.

The lead Sabre angles towards the La-11 but can't get the angle on the slow moving plane. The Yak-9s continue to turn in towards the last B-29, but they are out of position. The last F-86 gains altitude and moves to stay away from the Yaks vectoring in on his position.
Experienced Phase:
The North Koreans are still going first.
The lead Yak continues its pursuit of the last B-29. The Lead F-86 goes back to High Altitude, as it signals the location of a North Korean AA gun to the B-29. The Yaks wingman stays on his leaders wing, while the F-86's wingman turns back to his boss, both at High Altitude.
The B-29 climbs to High Altitude to avoid the AA gun's fire. The La-11 Fang's terrible climb rate helps the Communist keep the B-29 in his sights as he slowly ascends to match the Bomber! Since you move and then shoot, the Bomber's defensive guns would not have a shot once it got to High Altitude compared to the Fang's Combat Altitude, this could cost the USAF the game!

The La-11 opens fire as it struggles to gain height. The bright sun does not hinder such a close range shot, but it is a Deflection shot The shots pepper the B-29 with 2 hits. The Experienced USAF pilots make their Maneuver checks and score 1 success despite the extra dice from Deflection. The last B-29 is shot down over North Korea!
That leads us into....
Turn 4- Disengagement Turn
With all the bombers shot down, that leads us into a disengagement turn. All aircraft will attempt to break-off for the Communists, but a kill for the USAF pilots could allow them to make this a tie game!
Detection Phase:
No action needed as all planes are on the board.
Rookie Phase:
The North Koreans decide to go first and try to move any planes that are potentially in danger.
The La-11 dives back into Combat Altitude, its engine no longer struggling. The wingman Sabre drops back to combat altitude. However, the NK AA Cannon fires on the Sabre, but the shells are easily avoided by the nimble craft. The lead Sabre also drops to Combat Altitude.
The Rookie Mig-15 breaks hard into the sun to get home. The two Yaks move to escort their Fang comrade. 

Experienced Phase:
The North Koreans go first and the La-11 Fang drops to Low Altitude and out of reach of the F-86s this phase.
The lead F-86 banks hard and angles in on the Mig-15 that is trying to break away. He is not shooting directly into the sun, but the Mig is still at long range and a Deflection Shot. He takes the shot anyway. The USAF pilot gains a single success, but thanks to the extra Maneuver from deflection the Rookie manages to avoid getting shot down.

The Yaks follow the Fang down to low altitude. However, the Sabre has a special rule to drop two altitude bands, BUT then the last F-86 would not be able to turn in and get the proper attack angle. The Sabre escorts will have to break off and head for home.
Conclusion
The North Koreans win with 3 Kills to 2 Kills.
The numerical superiority of the North Koreans paid off in spades! The slow speed of the defenders turned out to be a benefit as they could manage to get into and stay in position when taking on the B-29s. Heck, even the poor ability of the La-11 to gain altitude ended up helping this time! That is not normal. That said, if one of the B-29s would have been able to break past the skirmish line, there would be very little way for the North Koreans to have gotten back into position to stop the USAF from getting their Bombers off the board.
The mechanics of this game are very simple, but I found myself having to make tough choices about when to change altitude vs. when to turn. When to turn 20, 45, or 90 degrees and lose speed? Change altitude to avoid contact, but at the cost of speed to my objective? Was it better to try and maneuver or bulldog through. Take a low probability shot, but risk running out of ammo now, or try to make an attack stick anyway?
I can imagine some people disliking how the Rookie, Experienced, Ace phase plays out as an Ace in a Mig could move up to 21 MU while a Rookie in a Yak move 4 MU, or vice versa a Ace in a La-11 Fang could fly 12 MU compared to a Rookie in a Sabre flying 7 MU in a turn. However, I find this a simple and easy way to differentiate the inbred, killer instincts of a deadly pilot from a conscript that barely knows how to fly. It seems plausible to me that a Pilot learning how to fight in a Mig-15 could be downed by a B-29's gunners, like what happened in this game.
Overall, the game worked as intended. I think the next step for me is to get some of the 1/600 aircraft from Tumbling Dice to paint up. There are also aircraft from the period available in other sizes from 1/600 to 1/144. However, the price point and size of the Tumbling Dice models seem like a good fit for what I want my air battles to look like on a 3x3 to 4x4 foot table battle.

You can follow Blood and Spectacles Facebook page for more fun: https://m.facebook.com/pg/BloodandSpectacles/posts/?ref=bookmarks&mt_nav=0
Or our website:
Or our Messageboard:
Or our Wargames Vault Page:
No comments:
Post a Comment