Showing posts with label trireme. Show all posts

Monday, September 25, 2023

Battle Report- Poseidon's Warriors- Battle of Lade


This is the continuing recreation of the Ionian Revolt.  The Ionian Revolt was a revolt against the Persian Empire by the Ionian Greeks and their allies prior to the Greco-Persian War.  It took place from 499 to 493 BCE.  It was a land and sea affair, so I am using a combination of Poseidon's Warriors and Men of Bronze to re-create the campaign.  Both are from the Osprey Wargaming Series.  In addition, Men of Bronze has a specific supplement for the conflict called The Ionian Revolt. 


By the sixth year of the Ionian Revolt, the Persians had successfully counter-attacked and recaptured much of the lost cities.  However, the Ionian Greeks still held out with Miletus being the originator of the revolt still resisting.  The Persians reformed into a single army, supported by naval forces and marched on Miletus to end the Revolt once and for all. The accomplished Persian general Datis took command of this unified Persian force. 

Upon hearing of the approaching enemy, the Greeks decided to challenge them at sea rather than on land.  The Greeks assembled a large fleet from many of their member cities.  They made for the island of Lade in order to stem the Persian attack on the city.  

The Persian force was composed of a multi-national fleet as well.  It had Phoenicians, Egyptians, and even the newly re-conquered Cypriots.  They were likely led by Datis himself.  The Persians sent the former tyrants of each rebel city with the offer to surrender.  This strained the Ionian coalition. In addition, the Greek general Dionysius trained them hard in tactics and fighting.  This did not sit well with all the Greeks.  

Today, we are going to be fighting the Naval engagement that occurred off the island Lade.  Supposedly, some of the Ionians retreated from the battle, persuaded by the Persians offers of peace.  This allowed the Persians to overwhelm the remaining Greeks forces and defeat them.  

Once we get the results of the sea battle, we will also be playing the land battle using the scenario in The Ionian Revolt supplement for Men of Bronze.   

Forces:

Persians
1 Slow Trireme unit with admiral and elite troops
4 Slow Trireme units     

Ionians
1 Fast Trireme with Admiral and 
1 Fast Trireme
3 Slow Triremes

Set-up:
This battle will take place on a 6x4 table.  The fleets are spread from West to East.  The coast of Lade is on the short edge to the East. The two fleets are facing off.  The Persians are to the North and the Ionians to the South. 


Both fleets have deployed for a standard engagement, with the Ionians having their Fast Triremes on the left edge furthest out to sea.  The two sides spread out across the ocean by Squadron. 


Mission: 
This will be a straight up battle, with both sides looking to sink the opposing fleet.  The basic scenario is found in the main rulebook. 

The turn after the first combat, each Ionian squadron will start the turn with a simple 4+ morale test.  If failed, they will abandon the fight.  They are removed from the table as they signal their desire to fleet and escape to the Persian ships.  They are no longer relevant to the battle.  Once two Squadrons have fled, no additional Morale tests are needed. 

Instead of my normal turn-by-turn breakdown, I am going to try to break the game down into the Maneuver Phase, the Battle Phase, and the End Game section.  Something a bit different to ease the load of book keeping, and to avoid me taking too much time typing during the actual game! 

Maneuver Phase:
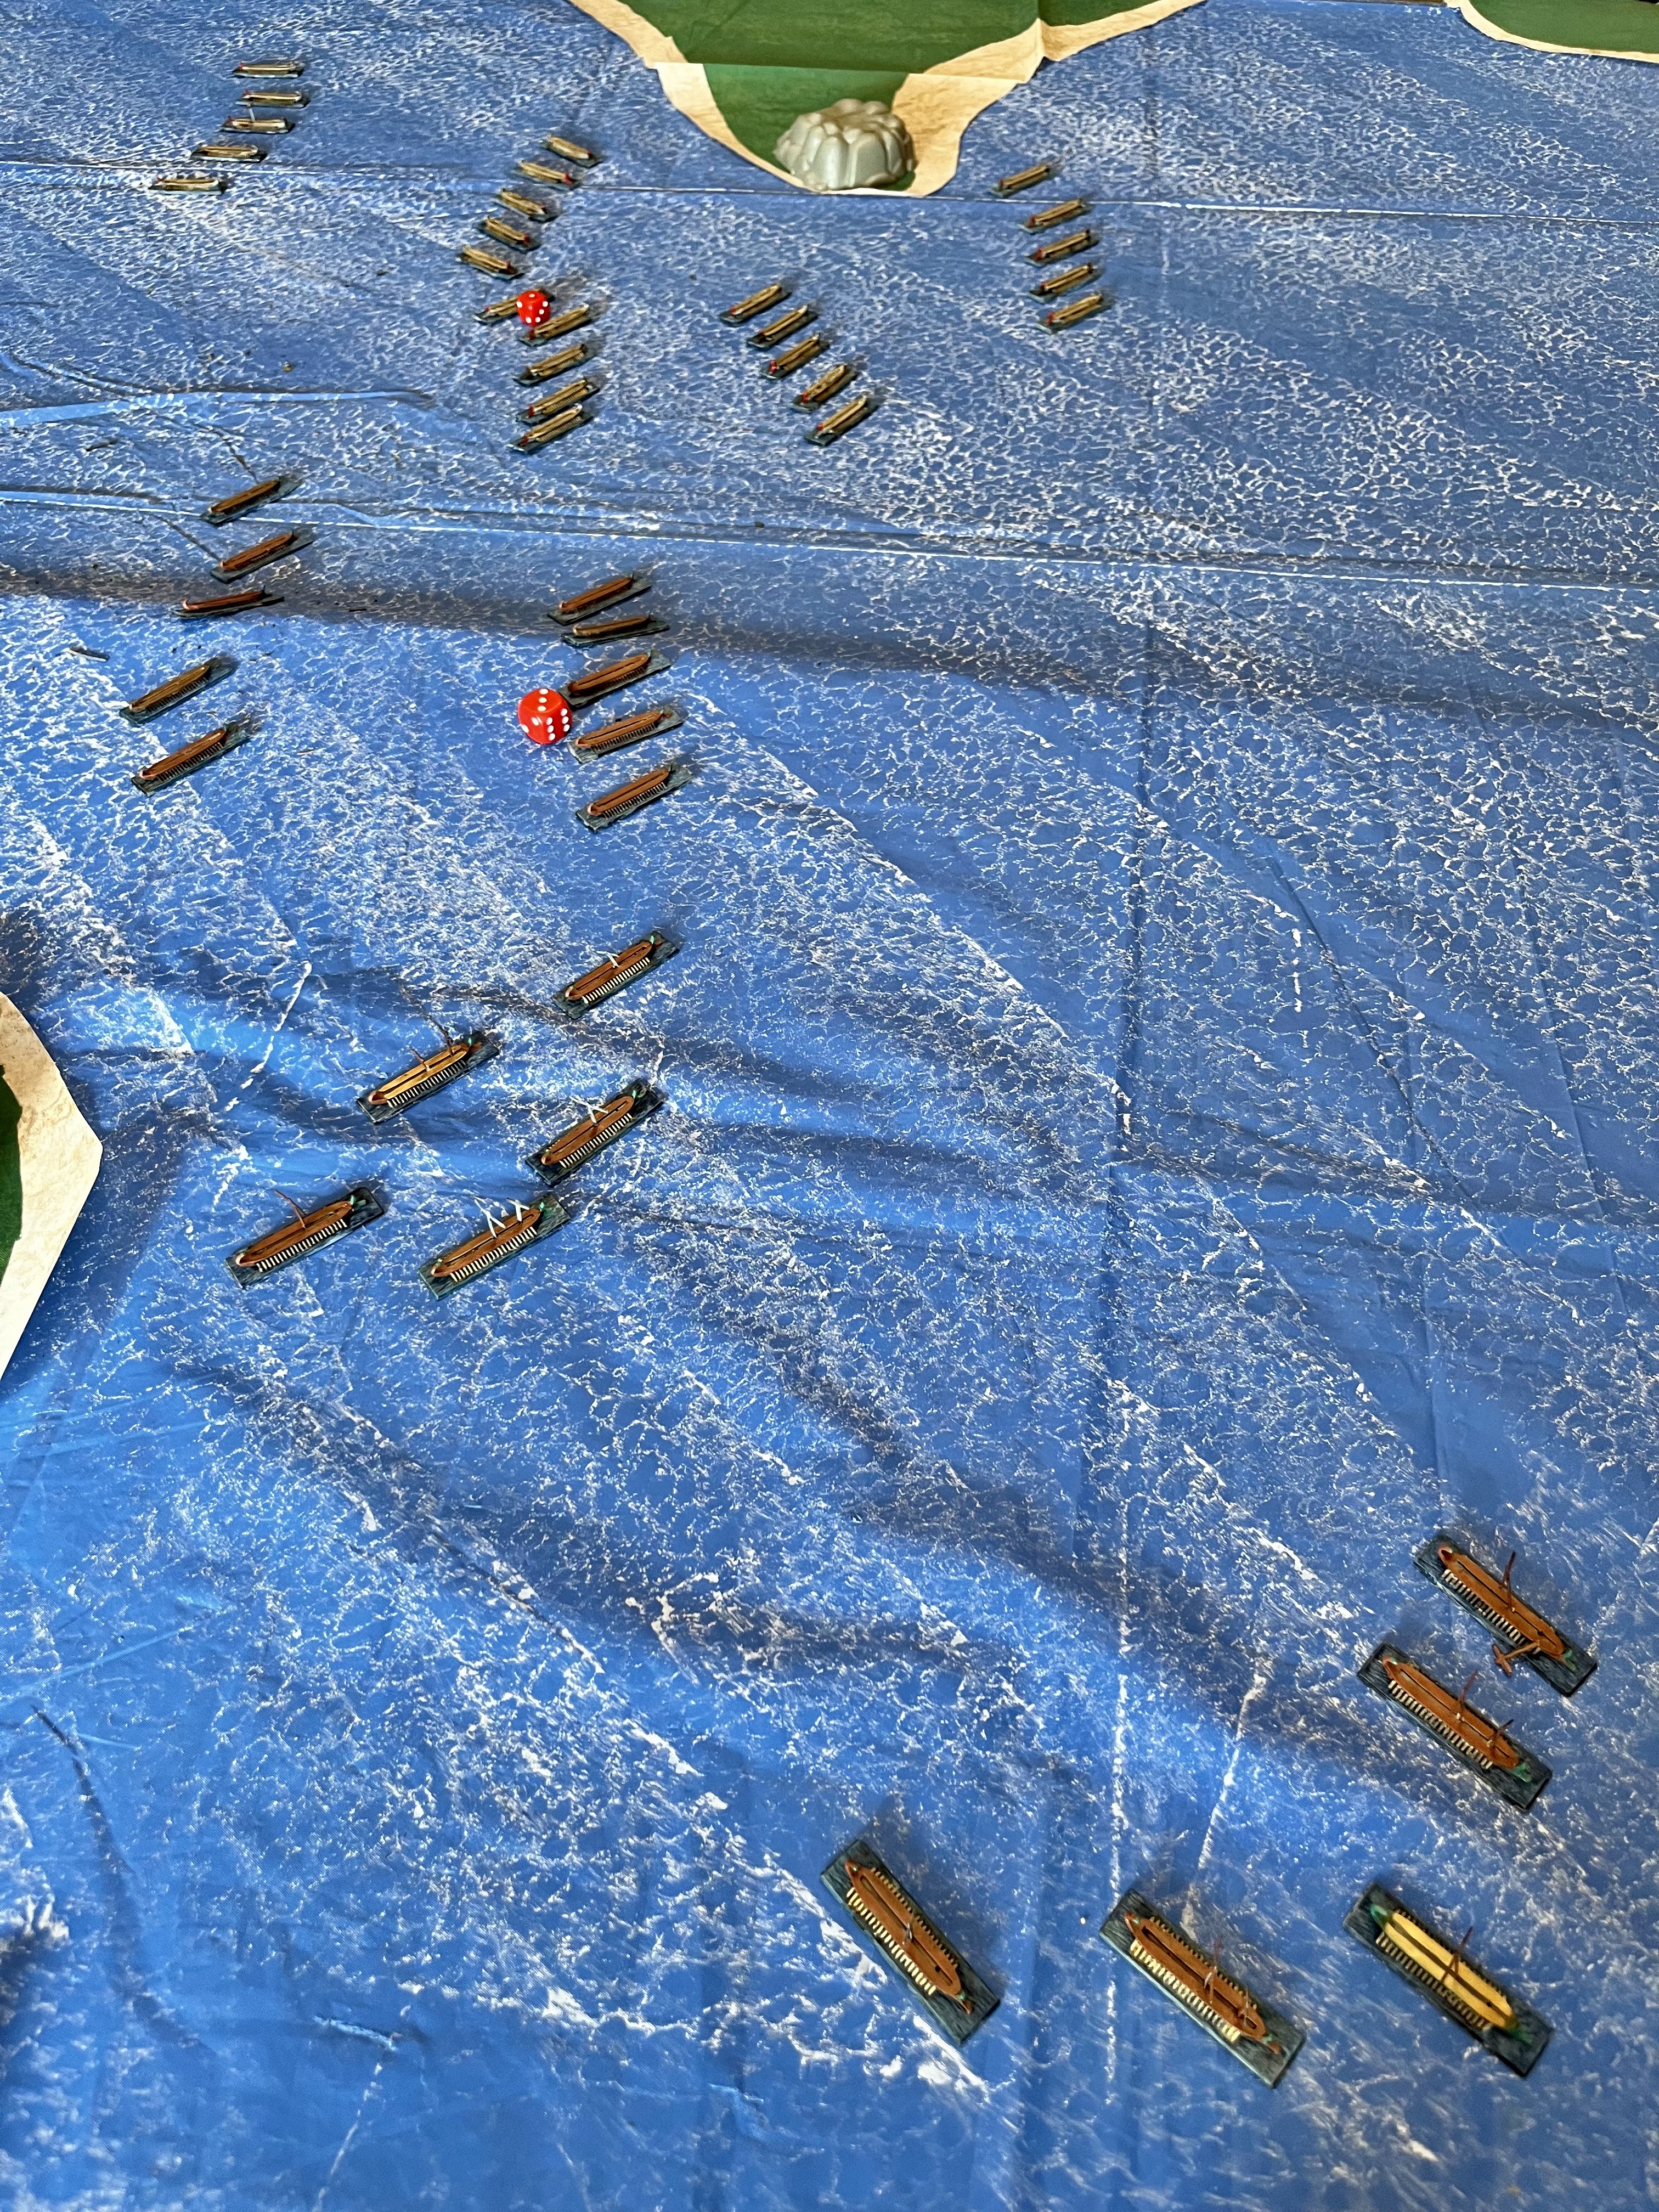
The Persians approach while the Ionians have the center approach with the fast triremes going out wide on both sides.  The Persians send a squadron to cover the approach to the east side, by the island.  A few barrier islands make the approach interesting.  


Meanwhile, the rest of the fleet begins to try to align into a two line depth to the fleet.   The fast triremes close in on both edges. Contact seems imminent. 


Battle Phase
The ships have closed into bow shot range, and the Greeks fire first.  The Persian lead unit gets peppered with shots, killing the marines on half their ships.  

On the Persian West flank, the Fast Triremes move in on the exposed Persian ships.  However, they encounter a hail of arrows and sling stones.  1 ship loses its Marines, while enough rowers are lost on the other ships to slow them down.  

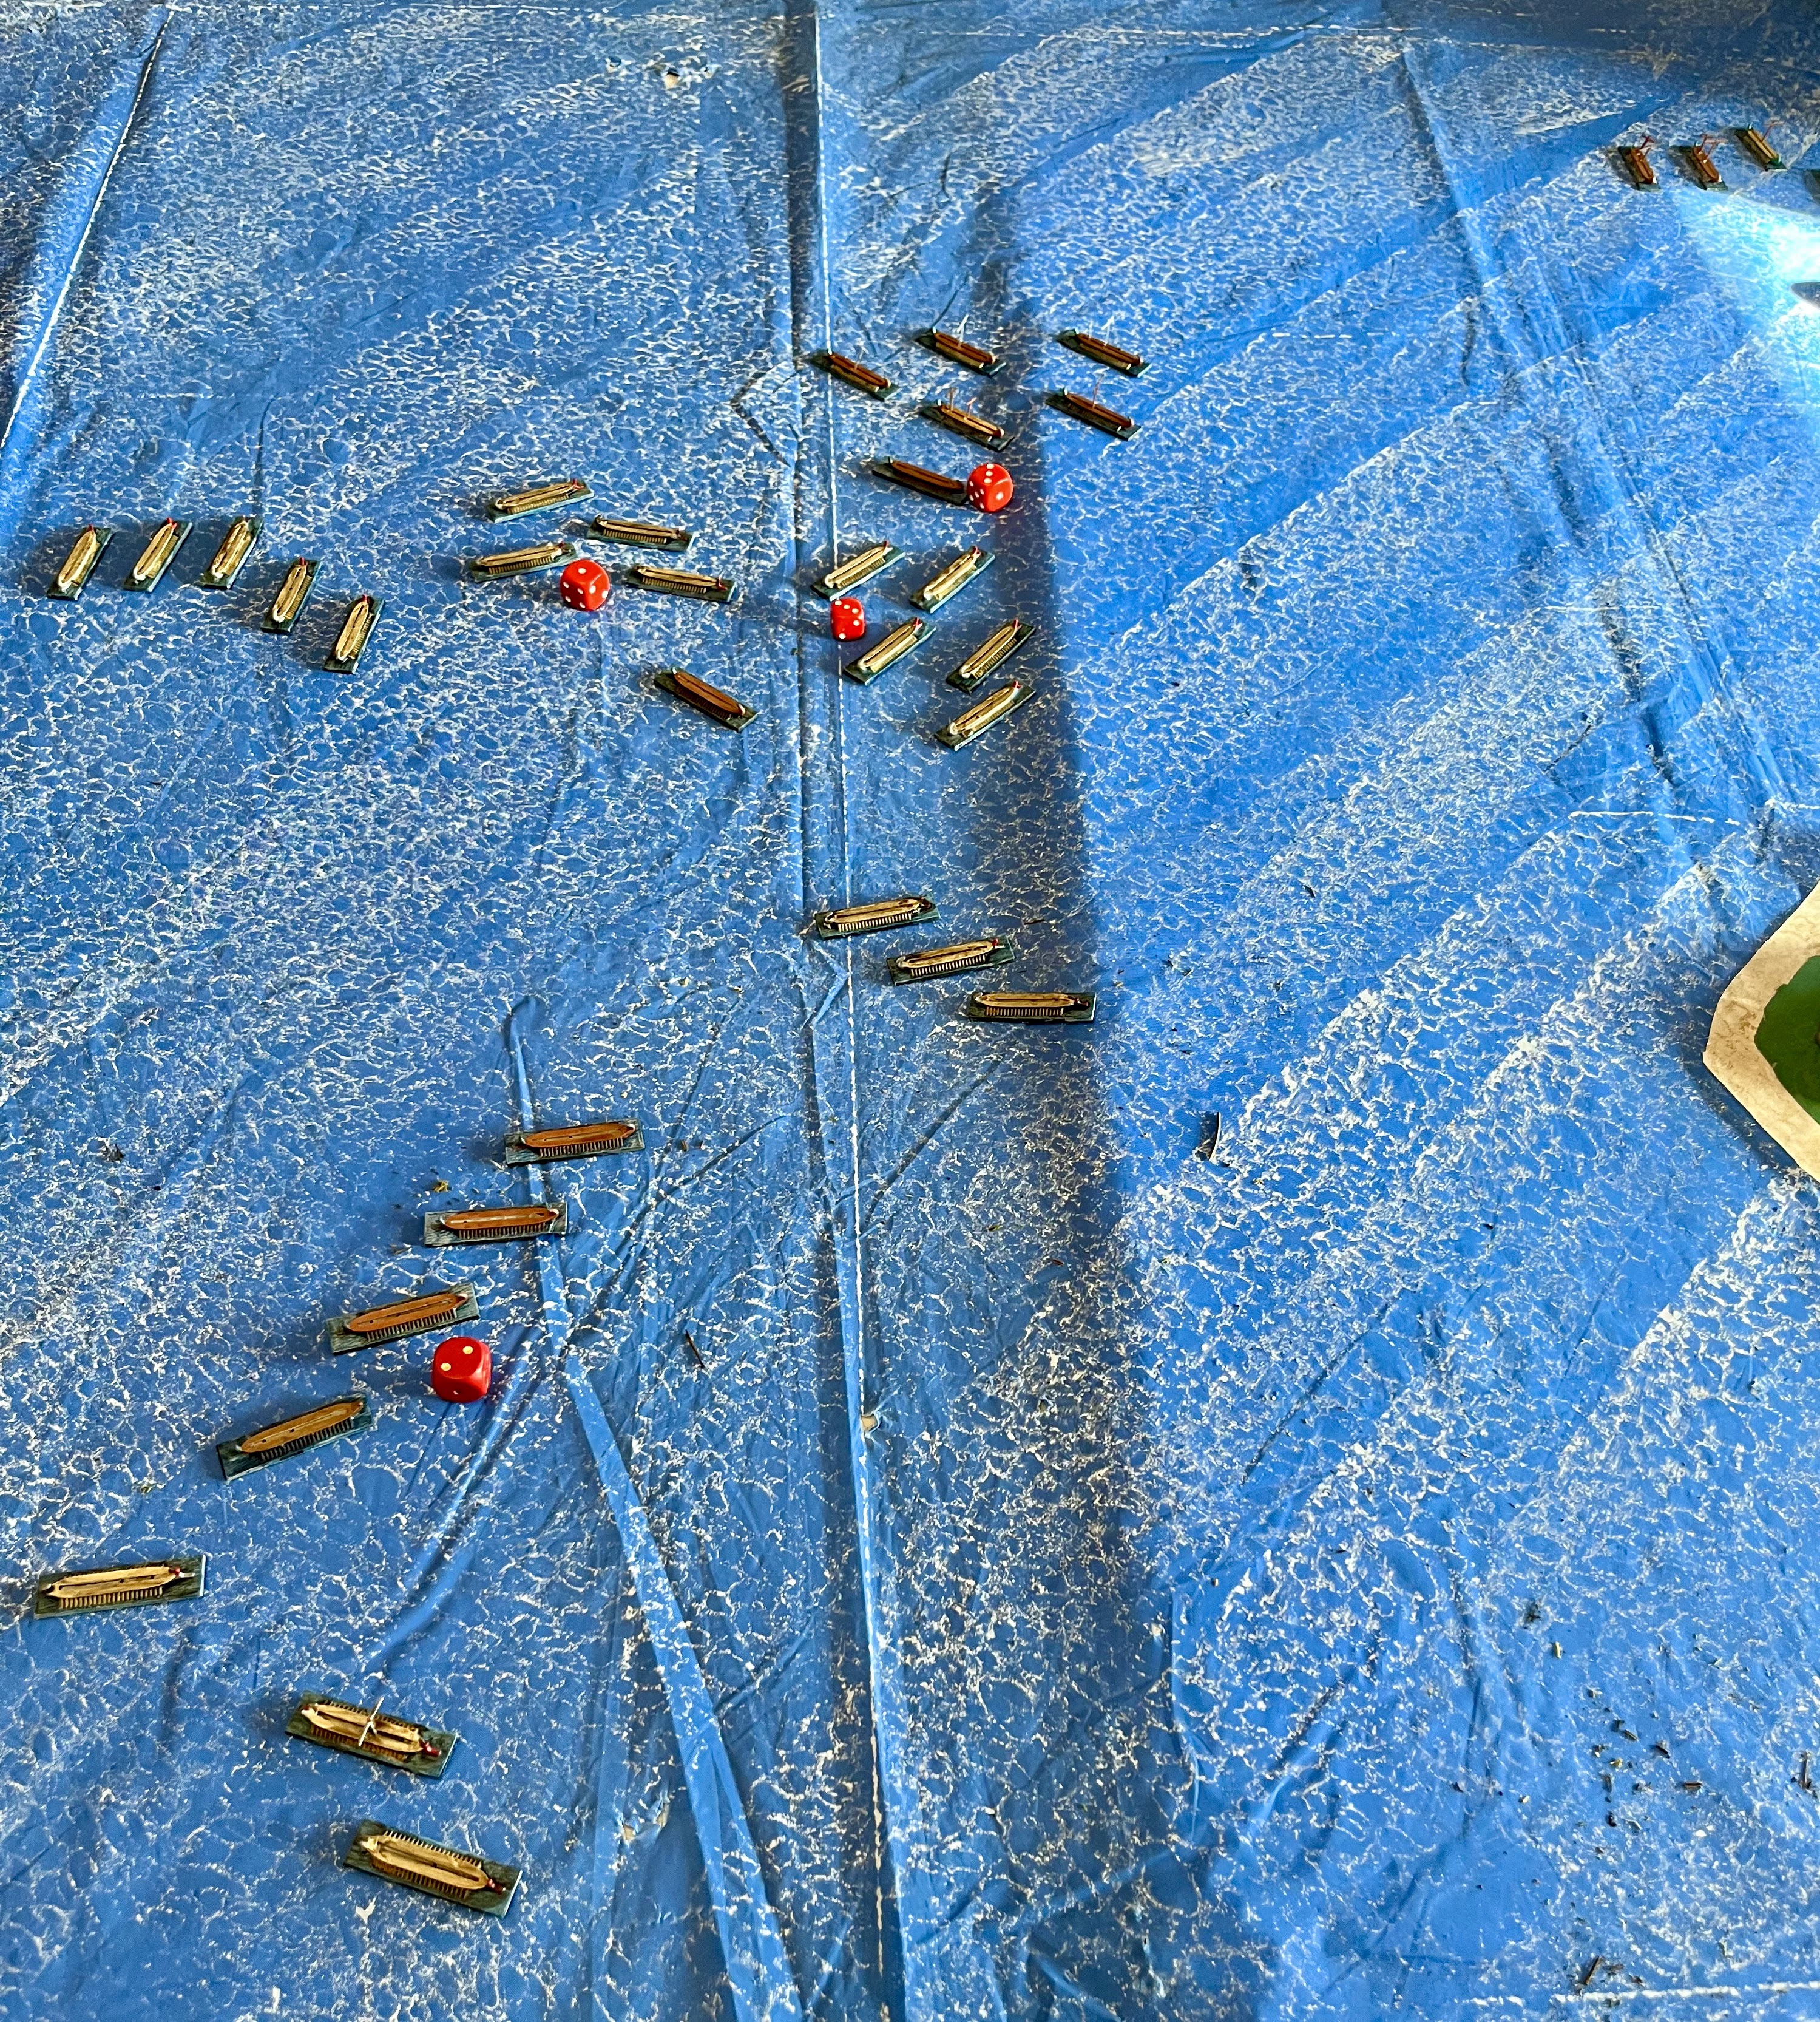
The oar damage slows them, but it is not enough and the Greek Western ships smash into the sides of the exposed Persian 5th squadron, and easily sink 3 ships.  

The Persian center pushes forward and manage to strike a straggler from the Greek 3rd Squadron and sink it.  Missile fire from the Persians removed marines from the Greek 2nd Squadron from 4 ships!  Return fire from the Greek 3rd causes some rower casualties on the Persians in return.  Counter-ramming from the Persian 4th Squadron sinks 4 ships from the Greek 3rd. 


The Ionian Cataphract 2nd Squadron fired furiously on the Persian 2nd, but had soon run out of ammo on most of their ships! 

The Greek admiral realizes he does not want to take his Fast triremes head-to-head with the heavier Persian squadron.  He attempts to veer off, and fire with his archers for little effect.  However, it is enough to keep the Persian vessels in the 1st Squadron from ramming him. 


The End Phase
As the Greek Admiral outdistances his pursuers he decides that enough is enough, and in the best interests of his city-state, decides to sail away to safety and take his fellow citizens with him!  The Greek 2nd Squadron after being barraged by Persian ships also decides to leave the battle.  

Remnants of the Persian 5th Squadron smash into the sides of the Greek 4th squadron and sink two vessels.  However, they are sunk in return by the rest of the Ionian squadron. The Persian 4th sinks the last of the Greek 3rd Squadron, and they pepper the Greek 4th with arrows.  They lose their marines.


The Persians have broken through the center of the Greek fleet, and the rest scatter.  The Battle of Lade is over. 

Persians in grey, and Greeks in brown


Conclusion
The betrayal of the Ionian Admiral and the Greek 2nd Squadron proved decisive.  It left the East flank completely undefended, and the Western flank of the Greek fleet had all ready been badly mauled.  However, the Fast triremes on that flank had been effective and together with the other Ionian ships had managed to defeat the Persian 5th Squadron completely in the West.  However, it was too little, and too late as the Persian smashed through the Greek center.  

The Persians had 5 ships sunk, and minimal casualties beyond that.  The Greeks lost 7 triremes, but took pretty heavy casualties, especially on the 2nd Squadron that decided to sail away.  Both Fast Trireme units were in good shape, with the one in the West taking rower casualties. 

This was the second battle where flank attacks by the Fast Triremes proved effective tactically, but failed to be the decisive action of the battle.  Both battles were decided in the center.  My opponent and I will need to re-think how best to use those fast assets.  

This was a semi-historical outcome.  In the actual battle, the desertions happened on the West flank and led to Persian victory there.  Here it was the East flank.  However, either way it was another Persian victory in the campaign and matched the Historical outcome.  This gives the Persians the decisive lead winning 4 out of 5 battles so far.  

Now, it is time for the final defeat of Miletus and to crush this revolt once and for all!  


Become a Patron and get access to all the cool stuff, a peak behind the curtain of Blood and Spectacles, and early-access to playtest games!  


You can follow Blood and Spectacles Facebook page or Instagram for more fun! 

Check out the latest publications and contact me at our Blood and Spectacles website

Or purchase all out games at the Blood and Spectacles Publishing Wargames Vault Page!  


Monday, January 23, 2023

Battle Report: Poseidon's Warriors- Channel Dash


Getting ready for the Ionian Revolt campaign, we decided to break out Poseidon's Warriors from Osprey to re-familiarize ourselves with the rules. It has been a few years since I had played them, but they are relatively quick and easy to get to grips with.  

A Persian fleet of cataphract Triremes was trying to move through the Hellespont in an attempt to hem in the Ionian rebels and support their operations in the region.  However, the Ionians were also on the move, attempting to recruit aid from the Greeks along the shores of the Black Sea.  A sea battle was imminent, but the question was who would make the first move! 

Forces:

Persians
1 Slow Trireme unit with admiral and elite troops
4 Slow Trireme units     

Ionians
1 Fast Trireme with Admiral and 
1 Fast Trireme
3 Slow Triremes

Set-up:
The table is 6 foot by 4 foot, with the long edges having the coasts of the channel.  The narrowest channel part of the channel is only about 30 inches wide.  

On the west side is the Persian fleet in line a stern by squadron, led by their flag.  On the opposite corner of the board is the Ionian Fleet led by their fast units.  They are also in line a stern by squadron.  

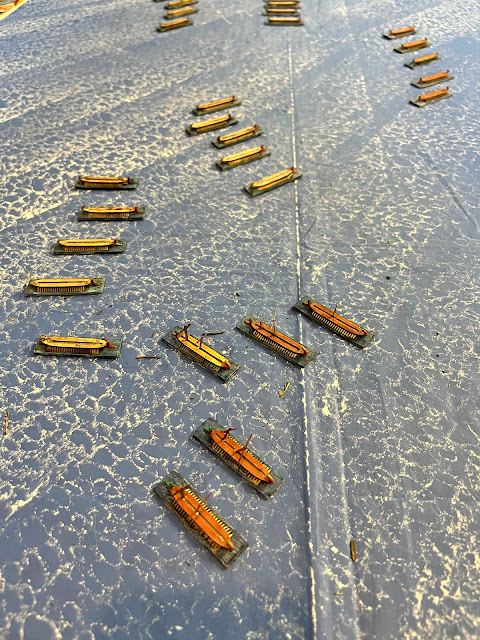
Persians on the left with red bows, Ionians on the right with blue and turquoise

Mission: 
The two fleets want to inflict casualties on their foes, while forcing their way through the channels to continue on their respective missions. 

This scenario can be found in the main rulebook. 

Turn 1: 
Both sides choose their aggression, but stay in formation.  The Persians win initiative and decide to activate second.  They have to maneuver to get into the channel, and keep from grounding.  

Turn 2: 
Again, both sides keep their aggression in check, and proceed on their routes.  The Ionians win, and decide to go second.  Both sides stay on course, but the Persian van is beginning to bunch up due to maneuvering around a peninsula. 


Turn 3: 
Despite the Persians bidding max aggression, the fleets stay on course along the coasts.  No one is moving to engage yet.  Persians win and go first this time. 


Turn 4: 
The Ionians are low balling their aggression in order to spread out across the board as far as they can, while the Persians are maxing their aggression.  Still not enough to trigger the engagement yet.  Persians activate first again.  

The lack of an engagement puts the vans of both fleets out of position as they move to stay near the coasts.  The lead ships are turned away from the enemy.  In addition, the Persians are starting to get bunched up, while the Ionians are starting to straggle with their mix of ship speeds. 


Turn 5: 
The Ionians again use low aggression to hold of the fight everyone knows is coming!  The lead Ionian ships seem especially far out of position.  

To speed up these maneuver turns, we have been using simultaneous movement.  Once the game gets "real" we will switch to alternate activation as intended.  


Turn 6: 
The Ionians can not hold of the inevitable any longer as both fleets are eager to get stuck in!  The Persians win initiative and elect to go first! 

The Persian 3rd squadron breaks formation and heads towards the Ionians.  In response the third Ionian also  breaks off.  The Persian admiral begins a slow turn to get into position.  The Ionian 4th breaks off and heads towards the Persians 3rd, and barrages them with javelins, arrows, and sling stones.  The last Persian ship loses its marines. First blood to the Ionians! 

The Persian 4th breaks off and fires their missiles at the Ionian 3rd.  Their fire is effective, and three Ionian ships lose their marines.  The Ionian 5th moves up to support the attack in a second wave.  Meanwhile, the Persian 2nd stay still, but turn 180 degrees to face back into the fray.  

The Ionian command squadron moves ahead, content to avoid the fight.  The last Persian squadron moves up to support as a second wave.  The final Ionian fast trireme squadron turns in place to cover the other Ionians flank. 

Turn 7: 
The Ionians win initiative, and decide to go first.

The Ionian 4th squadron surges forward, but comes up short against the Persian 3rd!  They barrage the Persians with arrows and slings, but they fail to cause significant disruption.  

The Persian Admiral rotates his squadron ready to support the flank.  Meanwhile, the Corinthian 5th turns and makes for the Persian 2nd, who are showing their flanks.  The Persian 3rd squadron sees the oncoming Ionians, both squadrons lose a ship as the Ionians manage to make 1 save! However, the Persians manage to grapple and boar the last ship, killing the Greek crew.  


The Ionian 3rd squadron moves across the Persian 4th, and peppers them with arrows and missiles.  Several rowers are killed on the Persian port oar banks, causing them to lose an oar bank on 3 ships.  This reduces their speed in half! The Persians try to split the Greek line, and return fire, killing the archers on 2 of the Ionian vessels.  


The 2nd Fast Trireme squadron goes full speed up the flank of the injured Ionian 3rd squadron.  The Persian admiral flanks the Ionian 5th squadron and let's fly with his archers.  They kill enough rowers to disable an oar bank on two ships.    

The Ionian admiral starts making a break for the Black Sea.  The Persian 5th squadron closes on the Ionian 3rd, and their missile fire kills enough rowers to immobilize two Ionian ships!  


Turn 8: 
Persians win, and decide to go first. 

The Persian 5th squadron manages to ram the Ionian 3rd, and destroy two ships at the cost of 1 of their own.  The few that fail to ram, fire their arrows, and destroy an oar bank on the only mobile ship left.  The Ionian 5th manages to head for the Persian admiral, and sink one of his escorts with a ram.  However, the loss of archers limits their ability to fire as they close.  


The Persian 4th plows into the immobilized Ionian 3rd and sink two more ships.  That leaves one ship with half speed and no marines for the Greeks.  The 2nd Fast trireme squadron skirts the edge of the battle, and fires on the Persian 5th, causing 1 ship to lose its archers.  The remains of the battered Ionian 3rd barely manages to stay on their flank, their arrow fire completely ineffective.  

The Persian 3rd Squadron manages to hit the Ionian 4th, and sink another ship, reducing it to 1 left. The Persian Admiral also skirts away from the Ionian 5th, with his ships exchanging rams, both losing 1 ship.  


After taking a severe beating, the Ionians decide that discretion is the better part of valor and flee.  

Final view of the battle before the Ionians flee

Conclusion: 
The Ionian manage to get their ambassador tot he Black Sea, but lose two squadrons of ships and several marines, archers, and rowers in the battle.  However, they still have a fleet in being.  The casualties were mostly amongst their slow cataphract triremes.    

The Persians only lost 5 ships, and took much fewer casualties.  They can also continue with their primary mission of supporting the land invasions along the Ionian coast.  Looks like a clear Persian victory.  

The rules are very easy to learn and use.  In previous games, there was a lot of ram and counter-ram.  This one seemed like tactical maneuver played a bigger part as we tried to get to the flanks, instead of settling for bow-on-bow collisions for maximum carnage. Missile weapons played a much bigger role than in past games.  

That being said, I will need to find a better way to keep track of damage from missile weapons going forward.  I had a hard time remember if a squadron had 3 ships with out marines, or 2 without archers, and 3 missing an oar bank.  Next time I will document it better for easier reference.  

Overall, fun was had and I look forward to playing more.  Set-up was quick, the game went fast, and tear down was quick too.  Easily less than two hours.  Writing this report took as long as the game itself!      


Become a Patron and get access to all the cool stuff, a peak behind the curtain of Blood and Spectacles, and early-access to playtest games!  


You can follow Blood and Spectacles Facebook page or Instagram for more fun! 

Check out the latest publications and contact me at our Blood and Spectacles website

Or purchase all out games at the Blood and Spectacles Publishing Wargames Vault Page!