Showing posts with label Only the Strong Survive. Show all posts

Monday, February 22, 2021

Only the Strong Survive: Battle Report- Allosaurus vs. Stegosaurus Pod


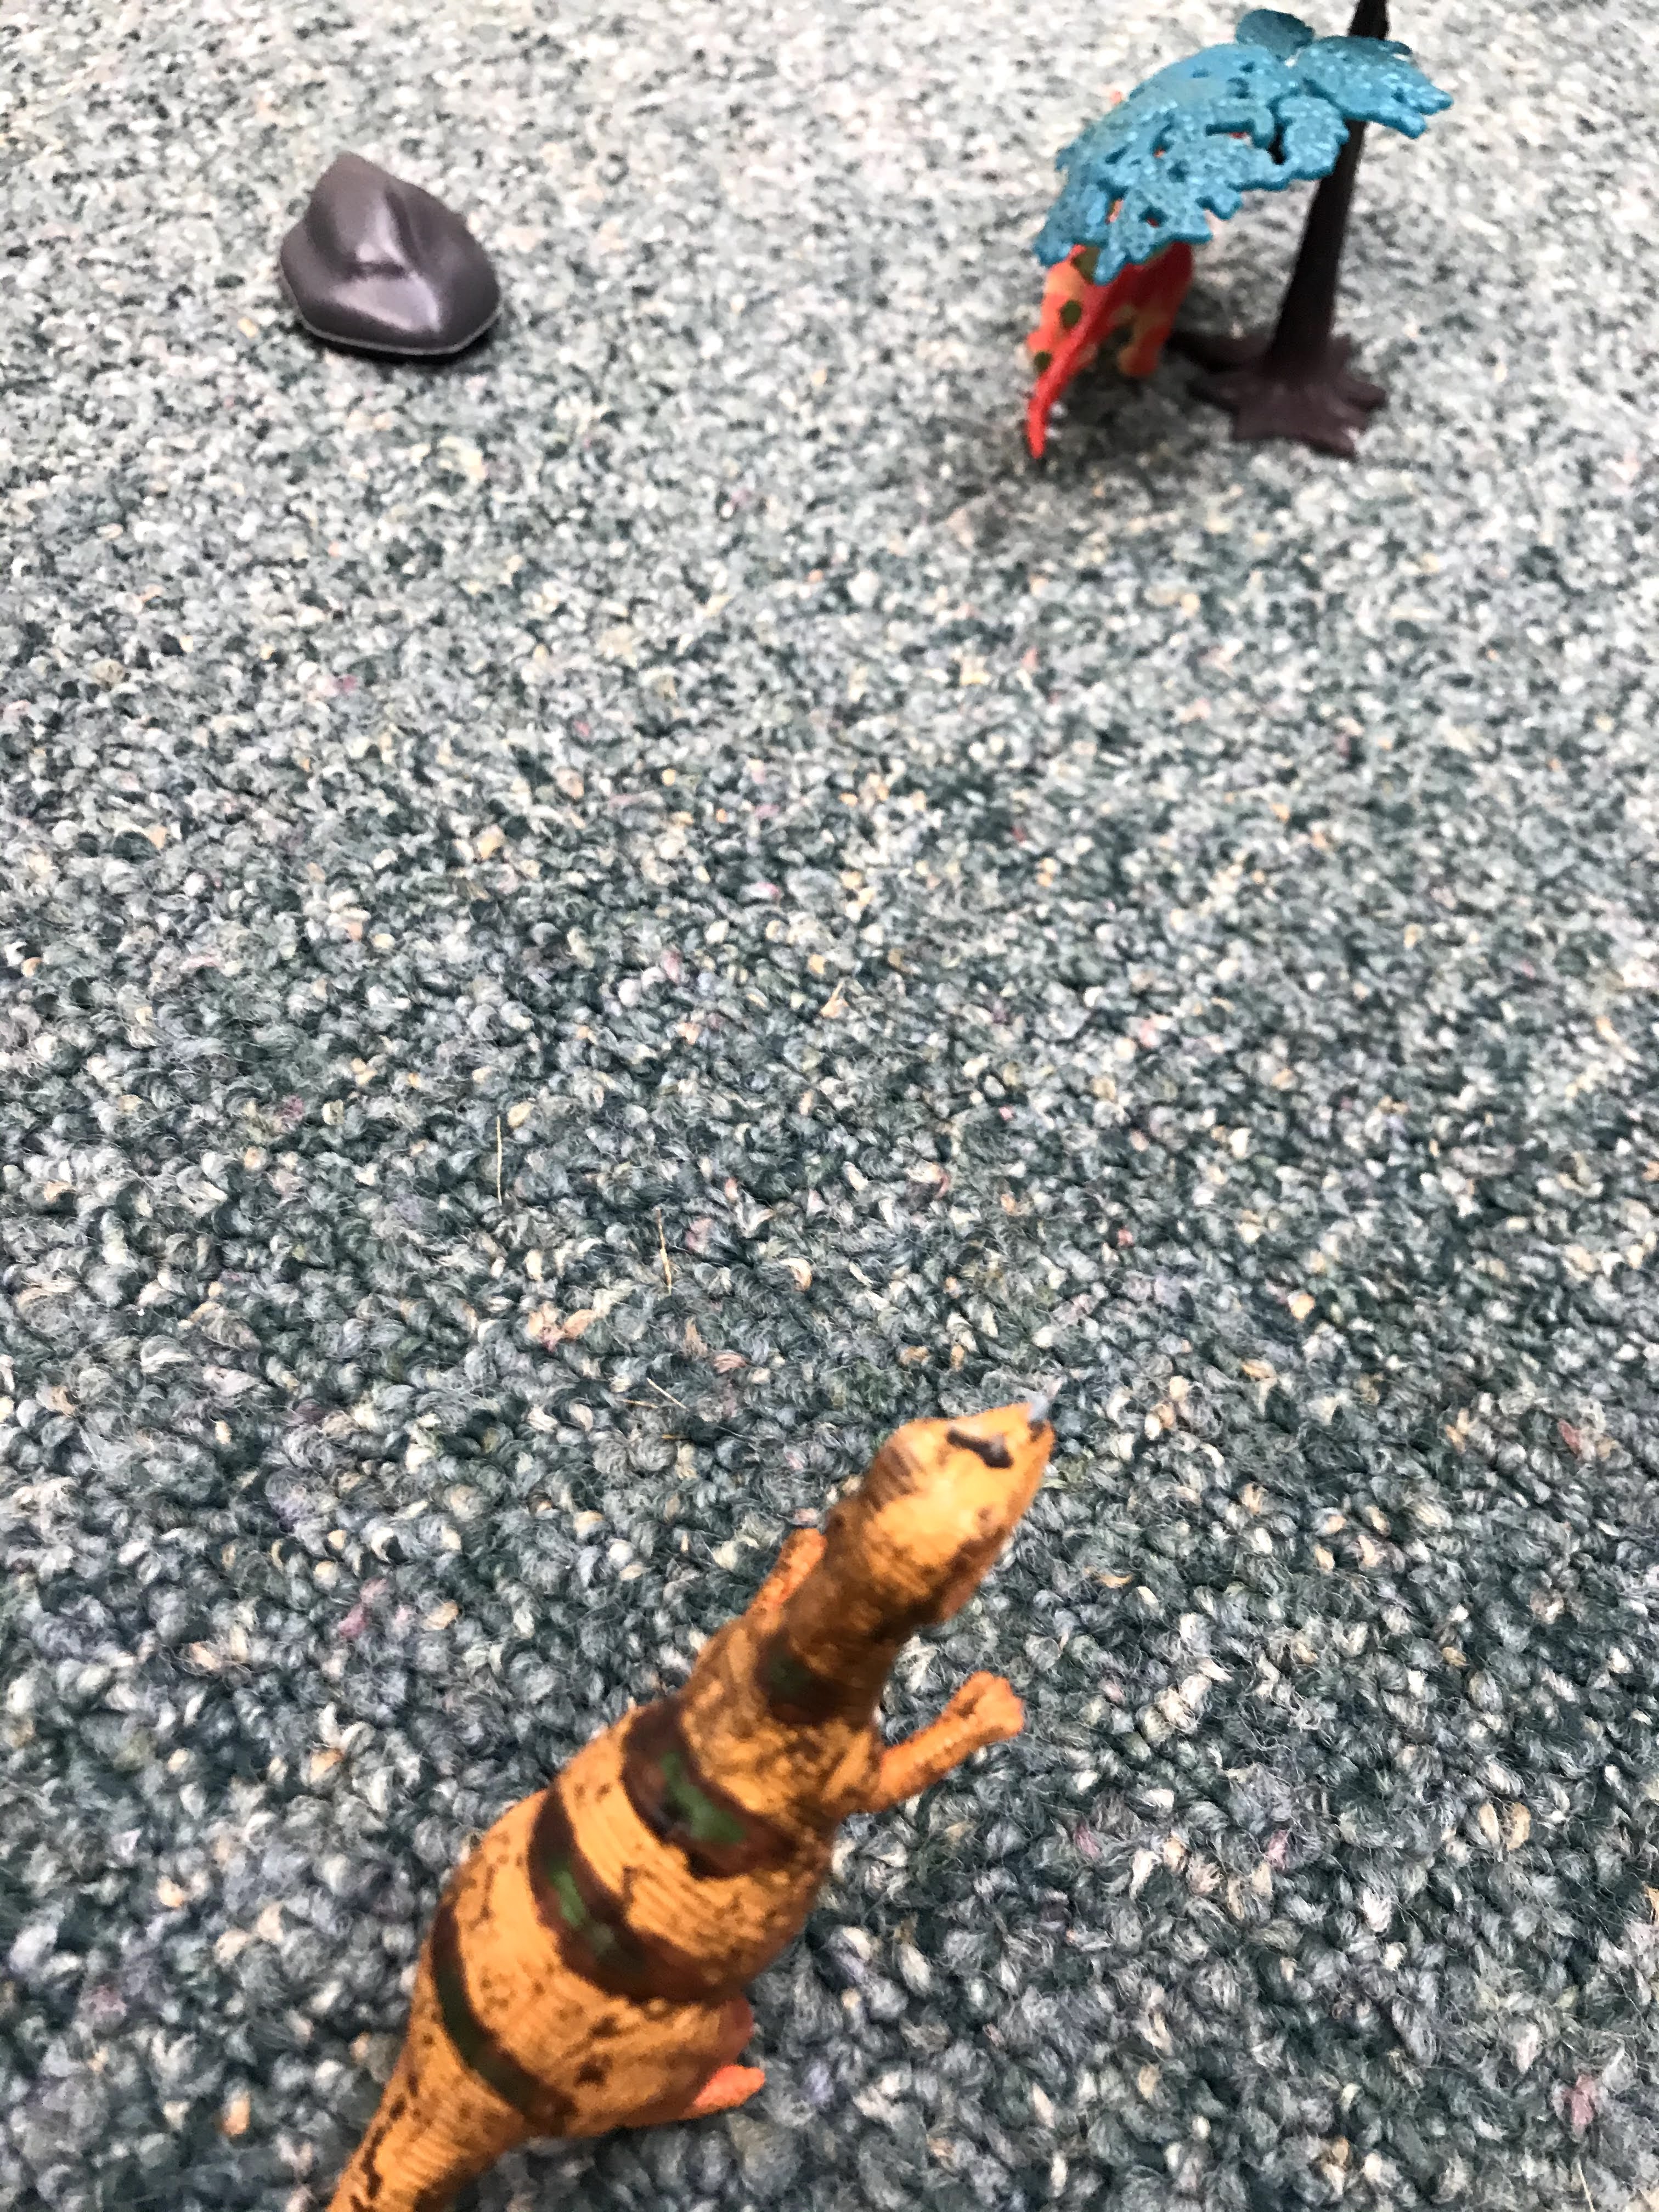
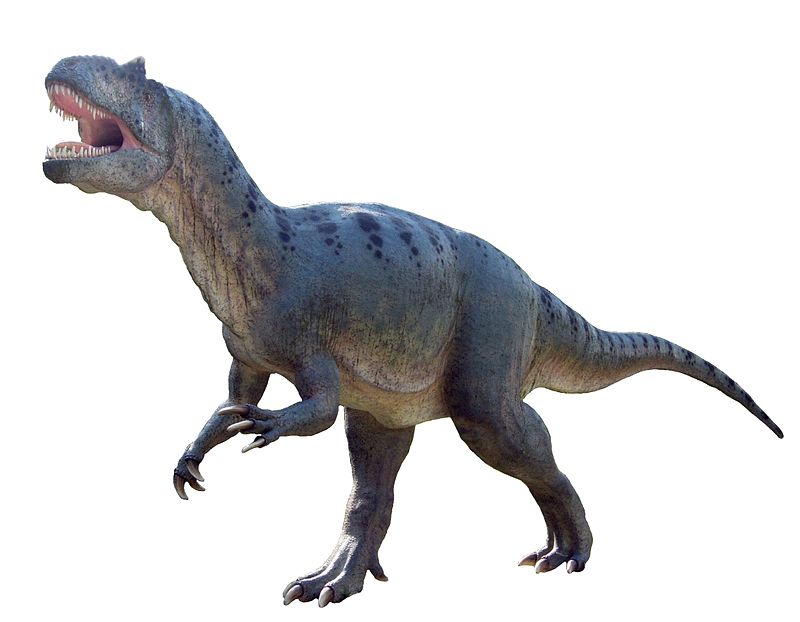
Big Al and his nest mate Alfonso were prowling the dusty plains.  Their stomachs growled as they gazed across the plains.  Sporadic trees dotted the savannah.  As they sniffed the air, they could smell water nearby.  That was a positive sign, as water meant that food could be nearby.

Big Al stretched his thick neck just high enough to peer over the tops of the tall grass.  In the distance, the grass swayed in the light breeze.  However, a something was not right.  As he strained his vision, there was movement counter to the movement of the grass.  It looked like armored plates, so that meant Stegosaurus were nearby.  

Alfonso's nostrils flared as he also caught their sent.  The two Allosaurus glanced at each other.  Their mouths began to water, and the grumbling of their stomachs subsided for a moment.  

The hunt was on.....

We are returning to the Pre-historic past as we expand to more Dinosaurs into our games.  Instead of 1-on-1 battle, we are getting a small hunting duo of Carnivores versus  a small pod of Stegosaurus near a watering hole.  

Set-up:

Today, we are using a 36in square board.  We have some trees scattered around, some large rocks, and a watering hole surrounded by shrubs in the center of the board.  

The Steggies are going to be deployed at the center of the board at the watering hole.  The Allosaurus can come in on any edge, but they choose to come in together on the South board edge.


Mission: 

Kill or be Killed!          

Forces: 

Carnivores

2 Allosaurus- 10 Instinct Dice each

- Big Al

- Alfonso

Herbivores

2 Stegosaurus- 9 Instinct Dice each

- Mario

- Luigi


Turn 1: 

Both sides grab their instinct dice and put them on their Dinosaur sheets.  Big Al bids 0 Instinct Dice, Alfonso bids 3, Mario bids 1 and Luigi bids 0.  

Alfonso goes first!  He uses a dice to move forward, but Mario tries to react.  Alfonso does not respond, but Big Al does.  Big Al gets 2 success to Mario's 1. So, Big Al also moves towards  big rock.  

Luigi tires to react and Big Al counters, bot rolling 1 Dice.  Luigi wins. Luigi moves away and by a tree, his tail towards his foes.  Big Al tries to react, as does Mario; both with 2 dice.  Big Al wins. 

Big Al uses 1 dice to charge Mario, and 3 to launch a Body block.  Mario resists with three, and manages to roll with the attack.  Both Big Al and Mario are out of Instinct Dice. 

Luigi sees his pal in trouble and reacts with 2 dice, to Alfonso's 1.  He wins.  Luigi decides to Roar at Big Al, which causes the Allosaurus to get "confused" as he has no dice to react.  However, this does not do too much since he all ready has no dice to react!  

This time, Alfonso reacts and gets the win.  He charges across and gets in close with Mario and attacks.  He chomps at the Steggie, but only gets a mouthful of back plate for his trouble.  That said, Mario is in trouble with two Allosaurus attacking him next turn.  

Luigi uses his last Instinct Dice to move back towards his friend, his slashing tail at the ready. 


Turn 2:

All the Dinos get their Instinct Dice pools back, and the players are ready to bid.  

Luigi knows he needs to get in there and help Mario, so he bids 3 dice.  Alfonso, bids 3 as well. Since the Carnivores had initiative last turn, they keep it.  

Alfonso starts by putting 6 Dice into a Hatchet attack, and Mario puts in Max dice to defend.  Mario manages to step aside by scoring more defensive successes.  Alfonso spends 2 to react, to Luigi's 1.  Alfonso wins.  

He decides to Roar at Mario with 2 dice, who chooses to react with 1.  The tactic confuses Mario, and successfully reduces him to 1 react dice.  Luigi uses 2 to react to Big Al's 1, and decides to go next.  

Luigi chares Alfonso and tries to Body Block with all the dice they have left.  However, Alfonso dodges using 2 Defense dice.  

Big Al reacts with 1, and no one can oppose him.  He attacks Mario with all the dice he has left.  Again, the armored plates on Mario's back are enough to protect him.  Alfonso uses the last dice he has left to try and Tail whip Luigi.  He hits the Steg in the face and knocks his head to the side for 1 damage. 


Turn 3:

The Dinos all get their Instinct Dice back up to normal.  The Steggies are tar pitted next tot he watering hole by the Allosuarus.  They need to break free, or the better Instinct Dice of the Carnivores will eventually wear them down.  

Big Al Bids 2, and Mario bids 4.  Mario uses 1 dice to turn and try to run.  Big Al reacts with 2 dice, and Luigi counters with 3.  Big Al wins and attacks Luigi as Mario lumber by.  Big Al throws a 6 dice Body Block, and he is resisted by 4 Defense Dice by Luigi.  Again, the Steggie manages to stand tall and absorb the shot.  

Luigi tries to react, but Alfonso is faster this time.  Alfonso's savage bit attack gets past Luigi's defense and takes off 2 more hits!  Mario steps back into the fight and swings his tail at Big Al!  He gouges a chunk of flesh off Big Al.  


Turn 4: 

All Instinct Dice are returned.  Luigi bids while Big Al bids 2.  

Big Al starts by launching a 6 dice hatchet attack on Luigi, who resists with 5 dice.  It is all for nothing as neither side gets a success! 

Mario manages to react with 1 success, and attacks Big Al with a Tail swipe.  Mario uses a max attack against a winded Big Al.  Ouch!  The Steggie gets 4 successes, but 3 of them are sixes.  His piercing tail mauls Big Al, who takes 6 hits!  That moves Big Al to the top of Medium damage, and reduces his armor 1 and Max React to 3!  

Alfonso hasn't attacked yet, and successfully does so.  He follows up Big Al's attack on Luigi with a Max Hatchet attack as well!  Luigi only has 2 dice to resist.  However, Alfonso is unable to make his attack stick!  No one tries to react, so Alfonso attacks again, and Luigi trusts in his plates, which is wise.  

Both Allosaurus have used all their instinct dice.  Luigi uses their last dice to move away!  Mario does the same, despite injuring Big Al badly with her tail! 

At the end of the turn, Big Al does not have any dice for a Survival Check!  He needs to rally right away or will try to flee. 
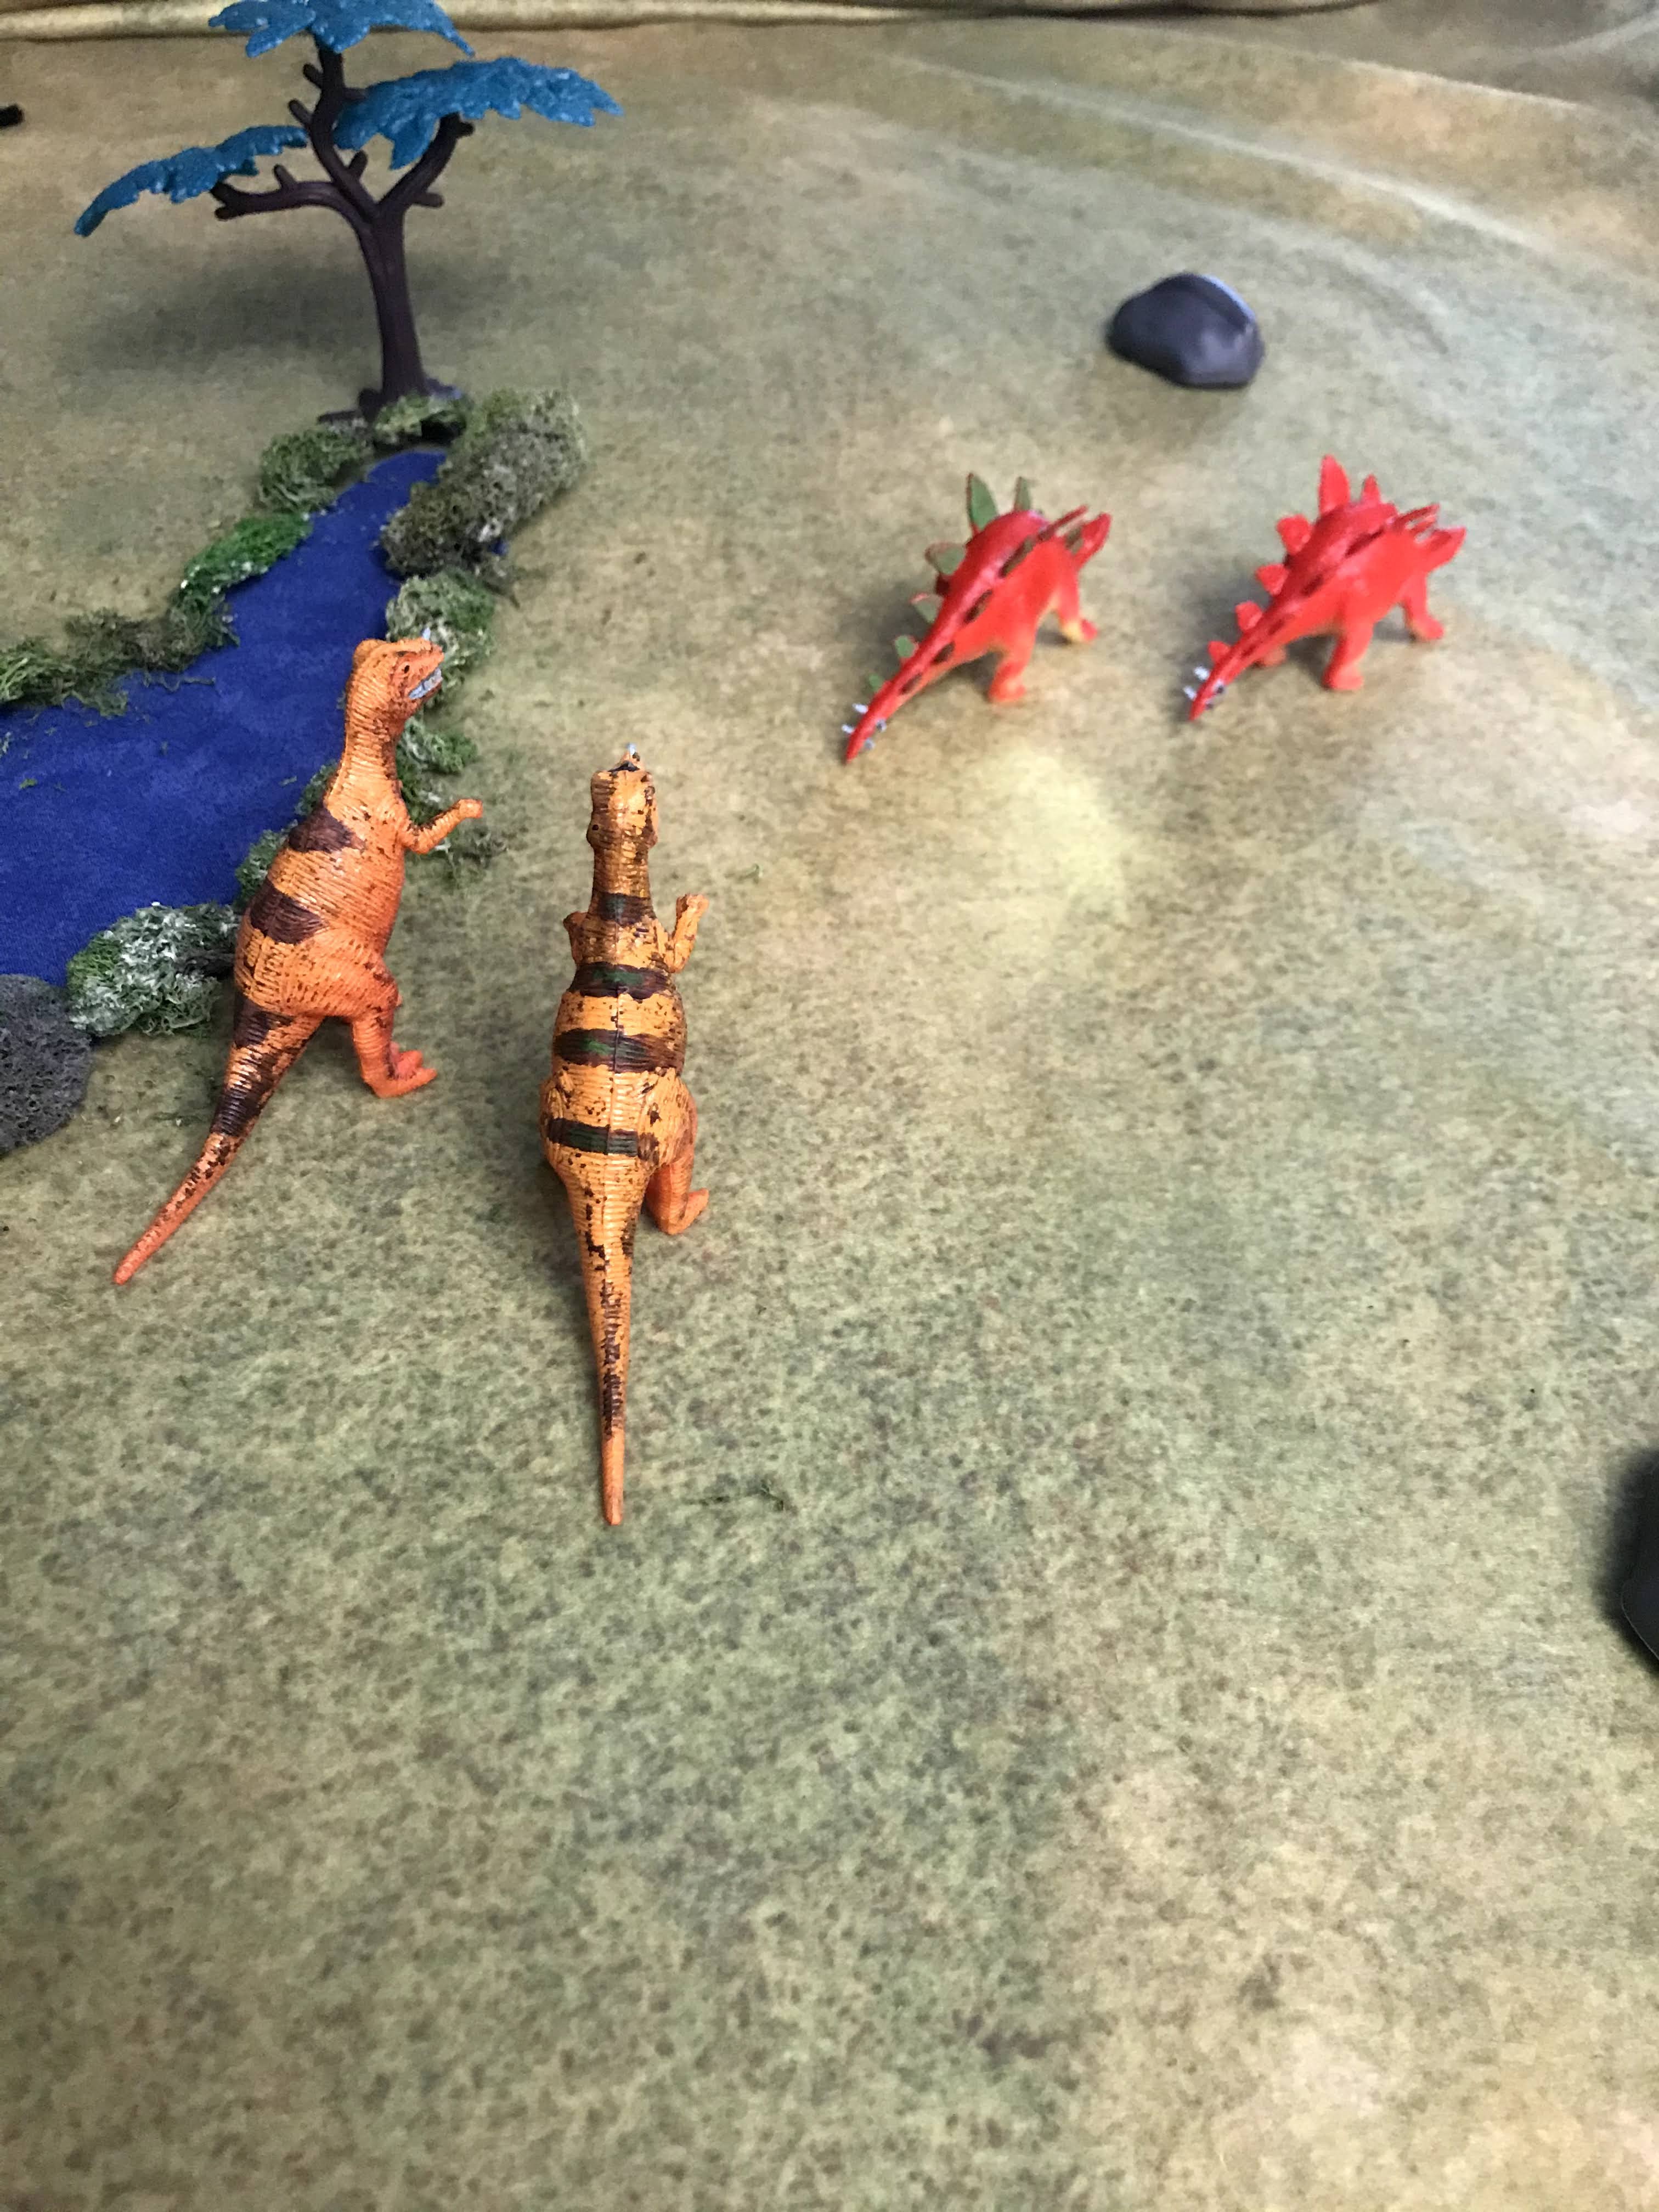

Turn 5:

All dinosaurs replenish their Instinct Pools.  Luigi bids 3, and Alfonso bids 2. Luigi wins and uses the chance to run away further.  

Big Al Reacts with 1, and no one opposes him.  He uses 4 Instinct dice for a Survival check. He needs two success to avoid fleeing, and gets them.  However, it ate into his Instinct Pool.  

Luigi tries to react, and Alfonso opposes.  No side gets a success, so Big Al keeps the initiative.  He runs forward and tries to Body Block Mario with 4 dice, and Mario resists with 4.  Mario absorbs the hit.

Mario tries to react, but Alfonso beats him.  Alfonso also charges forward and tries to Body Block Mario with 4 dice.  Mario trusts in his armor.  It doesn't work this time, as the Dinosaur is knocked down.  However, the Carnivores are out of Instinct Dice again.   


The cagey Mario kept 1 Instinct Dice, so gets up quickly from the attack. Luigi uses her last dice to drop back and swing her tail at Big Al.  Again, it is a devastating strike and the injured and tired Allosaurus.  This time, the tail spikes sink deep into the side of Big Al's head and knock him to the ground.  He is dead!  


Conclusion

With his brother down, Alfonso watches backs off and let's the Stegosaurus wander back to their herd. Alfonse snaps at the smaller dinosaurs that quickly rush to his brother's fresh corpse.  His body still twitching spasmodically.  Big Al and Alfonso had needed a meal, and now at least Alfonso had one.....

Well, that escalated quickly!  Once Big Al went down, that took the fight out of my opponent and they were willing to call it a game.  Theoretically, Alfonso may have been able to deal some more damage, but things looked rough after Big Al took a head shot full of spikes!  In multi-dino games, when a creature runs out of Instinct Dice it is in serious trouble.  Having to use Instinct Dice for survival checks drains that pool very quickly!  That leaves you vulnerable for attacks!  

The Piercing on the Steggie's tails paid big dividends in this game.  The Allosaurus hatchet attacks failed miserably due to some very poor rolling.  The Carnivores rarely got anything to stick this game.  However, the Carnivores were playing very aggressively.... too aggressively as they were burning their Instinct Dice too fast!  Plus, they consistently got stuck in the Steggie's rear arc, which is not someplace you really want to be!

A good game.  More terrain gave some more options for maneuver, but the aggressive play of the Carnivores made that a bit of a moot point.  More dinosaurs also adds more dimensions to the game play as you try to chain your reactions/attacks together in a way that synergizes.  Very fun!

I look forward to adding more Dinosaur types next time around!                          

Monday, November 16, 2020

Battle Report: Only the Strong Survive- Big Al vs. Steggie


This book has been on a slow boil since late 2018.  Like most of my projects, the initial core rules come pretty quick.  However there is much more to a game than just "Core Rules".  Therefore, once I get a set of rules up on the WIP section of the blog, they tend to marinate for a bit until I rotate back to them.  I tend to keep 2-4 games in various states of work.  It keeps me and you on your toes!  

I finally took the time to hash out the final few Dinosaur types and scenarios.  You may recall a past post about Playtesting these rules.  Well, that is all done with now.  

Only The Strong Survive is a model-vs-model dinosaur skirmish game.  It is designed to be playable between single Dinosaurs and small groups.  There is always a bit of a challenge in trying to make single model-vs-Model games interesting.  

Big Al the Allosaurus had been roaming across the savanna for a few days.  It's stomach rumbled ominously.  It was hot.  Big Al had managed to scare some smaller scavengers away form a carcass a few days ago, but that had only been a few nips of food.   He needed something a bit more substantial.  

Most of the other Dinosaurs saw he coming, and re-grouped into their herds and stayed away.  It was going to be a tough hunt.  It was too hot for a long, slow approach.    

As he crested a small rise, a pair of trees broke up the plain in front of him.  A herd of Stegosaurus were in the distance.  However, what caught his eye was one that had broken away from the pack and was closing in on the trees, unaware of the Carnivore's approach.  

In an instant, their eyes met and the hunt was on.  All thoughts of the heat were forgotten as this was the moment Big Al had been hoping for.   

Forces:

Allosaurus with 10 Instinct Dice- Big Al

vs

Stegosaurus with 9 Instinct Dice- Steggie


Mission:

This will be a straight up kill or be killed type of scenario.  Steggie has wandered away from his herd towards some choice bits of foliage, when they are set upon by a roving carnivore; Big Al.  Steggie is trying to drive Big Al off, while Big Al is trying to kill Steggie for a meal.  

Set-up:

We are playing on the floor in a two by two space marked off with notepads.  It was a bit makeshift with what I had brought, which was not very much.  I had two plastic trees and a plastic rock, that we put near the middle of the area.  Not much to work with this time.      

Turn 1: 

Our Allosaurus, Big Al; bids 2 while Steggie bids 0 Instinct Dice for initiative.  

Big Al uses three Instinct Dice to move towards his prey and launches his attack!  He tries to Body Block Steggie, but only has a few dice to do so.  Steggie defends so it is 2 vs 3 dice.  Steggie avoids the attack.  


Steggie then reacts with 3 dice vs. 1 and wins.  Not enough for a special reaction, so he just takes over and starts playing.  He uses his last 2 Instinct Dice to get by a tree to fend off the Carnivore.  Big Al tries to react with 2 dice, but fails. 

Since neither Dino has Instinct Dice left, the turn is over.


Turn 2:

Big Al bids 2 vs. Steggie's 3 Instinct Dice.  After winning Initiative, Steggie starts trundling along behind Big Al.  Big Al reacts with 3 vs. 1 dice and wins. 

Big Al pivots and uses two dice of movement to catch up to his fleeing prey.  He then attacks with 4 dice using a standard bite attack.  Steggie defends with 3 dice.  Big Al wins with 1 hit, but it is not enough to get past Steggie's armor.  

All Instinct Dice are used, so the turn ends. 


Turn 3:

Big Al bids 2 dice to 0 again and wins.  

The carnivore puts max dice into a Hatchet Attack, but has a terrible roll.  Steggie uses Max Defense and easily avoids the attack.  

Not to be deterred, Big Al uses his last Instinct Dice on a quick bite attack, that Steggie also avoids with 2 defense dice.  

All Instinct Dice are used again, so the turn ends. 

Turn 4:

This time, Steggis bids 3 vs. Big Al's 2 for initiative.  

Steggie aggressively attacks using max attack on a piercing tail swipe.  However, Big Al uses his max defense dice to dodge the attack.  

He responds with a 5 dice counter-attack, and Steggie can not defend.  This time, Big Al tears a chunk out of Steggie and causes 1 light wound.  Only 8 more for a kill! 

Turn 5: 

Big Al bids 2 again and Steggie gives 0 for initiative.  Steggie is ready to battle it out with his tail.  

Big Al launches a Max Attack Hatchet Attack, which Steggie tries to avoid with Max Defense again.  The higher target number for the Hatchet Attack does not help, and Steggie avoids the attack.  Big Al uses his final dice to move away and try to get around to Steggie's less defended front.  

Steggie uses his last two moves to get by a tree to reduce Big Al's attack vectors.  


Turn 6: 

Big Al bid 2 and so did Steggie.  Big Al upped his bid 1 to get the Initiative.  

Big Al moved towards Steggie, but then Steggie tried to React with 3 dice vs. 3 from Big Al.  Big Al won when Steggie whiffed his React roll.  

Big Al spent another Instinct Dice to move into Combat Range, and then attacked with a Body Block.  3 vs. 3 defense.  Big Al's attack worked, and Steggie is pushed back Slow distance and knocked down!  

Steggie is in trouble, but both Dinos have used all their Instinct Dice.


Turn 7: 

Steggie is Knocked Down and will need to spend Instinct Dice to get up again, however Big Al wants to attack before that can happen.  Steggie bids 3, keeping enough for a Max defense.  Big Al bids 4.  

Big Al immediately jumps in to attack!  He uses all his remaining attack dice for a bite attack!  7 dice vs. Steggie's 5.  Big Al manages to take two quick snaps out of the Knocked Down dino.  When you are knocked down your reaction and defense target numbers are increased to 6+.  

Steggie needs to get up, but both Dinos are out of Instinct Dice.  


Turn 8: 

Desperate to stand, Steggie bids 3 dice, to Big Al's three.  Again he increases it 1 to win.  

Big Al launches a Hatchet Attack against his downed foe.  This time, Steggie rolls away from the attack as Big Al got 0 successes for his attack.  

Steggie kept 1 dice, so he can stand again.  


Turn 9:  

Big Al bids 2 to Steggies 0.  

Big Al tries to bite again with all 8 dice, to Steggie's max defense.  Big Al manages to get through 1 more time, and cause another wound.  Steggie goes up to Medium wounds, and their armor is reduced from 1 to 0.  Oh no! 

Steggie Reacts with 2 dice, looking for two success so they can push back.  However, they get 0.  Big Al used their last Instinct Dice on the reaction as well.  

All Instinct is used up. 

Turn 10: 

We see the same pattern with Big Al bidding 2 to Steggie's 0.  

This time, Big Al uses 5 dice to try to body block Steggie again.  Steggie resists with 4. The two animals collide, but neither gives an inch.  Steggie tires to react again, but Big Al counters and the two stay stalemated.  

Then Big Al tries to take a quick nip and causes another wound.  Normally, Steggie's armor could have handle it, but not in their battered state. 

Oh no!  Steggie did not keep any Instinct Dice for a survival test.  Their Survival factor is coming into play.  They make an immediate move to the edge of the board and escape.   


Turn 11: 

This time, Steggie's player bids 7 dice for Initiative, while Big Al only bid 2.  

Steggie uses their last dice to move and they successfully escape off the board.  

Conclusion:

"Big Al didn't bring down his meal, but he managed to get a few mouthfuls of meat.  If he was lucky, his prey would weaken and lay down.  If he stalked it close enough he would be there to finish the job.  As long as his prey did not make it back to its herd, Big Al still had a chance to fill his belly full."

The battle itself was relatively quick, but having more Instinct Points to start with helped out a lot.  Big Al managed 5 hits, while Steggie landed none.  Big Al was on the attack the entire time, and Steggie had a hard time dealing with it. 

For both Dinosaurs, there never seemed to be enough Instinct Dice to go around.  Steggie ran out before making their Survival Test and that ultimately caused them to flee.  In addition, any changes you can force to your  opponent's target number is a big impact.  

I really needed to add more jungle and swamp terrain to the board.  That would have added immensely to the game as their would have been places to hide, flanks to block, and movement to hinder.  That would have added more tactical depth to this battle.  

Finally, I have a feeling the game will play pretty different with more animal, and Dinosaurs ganging up on each other.  You would have to be more careful with how you use your Instinct Dice pools, because a Dino without an Instinct Dice pool is in a tough place and easily injured.

Thanks to this battle, I went back and added more "Combat Maneuvers" that Dinosaurs can do.  This adds even more options with most Dinosaurs being able to launch between 5 to 7 different attack types depending on the Dinosaur.  I think this will add more decision making to the attackers and the defenders.  That is good.  

You can find the game on the Blood and Spectacles Wargame Vault page.  Try it for yourself and let me know what you think on the message board.    


You can follow Blood and Spectacles Facebook page for more fun: https://m.facebook.com/pg/BloodandSpectacles/posts/?ref=bookmarks&mt_nav=0

Or our website:

Or our Messageboard:

Or our Wargames Vault Page:

Monday, May 27, 2019

Wargame Design: Playtesting- Only the Strong Survive


Congratulations, you have moved your rules from a Concept, the 4Ms, your Initiative mechanics, and put together some profiles and chrome. You have come a long way and are ready to play your game! Now comes the hard part, seeing if your game actually works at all the way you intended it to work! To find out there is only one way to figure it out.... you have to play.

Typically, there are a few phases of playtesting. Each stage of playtesting builds off the previous level. Through playtesting you are looking to find out the following things:

  1. Do your core mechanics actually work?
  2. Are the rules clear?
  3. Do your rules have blindspots?
  4. What is unnecessary bloat?
  5. Does the game play like you wanted?

As you playtest, you need to be ready to be ruthless. Now is the time where you MUST be ready to “kill your babies”. What does this mean? You must be willing to discard the mechanics you have built so far and go back and start again. This is very, very hard. However, to fail here is to fail your game.

Keep your Design Goals handy. It will be tempting to go into every detail or do something completely unique for each scenario. The Design Goals will keep you grounded and avoid going off the rails. It does you no good if during this stage, you “Kill you babies” but go so far outside of your design goals that the game is no longer what you wanted to accomplish.

Level 1- Just and some Paper
You will probably be doing this as you go, but I wanted to make it explicit. Here you sit down, and just walk through the game in the abstract. You make sure you covered all the 4Ms, that you know how to and when to activate, that you know how to get a result, that you know when the game ends. At this stage, you may grab some dice, calculator or a probability chart and work through each stage looking for gaps you missed or things that are not clear or covered in the rules. This will make sure you covered most of your gaps and nothing glaring is missing.

Some people design Use Cases to test, build programs to run probabilities, or other elaborate steps. It is up to you how rigorous you want or need to be. I will caution you. Do not let the perfect be the enemy of the good. A game that never gets finished and played is no good to anyone. An imperfect game is better than the game that is never played. Let your creation eventually hit the table.

Level 2- Just You and the Table
You should begin your playtesting very simply. No one knows the rules of the game better than you. So put some templates on the table and start playing. Run through a very basic game with no complications. Take copious notes as you do this. The whole point is to find places where the rules do not work.

As you hammer out the details keep playing. If you want keep adding a few complications or modify the scenario. You want to make sure you hammer out all the obvious things you can find on your own play-through.

At this stage, you need to be willing to go back to the drawing board are start all over again. It isn't easy, but if something doesn't work, it doesn't work. Once you are done with this stage, all the obvious problems should be hammered out and the game should play smoothly.


Level 3- You and your Buddy
You have hammered out all the obvious issues in playtesting with yourself, at least the issues obvious to you. Now, you need to give your rules to some of your preferred opponents. Set-up a evening of gaming or two and let them read the rules on their own before the day of the game. Ideally, they will help you find editing issues but you are really looking for what questions they bring about the rules before the game. These are areas that need to be tweaked and explained better.

Once you get together you can play. Try to not give a tutorial or major explanations of the rules. You gave them a copy, so start playing. Again, as you play take careful note of where you find gaps, your opponent asks questions, and what strategies your opponent used. These insights allow you to see not only if the game works, but does it work AS INTENDED. i.e. do the rules lead to the conclusions you wanted?

If possible, go back and make tweaks; and come back to your buddies with the updates. Let them read the updates and ask questions. Take note of what they are asking and what conclusions they come to from reading the rules as written. This will guide you to streamline and clarify.

If you game does not play the way you intended it you need to go back and re-balance incentives your game puts on actions to naturally apply to the way you want the game played. Again, be ready to “kill your babies” because the game is not doing what you wanted it to do. Refer to your Design Goals to stay on track.
From Wikimedia Commons

Level 4- Gamer vs. Gamer
At this stage, the rules are ready to be given to a group of players without your guidance. Instead, you give them the rules, they read the rules, and then they play games. You make this as structured as you like. Some designers provide briefings and test cases for what scenarios need to be tested, some gather detailed data through observation or after action reports, some use 5 point scale surveys, while others just solicit ad-hoc feedback. The process is up to you, but typically the more rigorous the testing the more rigorous and specific the output from your testers.

Your testers will have plenty of ideas and thoughts about what you should or should not do with the game. Keep in mind they do not have the perspective on the Design Goals and what the game is intended to do. Only you do. At this point, the hardest part is balancing the feedback with the Design Goals. Therefore, not everything a playtester says should immediately become the truth.

It is very easy for a designer to fixate on a single pain point from one player and overlook the positive feedback on the exact same topic from other players. You will need to separate the “wheat from the chafe” and decide what needs updates and what does not. Frequently, you will find things that need to be clarified or made cleaned in the rules.

This is also the most likely stage where “imbalance” will be discovered as players try to “break the system” for advantage. Players can see what the designer and his buddies will miss. They are not wedded to the game and have the right amount of distance to break it. At this stage, you will need to re-balance and re-calculate any balancing mechanics that are in your game. This will require multiple attempts to get to feel right as no game has perfect balance.

From Wikimedia Commons

Level 5- The Big Wide World
You are now ready to release your baby into the big wide world. Be assured, it will be savaged. Every game has detractors and critics. Guaranteed. However, that doesn't mean what they are saying is unwarranted. Despite the best playtesting process, things will be missed. No playtesting group is as good as dozens or even hundreds of people playing your game looking to find the loopholes and exploitable points. They will be found and they will be criticized.

Again, remember that no one has a clear vision of the Design Goals like you do. It is ultimately up to you to determine what to do with the information you are given. Some games do FAQs, updates, or other tricks. Depending on how your game went to the public you might be able to make updates as go. Others will require separate and posted changes.

The thing to remember is, if you get to this level of playtesting; your game is out in the wild! You have made a game. Congratulations!

Via Wikimedia Commons
Only the Strong Survive- Where is it at?
So, we have been following the process for Only the Strong Survive. Where is it at with play testing? Good question. I have completed Level 1, and am ready to move onto Level 2.

Through using level 1, I discovered a couple of issues:

- There was not a great mechanic for dinosaurs to lose without dying. Don't they run away ever? That is probably the most common way for a wild animal fight to end; with one running for it. Just like human battles, this is a dangerous time as they must turn away from the enemy. Therefore, I updated the rules for some factors and tests for when a Dinosaur may decide to leg it no matter what the player wants them to do.

- I made some modifications to the reaction process. Instead, it took Instinct Dice to be allocated for a Reaction test to even be made. Therefore, a player would be forced to decide if they wanted the chance to react or if it was better to put it all into an Attack or Defense instead. Again, another decision point.

- I also made some tweaks to how and when you allocate Instinct dice.

- The method of determining who starts the turn was streamlined and provided for. Before it was unclear.

These were all tweaks or gaps that I found while just working through the game on paper and typing out the rules into a document for playtesting. This found the obvious gaps or clunky bits. Now, it is time to test if the game actually works on the table. Onward to Phase 2!

If you want to help out with the playtesting you can check out the draft rules here.  Feel free to comment on them on the Messageboard.  Thanks for your help! 

S.S. Onward from Wikimedia Commons


Monday, November 26, 2018

Wargame Design: Profiles and Chrome


Through this series, we have been exploring the '”evolution” of a game system from the initial concept, to filling out the 4Ms, to the turn sequence and activation process. The Concept and design parameters are the heart of the game. The 4Ms are the skeleton while the activation process is the muscle and sinew.

Today, we are going to be talking about the next step which is building out the units profiles and then adding the chrome. To extend the the metaphor, Unit Profiles are the nervous system of the game. Meanwhile, the Chrome is all the additional elements that make your game stand-out and give it that special hook, that “little something” that make people really want to play it.


Putting Together the Basic Profile
If you go back and re-read the section on the 4Ms and the Activation process, you will see that the basic unit profile is pretty well sketched out for us. All the building blocks are there as every profile needs to be able to talk through the stat lines to make the 4M's possible. So, let's break down a unit profile for Only the Strong Survive from there first, and then we can talk through filling it out.

Looking back, we can see that movement was going to be based on a movement template process where a Dinosaur can be Slow, Normal, or Fast. Therefore, we all ready know the first step on the unit profile is the Dinosaurs speed. In addition, I want to add a shorter band to the template called engagement range, dinosaurs at or inside this distance can fight. The initial 4M's were unclear on this process.

We also talked about a dice pool that would deplete as it was used. There were three main needs from this dice pool, Attack, Defense, and Reactions. Players could allocate dice into these areas, but once used they were gone until they replenished at some point in the game. Therefore, we will probably need a maximum number to be allocated per turn. That means we have 4 stats for the stat line all ready.

The 4Ms also referenced an Armor value where hits needed to exceed this amount to stick on the dinosaur and reduce its damage track. Therefore, we need two more stats for the Profile, armor and a damage track. Our desired Act/React system was predicated on rolling reaction dice and successes would allow you to react in certain ways. Therefore, we need a reaction chart four our profile as well.

Lastly, we talked about dinosaurs have different attacks in different arcs. After all, a T-rex can not chomp on something behind it. That means we will need to list out some unique attacks and their combat arc at least. Therefore, the basic profile would look something like the following:

  • Dinosaur Type:
  • Speed:
  • Instinct Dice:
  • Attack Max:
  • Defense Max:
  • Reaction Max:
  • Damage Track:
  • Reactions:
  • Attack Types:

The profile was all driven by the needs of the 4Ms. Therefore, without the understanding of your games 4Ms, you would not be able to make the profile. In addition, we verified earlier that the 4Ms we discussed align with our design goals. Good.
Via Wikimedia Commons- Indroda Fossil and Nature Park
Adding Shiny Chrome
Now, before we go further, I want to shift our attention to Chrome. Chrome is essentially that little something special that takes your mechanics from yahtzee to something a little bit more. They are additional decisions or hooks for players and often take the form of special rules or situational items. Only The Strong Survive has places for Chrome built into the core 4Ms, it is now a time for us to think about how to exploit them. First off, let me take a moment to identify the built in locations for some chrome. Then we can talk a bit about how to make chrome work.

I left space for chrome in the rules in three primary areas. Those areas are the Damage Track, Reaction successes, and in the Attacks section of the rules. How did I identify these areas for chrome? Well, the exact outcomes were not clearly determined in the 4Ms. We know a successful target number result on the Reaction die allows a reaction, but what kind of reaction? We know attacks can reduce the Damage track until a Dinosaur is dead but what happens when it is only injured? We talked about an attack doing damage by successes above the Defense and reduced by armor, but different Dinosaurs have different specialized attacks, what are they? As you can see, some gray area around results can allow for space to add Chrome.

So, now that we have identified opportunities for Chrome, let's talk a bit about how chrome should work. Ultimately, Chrome should be a result beyond the the basic mechanics, but still in alignment with the concept of the game. Typically, it does one of the following things:

  1. Provides an attack modification
  2. Allows a defense modification
  3. Perform some special or additional movement
  4. Improves or reduces abilities (In this case Instinct Dice, Armor, Speed, etc.)
  5. Allow some unique interaction with terrain
  6. Allow some special action not normally part of the rules

Now, chrome is a dangerous business. If you are not careful it can lead to If This/Then That rules which lead to confusion rather than interesting game play. Typically, chrome should be a balance of risking something versus a potential greater reward. For example, a special attack might have a higher target number to be successful but when it does potentially inflict more damage. It could provide a different advantage than just straight damage, like a push back or knock down. It is a chance to create a decision point for a player, and is another way to try to build in some Tactical Play. Try to use chrome sparingly and make the same general chrome apply to multiple units. This way you avoid chrome actually breaking your game either unit by unit or entirely.
Via Wikimedia Commons

Building the Allosaurus
One of the mantras I have been spouting off about during this whole series has been to do your research. I know almost nothing about the Allosaurus. As I have mentioned, I am not a paleontologist or scientist. My knowledge of Dinosaurs comes from my younger family members, the internet, and the MST 3k episode of The Beastof Hollow Mountain.


Yeah, so after that inspiring clip I decided to set out to make the stats for the fearsome Allosaurus.

Here are a couple things of note about Allosaurus from my research:
  • They are carnivores and predators
  • They are two-legged theropods
  • They have small frontal arms
  • They have a weaker lower jaw than alligators
  • Probably used their teeth in a hatchet like attack to tear flesh away
  • It is most likely they were lone hunters
  • They had small horns and ridges on their head
  • They may have been scavengers
  • Allosaurus was up to 15 feet tall, lived 28 years, and could run 21 MPH.
  • There is evidence of Stegosaurus and Allosaurus fighting each other!


There you go, now let's compare this to the our basic profile and start to put something together for “Big Al” for Only the Strong Survive.

Name: Allosaurus
Speed: Normal
  • Instinct Pool: 10
  • Attack Max: 8
  • Defense Max: 4
  • Reaction Max: 4
Armor: 1

Damage Track:
  • 4 Boxes for Light- Reaction Max reduced to 3
  • 3 Boxes for Medium- Reduce speed to Slow
  • 2 Boxes for Severe- Reduce armor 1 to 0
  • Dead

Reactions:
1 Success- Dinosaur can pivot as desired on the spot to reposition
2 Success- Dinosaur may choose to push back itself out of engagement range
3 Success- Dinosaur can attempt an immediate Body Block
4 Success- Dinosaur can attempt to make a short move

Attacks:
Bite Attack Front Arc TN: 4+ Special: None
Tail Whip Rear Arc TN: 6+ Special: None
Body Block Front Arc TN: 4+ Special: No damage, Push Back, Knock Down
Hatchet Bite Front Arc TN: 6+ Special: Tearing Attack

Push Back- Target Dinosaur is pushed back slow Distance
Knock Down- Target Dinosaur maybe knocked down if it fails to make any success on a Reaction test
Tearing- Dinosaurs with armor of 1 count as armor 0.

There we have our first Dinosaur combatant! All of that could fit nicely on a small card.

Via Wikimedia Commons- The Denver Museum of Nature and Science


Creating a Stegosaurus
I know even less about a Stegosaurus than I do about the Allosaurs since they weren't in an MST3K! Well, at least that I recall. I do know from my research on Allosaurus that the two were Jurassic time period enemies, so it makes sense to make an opponent for play testing the basic game rules.

So, let's see what we can find out about good old Stegosaurus:
  • Steggie's were herbivores
  • They were not very bright
  • We have no idea why it has plates
  • They were really good at eating low plants and ferns due to having cheeks and swallowing small rocks
  • Its back legs are longer than the front, so it moved slowly
  • It had a very weak bite, weaker than humans!

Now you know, and knowing is half the battle. The plates probably were not armor, but instead used to radiate heat or for display. However, I think they are more fun in this game as armor plates. I get to make the final call for Only the Strong Survive.

Name: Stegosaurus
Speed: Slow
  • Instinct Pool: 8
  • Attack Max: 6
  • Defense Max: 6
  • Reaction Max: 3
Armor: 3

Damage Track:
  • 4 Boxes for Light- Reduce armor 1 from 3 to 2
  • 2 Boxes for Medium- Instinct Pool is reduced by 1 to 7
  • 2 Box for Severe- Attack Max is reduced by 1 to 5
  • Dead

Reactions:
1 Success- Dinosaur can pivot as desired on the spot to reposition
2 Success- Dinosaur may choose to push back itself out of engagement range
3 Success- Dinosaur can attempt an immediate Body Block

Attacks:
Tail Whip Rear Arc TN: 4+ Special: Pierce
Body Block Front Arc TN: 4+ Special: No damage, Push Back, Knock Down
Tail Sweep Rear Arc TN: 6+ Special: Knock Down

Push Back- Target Dinosaur is pushed back slow Distance
Knock Down- Target Dinosaur maybe knocked down if it fails to make any success on a Reaction test
Pierce- Any Attack rolls of 6+ cause 2 damage instead of 1

There you go. We know have some combatants to play around with.

Conclusion
You can see how the previous work we did at each stage built on each point to allow us to build profiles for our units quickly and easily. However, once you have some profiles created, the real work is just beginning. Now, you have to start actually hitting the table and seeing how the units interact with each other in different combinations over and over again. This process will let you see where your basic model works, what chrome is too powerful, and other small items you will have to go back and tweak a bit. At this stage, you are looking for big time game breakers and flaws more than intimate balance.

The big rocks of the game are now done if you want a playable one-off game. Time to start getting some of this stuff written down someplace! The only elements left for a complete game are what I like to call the Value-Adds. We will discuss those in the next installment.

Monday, October 29, 2018

Wargame Design: Thinking Through Activation for your Game


Welcome as we progress through the process of creating Only the Strong Survive; a game of dinosaur combat.  In previous posts we have discussed how to flesh out the conceptof your game, build design goals, and use these to flesh out your 4Ms to create a skeleton of a game.  At this stage you have a very good concept of what you are trying to accomplish and how you intend to do it.  You could start doing some rudimentary play tests of the game system to see how it hangs together. 

We have not discussed a key element.  This element is possibly the most important component to creating tactical game play.  If the 4Ms are the skeleton of your game, this element is the muscle and sinew.  It holds the component pieces together as a whole.  It is the last element needed to create a playable game.  I also find it to be the most compelling feature of many game systems.  What is this sacred ingredient?  It is the Turn Sequence.  How and when models can act in relationship to each other. 
$10 at Wal-mart got me these and many more for testing

There are as many ways to handle activation as there are games to play.  Below are some basic ideas to get you started on the path of thinking about this mechanic:

1.       I-GO-U-GO- Basically, both players take turns and do all actions with their entire force.  One player does all their actions, and then the other player does all of their actions.  There are many famous games with this structure.  Contrary to popular belief, this method is not inherently wrong.  Like all mechanics there are advantages and disadvantages to this method. 
a.       Advantages- Easy to understand, simplicity
b.       Disadvantages- Can have down time, Opponent has few counters
c.       Examples: Warhammer 40K and Warhammer Fantasy Battle


2.       Alternating Activations- In this method, a model/unit is activated by a player, it completes its action, and then the opponent gets to do the same with their model/unit.  Play alternates back and forth until all models have been activated.
a.       Advantages- Players exchange play frequently to stay in the game 
b.       Disadvantages- Forces act disjointedly, react “in the moment”
c.       Examples: Dystopian Wars

3.       Activations by Phase- One player has all of their units/models perform one of their available actions such as move.  Once complete, the opposing player can then have all of his models/units complete the same action.  Once complete, the first player can then have all of his models/units perform the next action. 
a.       Advantages- Play goes back and forth, Units can coordinate actions
b.       Disadvantages- Can have downtime, Opponent can have limited response


4.       Activation Order- At some point, an order of who can activate when is established and then followed in a linear way.  For example, all units of a certain type can activate, then of another type can activate, and then a third type, until all units have performed an activation.  The order can be set in advance or fluid and changing, but there is a clear order of activation.
a.       Advantages- Used to differentiate unit/models, Play typically moves between players
b.       Disadvantages- Establishing or recalling proper order
c.       Examples: Dux Bellorum, The Games: Blood andSpectacle

5.       Act/React- A player can choose to activate or use a model/unit.  However, if certain criteria are met then the opponent player can try to activate or use one of their own models/units as a ‘reaction’ to what the acting player is doing.       
a.       Advantages- Leads to dynamic game play
b.       Disadvantages- Complex, mechanic heavy, not intuitive
c.       Examples: Infinity, Rogue Stars, Force-on-Force


6.       Push-Your-Luck- A model/unit that is active can continue to do stuff until they fail.  Then activation moves to a different model/unit OR the opponent can start activating their models/units. 
a.       Advantages- Forces player decision, Create friction
b.       Disadvantages- Artificial outcomes
c.       Examples: Blood Bowl, Black Powder

The above is just a flavor of the general styles out there.  In addition, there can be multiple small variations to the specific mechanic or combinations.  For example, the main mechanic maybe I-GO-U-GO with an Overwatch mechanic that allows an Act/React system to come into play, or a resource that is spent in order to interrupt.  Again, this is where research and being familiar with a wide variety of game systems and mechanics comes in handy.  You can see exactly how other designers have tackled similar challenges to the ones you are facing.

As you consider the activation method or turn sequence for your game, it is a good idea to refer back to your Design Goals.  In the case of our dinosaur fighting game, Only the Strong Survive; they were:

1.                   Interesting battles between Dinosaurs 1-on-1 or in very small groups.
2.                   Gameplay that flows quickly and easily between players
3.                   Lots of decision making for the player
4.                   Clear differentiators between Dino types
5.                   Scale and model agnostic
6.                   Combat that flows freely, not locking you in
7.                   Positioning is key

Reading the design goals, I can immediately eliminate some of the options from our list.  Activation by Phase and I-GO-U-GO do not seem to be a good fit.  However, I-Go-U-Go could work with small model count games; I am going to steer away from it for now.  Those typically have some longer wait times as players complete their phases.  My design goals specifically call out quickly flowing game play and free flowing combat. 

Alternating Activation and Activation Order seem like they could work fine.  However, I also want to force decisions on the player.  The key decision in these activation methods is simply who to activate when.  If it is a 1-on-1 fight, there will be no decision making using these methods.  On the other hand, how they fit into an activation method is a good way to distinguish between dino types.  However, I am going to eliminate those from our final list as well.  The positives do not outweigh the negatives right now.

This leaves us with Act/React and Push-Your-Luck.  I have successfully used Push-Your-Luck mechanics before in Combat! Starring Vic Murrow.  It allows for models to differentiate themselves and potentially “chain” there efforts together, but a successful chain could disenfranchise an opponent’s ability to act.  I have also seen Push-Your-Luck mechanics lead to some bizarre outcomes in games like Black Powder, Hail Ceasar, and Lion Rampant that have been off-putting to some reviewers and players. 


When I take a closer look at Act/React in games like Arena Rex it seems like a strong fit.  Arena Rex is also a model-vs-model (or small group) melee fight.  There, certain actions allow clearly defined reactions, and different fighters can have unique reactions for differentiation.  This seems to fit what I am trying to accomplish pretty closely.  On the other hand, in games like Infinity or Rogue Stars I have seen it lead to one model doing all the heavy lifting while the rest of the team just sits and cheers the biggest, baddest model on. 

After reviewing my design goals and the skeleton of the game I have put together so far, I have decided on trying to build some sort of Act/React system.  Obviously, I will need to build in some sort of limiting factors so players will need to “manage” their dinosaurs and their ability to react.  The exact nature of this mechanic is not clear yet, but it could simply be a dice pool that reduces as they use it, and a success indicates they can react and no successes indicate they can not.  Then the number of successes could dictate the list of available reactions.  The more successes the more aggressive the reaction?   These reactions could also vary by dinosaur with more nimble and reactive dinos able to do more aggressive reactions, while bigger, slower dinos might need more successes to do something less aggressive.

Now, with the skeleton and muscles of the basic game in place, it is time to move onto the next steps. With the basic elements in mind, you need to start putting together some basic profiles for the units in your game. You can’t build a unit profile, until you have an idea of how the game is going to work. If you go back and review the post on fleshing out the 4Ms and combine it with this post, you can see a shadow of the profiles being created. Next time, we will look at the process of building two Dinosaur profiles for Only the Strong Survive based on the core mechanics we have discussed here.