Showing posts with label Ionian Revolt. Show all posts

Monday, October 9, 2023

Battle Report: Men of Bronze - Before the Walls of Miletus


This is the continuing recreation of the Ionian Revolt.  The Ionian Revolt was a revolt against the Persian Empire by the Ionian Greeks and their allies prior to the Greco-Persian War.  It took place from 499 to 493 BCE.  It was a land and sea affair, so I am using a combination of Poseidon's Warriors and Men of Bronze to re-create the campaign.  Both are from the Osprey Wargaming Series.  In addition, Men of Bronze has a specific supplement for the conflict called The Ionian Revolt. 


Miletus was the Ionian city that instigated the Ionian Revolt.  As the Persians closed the noose on the revolt they decided to target the source.  The Ionian Greeks decided to try to face the Persians at Sea instead of on land.  This culminated in the Naval battle at Lade.  This battle was a Persian victory and the various factions of Greeks scurried back to defend their respective city-states.  This gave the Persians the space and opportunity to move in and place Miletus under siege. 

Victory there was expected to end the Ionian Revolt.  Ironically, Aristagoras the Greek who instigated the revolt in Miletus had left the city to campaign in Thrace and to start a colony.  He died during that campaign.         

One of the Optional Scenarios in the Ionian Revolt supplement is rules for a siege game.  This is an area that Men of Bronze shied away from previously.  They were represented by the Ravage the Countryside scenario or a Race to the Gates style scenario.  Siege warfare was common in the period, but did not seem that exciting to actually game.  Many of the ancient siege were probably resolved due to logistics, disease, betrayal, or simply negotiated to a conclusion.  However, with a closer look at the Ionian Revolt, it made sense to try to build some sort of scenario.  The supplement also has two other alternate scenarios, one for the burning of Sardis at the start of the Revolt, and the other for Naval battles like Lade.  Today, we are going to give the Siege scenario a shot.
  
Forces: 
We have no real historical information about what the Persian siege army looks like or what the defenders were composed of. 

Greeks of Miletus
1 Militia Hoplites - General
2 Peltasts
1 Psiloi
2 Archers/Slingers

The Persians
2 Drilled Infantry
2 Psiloi
2 Warband Infantry
3 Archers - 1 with General

Set-up:
The board will be 72MU by 48 MU with 1 MU to equal 1 inch.  

The Defenders have a wall that crosses across their deployment zone.  The details of how this wall works is in the Ionian Revolt supplement.   Terrain placement on the rest of the board is per the normal rules. 

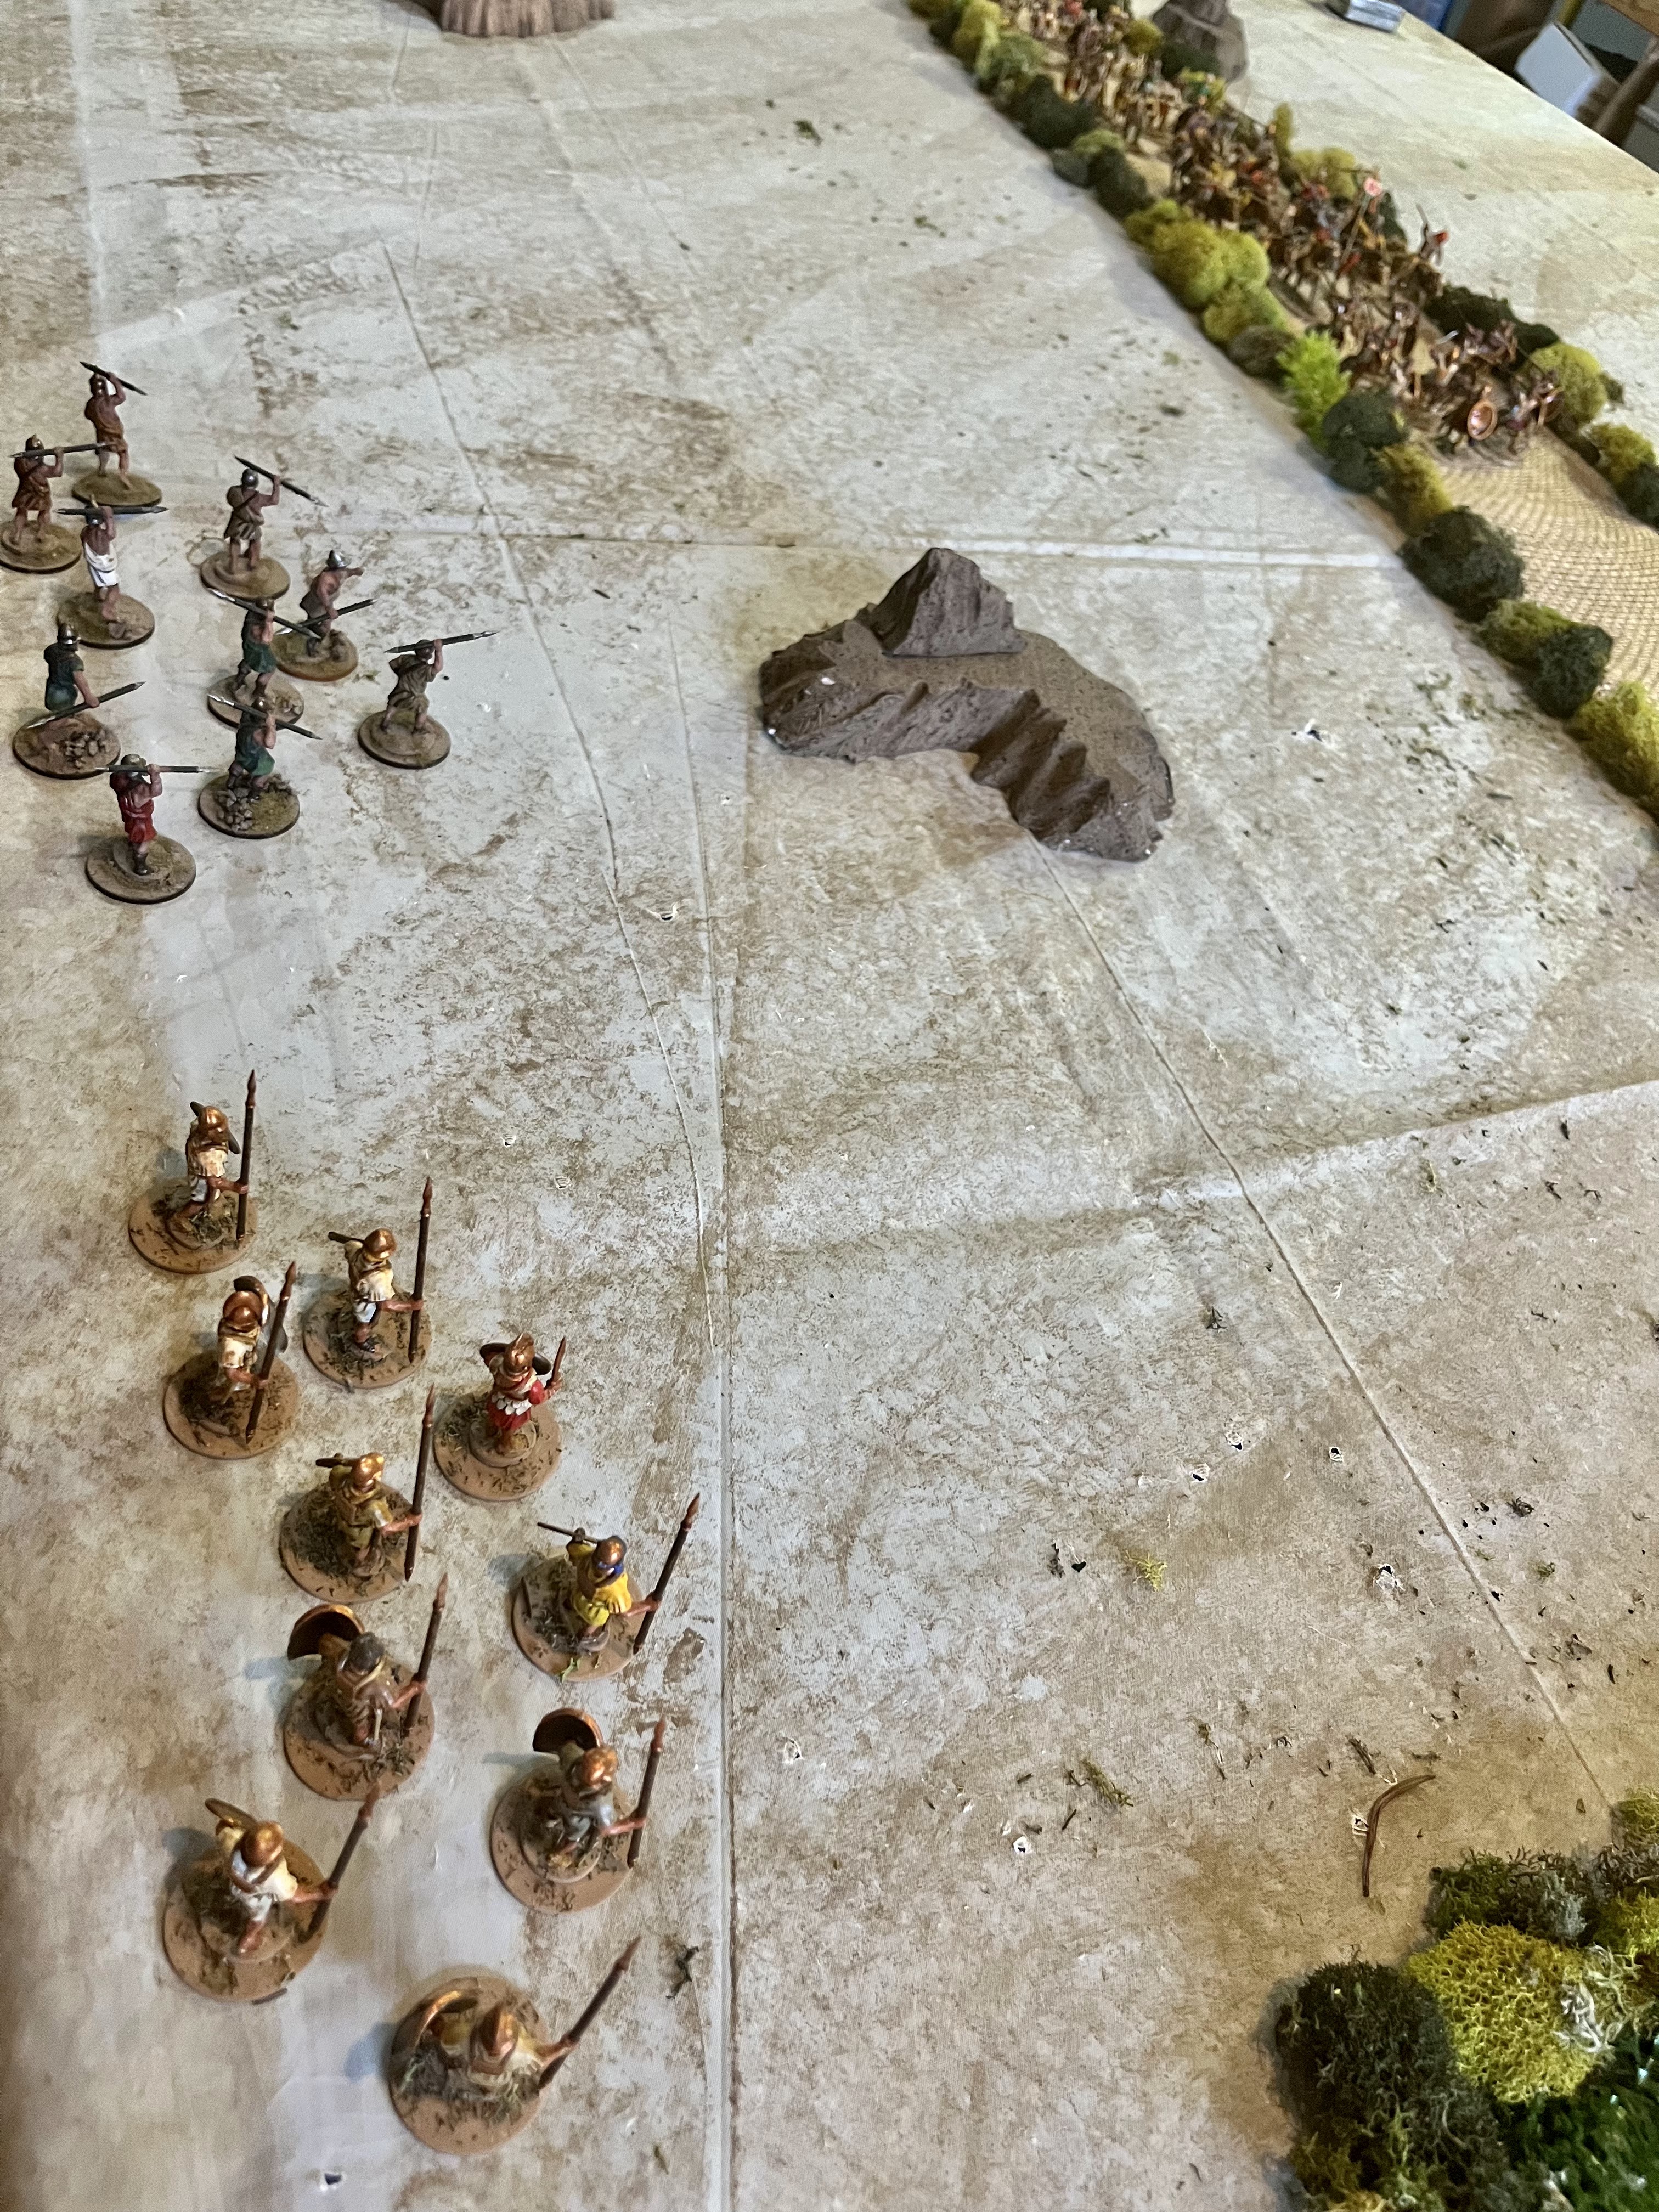
The Ionians have a speed bump force of Peltasts at the gate, perhaps trying to break-out and disrupt the Persian advance?  They are back-stopped by the Milita Hoplites in Phalanx.  Behind them a unit of Psiloi prepares to support them.  The flanks of the gate are covered by Greek archers and slingers to concentrate fire at the gates.  The last Peltast unit is out wide, perhaps hoping to add firepower, or sally forth when the time is right? 

Ionians prepare to defend the city!

The Persian assault force is set-up 12 MU in from their board edge.  They deploy with their warband infantry leading the way towards the gate, followed up by Drilled Sparabara.  

The main Persian assault force

The rest of the force spreads out to attack along the wall and try to use their firepower to suppress the defenders.  The Psiloi are approaching in the cover of the fields.  The attack is well-supported by Persian archers across the battle line.  

The Persians look to have the defenders outnumbered!

The two forces are deployed and ready to fight.  The Persians have an advantage starting with 9 Arete Points to the Ionian Greeks 6 points.  We will have to see if this imbalance makes the difference. 


Mission: 
Persian troops will be allowed up to 3 gaps in the wall based on a pre-game mechanic.  Per the rules, we established that the Attackers have managed to get one opening in the wall.  In this case, we decide that traitorous pro-Tyrant and pro-Persian forces have managed to open one of the many gates into the city.  Persian troops and Ionian defenders have rushed to the gate for the decisive battle.  

The mission objective is to try and force the opposing forces to collapse. 

Maneuver Phase:   
The Ionians pay enough Arete points to go first, hoping to use their peltasts in a spoiling attack.  They break from the gates and are quickly peppered with Persian archer fire.  However, their shields protect them well-enough and they press the attack.  

The Persians simply outbid the Greeks for initiative and the Persian archers quickly send the Greek spoiling attack fleeing back to the "safety" of the city.  The Persians press forward.  As the Persian Psiloi move towards the Walls, the Greeks try and fail to interrupt. 

Greek missile troops try to force back the Persian Archers in the village by the gate, but a horrendous roll and no Arete points stops them from having any effect.  The rest of the Persian host is just outside of the killzone.  The Ionian Militia falls back a step, hoping to lure the Persians into the kill zone before the decisive combat happens at the gates.  However, the fleeing Peltasts cause the Militia to start wavering. 


Battle Phase: 
The Persians again just bid more than the Greeks can manage.  However, this time the Greeks hold back and save the Arete Points for re-rolls and other commands. The Persian counter-battery fire is also ineffective from their archers, as most of them are still moving into position.  

The Persian Vanguard of warband infantry see the Militia wavering and try to charge them.  The Greeks try to interrupt, but fail.  This leads to a melee, where the Persians lose 3 to the Greeks losing 2.  However, the Militia troops fail their discipline check while wavering and end up losing another Courage. Neither side can gain the upper hand at the gates.  


The Persian Psiloi also launch an attack at the Greeks defending the wall, but the Greeks strong position leaves the attack thwarted. 

The Greeks fight back with a barrage of their own.  The Persian Archers in the village are reduced to 1 Courage and start to Waiver.  The Psiloi at the wall lose 1 Courage.  The Persian Archers screening the Drilled Infantry also take a Courage loss from the Greek archers in the city.   
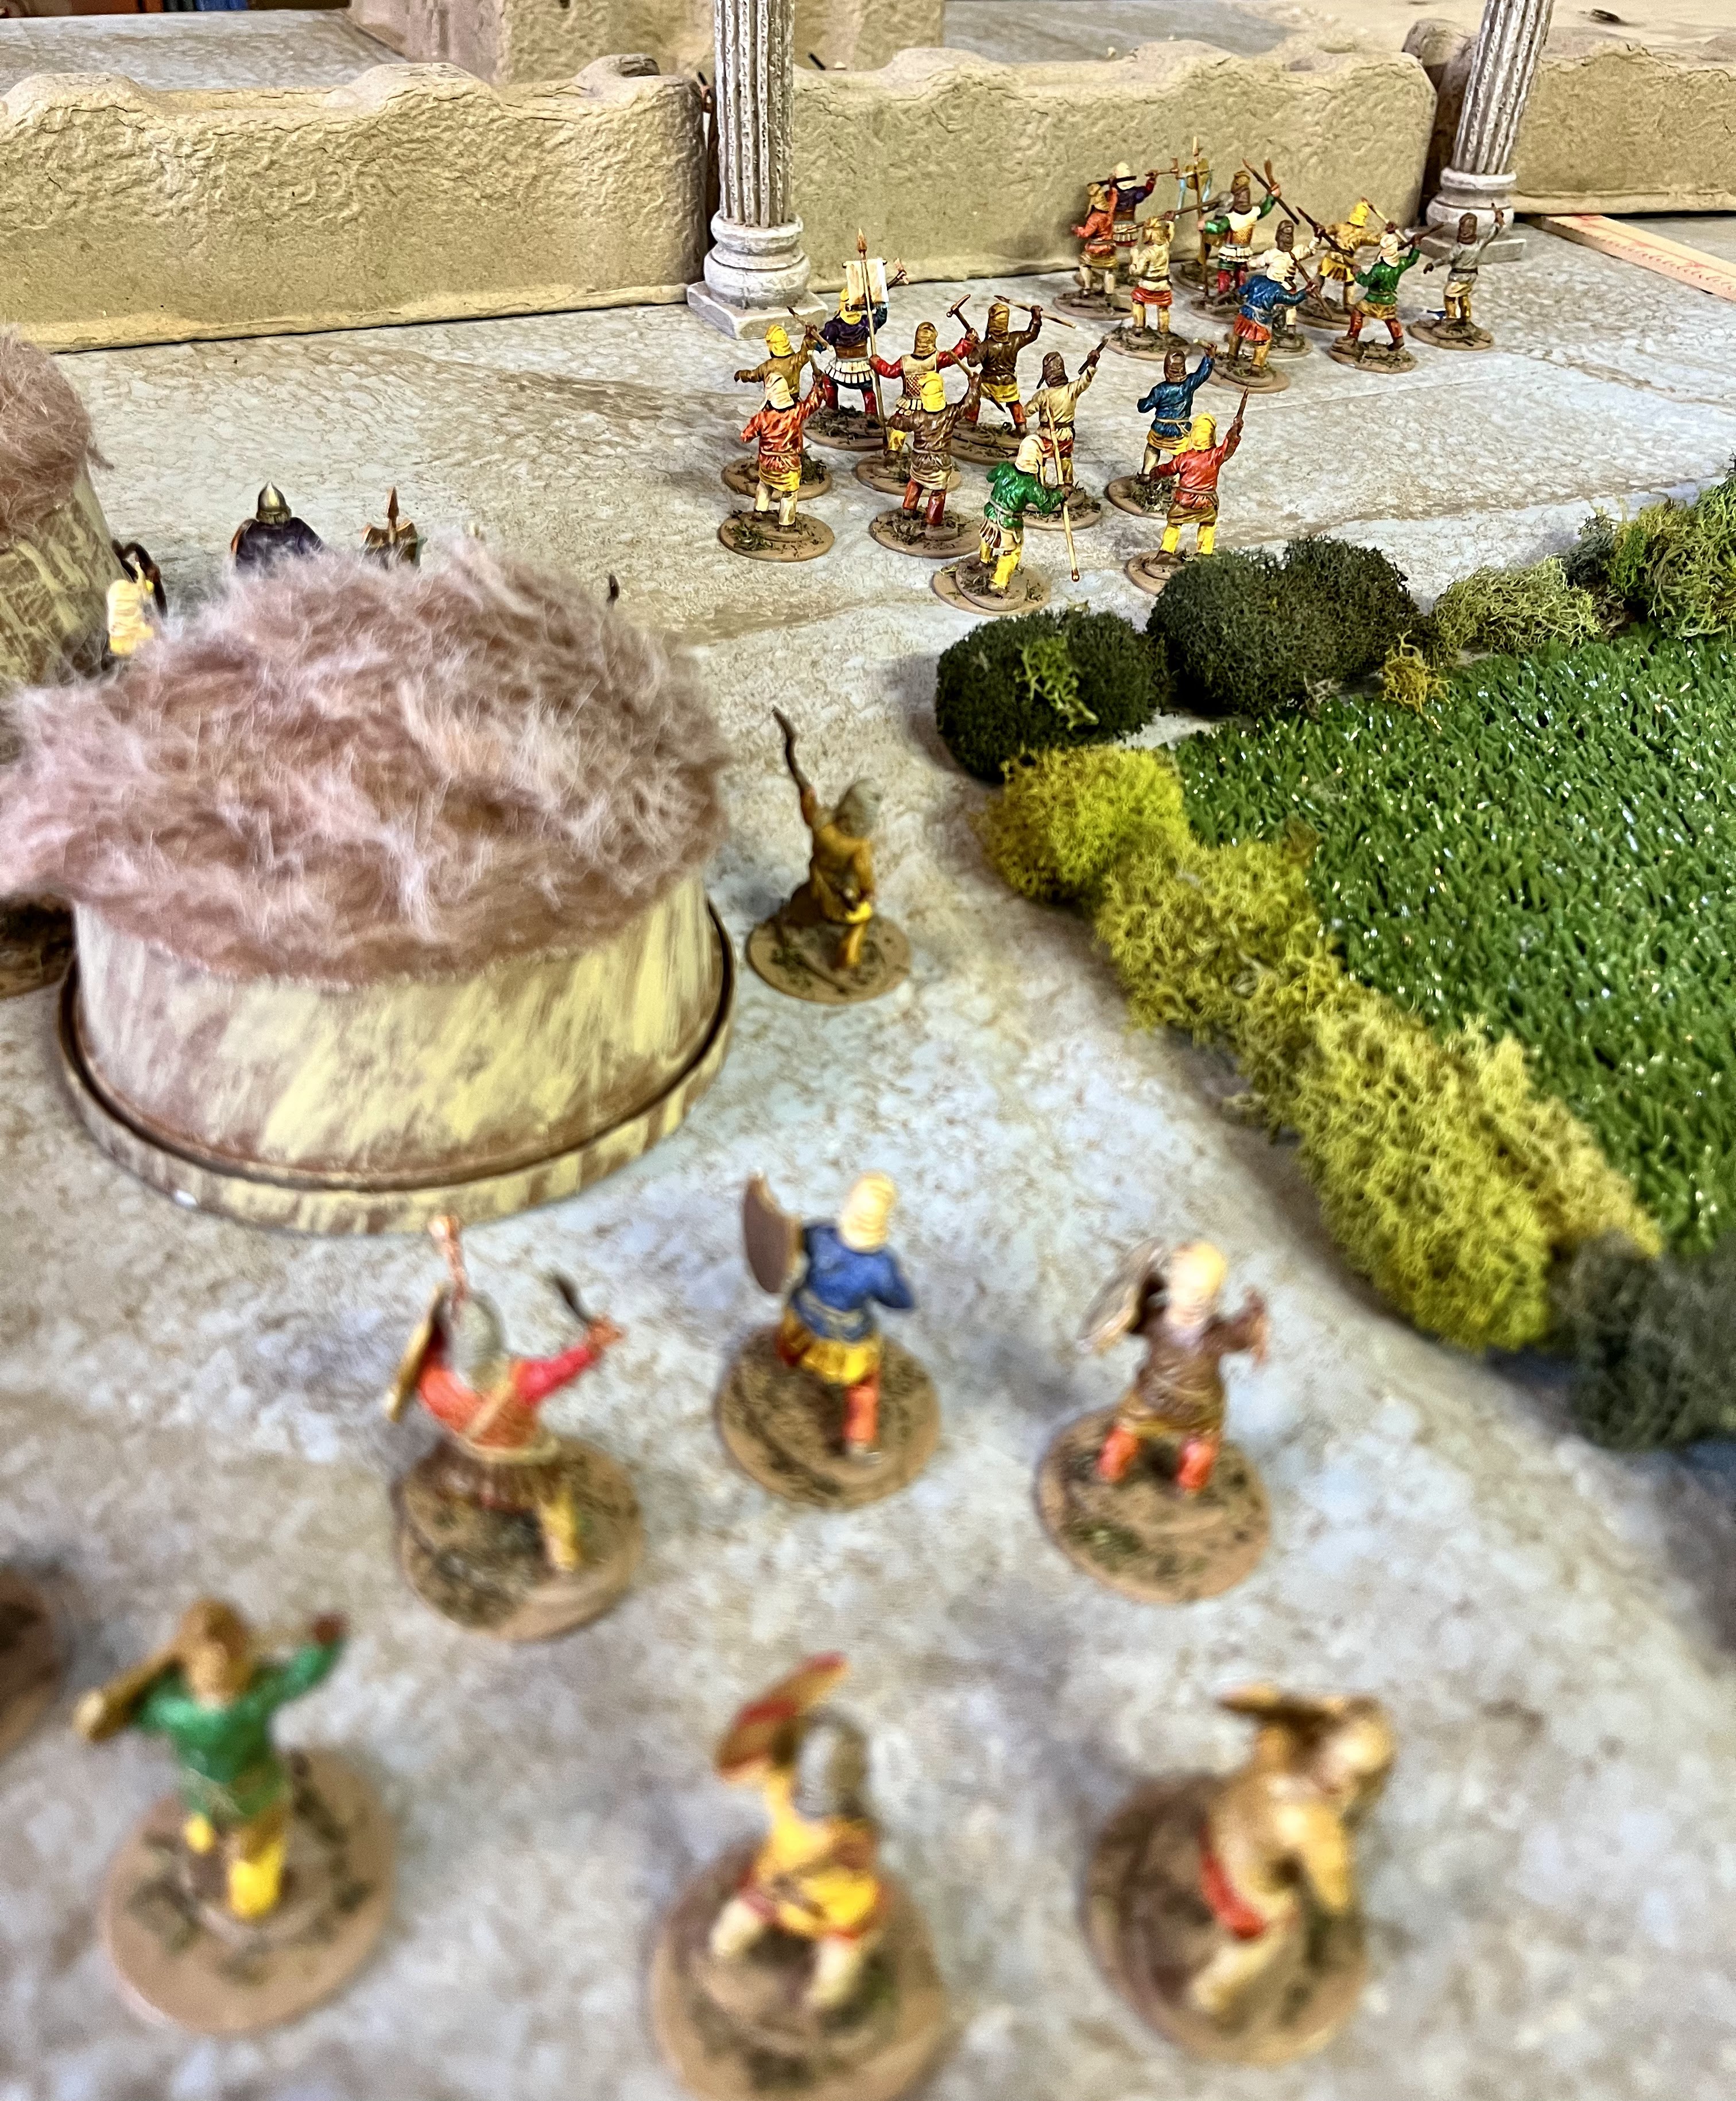


The Psiloi in reserve behind the gate charge in and easily help the Militia Hoplites clear the Persians out there.  The way is clear.... for now.  The Ionian Psiloi let the Hoplites push back the foe, and separate again as a reserve.  The Persian follow-up forces watch the vanguard stream past in disarray, but they are unmoved by the plight of their comrades. 


The Persian Archers and Psiloi again rain arrows and Javelins on the Greeks, who respond in kind.  The Ionian Archers are reduced to 1 Courage and are wavering, the Peltasts on the opposite side of the wall also lose a Courage.  However, the Persians moving to the gate are not close enough to charge and keep closing in. 

This gives the Greek commander enough time to harangue and re-group is Militia hoplites into a Phalanx.  He reminds them of what they are fighting for and the soldiers steal themselves for battle and redress their lines.  The Greek archers also Rally.  The Greek missile troops rain hell on the approaching Persians.  However, the Persians were prepared and only lose 1 Courage.       


The Persians Drilled Infantry charge for the gate and the Greeks meet them half-way, a counter-charge of their own.  The two sides clash with the roar of war shouts and the crash of metal on metal.  The fighting is fierce, but the Greeks hold and push the Persians back a step or two.  The Persians are down to 2 Courage, as are the Greek defenders.  


Despite the noble defense at the gates, the Greek defenders take hits all along the walls from the full press of the Persian attack!  The Ionian archers are forced from the walls from combined Persian Archer fire.  However, the Persian Archers in the village are forced back as well.  


Greek losses force a collapse test across the line.  It is not good for the Ionians as the Psiloi reserve and the slingers both flee the field.  

End Phase: 
The Persian Warband Infantry charged in to support their brothers at the gate.  It was a close run and fierce battle, but the Persian ability to dump in re-rolls proved the difference and the gallant Hoplite defenders at the gates broke and fled to save their families and try to escape the city. 
 

The Peltasts began to re-deploy to try and hold the gate a moment longer, to try and buy time for residents to flee.  However, they took more Courage loss for the Persian Psiloi trying to force the wall.  

The Ionian Peltasts avoid a barrage of Persian Javelins as they redeploy.  They get the gate just in time to see the Persian Drilled Infantry storming through.  They set their feet and throw, causing enough damage to reduce the Persians to 0 Courage.  They turn and flee.  This triggers Persian collapse tests.  


The Persian Warband Infantry and a battered Psiloi unit decide that the battle is won and fall back to camp.  It is a token victory that buys the city folks a bit more time to flee, but the outcome of the battle is clear.  

Conclusion: 
The Persians have won and the Fall of Miletus has begun.  The Ionian Revolt has been squashed by the Persian forces. 

In the Ionian Revolt Supplement, the final battle is a different scenario than the one we played today.  It is one that does not require specialized terrain like walls.  However, my opponent and I are satisfied that this siege scenario is an appropriate end to the campaign.  The optional siege scenario was a success!  That will be a great addition to a number of Men of Bronze campaigns!  

In the course of seven battles, the Ionians won 1, compared to the Persian 6.  A decisive defeat on land and sea for the Ionians.     


Become a Patron and get access to all the cool stuff, a peak behind the curtain of Blood and Spectacles, and early-access to playtest games!  


You can follow Blood and Spectacles Facebook page or Instagram for more fun! 

Check out the latest publications and contact me at our Blood and Spectacles website

Or purchase all out games at the Blood and Spectacles Publishing Wargames Vault Page!        

Monday, September 25, 2023

Battle Report- Poseidon's Warriors- Battle of Lade


This is the continuing recreation of the Ionian Revolt.  The Ionian Revolt was a revolt against the Persian Empire by the Ionian Greeks and their allies prior to the Greco-Persian War.  It took place from 499 to 493 BCE.  It was a land and sea affair, so I am using a combination of Poseidon's Warriors and Men of Bronze to re-create the campaign.  Both are from the Osprey Wargaming Series.  In addition, Men of Bronze has a specific supplement for the conflict called The Ionian Revolt. 


By the sixth year of the Ionian Revolt, the Persians had successfully counter-attacked and recaptured much of the lost cities.  However, the Ionian Greeks still held out with Miletus being the originator of the revolt still resisting.  The Persians reformed into a single army, supported by naval forces and marched on Miletus to end the Revolt once and for all. The accomplished Persian general Datis took command of this unified Persian force. 

Upon hearing of the approaching enemy, the Greeks decided to challenge them at sea rather than on land.  The Greeks assembled a large fleet from many of their member cities.  They made for the island of Lade in order to stem the Persian attack on the city.  

The Persian force was composed of a multi-national fleet as well.  It had Phoenicians, Egyptians, and even the newly re-conquered Cypriots.  They were likely led by Datis himself.  The Persians sent the former tyrants of each rebel city with the offer to surrender.  This strained the Ionian coalition. In addition, the Greek general Dionysius trained them hard in tactics and fighting.  This did not sit well with all the Greeks.  

Today, we are going to be fighting the Naval engagement that occurred off the island Lade.  Supposedly, some of the Ionians retreated from the battle, persuaded by the Persians offers of peace.  This allowed the Persians to overwhelm the remaining Greeks forces and defeat them.  

Once we get the results of the sea battle, we will also be playing the land battle using the scenario in The Ionian Revolt supplement for Men of Bronze.   

Forces:

Persians
1 Slow Trireme unit with admiral and elite troops
4 Slow Trireme units     

Ionians
1 Fast Trireme with Admiral and 
1 Fast Trireme
3 Slow Triremes

Set-up:
This battle will take place on a 6x4 table.  The fleets are spread from West to East.  The coast of Lade is on the short edge to the East. The two fleets are facing off.  The Persians are to the North and the Ionians to the South. 


Both fleets have deployed for a standard engagement, with the Ionians having their Fast Triremes on the left edge furthest out to sea.  The two sides spread out across the ocean by Squadron. 


Mission: 
This will be a straight up battle, with both sides looking to sink the opposing fleet.  The basic scenario is found in the main rulebook. 

The turn after the first combat, each Ionian squadron will start the turn with a simple 4+ morale test.  If failed, they will abandon the fight.  They are removed from the table as they signal their desire to fleet and escape to the Persian ships.  They are no longer relevant to the battle.  Once two Squadrons have fled, no additional Morale tests are needed. 

Instead of my normal turn-by-turn breakdown, I am going to try to break the game down into the Maneuver Phase, the Battle Phase, and the End Game section.  Something a bit different to ease the load of book keeping, and to avoid me taking too much time typing during the actual game! 

Maneuver Phase:
The Persians approach while the Ionians have the center approach with the fast triremes going out wide on both sides.  The Persians send a squadron to cover the approach to the east side, by the island.  A few barrier islands make the approach interesting.  


Meanwhile, the rest of the fleet begins to try to align into a two line depth to the fleet.   The fast triremes close in on both edges. Contact seems imminent. 


Battle Phase
The ships have closed into bow shot range, and the Greeks fire first.  The Persian lead unit gets peppered with shots, killing the marines on half their ships.  

On the Persian West flank, the Fast Triremes move in on the exposed Persian ships.  However, they encounter a hail of arrows and sling stones.  1 ship loses its Marines, while enough rowers are lost on the other ships to slow them down.  


The oar damage slows them, but it is not enough and the Greek Western ships smash into the sides of the exposed Persian 5th squadron, and easily sink 3 ships.  

The Persian center pushes forward and manage to strike a straggler from the Greek 3rd Squadron and sink it.  Missile fire from the Persians removed marines from the Greek 2nd Squadron from 4 ships!  Return fire from the Greek 3rd causes some rower casualties on the Persians in return.  Counter-ramming from the Persian 4th Squadron sinks 4 ships from the Greek 3rd. 


The Ionian Cataphract 2nd Squadron fired furiously on the Persian 2nd, but had soon run out of ammo on most of their ships! 

The Greek admiral realizes he does not want to take his Fast triremes head-to-head with the heavier Persian squadron.  He attempts to veer off, and fire with his archers for little effect.  However, it is enough to keep the Persian vessels in the 1st Squadron from ramming him. 


The End Phase
As the Greek Admiral outdistances his pursuers he decides that enough is enough, and in the best interests of his city-state, decides to sail away to safety and take his fellow citizens with him!  The Greek 2nd Squadron after being barraged by Persian ships also decides to leave the battle.  

Remnants of the Persian 5th Squadron smash into the sides of the Greek 4th squadron and sink two vessels.  However, they are sunk in return by the rest of the Ionian squadron. The Persian 4th sinks the last of the Greek 3rd Squadron, and they pepper the Greek 4th with arrows.  They lose their marines.


The Persians have broken through the center of the Greek fleet, and the rest scatter.  The Battle of Lade is over. 

Persians in grey, and Greeks in brown


Conclusion
The betrayal of the Ionian Admiral and the Greek 2nd Squadron proved decisive.  It left the East flank completely undefended, and the Western flank of the Greek fleet had all ready been badly mauled.  However, the Fast triremes on that flank had been effective and together with the other Ionian ships had managed to defeat the Persian 5th Squadron completely in the West.  However, it was too little, and too late as the Persian smashed through the Greek center.  

The Persians had 5 ships sunk, and minimal casualties beyond that.  The Greeks lost 7 triremes, but took pretty heavy casualties, especially on the 2nd Squadron that decided to sail away.  Both Fast Trireme units were in good shape, with the one in the West taking rower casualties. 

This was the second battle where flank attacks by the Fast Triremes proved effective tactically, but failed to be the decisive action of the battle.  Both battles were decided in the center.  My opponent and I will need to re-think how best to use those fast assets.  

This was a semi-historical outcome.  In the actual battle, the desertions happened on the West flank and led to Persian victory there.  Here it was the East flank.  However, either way it was another Persian victory in the campaign and matched the Historical outcome.  This gives the Persians the decisive lead winning 4 out of 5 battles so far.  

Now, it is time for the final defeat of Miletus and to crush this revolt once and for all!  


Become a Patron and get access to all the cool stuff, a peak behind the curtain of Blood and Spectacles, and early-access to playtest games!  


You can follow Blood and Spectacles Facebook page or Instagram for more fun! 

Check out the latest publications and contact me at our Blood and Spectacles website

Or purchase all out games at the Blood and Spectacles Publishing Wargames Vault Page!  


Monday, July 24, 2023

Battle Report- Men of Bronze: Battle of Pedasus


This is the continuing recreation of the Ionian Revolt.  The Ionian Revolt was a revolt against the Persian Empire by the Ionian Greeks and their allies prior to the Greco-Persian War.  It took place from 499 to 493 BCE.  It was a land and sea affair, so I am using a combination of Poseidon's Warriors and Men of Bronze to re-create the campaign.  Both are from the Osprey Wargaming Series.  In addition, Men of Bronze has a specific supplement for the conflict called The Ionian Revolt. 


Herodotus gives us details of three battles between the Persians and the Carians . The Persians won
the first two engagements, despite a strong challenge by the Carians . These twin defeats had the
Carians on the ropes and desperate. They resolved to fight the Persians one more time, but this time
launch an ambush on the road near Pedasus.

As the Persians approached near night, the Carians attacked. The ambush was a great success and
the Persian general Daurises and his commanders were killed. This forced the Persians to fall back
to regroup, and saved Caria from a siege.

For today's battle, we decided to skip over the 2 defeats of the Carians by the Persians.  We know very little about them but they seem to be relatively straight forward battles.  The first was the Persians forcing a river crossing.  The Carians were then reinforced by the Milisian army and fought again at a sacred grove.  The Persians won again.  

That was the lead up to the ambush at Pedasus.  A last roll of the dice by the Carians versus the Persian war machine.   

Forces:
Despite the various losses to the Carian army, we are going to assume they still had a relatively standard Greek army at this point.  That means, we will go with: 

Carian Army
Drilled Hoplite - General
2 Militia Hoplites
Peltasts
Psiloi

The Persians will be using a more standard campaign field army. 

Persian Field Army
Cavalry - General
2 Archers
2 Drilled Infantry

Set-up: 
This game has a unique set-up, but uses the normal 72MU by 48MU board.  However, this game will be played length-wise instead of long-edge to long-edge. You can find the details of the set-up in The Ionian Revolt supplement.  

The Persian column sees Carian Drilled Hoplites emerge from Pedasus

The Persians vanguard was the Drilled Infantry, followed by the cavalry, archers, and more drilled infantry as the rearguard.  The Carians are in a crescent to ensnare the head of the Persian column with peltasts and psiloi on the edges, then militia hoplites, being anchored by the drilled hoplites in Pedasus. 


Mission:
The game will use the rules for Men of Bronze based on the Ambush scenario.  This game will also have the Dusk Approaches complication.    

A bird's eye view of the deployment

For this battle, I will not be following every detail.  I have found this method really hampers and slows down the game play!  Instead, I will be covering the action in three main phases; the Maneuver phase, the Battle phase, and the End Game.  The Maneuver phase is where the armies are mostly closing the gap and set-up their attack plans and is typically turns 1-3.  The Battle Phase is typically where most of the fighting occurs and normally falls in turn 4-6, and the End Game is the final moves to determine the ultimate victor and often are turns 7-8.  

The Maneuver Phase: 
The Greeks begin to close the net on the Persian column.  Meanwhile, the Persians begin to shake out into a batteline.  The Greek light troops are leery of getting too close to the Persian archers, who can easily wreck the Greek light troops in a barrage of arrows.  The Persian cavalry goes out wide to threaten the peltasts on the Greek flank.  The Greek drilled infantry form phalanx and easily block the road. 

Battle Phase
The Battle begins with the Peltasts trying to move up and throw javelins at the Persian Archers, but they fall just short.  No pre-measuring can do that!  The Persians then interrupt with an Arete Point, and return fire.  The Peltasts are hit hard.  This barrage is followed up by a Cavalry charge that sends the Peltasts packing in short order.  First blood to the Persians!


The Persians re-shuffle their lines and let the Greeks take-over again.  The Drilled Hoplites on the road charge into the Persian Drilled Infantry opposite them, who counter-charge.  A bloody melee breaks out, but neither side has the upper hand.  


On the opposite flank, the Persian archers try to eliminate the Psiloi, but fail.  Their nearby Drilled Infantry then charge the Militia Hoplites, who counter-charge them back.  The injured Psiloi jump in to support their fellow Carians. The Militia Hoplites win and push the Persians back into their Archers.  


On the road, the Persians face stiff resistance from the drilled Greeks and are quickly pushed back.  The Persian back is broken when the other Militia Hoplite unit joins the fray! However, as the Greeks turn to butchery on the road, the Persian General slams into the rear of the melee with his Cavalry, reducing the Greeks to near breaking!  


On the Persian right, more catastrophe as the Militia Hoplites and Psiloi break the Drilled Infantry and Archers there.  This leads to the last Archer unit to also turn tail and flee.  They failed a collapse test.  The Persian army is in tough shape.


End Phase:
The entire Persian army has collapsed with the exception of the General and his Cavalry bodyguard.  The Greeks are injured but in no real danger of losing at this point.  They use heir Arete Point advantage to make sure they go first.  

The Greeks on the left reposition themselves to finish off any Persian survivors from the center melee.  They then decide to see what happens there.  The rear attack by the Persians cause the Greek General and his Drilled Hoplites and Militia allies to flee. However, they take heavy casualties in return and are also routed.  

Seeing their comrades flee, the other militia Hoplite units collapses! This leaves only the Psiloi left!  The Greeks barely hold the field of battle! 


Conclusion:
The first win for the Greeks during the Ionian Revolt and another historical outcome. I thought this was going to be a much more decisive loss than it turned out to be.  It actually went down to the last dice roll again.  If the Psiloi collapsed we would have had a draw. 

I think my plan to turn the flank and get my cavalry behind the Greeks worked well.  However, their line engaged my about a turn to early.  Then, the Greek Hoplites decisively beat their Persian opponents across the entire front.  Only my rear cavalry charge kept me in this game. 

The next battle will be a sea battle using Poseidon's Warriors.   See you next time in the Ionian Revolt.  


Become a Patron and get access to all the cool stuff, a peak behind the curtain of Blood and Spectacles, and early-access to playtest games!  


You can follow Blood and Spectacles Facebook page or Instagram for more fun! 

Check out the latest publications and contact me at our Blood and Spectacles website

Or purchase all out games at the Blood and Spectacles Publishing Wargames Vault Page!


Monday, June 19, 2023

Battle Report- Men of Bronze: Re-taking the Propontis in the Ionian Revolt


This is the continuing recreation of the Ionian Revolt.  The Ionian Revolt was a revolt against the Persian Empire by the Ionian Greeks and their allies prior to the Greco-Persian War.  It took place from 499 to 493 BCE.  It was a land and sea affair, so I am using a combination of Poseidon's Warriors and Men of Bronze to re-create the campaign.  Both are from the Osprey Wargaming Series.  In addition, Men of Bronze has a specific supplement for the conflict called The Ionian Revolt. 


The details of the campaigns in this region are sparse. According to Herodotus, the Persians divided the campaign up between three generals.  The first went to Cyprus, the other dealt with Caria, and the third moved into the Hellespont on Propontis to regain control of the region.  We must assume that their were a series of sieges and negotiated surrenders after symbolic resistance.  The re-taking of the area was relatively swift and appears to have taken place prior to the attacks on Caria.  Once the General Daurises turned his attention to the Carians, a new Persian general came to the region to finish the job. 

 Due to the speed of the campaign, we can only assume that the majority of the sieges were symbolic in nature, or we resolved as soon as the Persian army showed up.  For today's battle, we will assume that the Persians have managed to "trick" the Ionians out from behind their walls to defend their fields from being ravaged.  If the Persians manage to ravage the fields, the Ionians would quickly fold.  However, if their logistics could be saved then perhaps the city could hold out a bit longer!  

Forces:
The rebellious Greeks will use a relatively standard Hoplite force to defend the city:

Ionian Greeks
1 Drilled Hoplite - 1 General
2 Militia Hoplites
3 Peltast Hoplites

The Persians are using a fast moving siege force.  Therefore, the cavalry has been left back at camp:

Persians
2 Archers
1 Drilled Infantry - 1 General
2 Warband Infantry
1 Psiloi

Set-up:
Today's game is set-up on a 72MU by 48MU board.  The Greek side of the board is the long wall of their city, with the city gates on the left side of their deployment zone.  They have a small area to deploy, and have three Peltast units and a Militia Hoplite unit ready to move out.  The rest are still in reserve.  The field is under the protection of their wall on the opposite short board edge, about 48 MU away.  A road leads from the gates of the city, to the Persian deployment zone.  


On the opposite side, the Persians deploy across the board.  They have the Drilled Infantry spread out near the road, screening the two archer units.  Next to them are the two Warband infantry and the Psiloi.  


Mission: 
This battle uses the Reserves special rules and follows the format of the Ravage the Fields scenario from the Men of Bronze rulebook. 


For this battle, I will not be following every detail.  I have found this method really hampers and slows down the game play!  Instead, I will be covering the action in three main phases; the Maneuver phase, the Battle phase, and the End Game.  The Maneuver phase is where the armies are mostly closing the gap and set-up their attack plans and is typically turns 1-3.  The Battle Phase is typically where most of the fighting occurs and normally falls in turn 4-6, and the End Game is the final moves to determine the ultimate victor and often are turns 7-8.  

The Maneuver Phase:   
The Persians won the initiative during the opening three turns of the game.  With that, they pushed forward and managed to get troops into the old ruins before the walls.  The former villa of the landlord of the fields was overrun with Persian troops. 

Reserve Greek troops deploy from the City

The Greek Peltasts rushed across in front of the wall towards the fields backed up by a Militia Hoplite unit.  The Drilled and second Militia Hoplite unit tried to pin the main Persian body on the Greek left, close to the gate.  However, the Persians used their mobility to provide a refused flank.  

Greek Peltasts rush to stop the Persian raid

In the beginning of the 4th turn, a Persian Peltast managed to get to the fields.  The rolled poorly and it would take another 2 turns for them to wreck the field there.  A Persian warband infantry unit stood by to try to hold off the Greeks.  

Persian light troops get to the fields and start ravaging them

Battle Phase: 
The Persians bid high enough to win initiative again!  They peppered the foremost Peltast unit with a barrage of arrows from the ruins, causing some courage loss.  This was followed up with the Persian Warband near the fields charging the same unit.  In fierce fighting the Persians were pushed back with heavy losses and began to waver.  The Peltasts were down to 1 courage as well.  

The Peltast unit closest to the wall dug deep into Arete Points, and managed to come to grips with the Peltasts in the fields.  The combat there was indecisive as both sides lost 1 courage.  Peltasts tried to hold back the Persians in the ruins with a Javelin barrage, to no avail.    

The Greeks try to repel the Persian troops

The Greek Militia Hoplites on the Greek left managed to chase down and charge into the Persian Drilled Infantry.  The Persians did not have enough Arete Points to counter-charge and they lost two Courage in the fight.  The Greeks pushed the Persians back.  

Greek Hoplites manage to bring the Persian infantry to battle on the Greek left

Despite being caught on the Greek left, the Persian had all ready successfully shifted their archers tot he opposite flank under the cover of their infantry screen. 

As Turn 6 began, the Greeks had to make sure those Persian Peltasts were pushed out of the fields before the end of the turn.  It did not look like they could get additional troops into the fight there, but they threw almost all of their Arete Points into going first.  The Persians saved them for re-rolls in the combat.  The Greeks started things off with the Peltasts and the Warband infantry, if they won there they perhaps could push back far enough to help with the Psiloi battle.  Precious re-rolls were used, and both sides ended up routing. 


With that, the Greeks moved to the decisive Psiloi fight, with both sides unable to get any reinforcements over to that side of the board.  The Greeks were clearly victorious, and forced the Persians to waver and pushed them back.  The Greeks best chance was for the wavering Persians to fail a Discipline check in the End Phase from seeing their fellows run for it! 


The Greeks decided to try to break the Persian army, and threw a Peltast into the ruins to try and root out the Warband Infantry there.  The Persian Archers supported their fellows, and with the help of some re-rolls managed to push the Peltasts back 2 MU.  


The last Militia Hoplite unit legged it for the fields, hoping they could keep any other marauding Persians from getting there, as the second Persian Archer unit was threatening a run. 

End Game: 
The Persian Psiloi managed to stay in the fields for three turns.  However, the Greeks still had a chance if they could cause my army to Collapse!  

Realizing this, the Militia Hoplites by the wall decided to charge into the fight into the fight in the Ruins!  Despite the help, both sides still lose 2 Courage and reduce them to 1 courage.  Nether side is wavering.    

The Drilled Hoplite rush into to support the Militia Hoplites against the Persian Drilled Infantry.  It is too much for the Persians, and they are sent packing.  With the backbone of their army fleeing, The Persian army starts to collapse. 


However, it is too little, too late as the Persians fighting in the ruins hold it together to finish off turn 8.  

Conclusion: 
Wow, that was a fight to the finish.  One more turn and my army would have folded like a paper napkin. The Greeks had the advantage at the end, but time was against them.  My Psiloi earned their pay ravaging the fields for the win, but the rest of the army did its part holding together.  

The Persian armies mobility allowed them to have a refused flank that drew the Greek heavy infantry out.  In addition, it allowed me to threaten the fields early, with multiple units and occupy the ruins.  Being in the ruins helped stiffen my weak warband infantry units. 

That was the 4th win for the Persians in the Revolt.  They have been victorious on land and sea.  However, each game has been a close run thing.  Now, they have their biggest challenge, the Carians ahead of them.  Can the Persians keep this win streak going?  

Despite the Greek forces managing to push the attackers back, the damage had been done.  The city could not maintain itself for a the rest of the season.  The destruction of their fields forced them to the bargaining table.  Thankfully, the Persians were magnanimous in victory.  They only forced the rebel leaders to be taken captive, and then tortured to death.  The city and its inhabitants were spared the sword.  They appointed a new Persian friendly tyrant, and moved onto the next city in the region. 


Become a Patron and get access to all the cool stuff, a peak behind the curtain of Blood and Spectacles, and early-access to playtest games!  


You can follow Blood and Spectacles Facebook page or Instagram for more fun! 

Check out the latest publications and contact me at our Blood and Spectacles website

Or purchase all out games at the Blood and Spectacles Publishing Wargames Vault Page!